manuals.online logo
Brands
  1. Home
  2. •
  3. Brands
  4. •
  5. Monnit
  6. •
  7. Gateway
  8. •
  9. Monnit MonnitLink User manual

Monnit MonnitLink User manual

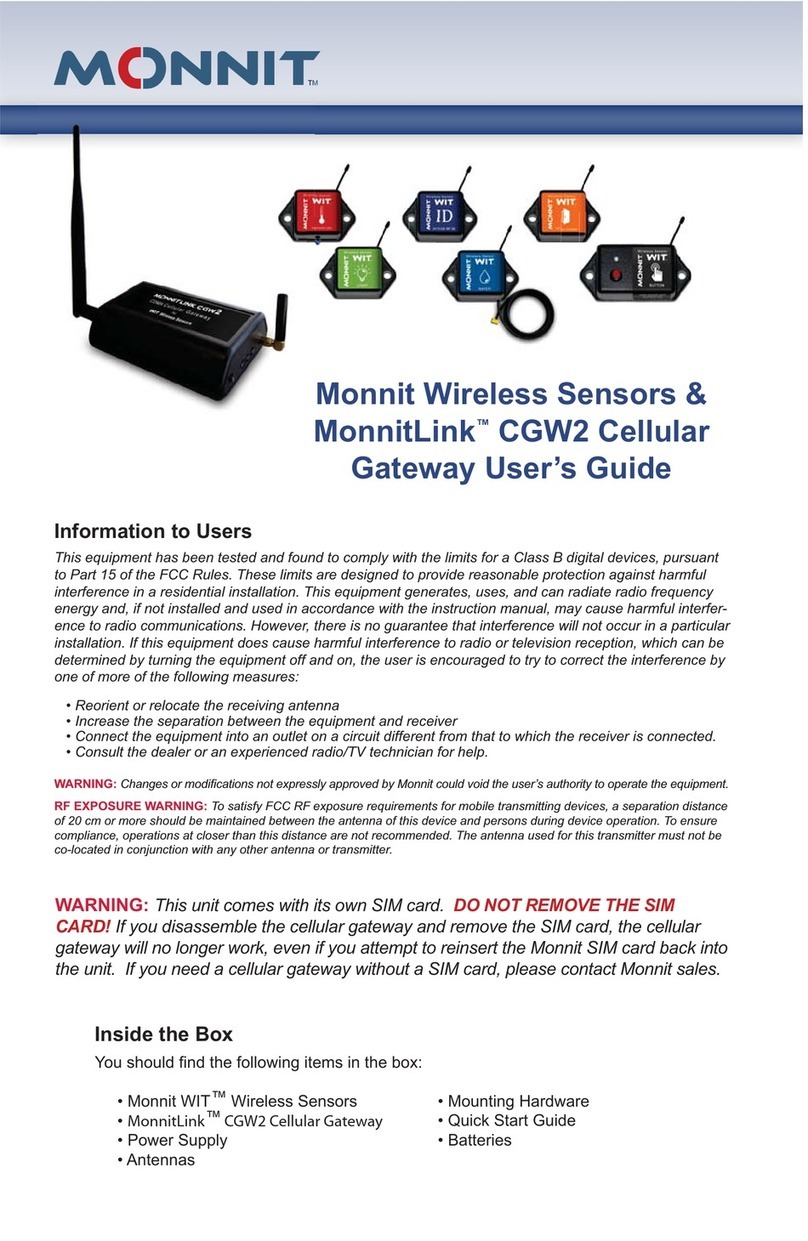
MonnitLink™International Cellular Gateways
Quick Start Guide
Quick Start - Setup Process
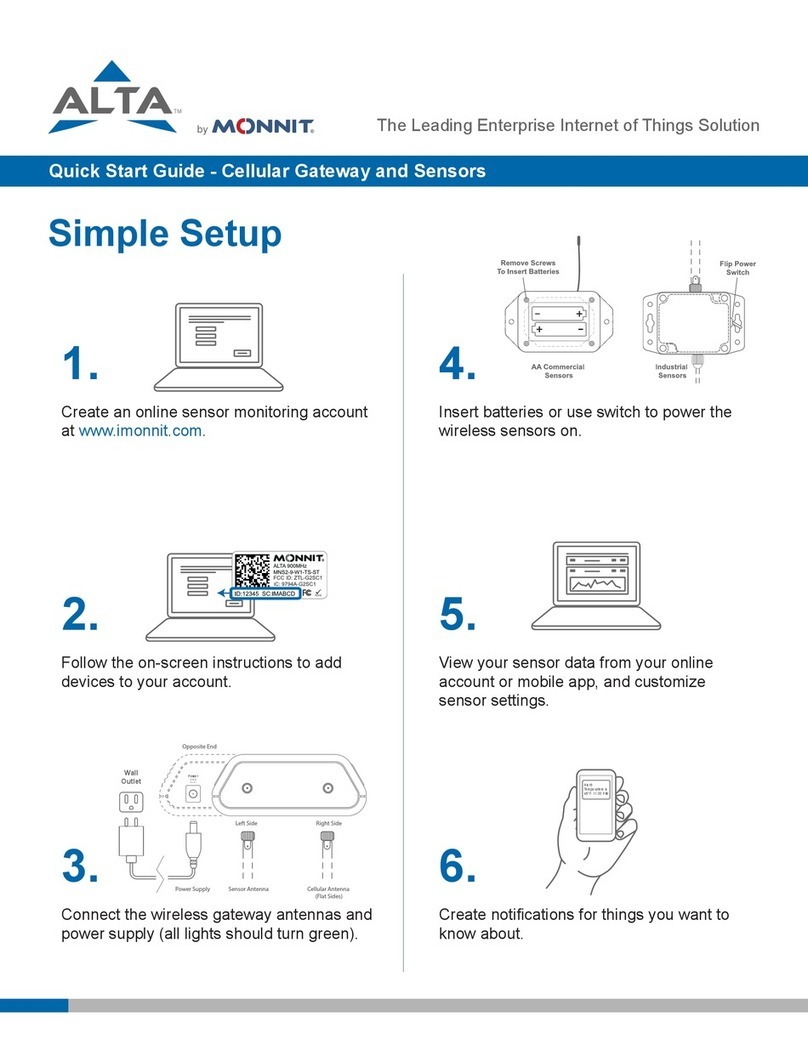
1. Set up an iMonnit account and add the cellular gateway and wireless sensors (see back for instructions).
2. Obtain and activate a SIM card on your preferred cellular network.
3. Open the gateway by unscrewing the 4 screws and removing the top.
4. Insert the SIM card into the SIM holder (gold contacts face down).
5. Before powering on the gateway, follow the instructions below to congure the cellular gateway.
Conguring the Cellular Gateway
Once the SIM card is placed, use a cell phone to compose a text message using the parameters below to congure the
cellular gateway and send it to the mobile number of the device. Obtain the conguration information from the cellular car-
rier that provided the SIM card. Host address and host port are specic to iMonnit if you are planning on using our cloud
services or it is specic to your server if you are not. The example information from the table below are required for those
two elds, but they are pre-programmed so it is not necessary to include them in the text, only include them if you need to
change them to point to your server.
The format of the text message must have the parameter name followed by a colon followed by the network- specic data
and ended with a semicolon. One text message can include only one parameter or all parameters. It is recommended to
only send those parameters that need conguring and leave the rest alone. Spaces and carriage returns are ignored. The
parameters are NOT case sensitive.
Field Name Description Parameter Style Example
Cellular Access Point Name This is a name assigned by the cellular provider
for their specic m2m network.
Apn: name here; Apn:m2mkit.telefonica.com;
Username Some data networks will require a username
and sometimes a password
User: username; User:datauser ;
Password Some data networks will require a password Pass: password; Pass: 1234;
DNS setting Assigns the DNS. For Monnit’s conguration
tracking it will overwrite both DNS elds.
Dns: dns; Dns: 8.8.8.8;
Poll interval This is specic to the cellular network and is not
the same as Monnit’s internal poll interval for
sending commands to the Control unit. Default
is 45 min; Max is 120 min;
Poll: pollrate; Poll:30;
Host address This is where the gateway should report to; un-
less a customer has Enterprise, it will be Mon-
nit’s host address.
Host: address; Host:sensorsgateway.com;
Host port This is where the gateway should report to;
unless a customer has Enterprise, it will be
Monnit’s host port.
Port: port; Port: 3000;
1. Once the text message is composed, send it to the phone number associated with the SIM card.
2. Attach the provided cellular gateway antennas.
3. Plug in the gateway to power it on.
4. The gateway will receive the conguration information via text message and store it in memory. If the setup process is
successful the gateway lights will turn green as the gateway connects. The device will send a response text
message to the phone that was used for conguration. If unsuccessful, the lights will not turn green. If this happens,
repeat the process by unplugging the gateway, sending a new conguration text message to the device and plugging
in the cellular gateway again.
• Insert batteries into the wireless sensors.
• Check that the sensors change to active as batteries are
inserted. (You may need to click the refresh button at the
top, right side of overview.)
• The iMonnit online software is now collecting your
sensor data.
Note: Any change made to a sensor’s settings will be downloaded to
the sensor on the next sensor heartbeat (check-in). Once a change
has been made and “Saved,” you will not be able to edit that sensor’s
congurations again until the sensor has downloaded the new setting.
If you want to force a sensor to download new settings, you can power
cycle the sensor by removing the battery, waiting 30 seconds, then
reinsert the battery.
Setting Up Sensor Notications
• Notications can be created, deleted or edited for any
sensor or group of sensors by clicking on “Events” in the
main menu.
Toggle On/O󰀨 Click to Open Detail View Send Test Edit Delete
• When creating a notication, you will need to select the
type of notication to create.
• Sensor Reading - Alert based on sensor reading or sensing
activity.
• Battery - Alert based on battery power remaining.
• Device Inactivity - Alert when a sensor has not checked in.
For more detailed instructions, documentation,
“how-to” guides and video demonstrations on using
Monnit wireless sensors, wireless gateways and
iMonnit software, visit our support page at
http://www.monnit.com/support/.
MQS-024-1B (09/15)
Setting Up An iMonnit Account
• Visit http://www.imonnit.com to create an iMonnit online
sensor monitoring account.
• Follow the on-screen instructions to enter your account
and contact information.
• You will be prompted to create your rst sensor network.
Simply enter a name for your network.
• Next you will be prompted to add a wireless gateway
and wireless sensors to your network.
• Enter the information from your MonnitLink™
gateway then click the “Assign Gateway” button.
• Enter the information from your rst wireless
sensor then click the “Assign Sensor” button.
• On the next screen, enter a name for the wireless sen-
sor and use the drop down to tell us how you are going
to be using the wireless sensor. (This allows us to sug-
gest settings for your sensor.) When nished, click the
“Continue” button.
• Repeat these steps to add any additional wireless
sensors to your network.
Using Your Wireless Sensors
• From the Overview Page of iMonnit, click “Gateways”
and check that your gateway status has changed to
active in iMonnit Express.
• From the Overview Page of iMonnit, click “Sensors” to
return to the sensors overview page.
• Click on a sensor’s information to access detailed
information for that sensor.
• Click the “Settings” tab from a sensor’s detail view, to
change sensor settings.
Monnit, Monnit Logo, MonnitLink and iMonnit are trademarks of Monnit, Corp.
© 2009-2018 Monnit Corp. All Rights Reserved.
Monnit Corporation
4403 South 500 West
Murray, UT 84123
801-561-5555
www.monnit.com
Other manuals for MonnitLink

2

Other Monnit Gateway manuals

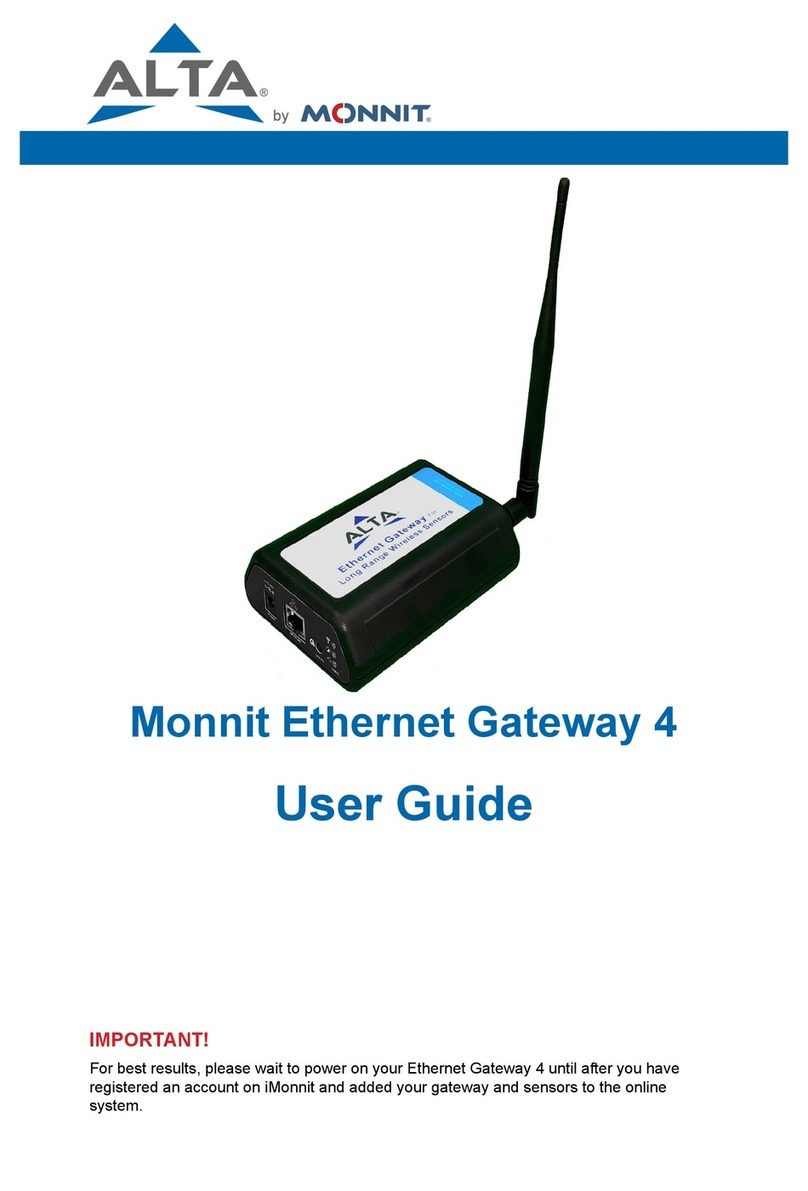
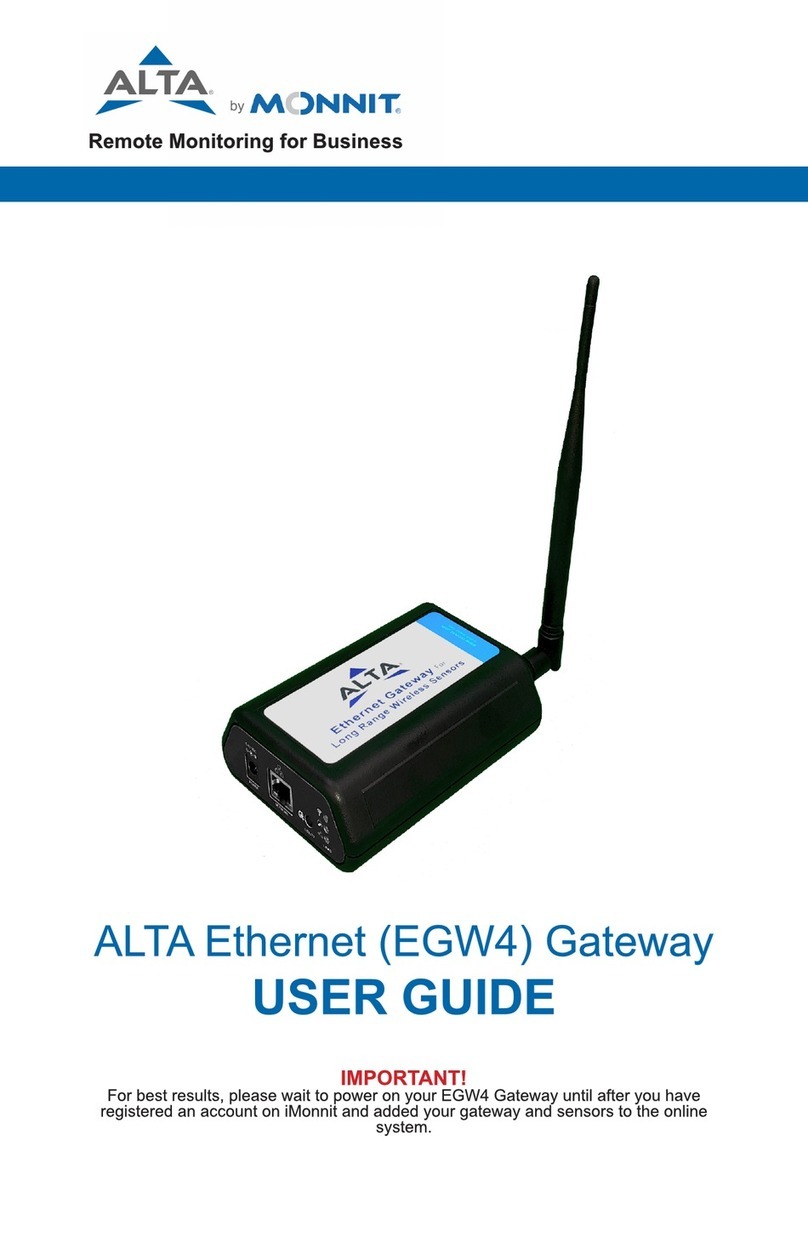
Monnit ALTA EGW4 User manual

Monnit

Monnit ALTA EGW4 User manual

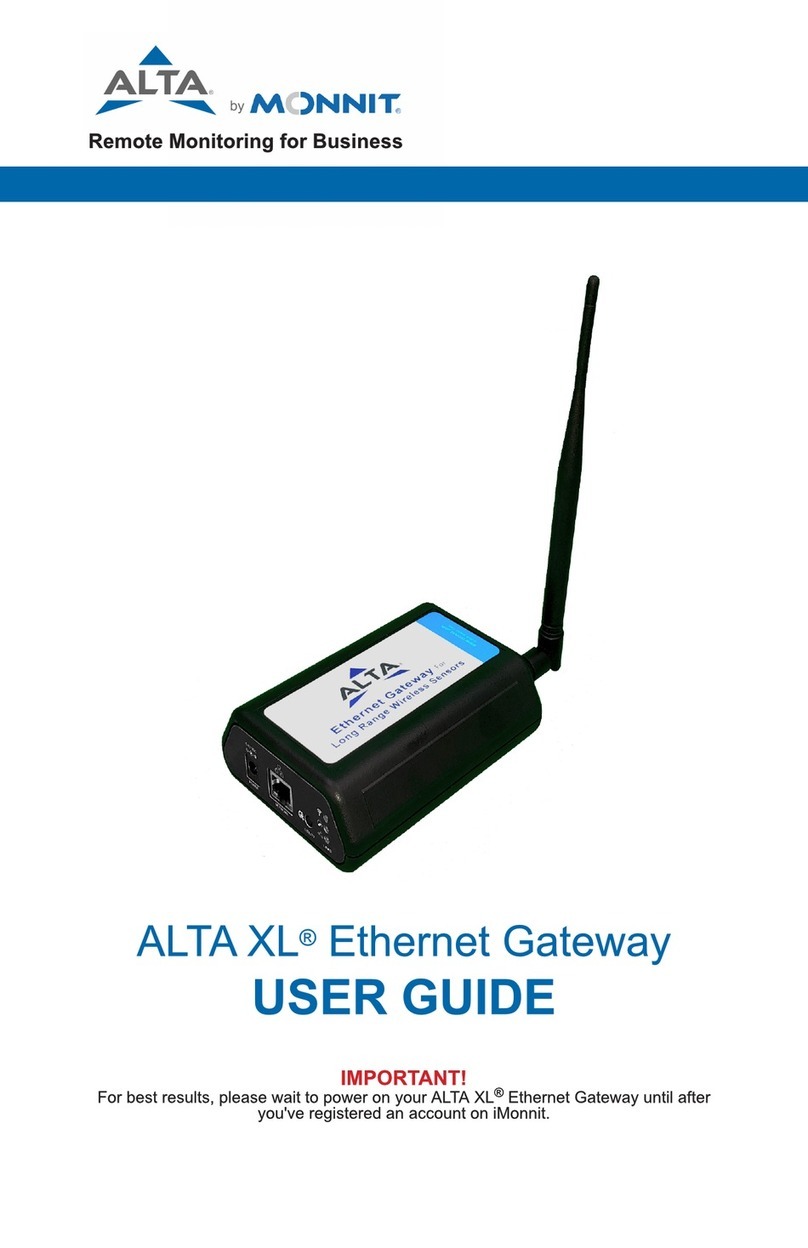
Monnit Alta Cellular Gateway Series User manual

Monnit

Monnit Alta Cellular Gateway Series User manual

Monnit MNG2-9-EGW-CCE User manual

Monnit

Monnit MNG2-9-EGW-CCE User manual

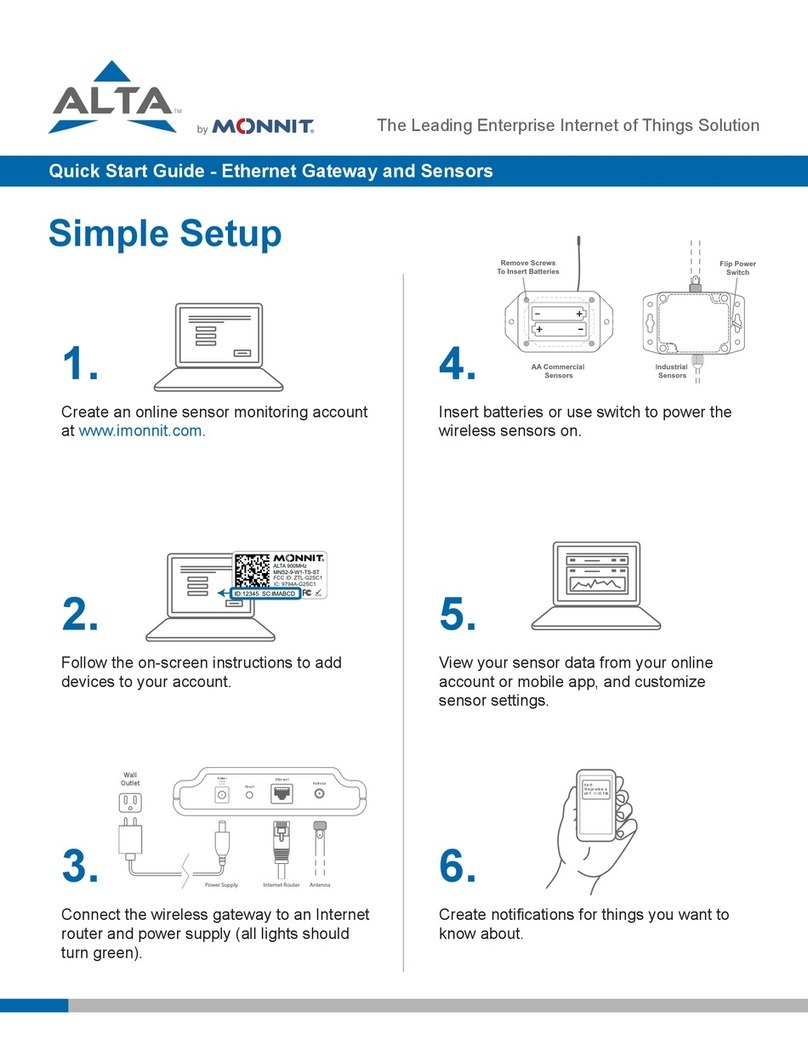
Monnit Ethernet Gateway Series User manual

Monnit

Monnit Ethernet Gateway Series User manual

Monnit MonnitLink CGW2 User manual

Monnit

Monnit MonnitLink CGW2 User manual

Monnit ALTA XL User manual

Monnit

Monnit ALTA XL User manual

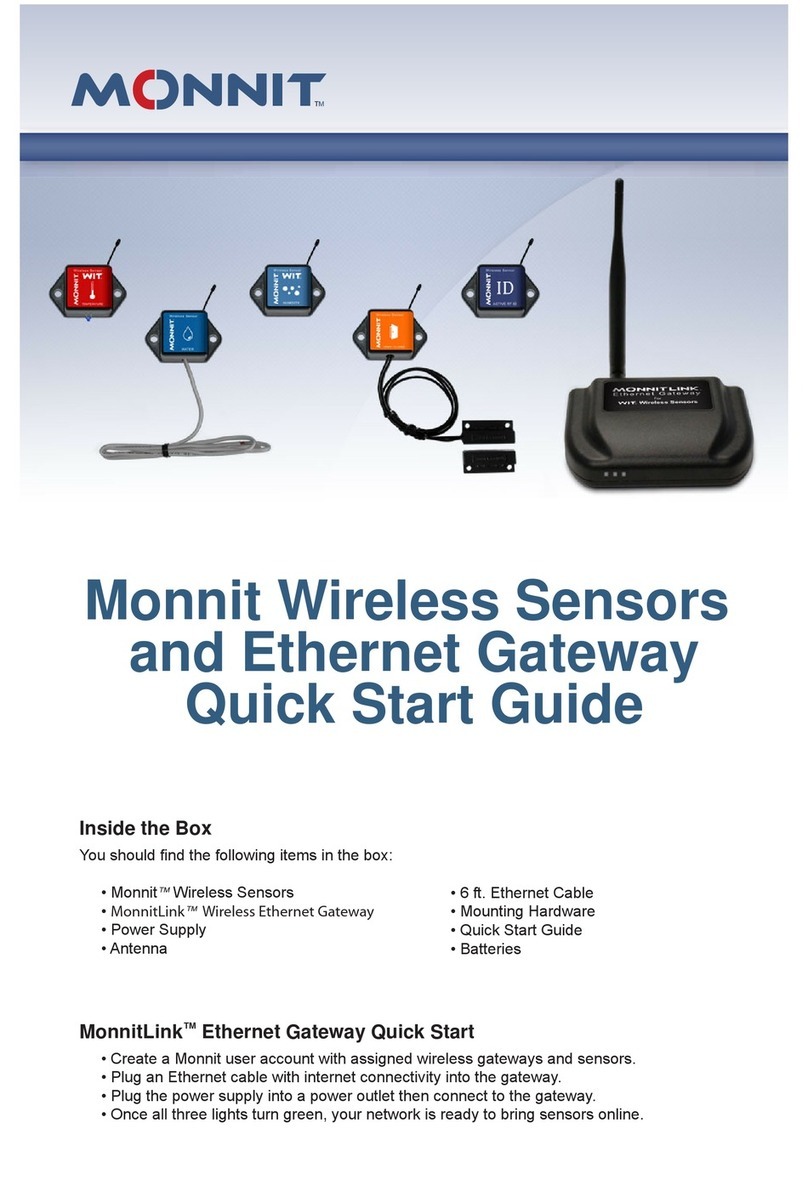
Monnit MonnitLink User manual

Monnit

Monnit MonnitLink User manual

Monnit Serial MODBUS User manual

Monnit

Monnit Serial MODBUS User manual

Monnit Serial MODBUS User manual

Monnit

Monnit Serial MODBUS User manual

Monnit ALTA LTE International Gateway User manual

Monnit

Monnit ALTA LTE International Gateway User manual

Monnit ALTA User manual

Monnit

Monnit ALTA User manual

Monnit MonnitLink User manual

Monnit

Monnit MonnitLink User manual

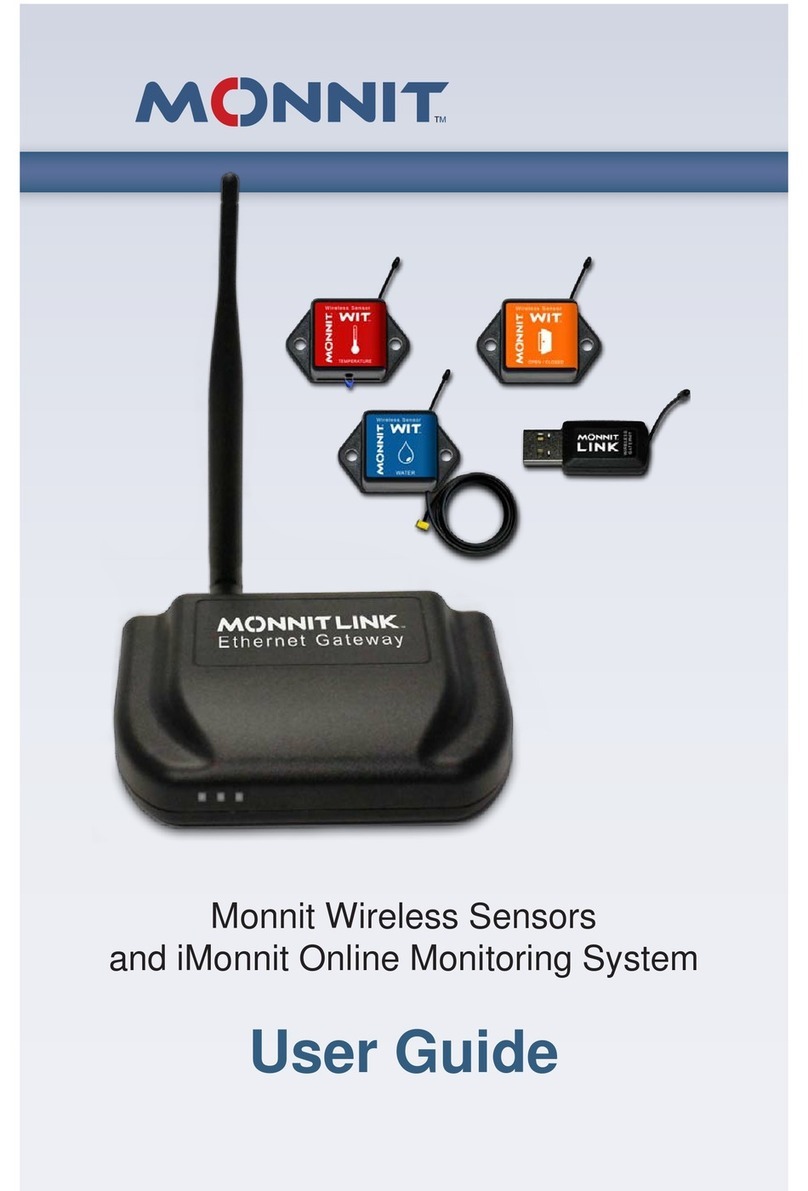
Monnit Wireless Sensors and Ethernet Gateway User manual

Monnit

Monnit Wireless Sensors and Ethernet Gateway User manual

Popular Gateway manuals by other brands

Ositech Titan III Placement Guide

Ositech

Ositech Titan III Placement Guide

hilscher PKV 50 Series Device manual

hilscher

hilscher PKV 50 Series Device manual

TRENDnet TEW-734APO Quick installation guide

TRENDnet

TRENDnet TEW-734APO Quick installation guide

Cisco IG21 Series Hardware installation guide

Cisco

Cisco IG21 Series Hardware installation guide

HELVAR 435 user guide

HELVAR

HELVAR 435 user guide

RTA 460PSBM-N2E Product user guide

RTA

RTA 460PSBM-N2E Product user guide

Power Electronics Profipower manual

Power Electronics

Power Electronics Profipower manual

Fieldbus Specialists Profibus user manual

Fieldbus Specialists

Fieldbus Specialists Profibus user manual

TANDELTA SENSE-3 quick start guide

TANDELTA

TANDELTA SENSE-3 quick start guide

logika WG-ZGWMDPB-G100-02 product manual

logika

logika WG-ZGWMDPB-G100-02 product manual

Siemens SIMATIC NET IE/WSN-PA Link Compact operating instructions

Siemens

Siemens SIMATIC NET IE/WSN-PA Link Compact operating instructions

Pace HomePortal 5168NV Technical specifications

Pace

Pace HomePortal 5168NV Technical specifications

LG REGX-XOXXA Reference manual

LG

LG REGX-XOXXA Reference manual

Wildix W04FXO Quick installation guide

Wildix

Wildix W04FXO Quick installation guide

Huawei B68A quick start

Huawei

Huawei B68A quick start

RTA 460ESBM-N700 Product user guide

RTA

RTA 460ESBM-N700 Product user guide

D-Link DVG-2016S user manual

D-Link

D-Link DVG-2016S user manual

Technicolor TG789vac v2 Setup and user guide

Technicolor

Technicolor TG789vac v2 Setup and user guide

manuals.online logo
manuals.online logoBrands
  • About & Mission
  • Contact us
  • Privacy Policy
  • Terms and Conditions

Copyright 2025 Manuals.Online. All Rights Reserved.