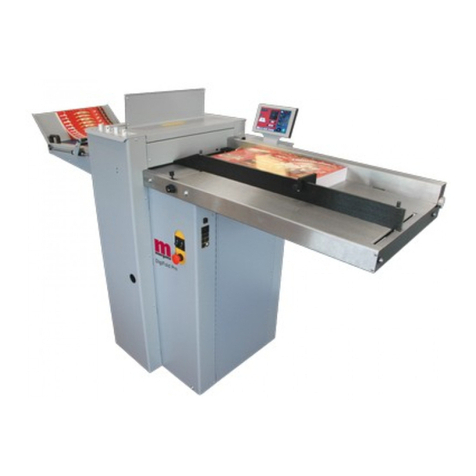
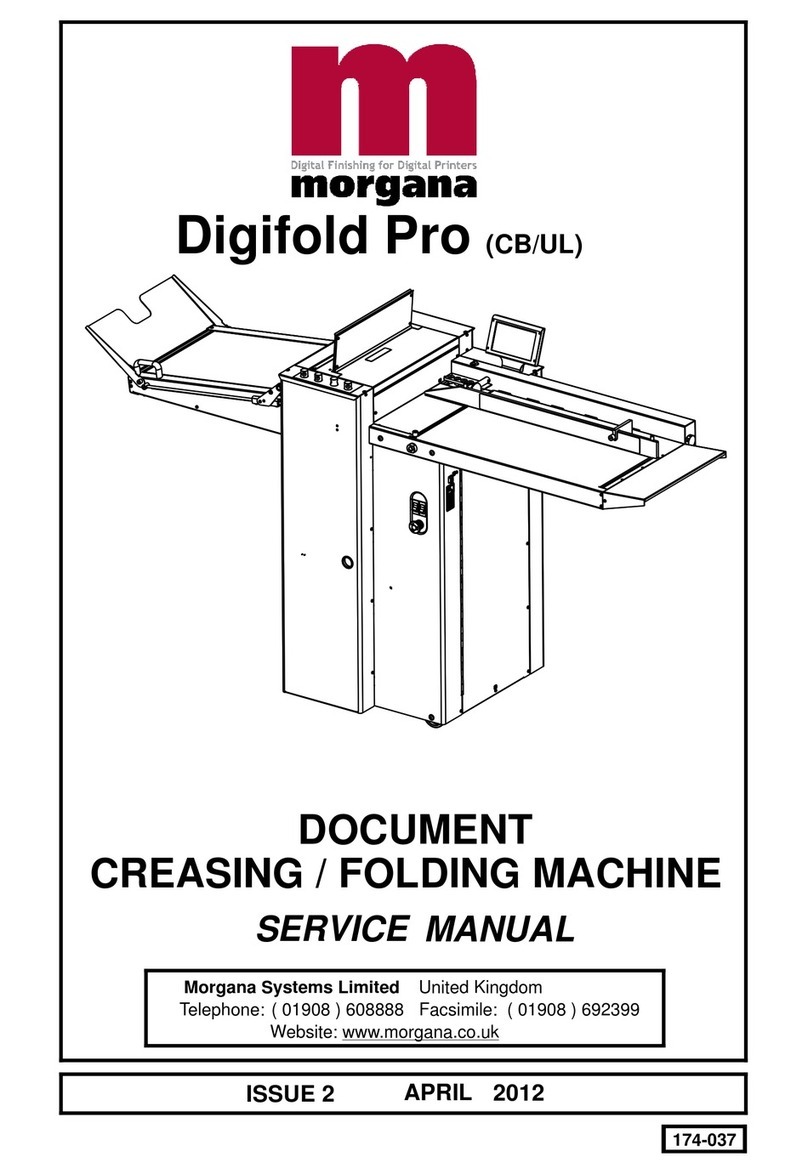
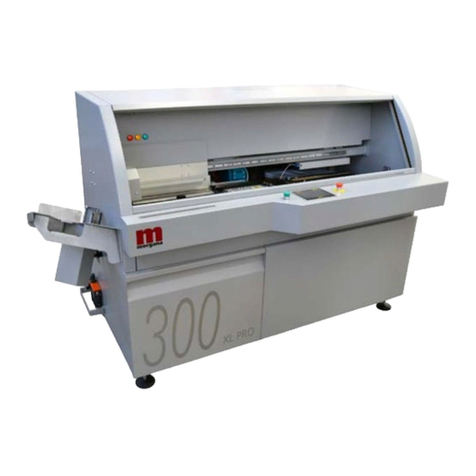
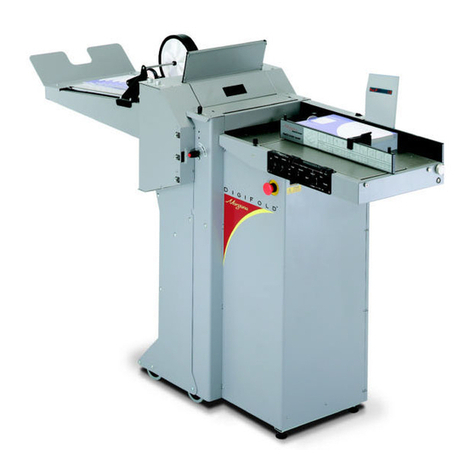
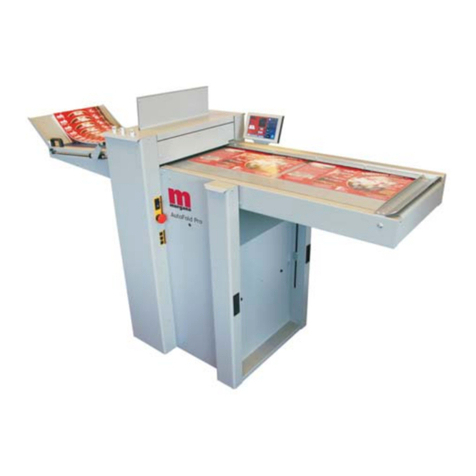
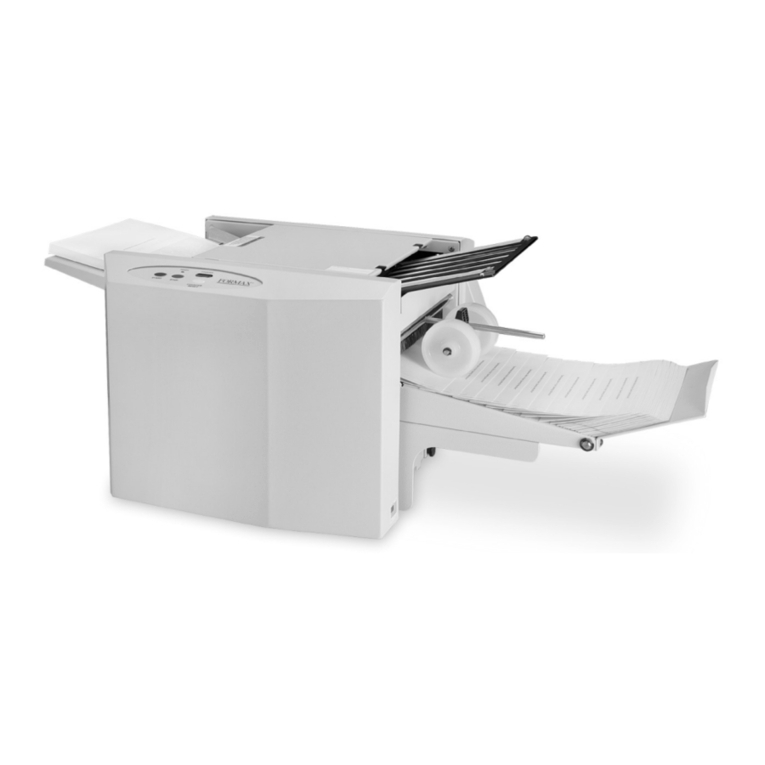
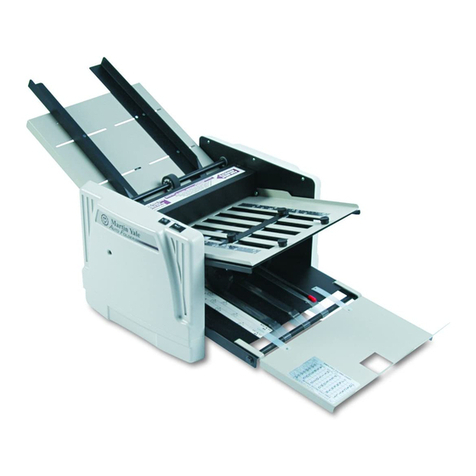
Morgana DocuFold Pro User manual

90-134 Issue 3 FEBRUARY 2013
DocuFold Pro (CB/UL)
OPERATORS MANUAL
Automatic Paper Folding Machine
Morgana Systems Limited United Kingdom www.morgana.co.uk Telephone: ( 01908 ) 608888 Facsimile: ( 01908 ) 692399

Page 2
INDEX
Page 3
INDEX
FOLDING TIPS AND TROUBLESHOOTING 35
Sheets Difficult To Feed 35
Double Sheet Feeding 35
Fold Is Not Square Or Consistent 35
Paper Will Not Stack Consistently 36
Paper Will Not Deflect When Using One Fold Or Perforating 36
Total Batch Counter Not Working 36
‘Overlap Error Keeps Appearing 36
Machine Will Not Reset 36
No Power To Machine 37
Mains Switch Cuts Out 37
Fold Roller Replacement 37
ERROR SCREENS 38
DISPATCH KIT 41
ACCESSORIES AND OPTIONS 42
RECOMMENDED SPARES 43
FUSE POSITIONS & RATINGS 45
PRODUCT RECYCLING AND DISPOSAL 46
INTRODUCTION & SPECIFICATION PAGE 4
SAFETY Do’s & Don'ts 5
THE DocuFold Pro
Labelled Photograph 7
OPERATING THE DocuFold Pro
Adjusting the Paper Gate 8
Setting the Suction Slot 8
Setting the Vacuum Bleed 9
Setting the Adjustable Side Lay 9
Setting the Back Stop 9
Setting the Air Distribution Knob 9
Setting the Air Separation Knob 9
Fold Plates 10
Roller Tilt 11
Delivery Roller 12
Emergency Stop Switch 12
Overlap 12
TOUCHSCREEN OPERATION
Touchscreen Layout 13
Paper Settings Page 14
Batch Size selection 15
Speed Selection 15
Fold Settings Pages (Pre-defined fold types) 16
Setting Fold Positions Manually (Set by Position) 17
Delivery Settings Pages 19
Status Screen 20
Run Job 21
Store Pages 23
Tools Menu 26
Touch Screen Calibration 27
PLUG IN PERFORATOR 28
Setting Perforators 31
Scoring 31
Folding Card 32
Paper Jams 32
Roller Assembly - Removal 32
Roller Adjustment 33
Sensor Cleaning 34
Fold Plates - Maintenance 34
DocuFold Pro
PAPER FOLDER

Page 4 Page 5
DocuFold Pro
The Morgana Docufold Pro is a brand new concept automatic paper folding machine
designed to be used in today's environment of document production. The Morgana
DocuFold Pro can be used by non-skilled personnel by following this easy to use operator's
guide. There are very few operator adjustments required and in conjunction with our new
'Smart screen' you will get started very quickly, but we do recommend that you take a little
time to read this manual, to ensure that you fully understand the machine. We have also
included a TIPS & TROUBLE SHOOTING section. Be sure to read this section before
calling a service engineer to avoid any unnecessary expense.
On the DocuFold Pro. The fold plates and delivery roller will move automatically according
to the type of fold selected. Please be aware that different weights, humidity, temperature or
the grain direction of the paper may make the paper fold in a different position according to
the material.
Some manual adjustment may sometimes be necessary to obtain the exact fold plate
position for each type of paper.
IMPORTANT
The operating environment should be controlled to a temperature between
16° C and 27° C Maximum
Specification
Feeding System ................................................ Bottom suction feed
Max. Sheet Size ................................................674mm x 365mm (26.5” x 14.4”)
Min. Sheet Size (in automatic mode)................. 160mm x 140mm (6.3” x 5.5”)
Max. Paper Weight ........................................... 240gsm Max. (0.24mm thick) according to
hardness, type of fold, grain direction and substrate
Min. Paper Weight ............................................ 56gsm (0.08mm thick)
Max. No. Folds per Sheet ................................. 2
Max. Fold Length long plate.............................. 328mm (12.91”)
Max. Fold Length short plate............................. 225mm (8.85”)
Max. No. Stored Programmes .......................... Unlimited
Speed per Hour (A4 Material) ............................27500 sheets (Stream Feed)
17250 sheets (Pulsed Feed)
Speed per Hour (A3 Material) ............................18000 sheets (Stream Feed)
13250 sheets (Pulsed Feed)
Note: The production speed varies according to the material size.
Dimensions ....................................................... L: 1240mm H: 1370mm W: 555mm
L: (48.8”) H: (53.9”) W: (21.8”)
Weight ............................................................... 132Kgs (+50Kgs packing)
Power Requirement .......................................... 1 phase 230v 50Hz
1 phase 220v 60Hz
Sound Power Level .......................................... 96.0 decibels
*As part of our continued product improvement plan, specifications and information
published in this manual are subject to change without notice.
All specifications are dependant on application, type of stock, temperature, RH and print
engine used.
Specifications quoted were measured on uncoated and unprinted stock. E & OE.
Docufold Pro
INTRODUCTION
Safety Do’s & Don’ts
Do - read this operator manual fully before operating the machine.
Do - operate with the designated AC current only. Use an exclusive outlet, as
overloading may cause fire or an electric shock.
Do - install the power cord out of the way to avoid a tripping hazard.
Do - make sure that the mains inlet connector is always easily accessible.
Do not - install the machine in an unstable place such that it tilts or shakes.
Do not - unplug the plug or unplug the power cord from the outlet with a wet hand,
this can cause an electric shock.
Do not - unscrew and remove any covers from the machine, as it can cause an
electric shock or injury.
Do not - place receptacles containing liquids on any surface.
Do not - adjust any part of the machine whilst rollers are running
Do not - operate the machine with loose or trailing clothing or loose hair.
Do not - under any circumstances adjust the paper gate when the machine is
switched on.
REGLES DE SECURITE : « A FAIRE » ET « A NE PAS FAIRE »
Lire ce mode d'emploi avant d'utiliser la machine.
Respecter l'alimentation électrique indiquée. Brancher sur une prise séparée
car une surcharge peut entraîner un incendie ou un choc électrique.
Installer le cordon d'alimentation de manière à ne pas pouvoir
trébucher par dessus.
Ménager un accès libre à la prise de courant.
Do - Fit the yellow outrigger feet, (supplied in the Dispatch Kit), to the front and back
of the machine as shown on Page 7; to comply with safety regulations.
Fixer les pieds stabilisateurs jaune, (fourni dans le kit d'expédition), à l'avant et
l'arrière de la machine comme indiqué sur la page 7; pour se conformer aux
règlements de sécurité.
Ne pas installer la machine sur une surface non plane, afin d'éviter
qu'elle ne penche ou ne vibre.
Ne pas installer la machine sur une surface non plane, afin d'éviter
qu'elle ne penche ou ne vibre.
Ne démonter et enlever aucun carter de la machine, par crainte de décharge
électrique ou de blessure.
Ne pas placer de récipient contenant un liquide sur la machine.
N'effectuer aucun réglage pendant que les rouleaux fonctionnent.
Ne pas porter de vêtements flottants et rassembler les cheveux longs
lors de l'utilisation de la machine.
En aucune circonstance, régler le séparateur de papier lorsque la
machine est branchée.
Safety Do’s & Don’ts

Page 7
Page 6
DocuFold Pro
PAPER FOLDER
Warning Labels
Do - be aware of any finger traps and rotating parts when operating
the machine.
Do - read this operator manual fully before operating the machine.
Do not - operate the machine with loose or trailing clothing.
Do not - operate the machine with loose hair.
Do - be aware of any finger traps and rotating parts when operating
the machine.
Do - be aware of sharp points and blades.
Do - be aware of rotating rollers.
Do - be aware of low current anti-static shock.
Attention au risque de se coincer les doigts, et aux pièces en
mouvement lors du fonctionnement de la machine.
Ne pas porter de vêtements flottants lors de l'utilisation de la machine
Rassembler les cheveux longs lors de l'utilisation de la machine.
Attention au risque de se coincer les doigts, et aux pièces en
mouvement lors du fonctionnement de la machine.
Attention aux éléments tranchants et aux couteaux.
Attention aux rouleaux en fonctionnement
Attention aux faibles chocs d'électricité statique
Lire ce mode d’emploi avant d’utiliser la machine.
AUTOMATIC PAPER FOLDING MACHINE
Key to drawing below
A Moving side lay knob H System switch R Roller Tilt lever
B Paper gate knob J Front pins S Emergency stop switch
C Suction slot knob K Upper fold plate T Compressor switch
D Air distribution knob L Vacuum bleed knob U Extension table
E Air separation knob N Delivery roller V Fixed side lay
F Back Stop P Lead screw X Fuses
G Moving side lay Q Touch screen Y Roller assy. release knob
Z Outrigger Foot
Docufold Pro
J
A Q B E F A VD
U
G
K
H
S
T
N
P
L
C
Y
R
X
Z

Page 9
PAPER FOLDER
DocuFold Pro
Page 8
Operating the DocuFold Pro
ADJUSTING THE PAPER GATE
Adjust the height of the paper gate using knob (B) (clockwise to lower, anti-clockwise to raise) so
that the clearance above the vacuum roller is two thicknesses of the paper to be folded. Do not
make this adjustment, when the face of the paper gate is above a hole in the vacuum roller, if it is,
rotate the vacuum roller by hand to bring the metal between holes below the paper gate.
On this machine, the paper gate is fixed in an optimum position and cannot be moved backwards
and forwards (horizontally).
SETTING THE SUCTION SLOT
The suction slot inside the suction drum, may be adjusted by releasing knob (C) and swinging the
knob in the desired position. Lighter stocks including bond will run best with the knob set to the
left. For heavier stocks and curled-up stock, move the knob (C) to the right until a satisfactory
position is obtained.
SETTING THE VACUUM BLEED (L).
Situated on the front of the feed table, the Vacuum Bleed Knob is used to allow more control of the
suction on the vacuum drum.
When light weight paper of 90gsm and lower is being fed through the machine turn the knob
clockwise to reduce the possibility of marking, or damage to the leading edge of the paper.
SETTING THE ADJUSTABLE SIDE LAY
Place a single sheet of the job onto the loading table.
Release the side lay clamp screws (A) and slide the side lay just up to the sheet so that there is
about half a millimetre clearance or 1/64 inch
Tighten the clamp screws.
SETTING THE BACK STOP (F)
This is placed up to the end of the paper stack and clamped to the moving side lay (G).
SETTING THE AIR DISTRIBUTION KNOB (D)
Depending on the length of the sheet, the air distribution knob (D) should be rotated to supply
the air to the correct ports as follows -
Position 1 - This is for short sheets A5 or 8" long with only port 1 open.
Position 2 - This is for sheets A4 or 11" long with the front port and port 2 open.
Position 3 - This is for the longest sheets A3 or 17" with the front port and port 3 open.
Position 0 - In this position, only port 2 is open and can be used on long sheets
with the curl up where you need to blow air into the centre of the stack.
These setting positions are only a guide and some experimentation may obtain a better result
with non-standard settings.
(Note) Position 1 feeds most paper stocks and sizes; thus the air distribution knob can be
left in this position for most jobs.
SETTING THE AIR SEPARATION KNOB (E)
This knob controls the amount of air that is fed to the paper. The machine would normally run
with this knob set at the 'High' position. If the machine is run with less than approximately 20
sheets on the loading table, or running the job to the last sheet, this knob should be set to the low
position.
TWO THICKNESSES
OF PAPER
WARNING.
DO NOT ADJUST THE
PAPER GATE WHILE THE
MACHINE IS RUNNING OR
THE SUCTION DRUM MAY
BECOME DAMAGED.
B
Port 1 Port 3
Knob
Air Distribution
Adjustable
Side Lay
Suction
Slot Knob
Vacuum
Bleed Knob
Air Seperation
Knob
Back Stop
Paper Gate
Operating the DocuFold Pro

Page 11
Page 10
Operating the DocuFold Pro Operating the DocuFold Pro
Roller Tilt
+-
Lever (R) should always be set in the ‘0’ (square) position. To adjust folding
out of square you can move the roller assembly in the + or - direction by releasing
knobs (Y) and moving lever (R) - always re-tighten Knobs (Y)
DocuFold Pro
FOLD PLATES
ALWAYS UNPLUG POWER CONNECTIONS BEFORE REMOVING FOLD PLATES.
Fitting
Fit the fold plates into their respective positions (long fold plate upper and short plate lower), by
locating the front pins (J) into the long slots and carefully sliding forwards (without twisting)
until the rear pins can be located into the short slots. When fully in position, pull down the fold
plate to lock into position. Connect the push-in power connectors - short lead to upper plate & long
lead to lower plate.
Settings
The fold plate lengths are set automatically.
Fold plate Tilt
See roller tilt.
IMPORTANT NOTE:-
If any of the fold plates, or the plug in perforator unit are removed from the machine; the
guard circuit is automatically broken, for safety reasons, to prevent the fold rollers from
rotating.

Page 13
Page 12
Operating the DocuFold Pro Operating the DocuFold Pro
TOUCHSCREEN OPERATION
1. Turn the Emergency Stop button clockwise to switch the power on. After the
system start up procedure the touch screen will be displayed as shown below.
WARNING:-
Wait at least 10 seconds, after making any selection on the Touchscreen
panel, before switching the machine OFF. Failure to do so could result in the
data storage being corrupted, and the machine not operating.
The touch screen is laid out into 3 main areas as shown below:
IMPORTANT.
If you have not been trained to operate this machine, we strongly advise that you select
the red cross icon.
We recommend that you either seek training or ask a trained operator to run the machine
for you.
Select the green tick icon only if you have been trained to operate this machine.
If you have not been trained to operate this machine and you select the green tick icon,
Morgana Systems Ltd accept no responsibility for personal injury, damage to the
machine or damage to materials being processed by the machine.
Delivery Roller
Emergency Stop Switch (S)
This switch also serves as the main isolator. It is important that the machine is switched off at
the end of the days running, press this switch to isolate the machine. To switch back on,
rotate the switch head clockwise.
The delivery roller will adjust automatically according to the paper length and the fold type selected.
Manual or fine adjustment for the position of the delivery roller can be made as shown on Page 19.
You should adjust the roller position so that when the work is stopped by the delivery roller, it
lies flat on the delivery without lying on the sloping plate, (See Diagram below), and without the
green belts showing between the sloping plate and the folded sheet.
Overlap
The machine has a built in system that will detect any sheet that overlaps another sheet by at
least 20mm. When this happens feeding will stop and the main switch will switch off,
preventing serious jams. The error screen (shown below) will be displayed on the touchscreen..
Note that this is not a double detector and will not detect all double sheet feeds. However the
overlap system is an indication of a tendency to double sheet feed and therefore the paper gate
should be lowered slightly and the paper stack should be fanned out more thoroughly.
Sloping plate
DocuFold Pro
Status of
machine &
data entry
area. Also
used for
quick links
to setting
pages.
Tabs to enable switching between setting
pages
-
choose either Paper
Settings, Fold
Settings, Delivery Setting, Store or Tools
Setting
page

Setting Pages.
Paper settings Page
Paper size Selection.
Page 14 Page 15
DocuFold Pro
PAPER FOLDER
Batch size Selection.
Speed Selection
Pre-set Batch sizes
for quick insertion.
Operating the DocuFold Pro Operating the DocuFold Pro
DocuFold Pro
Page Length – On selection the status area is replaced with a
calculator for inputting new values. Length range = 190mm – 900mm
Fold Selection – For quick setting of crease positions on standard size sheets.
Highlighted fold is type currently selected, other folds may be selected.
Currently selected fold is shown in status area.
Select the Ruler icon to set the fold positions manually.
Vacuum suck – There
are three selections
available – 1 short
suck, 2 long suck & 3
continuous for stream
feeding.
Highlighted number is
type currently selected.
The status area also
shows the currently
selected suck.
Batch Button – Image
is identical to that
shown in the status
area. On selection the
status area is replaced
with a calculator for
inputting new values.
Batch sizes of 1 to
998 may be set.
Arrows may be
selected to increase
or decrease the page
size in 0.1mm
increments.
Perforating / scoring
button.
Speed Selector – On
selection a speed
adjustment screen
will appear.
Perforating / scoring
with fold button.
Toggle between, Delay between batches
and stop after batch
Pre-set Paper sizes for
quick insertion - Standard
sizes for country origin
would be shown.
Paper length input
Feed Speed selection
slider - 20 positions to
choose from.
Note: Motor speed will
not change until you
select run.

Page 16 Page 17
DocuFold Pro
PAPER FOLDER
Fold Settings Pages.
To get to the Fold setting page click the lower tab .
Pre- defined Standard Folds.
If you have selected a pre-defined standard Fold Type from the paper settings page the
recommended fold positions will be shown in parenthesis and can be micro adjusted as
required.
Fold 1 micro adjust – On
selection the status area is
replaced with a calculator
for inputting new values.
Micro adjust range is -5.0
to +5.0 with increments of
0.1mm
Folding can be micro
adjusted for fine
adjustment.
Micro adjust range is -5.0
to +5.0 with increments of
0.1mm
Operating the DocuFold Pro Operating the DocuFold Pro
Setting Fold Positions Manually (Set By Position).
If you have selected the Ruler Icon from the paper settings page the fold positions can be
set manually.
EXAMPLE 1. (Set Fold 1 to 210.0, Set Fold 2 to 90.0)
Paper Length = 297.0mm
Feed Direction
Fold 1
Fold 2
Fold 1 = 210.0mm
Fold 2 = 90mm All dimensions are from the leading edge of the paper
Fold 1
= 210.0
Finished Document
Leading Edge
SETTINGS
Leading Edge
Fold 2
= 90.0
(on delivery bed)

Page 18 Page 19
Operating the DocuFold Pro Operating the DocuFold Pro
Delivery Settings Pages.
To get to the Delivery setting page click the lower tab .
Roller position may be
Micro adjusted by clicking
Here.
Roller adjustment
calculator
EXAMPLE 2. (Set Fold 1 to 90.0, Set Fold 2 to 210.0)
NOTE.
When only one fold is required on the sheet, set Fold 1 and Fold 2 to the same values.
Paper Length = 297.0mm
Feed Direction
Fold 2
Fold 1
Fold 1 = 90.0mm
Fold 2 = 210mm All dimensions are from the leading edge of the paper
Leading Edge
SETTINGS
Fold 1
= 90.0
Finished Document
Leading Edge
Fold 2
= 210.0
DocuFold Pro
Morgana Logo
on underside of this flap
(on delivery bed)

Page 20 Page 21
DocuFold Pro
Run Job.
System Switch Not On, warning.
The display will briefly show that the fold plates and delivery roller are moving to their set
positions, (as shown below).
Click to run machine.
Operating the DocuFold Pro Operating the DocuFold Pro
Status Screen.
Click to confirm System
switch is on. Switch
Compressor switch on &
then click run button again.
Or click the icon
to run three test sheets.
Clicking in this area will take
you to the fold settings
page.
Paper length
- input from the
paper setting screen.
Clicking in this area will take
you to the delivery setting
page.
Fold Positions & Trim
settings
Batch quantity - this is
input from the batch
calculator on the paper
setting screen - max. 999
Click to start machine with settings currently
shown -
you will receive a notification if
system switch is not on. Press again to stop
Job
Green icon indicates settings
are saved - a red icon would
show that settings have
changed but the job
has not been saved.
Currently selected fold type
- can be one of the
following.
Speed selector - On
selection a speed
adjustment screen
will appear
Currently selected Vacuum
Suck setting - for slow pulse
- for stream feed choose
choose selection 2
selection 3
Select this button to produce
3 test sheets with the
settings currently shown.
Clicking in this area will take
you to the store page
confirm that you want to
Sheet count -click to zero
A screen will appear to
reset the count.
Batch count - click to zero
A screen will appear to confirm that
you want to reset the count.
This manual suits for next models
2
Table of contents
Other Morgana Folding Machine manuals

Morgana
Morgana UFO Manual

Morgana
Morgana MB300 XL Pro User manual

Morgana
Morgana AutoFold Pro User manual

Morgana
Morgana DIGIFOLD User manual

Morgana
Morgana Digifold 5000P User manual

Morgana
Morgana AutoFold Pro User manual

Morgana
Morgana Square fold 104 User manual

Morgana
Morgana Digifold Pro CB User manual

Morgana
Morgana TF MEGA-S User manual

Morgana
Morgana DigiFold Pro User manual