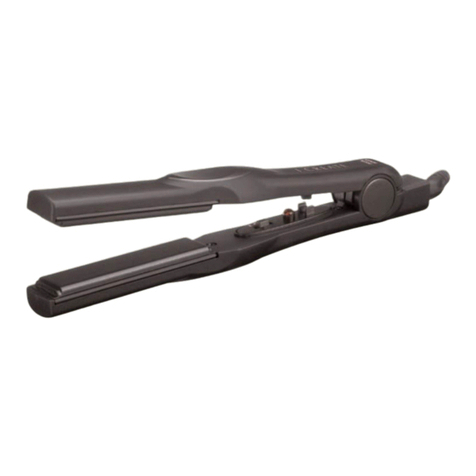
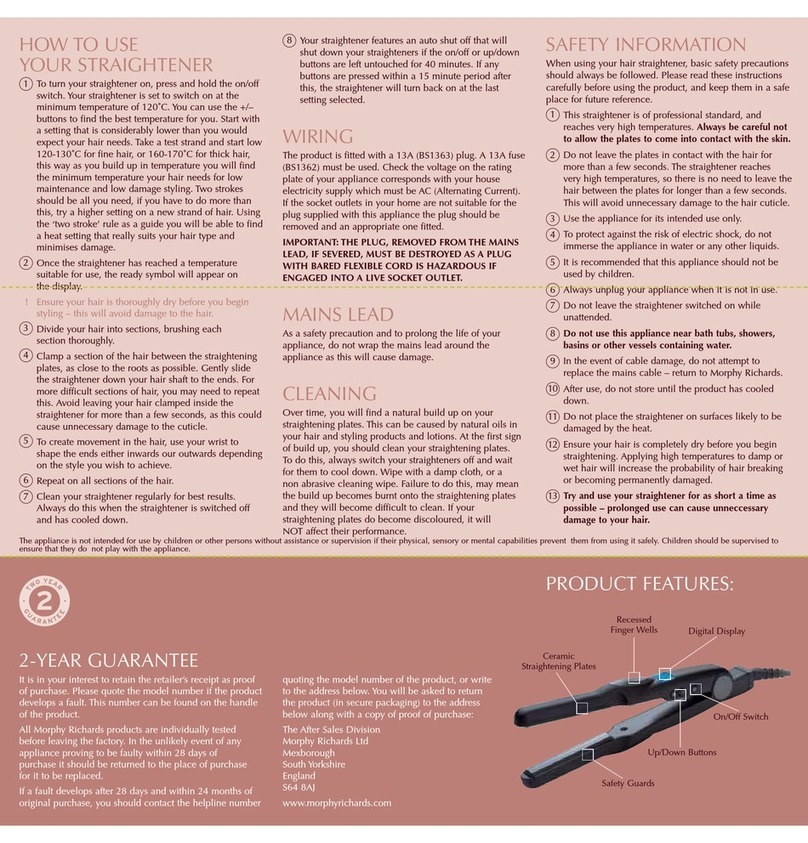
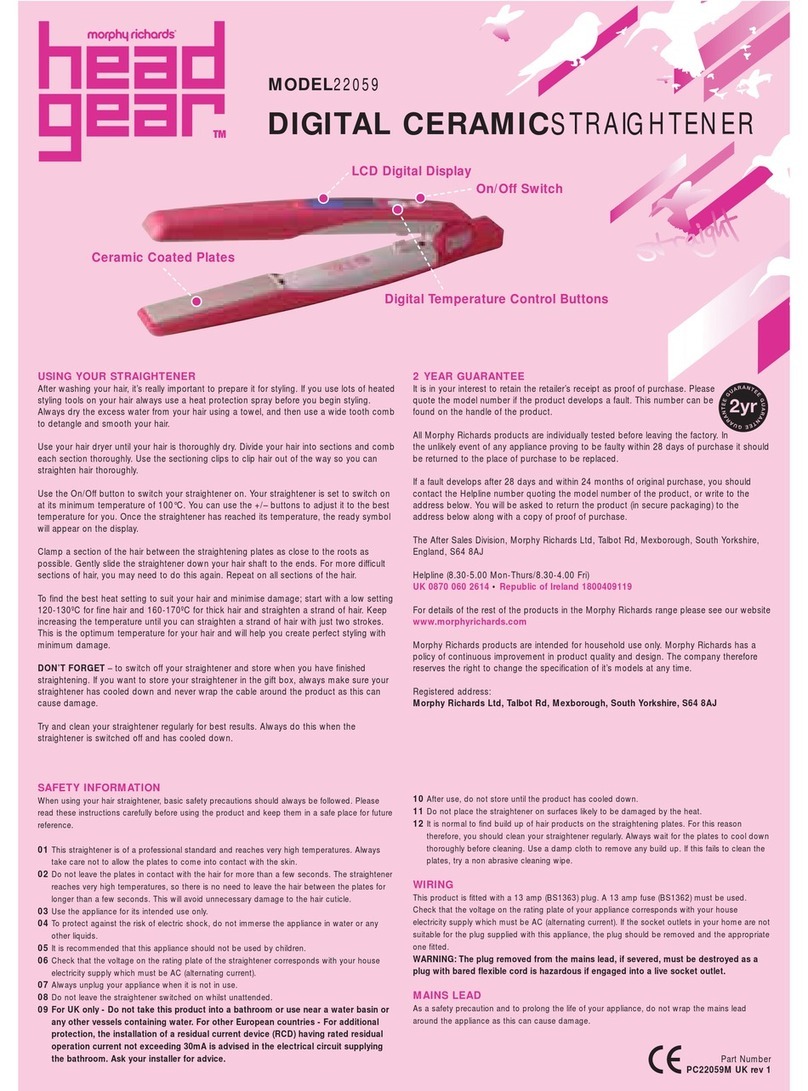
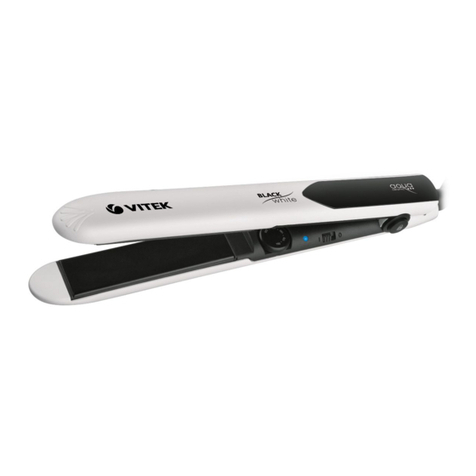
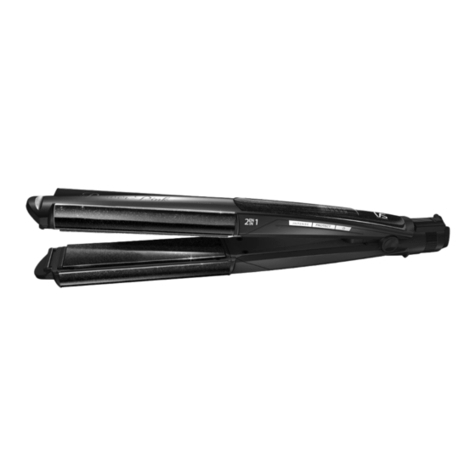
On/off switch
2 heat settings
Ceramic plates
Charging stand
Cable storage
Indicator lights
(green and red)
USING YOUR STRAIGHTENER:
After washing your hair, it’s really important to prepare it for styling.
If you use lots of heated styling tools on your hair use a heat
protection spray before you begin styling. Always dry the excess
water from your hair using a towel, and then use a wide tooth
comb to detangle and smooth your hair.
Use your hairdryer until your hair is completely dry. Divide your hair
into sections, and comb each section through. Use sectioning clips
to clip hair out of the way so you can straighten hair thoroughly.
Plug in your hair straightener base at the mains. There is space for
cable storage in the straightener base, so you may need to unwind
the cable to reach your mains socket.
Select the best heat setting for your hair type by sliding the switch
to position 1 for fine hair, or position 2 for thicker, coarser hair types.
Place the straightener securely in the base unit. Use the on/off switch
to switch your straightener on. The red light will illuminate to show
that the straightener is switched on. The green light will also flash
to show your straightener is heating up.
When ready for use, the green light will stop flashing and become
solid. Lift your straightener from the base (the green light will switch
off to indicate the straightener has been removed from the base.)
Clamp a section of the hair between the straightening plates, as
close to the roots as possible. Gently slide the straightener down
your hair shaft to the ends. For more difficult sections of hair, you
may need to do this again. Repeat on all sections of the hair.
To ensure optimum performance, you will need to replace the
straightener back in the base approximately every 4 minutes. It’s
really easy to do this while you section the next piece of hair to
straighten. Leave the straightener in the base for a few seconds and
full temperature will be regained. The green light will illuminate and
begin to flash to indicate the straightener has been replaced on the
base and is reheating. The green light will become solid again to
show the straightener has reached full temperature and is ready to
use again.
Don’t forget to switch off your straighteners at the base unit when
you have finished straightening. Never wind the mains cable around
the straightener – use the cable storage available in the base unit.
WIRING
The product is fitted with a 13A (BS1363) plug. A 13A fuse (BS1362)
must be used. Check the voltage on the rating plate of your appliance
corresponds with your house electricity supply which must be AC
(Alternating Current). If the socket outlets in your home are not suitable
for the plug supplied with this appliance the plug should be removed
and an appropriate one fitted.
IMPORTANT: THE PLUG, REMOVED FROM THE MAINS LEAD,
IF SEVERED, MUST BE DESTROYED AS A PLUG WITH BARED
FLEXIBLE CORD IS HAZARDOUS IF ENGAGED INTO A LIVE
SOCKET OUTLET.
CLEANING YOUR STRAIGHTENER
Over time, you will find a natural build up on your straightening plates.
This can be caused by natural oils in your hair and styling products
and lotions. At the first sign of build up, you should clean your
straightening plates. To do this, always switch your straightener
off and wait for them to cool down. Wipe with a damp cloth, or a
non abrasive cleaning wipe. Failure to do this may mean the build
up becomes burnt onto the straightening plates and they will become
difficult to clean. If your straightening plates do become discoloured
it will NOT affect their performance.
MAINS LEAD
As a safety precaution, and to prolong the life of your appliance,
do not wrap the mains lead around the straightener unit.
Use the cable storage provided in the base unit.
SAFETY INFORMATION
When using your hair straightener, basic safety precautions
should always be followed. Please read these instructions
carefully before using the product, and keep them in a safe place
for future reference.
This straightener is of professional standard, and reaches very
high temperatures. Always be careful not to allow the plates
to come into contact with the skin.
Do not leave the plates in contact with the hair for more than
a few seconds. The straightener reaches very high temperatures,
so there is no need to leave the hair between the plates for
longer than a few seconds. This will avoid unnecessary
damage to the hair cuticle.
Use the appliance for its intended use only.
To protect against the risk of electric shock, do not immerse
the appliance in water or any other liquids.
Always unplug your appliance when it is not in use.
Do not leave the straightener switched on while unattended.
WARNING: Do not use this appliance near bathtubs,
showers, basins or other vessels containing water.
The appliance should be used with the stand provided.
If the supply cord is damaged, it must be replaced by the
manufacturer, it’s service agent or similarly qualified persons
in order to avoid a hazard.
The appliance is not intended for use by children or other
persons without assistance or supervision if their physical,
sensory or mental capabilities prevent them using it safely.
Children should be supervised to ensure that they do not
play with the appliance.
In the event of cable damage, do not attempt to replace the
mains cable, return to Morphy Richards.
After use, do not store until the product has cooled down.
Do not place the straightener on surfaces likely to be damaged
by the heat.
2-YEAR GUARANTEE
It is in your interest to retain the retailers receipt as proof of
purchase. Please quote the model number if the product develops
a fault. This number can be found on the handle of the product.
All Morphy Richards products are individually tested before leaving
the factory. In the unlikely event of any appliance proving to be
faulty within 28 days of purchase it should be returned to the
place of purchase for it to be replaced.
If a fault develops after 28 days and within 24 months of original
purchase, you should contact the helpline number quoting the
model number of the product, or write to the address below.
You will be asked to return the product (in secure packaging)
to the address below along with a copy of proof of purchase:
The After Sales Division
Morphy Richards Ltd
Mexborough
South Yorkshire
England
S64 8AJ
www.morphyrichards.com
Ensure your hair is completely dry before you begin straightening.
Applying high temperatures to damp or wet hair will increase the
probability of hair breaking or becoming permanently damaged.
Try and use your straightener for as short a time as possible –
prolonged use can cause unnecessary damage to your hair.
Protective
plastic feet
Protective
rubber strips
Recessed
finger wells
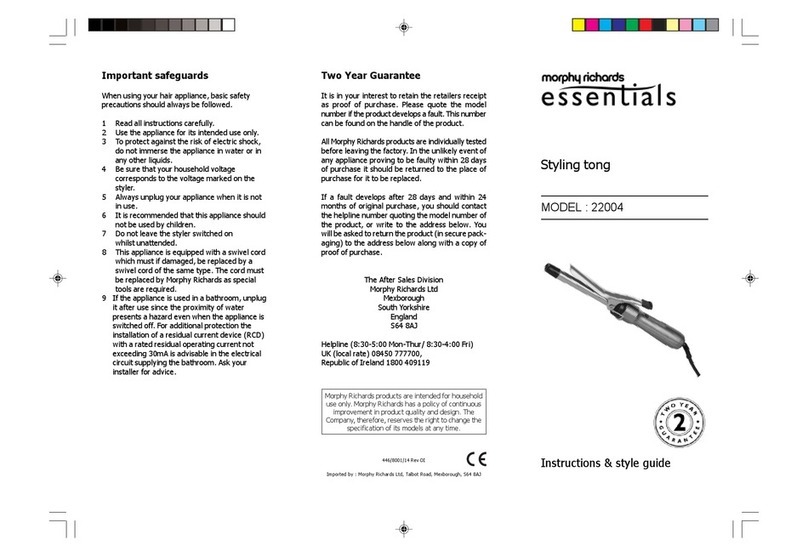
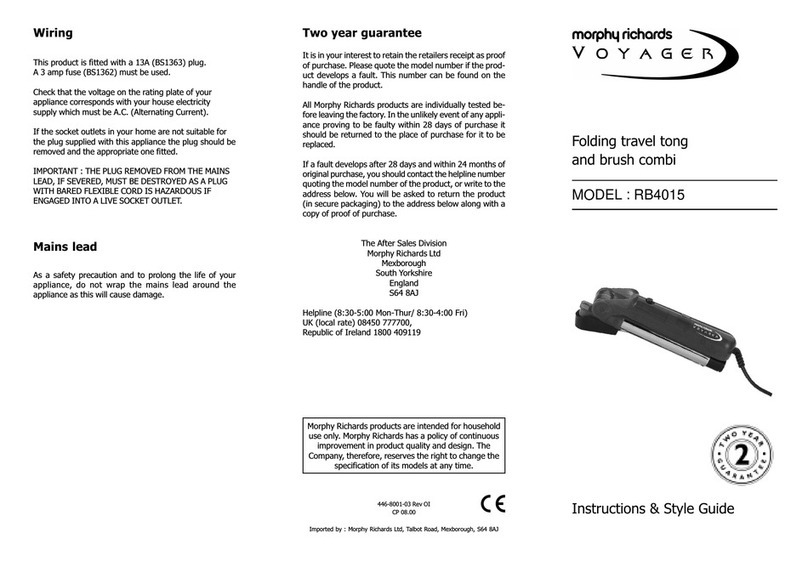
PRODUCT FEATURES:
4
5
6
3
2
1
7
1
2
3
4
5
6
7
8
9
10
11
12
13
Bevelled edges
14
15
