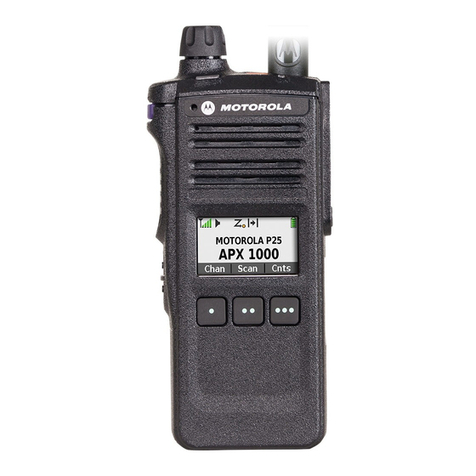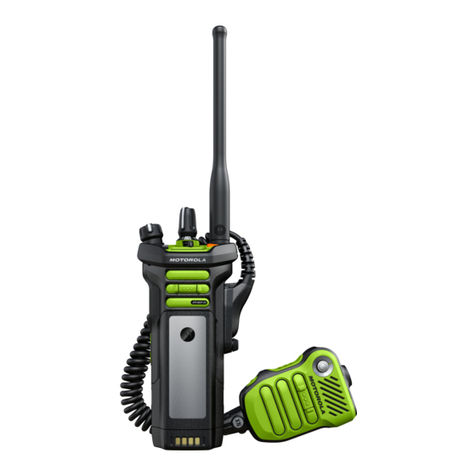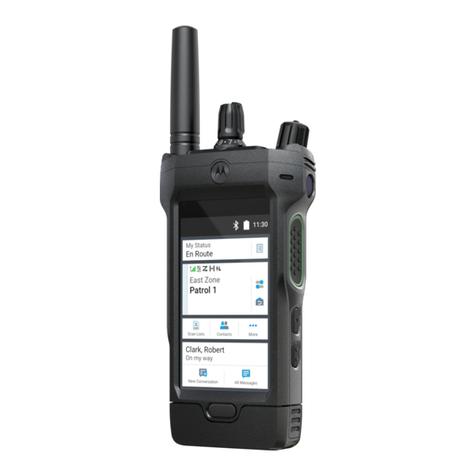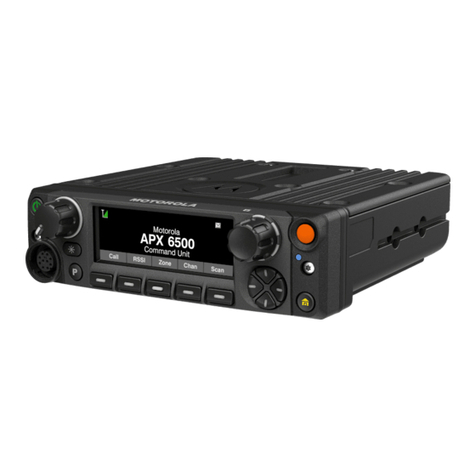
Turn Radio On/Off
Press the Power On/Off Button briefly to power
on the radio. After a short time, the red, yellow
and green LEDs light up. The display then
shows Zone and channel text, and menu items
display on the screen. The backlight will turn on
to the last selected dim level.
Note: Pressing the Power On/Off Button
before the LED lights up will be ignored.
Select a Zone
1. Press the right side of the 4-Way
navigation button until ZONE is displayed.
2. Press the Menu Select button directly
below ZONE.
3. Press right or left on the 4-Way navigation
button to the required zone.
4. Press the Home button or the PTT button
to confirm the displayed zone.
5. Press the PTT button to transmit on the
displayed zone and talkgroup or channel.
Select a Talkgroup or Channel
1. Rotate the 16-position Channel select knob
to the desired talkgroup or channel. The
new channel name will appear on the
display.
OR
1. Press the right side of the 4-Way navigation
button until CHAN is displayed.
2. Press the Menu Select button directly
below CHAN.
3. Press right or left on the 4-Way navigation
button to the required channel.
4. Press the Home button or the PTT button to
confirm the selected talkgroup or channel.
Press the PTT button to transmit on the
displayed zone and talkgroup or channel.
When speaking, keep the microphone 1-2”
from your mouth. Release PTT button to
listen.
Busy Tones
A Group of
Low-Pitched
Tones
You cannot transmit
because all channels are
busy, release PTT and
wait for callback.
Continuous
low-pitched
tone when
pressing the
PTT button
Indicates you are out of
range, or the Time-Out
Timer has activated. May
also indicate an Invalid
Mode, or Talk
Prohibit/PTT Inhibit.
Radio Self Test Fail,
Reject, No ACK
Received. Time-Out
Timer Warning (4 sec.
before time out )
Long, Medium-
Pitched Tone
A Group of
Medium-
Pitched Tones
Auto Call Back, Talk
Permit, Received Call
Alert Page
Display Backlight
You can enable or disable the radio’s display
backlight as needed, if poor light conditions
make the display difficult to read. Depending
on how your radio is preprogrammed, you can
also maintain a minimum backlight level on
the radio’s display.
Press the Dimmer button to adjust the
brightness of the display. OR Press any key
of the Menu Select or Menu Navigation
buttons, or any programmable radio controls
or buttons to turn the backlight on.
Going Out of Range
When your radio goes out of the range of the
system, it can no longer lock onto a control
channel.
Procedure:
1. A low-pitched tone sounds. AND/OR
The display shows the currently selected
zone/channel combination and OUT OF
RANGE.
Your radio remains in this out-of-range
condition until: It locks onto a control
channel. OR It locks onto a failsoft
channel. OR It is turned off.
Emergency Operation
1. Press the preprogrammed Emergency
button. The display shows Emergency
and the current zone or channel. You
hear a short, medium-pitched tone and
the LED momentarily blinks red. OR
The display shows No emergency, if the
selected channel does not support
emergency.
2. The radio enters the Emergency Call
state when: You receive the
dispatcher’s acknowledgment. The
display shows Ack received.OR You
receive no acknowledgement. The
display shows No acknowledge.OR
You press the PTT button while in the
Emergency Alarm mode.
3. Press and hold the PTT button. Speak
clearly into the microphone.
4. Release the PTT button to end the
transmission and wait for a response from
the dispatcher.
5. Press and hold the Emergency button for
1-2 seconds to exit the Emergency Call
mode.
