manuals.online logo
Brands
  1. Home
  2. •
  3. Brands
  4. •
  5. MRP
  6. •
  7. Bicycle Accessories
  8. •
  9. MRP D-Mount 1x User manual

MRP D-Mount 1x User manual

IMPORTANT CONSUMER SAFETY INFORMATION
WARNING: RIDING A BIKE IS DANGEROUS. NOT PROPERLY MAINTAINING OR
INSPECTING YOUR BIKE AND ITS COMPONENTS IS EVEN MORE DANGEROUS. IT IS
ALSO DANGEROUS TO NOT READ AND FOLLOW THESE INSTRUCTIONS.
1. DO NOT PERFORM ANY MODIFICATIONS OR ADJUSTMENTS THAT ARE NOT OUTLINED IN THIS
MANUAL.
2. INSPECT YOUR CHAIN GUIDE BEFORE EVERY RIDE. INSPECT AREAS FOR ANY SIGNS OF
EXCESSIVE RUBBING, BENDING, CRACKING OR OTHER DAMAGE. IF YOU NOTICE ANYTHING
ABNORMAL, DO NOT RIDE IT. RETURN IT TO YOUR DEALER OR CONTACT MRP FOR A COMPLETE
INSPECTION AND NECESSARY REPAIR.
3. MRP RECOMMENDS THAT YOU WEAR PROPER SAFETY EQUIPMENT EVERY TIME YOU RIDE,
INCLUDING APPROVED BICYCLE HELMET. NEVER RIDE AT NIGHT WITHOUT LIGHTS.
4. ALWAYS USE GENUINE MRP PARTS. USE OF AFTERMARKET REPLACEMENT PARTS AND
UPGRADES VOIDS THE WARRANTY AND COULD CAUSE STRUCTURAL FAILURE.
MRP HIGHLY RECOMMENDS THAT YOU HAVE YOUR NEW GUIDE INSTALLED BY A PROFESSIONAL
MECHANIC AT YOUR FAVORITE LOCAL BIKE SHOP. IF YOU HAVE ANY DOUBTS ABOUT HOW TO
INSTALL YOUR GUIDE, TAKE IT TO A BIKE SHOP. YOU’LL BE GLAD YOU DID.
COMPATIBILITY
The D-Mount 1x guide is
compatible with most single-
ring specific and three-ring
cranks (with outer and inner ring
removed) and can accommodate
a 49-51mm chainline on standard
mountain bikes and 62.5-64.5mm
chainline on most “fat” bikes.
Used in a single-ring application,
two-ring “double” cranks may
produce a wide chainline
incompatible with the D-Mount
1x. There are several “offset”
chainrings on the market that can
fix this incompatibility.
The D-Mount 1x guide includes
four 1mm spacers that can be
installed on the mounting bolt and
pivot boss between the mounting
plate and guide arm.
1
USER MANUAL
D-MOUNT MODEL
MOUNTING
PLATE
GUIDE
ARM
PIVOT
BOSS
MOUNTING
B O LT
SPACER
Install the crankset and chain. Close the upper
guide and reinstall the upper guide bolt. Tighten
the upper guide bolt to 1.2-1.3 Nm. The backplate
features laser etching to assist in the vertical
positioning of the guide. There should be roughly
3mm of space between the chain and the ceiling of
the upper guide.
Unthread the upper guide bolt from the captive
slider nut, pull it halfway through the upper guide,
and swing the upper guide open.
Check that all fasteners have been appropriately
tightened and that there is no unwanted rubbing
or contact anywhere in the assembly. Check
the functionality of the of the guide in a safe
environment.
Check that the alignment of the guide is correct. The
chain should be centered in the upper guide in the
middle range of the cassette. There should be little
or no contact between the chain and upper guide
while in the smallest or largest cogs of the cassette.
Refine this spacing using the included 1mm spacers
if necessary.*
*This will require reversal of the installation steps
thus far and restarting at step one.
2
Bring the mounting plate and guide arm together,
insert the mounting bolt through the kidney shaped
track on the upper portion of the guide arm. The
kidney shaped track allows for angular adjustment of
the guide.
4
5
6
7
FOR MORE INFORMATION PLEASE VISIT US ON THE WEB AT
MRPBIKE.COM
OR CALL US AT (970)241-3518, WE’LL BE GLAD TO ASSIST YOU!
Locate the front derailleur mount on your frame and
align the tongue and groove interface between it and
the mounting plate. Thread the mounting bolt into the
frame and tighten to 5-6 Nm.
3
PIVOT BOSS TONGUE
FRONT
SIDE REAR
MOUNTING BRACKET

Other MRP Bicycle Accessories manuals

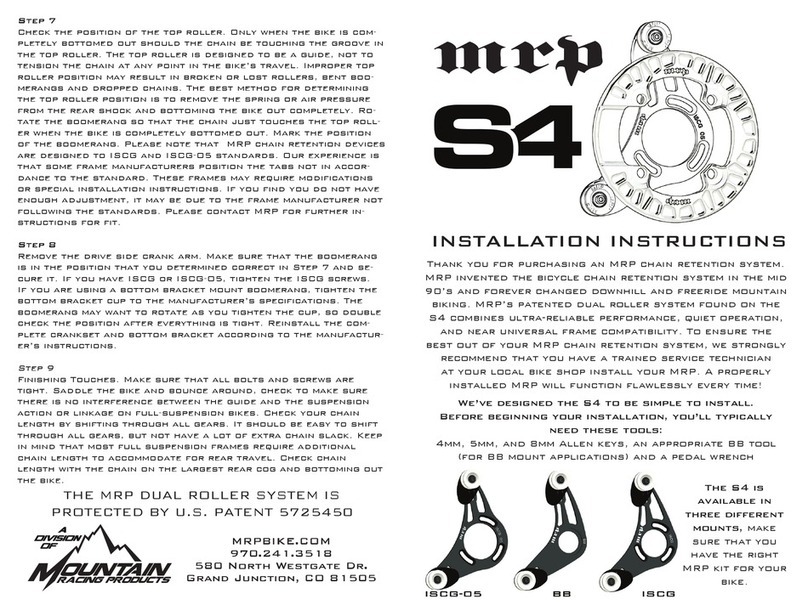
MRP S4 User manual

MRP

MRP S4 User manual

MRP G3 Steel User manual

MRP

MRP G3 Steel User manual

MRP bartlett User manual

MRP

MRP bartlett User manual

MRP SXg User manual

MRP

MRP SXg User manual

MRP raven User manual

MRP

MRP raven User manual

MRP BAXTER User manual

MRP

MRP BAXTER User manual

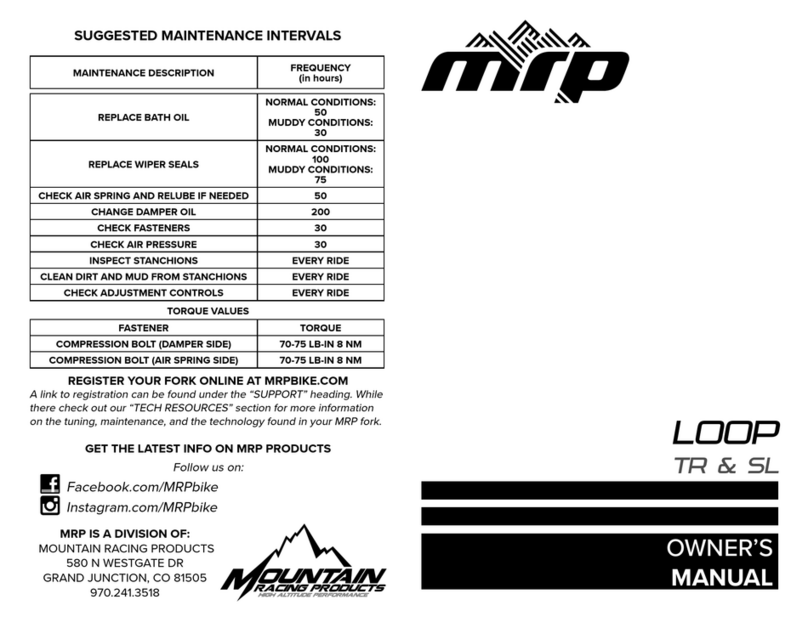
MRP LOOP TR User manual

MRP

MRP LOOP TR User manual

MRP hazzard User manual

MRP

MRP hazzard User manual

MRP ribbon User manual

MRP

MRP ribbon User manual

Popular Bicycle Accessories manuals by other brands

Kabuto AERO-V1 instruction manual

Kabuto

Kabuto AERO-V1 instruction manual

Qibbel Air manual

Qibbel

Qibbel Air manual

Tong Sheng TSDZ2 installation manual

Tong Sheng

Tong Sheng TSDZ2 installation manual

BMC Trailsync instructions

BMC

BMC Trailsync instructions

Vetta V100 user manual

Vetta

Vetta V100 user manual

Yoshimura DH35-45-PW instruction manual

Yoshimura

Yoshimura DH35-45-PW instruction manual

Look GEO TREKKING manual

Look

Look GEO TREKKING manual

Flight Deck FlightDeck SC-6502 Service instructions

Flight Deck

Flight Deck FlightDeck SC-6502 Service instructions

Fulcrum Red Fire Technical manual

Fulcrum

Fulcrum Red Fire Technical manual

Lapierre 3 FPS2 X-Control owner's manual

Lapierre

Lapierre 3 FPS2 X-Control owner's manual

Cateye Stealth 10 quick start

Cateye

Cateye Stealth 10 quick start

Pendix Eco ePower300 System instructions

Pendix

Pendix Eco ePower300 System instructions

blackburn DESIGN Series user manual

blackburn

blackburn DESIGN Series user manual

Marzocchi Z3 QR20 manual

Marzocchi

Marzocchi Z3 QR20 manual

Tune VERHUTERLI manual

Tune

Tune VERHUTERLI manual

Specialized AFR Rear Shock EPA owner's manual

Specialized

Specialized AFR Rear Shock EPA owner's manual

CICLOSPORT CM 8.2 operating manual

CICLOSPORT

CICLOSPORT CM 8.2 operating manual

WUBEN B1 user manual

WUBEN

WUBEN B1 user manual

manuals.online logo
manuals.online logoBrands
  • About & Mission
  • Contact us
  • Privacy Policy
  • Terms and Conditions

Copyright 2025 Manuals.Online. All Rights Reserved.