use of Loctite, one-step cleaners, or solvent based lubricants
can cause premature failure of the bash guard.
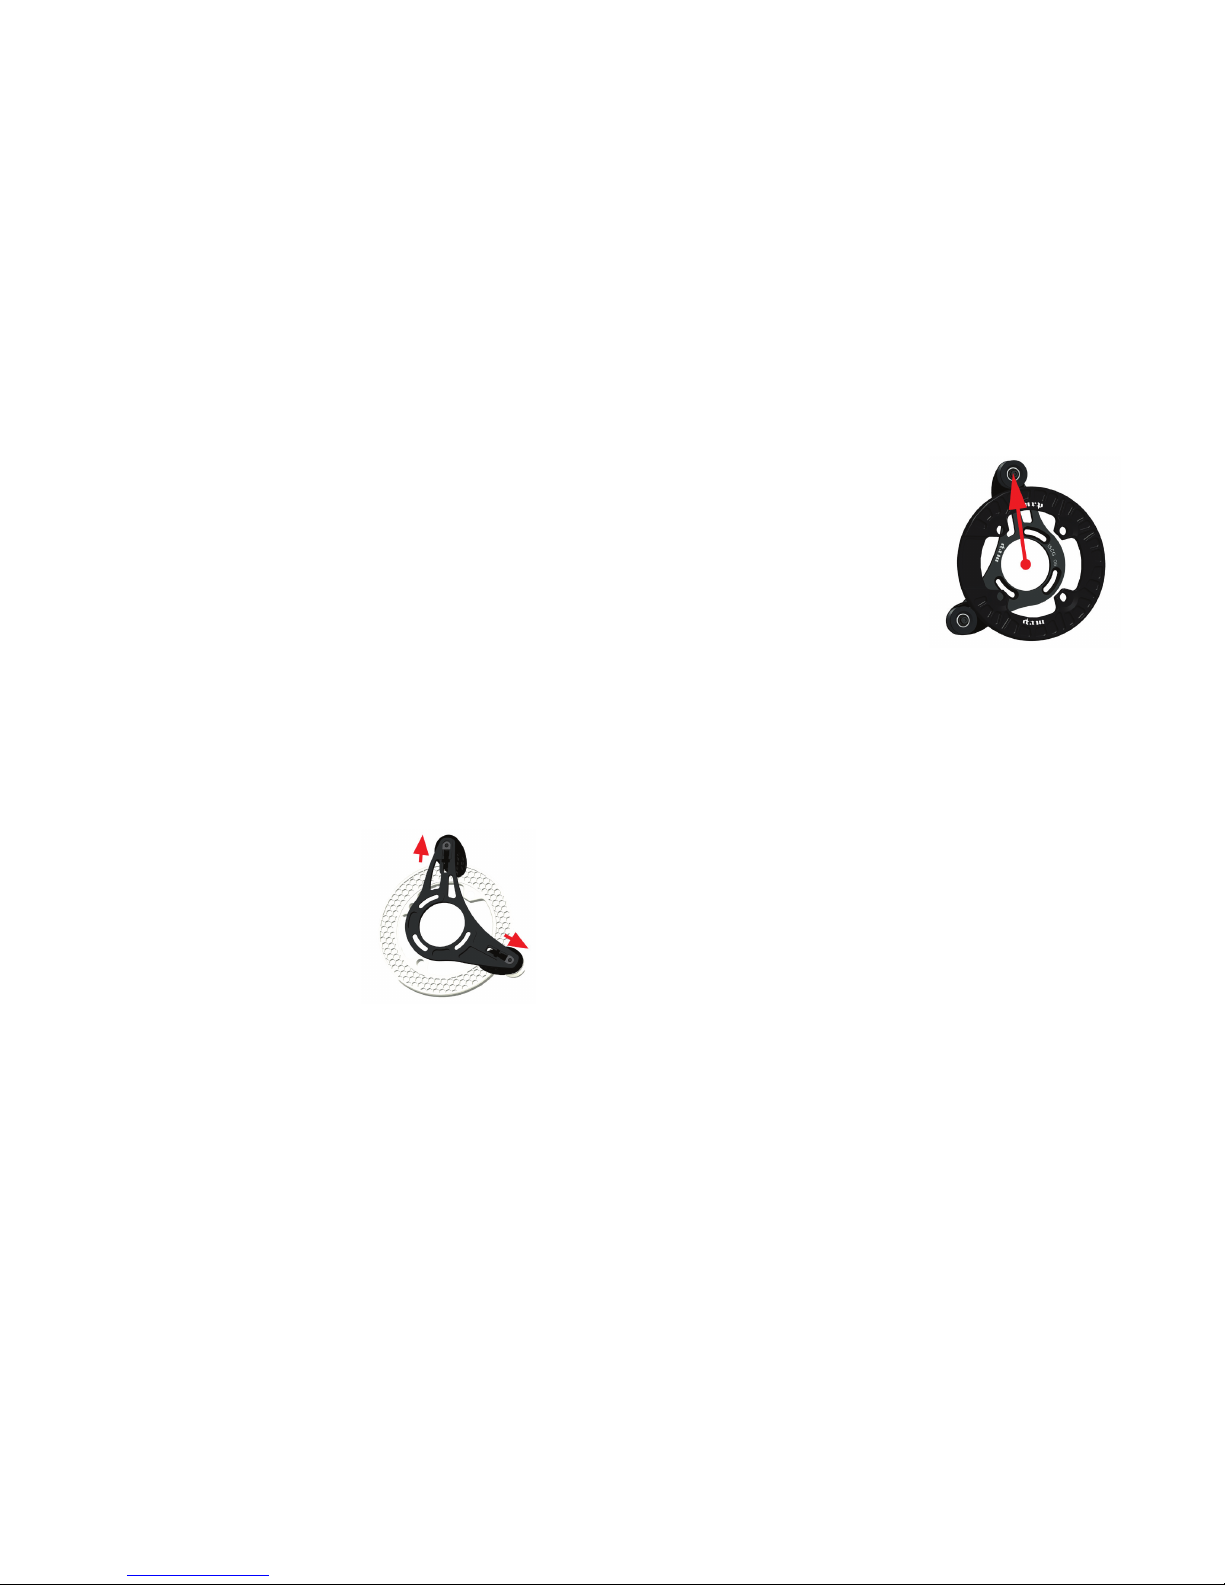
Step 5
Install the boomerang to the frame. Follow the instructions
below for the type of mounting system you are using:
ISCG / ISCG-05
If you have ISCG or
ISCG-05 tabs on your
frame, install the boo-
merang with the supplied
4mm bolts. The boomer-
ang is designed to have
30 degrees of rotational
adjustment to allow for
proper positioning of
the top roller. Initially
position the boomerang so that the top roller is at the 11:30
position if you are looking straight-on at the chainring. Tighten
the ISCG screws enough to hold the boomerang in position, but
loose enough that you can rotate it to the proper position in
the steps below.
BOTTOM BRACKET MOUNT
If your bike does not have ISCG tabs, mount the boomerang
by removing the drive side bottom bracket cup and inserting it
through the MRP boomerang. Make sure that there is no grease
around the outside edge of the bottom bracket shell or the
part of the bottom bracket cup that engages the boomerang.
Grease in these areas can allow the boomerang to slip during
contact. Clean these areas with a degreaser if necessary. In
normal set-up, the bottom bracket cup should sit into the re-
cess in the MRP boomerang. Initially position the boomerang so
that the top roller is at the 11:30 position if you are looking
straight on at the chainring. Tighten the bottom bracket cup
enough to hold the boomerang in position, but loose enough
that you can rotate it to the proper position in the steps be-
low.
Step 6
Install the assembled drive side crank arm and bottom bracket
completely according to the manufacturer’s instructions. Po-
sition the rollers so that they are
almost
touching the bash
guard. The rollers do not need to contact the bash guard, but
they should not be more than a few millimeters away from it. If
the gap between the rollers and bash guard is too large, the
chain may get sucked between the roller and bash guard. Check
to make sure that the groove in the rollers are centered over
the chain. If they are not, you may need to shim the boomerang
and ISCG or ISCG-05 tab interface using the included washers.
INSTALLATION
Step 1
(if your bike is not already assembled, go to Step 3) Using a
pedal wrench remove your pedals.
Step 2
Remove both crank arms, chain, chainrings and drive side bottom
bracket cup according to the manufacturer’s instructions. This
is the perfect time to carefully inspect all of your drivetrain
components to ensure that they are in good working condition.
If any drivetrain components are damaged or worn out, replace
them to ensure the best performance from the S4.
Step 3
Using a 4mm Allen key, loosen the
upper and lower rollers until you
can slide them, in conjunction with
the plastic wear plates, up to the
furthest position outward from
the BB in the adjustment tracks.
Slightly snug them to keep them in
that position.
•
The direct bottom bracket mount boomerang attaches to the
bottom bracket with pressure from the bottom bracket cup.
•
Both the ISCG and ISCG-05 boomerangs attach to three tabs
around the bottom bracket shell.
If you are unsure if you have ISCG or ISCG-05 tabs, contact
the frame manufacturer. We recommend that you purchase the
proper MRP system for your frame to ensure the best t and
performance possible. MRP does make an adapter that converts
an ISCG MRP kit to bottom bracket mount. This adapter works
in most situations. In a few situations, the adapter may push the
chain line out and reduce performance, require a longer bottom
bracket spindle, or crank modication.
Step 4
Install the bash guard and chainring to the crank spider.
The bash guard should be mounted to the spider in the large
chainring position, outside of the tabs, with the recessed
outer portion underneath the crank arm. The chainring should
be positioned in the middle chainring position, inside of the
tabs. The nut of the chainring bolts should pass through the
chainring from the backside, through the spider, through the
included thin, silver washers (unless using Shimano Saint M810
or SLXM660 cranks), and into the bash guard. You must use the
included thick, black washers under the head of the chainring
bolt. Torque the chainring bolts to 43 in-lbs. If you over tighten
the chainring bolts the polycarbonate material may crack. The