manuals.online logo
Brands
  1. Home
  2. •
  3. Brands
  4. •
  5. MRP
  6. •
  7. Bicycle Accessories
  8. •
  9. MRP SXg User manual

MRP SXg User manual

SXg INSTALLATION INSTRUCTIONS
1) Begin the installation of the SXg
by removing your crankset. Remove
the chain from the chainring to ease
this process. If you have a Shadow
Plus or Type 2 derailleur, disengage
the clutch or lock the cage in the
relaxed position.
2A) Remove the fastener bolt from
the upper guide and swing the front
half of the guide open.
3A) Attach the backplate to the
three threaded tabs around the
bottom bracket shell of your frame.
ISCG spacers are included with
your guide, install these washers
between the backplate and frame
as needed for alignment (step 5).
4) Reinstall the
crankset and chain.
Close the upper guide
and skid.
6) Align the rear skid bolt hole
with the correct position in the
backplate. If you are using a
chainring size in the middle of the
accommodated range (32T for
the small SXg, 36T for the large),
choose the upper skid position first
(some installations may require the
lower position). Tighten the rear
skid bolt to 4 Nm.
2B) Remove the rear skid bolt located at
the rear of the guide. With that removed
the skid should swing open and down.
5) To check guide alignment, from
above, look directly down on the upper
guide and find the joint of the two upper
guide pieces and the chainring aligned.
Use the ISCG spacers to achieve this.
SM SXg LG SXg
5B) Orient the rotational position of
the SXg so that the MRP logo on the
upper guide is roughly parallel with the
ground. Tighten the ISCG bolts to 8-9
Nm for alloy models, 5-7 Nm for carbon.
SXg INSTALLATION INSTRUCTIONS
7) Position the upper guide in the
correct vertical position for the
chainring tooth count, and tighten
the upper guide bolt to 1.3 Nm
8) Pedal the crank in the
workstand and shift through
all gears to check that there
is no contact between the
guide and the chain. Remove
the spring (or air) from the
rear shock and repeat
this when your bike is fully
“bottomed-out”. Check for
the appropriate clearances
(illustrated right) and adjust as
needed. Clearance between
the Whippersnapper™ and
chain can be manipulated by
changing the rear skid mount
location or slightly altering
the rotational position of the
guide via the ISCG bolts.
Whippersnapper™
CLEARANCE
UPPER GUIDE
CLEARANCE
2mm
MIN
3mm
MIN
For more information visit MRPbike.com
IMPORTANT CONSUMER SAFETY INFORMATION
WARNING: RIDING A BIKE IS DANGEROUS. NOT PROPERLY MAINTAINING OR INSPECTING YOUR BIKE AND ITS
COMPONENTS IS EVEN MORE DANGEROUS. IT IS ALSO DANGEROUS TO NOT READ AND FOLLOW THESE
INSTRUCTIONS.
1. DO NOT PERFORM ANY MODIFICATIONS OR ADJUSTMENTS THAT ARE NOT OUTLINED IN THIS MANUAL.
2. INSPECT YOUR CHAIN GUIDE BEFORE EVERY RIDE. INSPECT AREAS FOR ANY SIGNS OF EXCESSIVE
RUBBING, BENDING, CRACKING OR OTHER DAMAGE. IF YOU NOTICE ANYTHING ABNORMAL, DO NOT RIDE IT.
RETURN IT TO YOUR DEALER OR CONTACT MRP FOR A COMPLETE INSPECTION AND NECESSARY REPAIR.
3. MRP RECOMMENDS THAT YOU WEAR PROPER SAFETY EQUIPMENT EVERY TIME YOU RIDE, INCLUDING AN
APPROVED BICYCLE HELMET. NEVER RIDE AT NIGHT WITHOUT LIGHTS.
4. ALWAYS USE GENUINE MRP PARTS. USE OF AFTERMARKET REPLACEMENT PARTS AND UPGRADES VOIDS
THE WARRANTY AND COULD CAUSE STRUCTURAL FAILURE.
MRP HIGHLY RECOMMENDS THAT YOU HAVE YOUR NEW GUIDE INSTALLED BY A PROFESSIONAL
MECHANIC AT YOUR FAVORITE LOCAL BIKE SHOP. IF YOU HAVE ANY DOUBTS ABOUT HOW TO INSTALL
YOUR GUIDE, TAKE IT TO A BIKE SHOP. YOU’LL BE GLAD YOU DID.

Other MRP Bicycle Accessories manuals

MRP raven User manual

MRP

MRP raven User manual

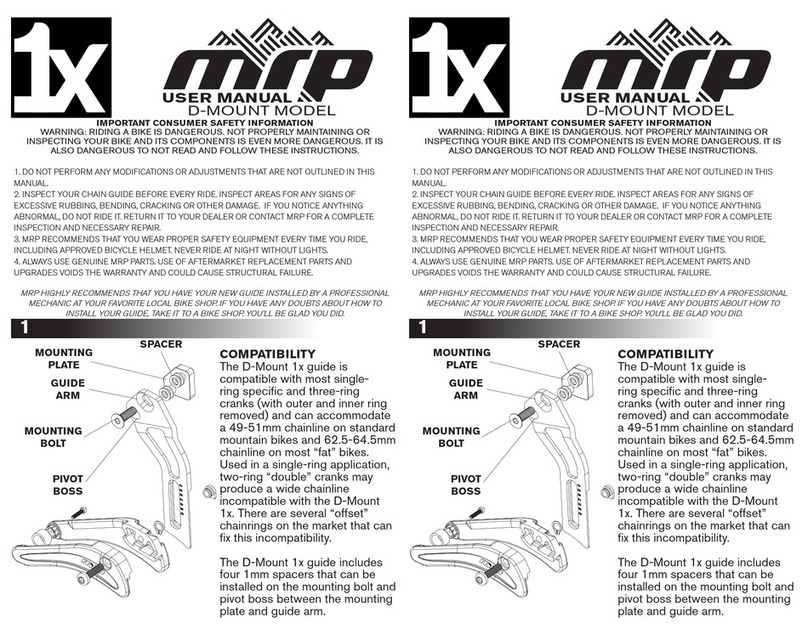
MRP D-Mount 1x User manual

MRP

MRP D-Mount 1x User manual

MRP S4 User manual

MRP

MRP S4 User manual

MRP LOOP TR User manual

MRP

MRP LOOP TR User manual

MRP hazzard User manual

MRP

MRP hazzard User manual

MRP G3 Steel User manual

MRP

MRP G3 Steel User manual

MRP bartlett User manual

MRP

MRP bartlett User manual

MRP ribbon User manual

MRP

MRP ribbon User manual

MRP BAXTER User manual

MRP

MRP BAXTER User manual

Popular Bicycle Accessories manuals by other brands

Navibe Mercury 100 operating instructions

Navibe

Navibe Mercury 100 operating instructions

Cyrusher LCD-S700 Computer Manual

Cyrusher

Cyrusher LCD-S700 Computer Manual

Ciclo HAC 1.2+ Operation manual

Ciclo

Ciclo HAC 1.2+ Operation manual

Suzuki 990D0-14J00-ALM installation instructions

Suzuki

Suzuki 990D0-14J00-ALM installation instructions

Unior ITAL quick start guide

Unior

Unior ITAL quick start guide

HOMCOM B71-057 Assembly & instruction manual

HOMCOM

HOMCOM B71-057 Assembly & instruction manual

Thule 973-24 Fitting instructions

Thule

Thule 973-24 Fitting instructions

Yeti SB130/LR owner's manual

Yeti

Yeti SB130/LR owner's manual

XSHIFTER ELink manual

XSHIFTER

XSHIFTER ELink manual

Ortlieb CITY-BIKER QL2.1 Assembly instructions

Ortlieb

Ortlieb CITY-BIKER QL2.1 Assembly instructions

Spinner Sus owner's manual

Spinner

Spinner Sus owner's manual

Bosch Perfomance Series Original instructions

Bosch

Bosch Perfomance Series Original instructions

sks RIDEAIR LOCK manual

sks

sks RIDEAIR LOCK manual

Delta RS6100 Assembly instructions

Delta

Delta RS6100 Assembly instructions

COCOVILLAGE XS HELMET user guide

COCOVILLAGE

COCOVILLAGE XS HELMET user guide

parktool FAG-2 instructions

parktool

parktool FAG-2 instructions

foc.us DROPPER POST Information sheet

foc.us

foc.us DROPPER POST Information sheet

Gtech Brake Pad instructions

Gtech

Gtech Brake Pad instructions

manuals.online logo
manuals.online logoBrands
  • About & Mission
  • Contact us
  • Privacy Policy
  • Terms and Conditions

Copyright 2025 Manuals.Online. All Rights Reserved.