INTRODUCTION
An AIR MASK cannot be upgraded until the following
inspection and all required changes have been com-
pleted:
Inspection
Inspect the entire air mask after it is cleaned and sani-
tized. NFPA-1500, as well as ANSI Standards Z88.2 and
Z88.5, describe three levels of inspection procedures that
are to be performed. Refer to these documents or to an
inspection program prepared by a health professional in
establishing an inspection program.
Note: If the air mask being upgraded does not have a
secondary end of service time indicator, the NightFighter
Heads-Up Display System will serve as a secondary
alarm.
NIOSH APPROVAL LABELS AND USER’S
INSTRUCTIONS
This Upgrade Kit includes NIOSH Approval Labels and
User’s Instructions for both the MMR 1⁄4 Turn and
Firehawk Regulators.
To determine which label and User’s Instructions to select,
reference the following table and keep the correct
approval label and User’s Instructions for the AIR MASK
to be upgraded.
Discard the label and User’s Instructions that DO NOT
apply.
Prior to installation of this Upgrade Kit, the Air Mask must
be upgraded to be compliant with the 1997 Edition of the
NFPA-1981 Standard. The components must be in good
working order, free of damage and significant wear.
If any component of the air mask being upgraded is
missing or needs to be replaced due to wear or dam-
age, replace the affected component before you install
the upgrade kit. Used, worn, or damaged parts can
result in serious personal injury or death.
In addition to the inspection of required, the following
general inspection of the apparatus must be performed
before installing this upgrade.
GENERAL INSPECTION CHECK POINTS
1. Don the air mask following the original instructions
provided by MSA. These steps make up the air mask
functional test.
2. If all steps are performed successfully, remove the air
mask and inspect it following the steps below:
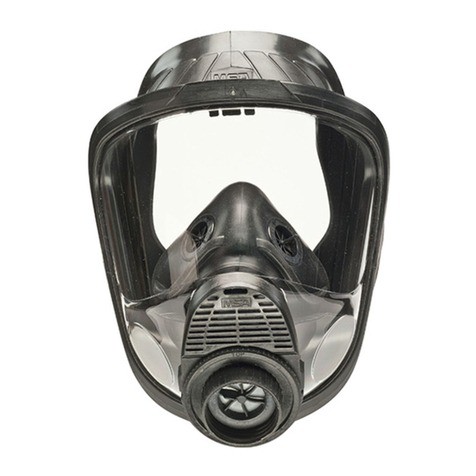
3. Facepiece
a. Inspect the facepiece for rubber deterioration, dirt,
cracks, tears, holes, or tackiness.
b. Check the harness headstraps for breaks, loss of
elasticity, or missing buckles or straps. Check the
strap serrations for signs of wear.
c. The exhalation valve must be clean and operate
easily. Reach into the facepiece. Push and release
the valve stem several times. The valve must move
off the seat and return when released.
d. Inspect the facepiece coupling for damage. Also
check to be sure the spider gasket, o-ring, and
valve disc are present.
4. Cylinder Redundant Alarm, Pressure Gauge or ICM
Unit
a. Be sure you can see both gauge needles and faces
clearly through the lens. Also be sure the gauge
stem is not bent.
5. Audible Alarm
a. Check that the bell is in the proper alignment and
fastened securely.
b. If the bell is loose, remove the alarm from service.
c. Unscrew the Audi-Larm coupling nut from the cylin-
der valve. It is hand-tightened and should not
require tools. Inspect the coupling nut for thread
damage. Also be sure there is an o-ring and that it
is not damaged. Replace the insert o-ring if it is
damaged.
6. High Pressure Hose
a. Check the high pressure hose between the alarm
and the regulator. Look for cuts or severe abrasions.
If present, replace the hose. The hose fitting should
be tight.
7. Quick-Connect Second Stage Intermediate Hose
a. Inspect rubber washer for deterioration, dirt, cracks,
tears, or tackiness.
8. Cylinder
a. Inspect the cylinder valve for signs of damage. The
valve may be opened slightly to be sure it operates
properly. Be sure to fully close the valve.
b. Inspect the cylinder body for cracks, dents, weak-
ened areas, or signs of heat-related damage. If the
cylinder is damaged, return it to an MSA Service
Center. Call 1-800-MSA-2222 for instructions.
3TAL 801 (L) Rev. 5 - 10039500
Regulator
MMR 1⁄4 Turn
MMR Firehawk
(Slide and Push- o-Connec )
NIOSH Approval
Label
P/N 816731
P/N 10024128
User’s Instructions
P/N 10041847
P/N 10023638
