manuals.online logo
Brands
  1. Home
  2. •
  3. Brands
  4. •
  5. Multitech
  6. •
  7. Gateway
  8. •
  9. Multitech OneBox Smart Building User manual

Multitech OneBox Smart Building User manual

Multi-Tech Systems, Inc.
2205 Woodale Drive
Mounds View, Minnesota 55112
Phone: 763-785-3500 or 800-328-9717
Support
Portal: support.multitech.com Knowledge Base: multitech.com/kb.go
support@multitech.com (800) 972-2439 or (763) 717-5863
OneBox Smart Building Quick Start
Part Number: 82131201L
Copyright © 2023 by Multi-Tech Systems, Inc.
MultiTech, the MultiTech logo, and Conduit are registered trademarks
and Reveal and OneBox are trademarks of Multi-Tech Systems, Inc.
The LoRa® Mark is a registered trademark of Semtech Corporation.
The Apple logo and App Store are registered trademarks of Apple Inc.
Google Play and the Google Play logo are trademarks of Google LLC.
All other products and technologies are the trademarks or
registered trademarks of their respective holders.
OneBox Smart Building Kit
MultiTech OneBox™kit includes a tailored set of LoRa® enabled sensors and an easy-to-deploy Conduit® AP gateway for
LoRaWAN® that brings data from sensors to the cloud, regardless of the application. OneBox provides
automatic monitoring and configuration as well as notifications for immediate access to critical information.
Package Contents
1. Conduit AP (MTCAP) gateway
2. Ethernet cable
3. Antenna
4. Power supply
5. Conduit AP mounting bracket
6. Wireless Air Temperature & Humidity Sensor
7. Wireless Water Leak Sensor
8. Single Push Button Sensor
9. Wireless Acceleration-based Movement Sensor
10. Wireless Door & Window Sensor
Not pictured: Adhesive strips, magnets, and tamper resistant screws
for sensors and documentation.
Additional Documentation
For additional MTCAP documentation, go to:
• https://www.multitech.com/brands/multiconnect-conduit-ap and select the specific model.
For additional sensor documentation, go to:
• https://www.multitech.com/products/sensors and select the specific sensor.
Preparing the MTCAP Gateway
After receiving the SIM activation confirmation, prepare the MTCAP gateway:
1. Finger-tighten the antenna to the antenna connector on the MTCAP.
2. Attach the power blade to the power supply.
3. Connect the power supply to the MTCAP power jack and plug it into an electrical
outlet. When the MTCAP is ready to use, the STATUS LED blinks.
The MTCAP is pre-configured for the OneBox; you do not need to configure
device settings.
For your records, the MTCAP login information:
Username: admin
Password: Admin[serial number]
SIM Activation
The MTCAP has a pre-installed KORE SIM card for 90 days of free cellular connectivity.
Refer to the KORE document included in the box for SIM activation instructions.
For SIM activation, you need the MTCAP IMEI number and SIM number from the
MTCAP label.
When you submit the form, KORE sends an email to confirm that your SIM is activated.
IMEI
SIM
OneBoxTM Smart Building
Quick Start
Preparing Sensor Hardware
Sensors ship with batteries installed. There is a plastic tab over the battery, which needs to be removed. Pull the tab out of
the sensor to connect the battery. If the tab does not pull out easily, you may need to open the case to remove it.
To open the case:
1. Use a pen or similar object to press the button on the opposite side of the case.
2. Remove the battery tab. You may need to remove the battery to remove the tab.
3. Re-insert the battery and close the case.
To open the Single Push Button sensor:
1. Loosen screws and lift the back slightly.
2. Remove the battery tab.
3. Close the case and hand-tighten the screws. Do not overtighten.
To remove the battery tab from the Air Temperature Humidity Sensor
1. Turn the mounting bracket counterclockwise to remove it from the sensor.
2. Remove the battery tab.
3. Reattach the mounting bracket.
Registering the MTCAP Gateway
When the STATUS LED is ready (blinking) on the MTCAP, register the gateway through the
app.
1. Tap Gateways and then tap Add.
2. Tap Chirpstack.
3. Tap the camera icon on the Add Gateway screen and scan the EUI
QR code on the device. The EUI QR code is on a small sticker on
the MTCAP not the main product label.
4. Enter Gateway Details to register the gateway. Region is detected automatically from the
device.
• Gateway Name to identify the gateway.
• IP address: 192.168.2.1
• Description to describe the gateway.
5. Tap Save.
6. Tap Finish to add the gateway to the console.
Mounting Sensors
Use the included large adhesive pad with a sensor to secure the case in position.
For increased security, open the case, and fasten it to the wall using the included tamper screw
as shown. Then reassemble the case. The tab will break away and send a tamper alert if the
case is forcibly removed.
Mounting Window/Door Sensors
For the Window/Door
Sensor, mount the
sensor on the door or
window frame with the
notch facing the door or
window as shown.
Attach the magnet piece
to the door or window so it
aligns with the notch.
Mounting Leak Detection Sensors
Install the water probe so the
probe’s metal pins are flat on
the floor. Use the included
screws to attach the probe in
position on the floor or wall.
Mount the sensor using the
adhesive pad and (optional)
tamper screw.
If needed for better
positioning, run the wire
along pipes or around
obstacles. Coil excess wire.
Mounting the Air Temperature Humidity Sensor
To mount the Air Temperature Humidity Sensor:
1. Turn the mounting bracket counterclockwise to remove it from the sensor.
2. Secure the bracket with the enclosed screws.
3. Put the sensor on the mounting bracket and turn clockwise.
Installing the MultiTech App and Creating a Console Account
To manage and monitor sensors, you need a Radio Bridge Console account. The MultiTech App simplifies connecting
your MTCAP and sensors to the console. To get the app and create an account:
1. Download and install the MultiTech app from the App Store or Google Play.
2. Open the app. If you don’t have a Radio Bridge Console account, tap Create
one here. The app opens a browser to the Radio Bridge Console.
3. Enter your First Name, Last Name, Email, and Password. Re-enter Password
to confirm it.
4. Check to agree with Terms and Conditions and tap Register.
5. After you receive the confirmation email, click Confirm Account in the email to activate
your account. Then, return to the MultiTech app and log in with your console account
credentials.
Viewing Sensor Data
To view sensor data:
• Log into the console at https://console.radiobridge.com. The Dashboard appears showing the sensors you added.
Adding Sensors
To register sensors through the MultiTech app:
1. Tap Sensors and then tap Add.
2. Tap Chirpstack.
3. Enter a Sensor name. The app increments this by one for each sensor of the same type.
3. Tap Save.
4. Tap the camera icon to scan the QR code on the device’s yellow key card (in the sen-
sor’s package).
5. For some sensors, the app prompts you to select a region and sensor type.
• Select EU868 for Europe or US915 for North America.
• Select the sensor type. The OneBox sensors are at the top of the list.
6. Tap Next. On the Add Sensors page, tap the Finish.
7. Repeat these steps for each sensor.
Other Multitech Gateway manuals

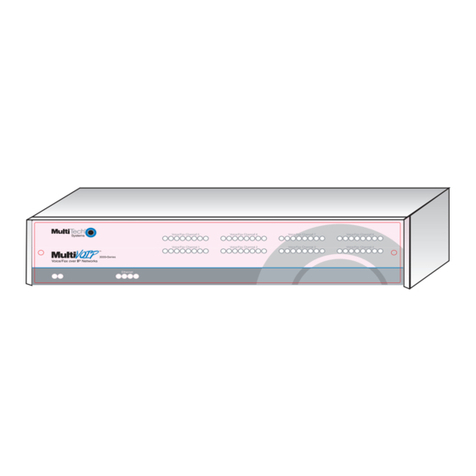
Multitech MultiVOIP MVP200 User manual

Multitech

Multitech MultiVOIP MVP200 User manual

Multitech MultiVOIP GSM SIP-to-Cellular Gateways... User manual

Multitech

Multitech MultiVOIP GSM SIP-to-Cellular Gateways... User manual

Multitech MultiVOIP MVPFX2-8 User manual

Multitech

Multitech MultiVOIP MVPFX2-8 User manual

Multitech MTAC-003 Installation instructions

Multitech

Multitech MTAC-003 Installation instructions

Multitech MultiVOIP MVP 800 User manual

Multitech

Multitech MultiVOIP MVP 800 User manual

Multitech MultiVOIP MVP200 User manual

Multitech

Multitech MultiVOIP MVP200 User manual

Multitech MULTIVOIP MVP-210 User manual

Multitech

Multitech MULTIVOIP MVP-210 User manual

Multitech CallFinder CF100FX2 User manual

Multitech

Multitech CallFinder CF100FX2 User manual

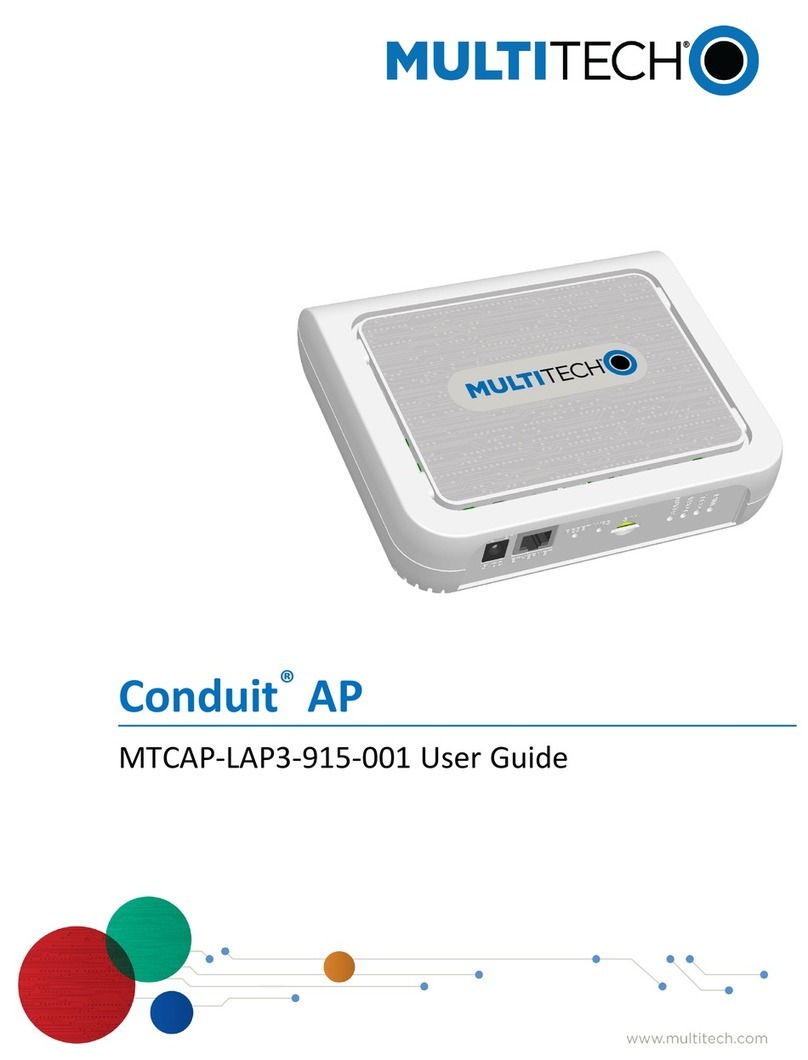
Multitech MTCAP-LAP3-915-001 User manual

Multitech

Multitech MTCAP-LAP3-915-001 User manual

Multitech VoIP User manual

Multitech

Multitech VoIP User manual

Multitech CallFinder CF100FX2-G User manual

Multitech

Multitech CallFinder CF100FX2-G User manual

Multitech MultiConnect Conduit User manual

Multitech

Multitech MultiConnect Conduit User manual

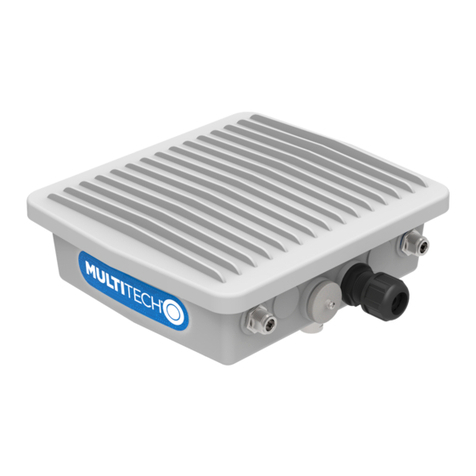
Multitech MultiConnect Conduit IP67 Base Station Manual

Multitech

Multitech MultiConnect Conduit IP67 Base Station Manual

Multitech RouteFinder RF550VPN User manual

Multitech

Multitech RouteFinder RF550VPN User manual

Multitech CallFinder CF100FX2-G User manual

Multitech

Multitech CallFinder CF100FX2-G User manual

Multitech MULTIVOIP MVP-130FXS User manual

Multitech

Multitech MULTIVOIP MVP-130FXS User manual

Multitech ProxyServer MTPSR1-202ST User manual

Multitech

Multitech ProxyServer MTPSR1-202ST User manual

Multitech Conduit AP User manual

Multitech

Multitech Conduit AP User manual

Multitech MultiVOIP MVP210-SS User manual

Multitech

Multitech MultiVOIP MVP210-SS User manual

Multitech MultiVOIP 400 MVP400 User manual

Multitech

Multitech MultiVOIP 400 MVP400 User manual

Multitech MultiVOIP MVP110 User manual

Multitech

Multitech MultiVOIP MVP110 User manual

Multitech MultiVOIP 400 MVP400 User manual

Multitech

Multitech MultiVOIP 400 MVP400 User manual

Multitech ProxyServer MTPSR2-201 User manual

Multitech

Multitech ProxyServer MTPSR2-201 User manual

Multitech MultiVOIP MVP100GK Gatekeeper User manual

Multitech

Multitech MultiVOIP MVP100GK Gatekeeper User manual

Popular Gateway manuals by other brands

CONTROL SOLUTIONS Babel Buster 2 quick start guide

CONTROL SOLUTIONS

CONTROL SOLUTIONS Babel Buster 2 quick start guide

Allied Telesis AT-FH708E installation guide

Allied Telesis

Allied Telesis AT-FH708E installation guide

bidgely EAGLE Startup guide

bidgely

bidgely EAGLE Startup guide

VoiceInterop AudioMate AM360r user guide

VoiceInterop

VoiceInterop AudioMate AM360r user guide

Danfoss KoolKey EKA 200 installation guide

Danfoss

Danfoss KoolKey EKA 200 installation guide

Rotronic RMS-GW-868 Short instruction manual

Rotronic

Rotronic RMS-GW-868 Short instruction manual

RTA 460PSBC-NNA1 Product user guide

RTA

RTA 460PSBC-NNA1 Product user guide

Ruckus Wireless SmartCell Gateway 200 reference guide

Ruckus Wireless

Ruckus Wireless SmartCell Gateway 200 reference guide

Yoda G1200S user manual

Yoda

Yoda G1200S user manual

IQRF GW-USB-13-868 user guide

IQRF

IQRF GW-USB-13-868 user guide

Stephen SVG800S user manual

Stephen

Stephen SVG800S user manual

RTA 460ECDFM-NNA1 Product user guide

RTA

RTA 460ECDFM-NNA1 Product user guide

ATCOM NanoStation 2 Configuration guide

ATCOM

ATCOM NanoStation 2 Configuration guide

Logic IO RTCU NX-200 Technical manual

Logic IO

Logic IO RTCU NX-200 Technical manual

Dinstar FXS user manual

Dinstar

Dinstar FXS user manual

GE Interlogix 0150-0265A user manual

GE

GE Interlogix 0150-0265A user manual

Tekkeon myTalker ET7000 Specification sheet

Tekkeon

Tekkeon myTalker ET7000 Specification sheet

AMX NetLinx NXB-KNX Operation/reference guide

AMX

AMX NetLinx NXB-KNX Operation/reference guide

manuals.online logo
manuals.online logoBrands
  • About & Mission
  • Contact us
  • Privacy Policy
  • Terms and Conditions

Copyright 2025 Manuals.Online. All Rights Reserved.