MTD100U Quick Start: Page 2
Software Installation
Each type of installation (LAN, WAN, and ATM) involves its own installation sequence guided by Multi-
Tech’s installation wizard. See User Guide for details. A condensed installation procedure is given below.
Before starting the software setup process, close all Windows programs previously running on your PC.
1. Insert the installation CD into the CD drive. The installation wizard will be launched
automatically. Click on the Drivers icon. The user can also launch the installation wizard by
double clicking on the file “Setup.exe” in the root directory of the installation CD.
2. The "Welcome" window provides an opportunity to quit the setup process to exit all Windows
programs before continuing. If the Windows programs were previously closed, click Next.
3. The "Select ISP" window allows you to specify your DSL service provider. A list of service
providers is displayed. Default values for the Type of Driver, ATM Virtual Path ID (VPI), ATM
Virtual Circuit ID (VCI), Encapsulation type and Modulation type are provided for each DSL
service provider listed in the window.
If your DSL service provider is listed and you would like to accept the default values, highlight
the provider’s name, click Next, and continue with Step 5 below.
If your DSL service provider is listed and you would like to change the default values, highlight
the provider’s name and click Customize. Continue with Step 4a below.
If your DSL service provider is not listed, select Other Service Provider and click Next.
Continue with Step 4a below.
4a) Select the type of driver to be installed from the "Select Driver Type" window and click Next.
4b) Enter the VPI, VCI, Encapsulation type and Modulation type from the "Communication
Settings" window and click Next.
Note: The setting above will vary depending on the application. If you do not know the correct
settings for your application, then check with your ISP.
5. The "Start Copying Files" window will be displayed. You may review the current settings and
click Customize or Back to change the settings. Click Next to accept the current settings; a
message will be displayed indicating that files are being copied.
6. The "Setup Complete" window indicates successful completion of the installation process.
Select Yes, I want to restart my computer now, remove any disks from their drives, and click
Finish. Your PC will reboot. Continue with the Hardware Installation section.
Hardware Installation
Note: For Windows 98 SE applications, you may need the Windows 98 SE CD ROM to complete the
installation. Once the PC has rebooted, install the MTD100U modem.
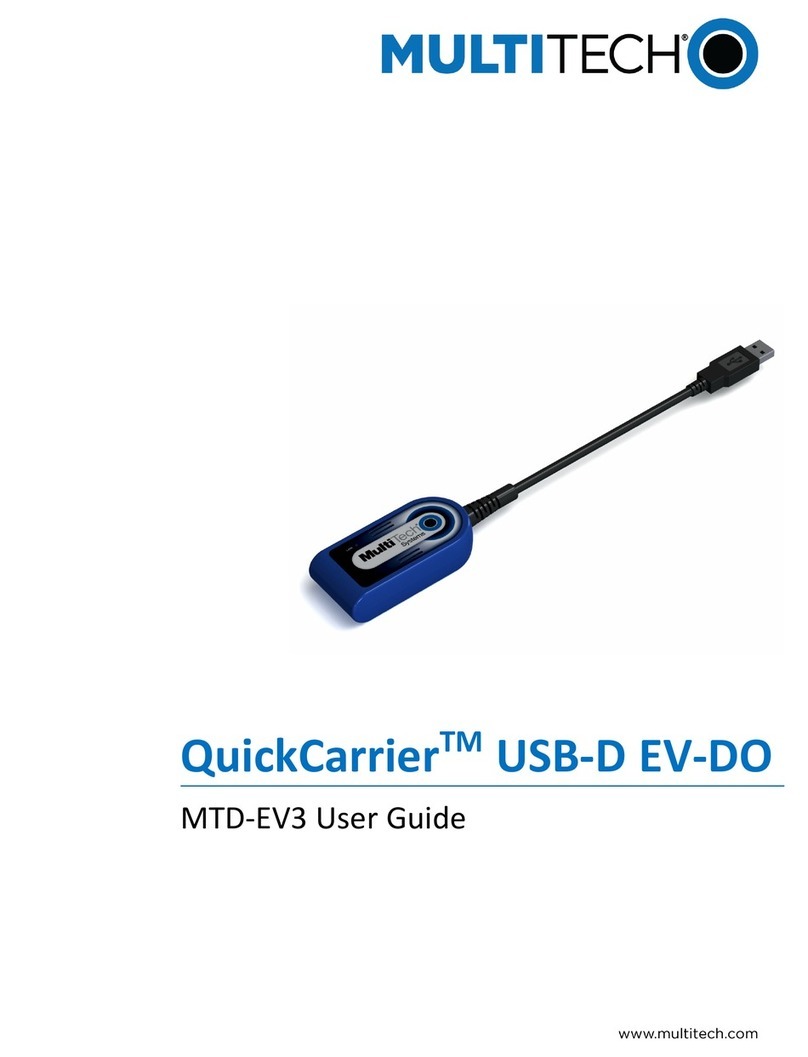
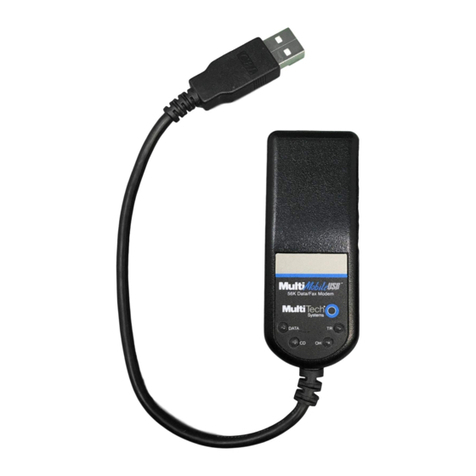
1. Insert the rectangular end of a USB cable into the USB port of your PC.
2. Insert the square end of the USB cable into the USB port of the MTD100U.
Note: The MTD100U will be detected and messages will be displayed
as the modem software is installed.
3. For Windows 2000 applications, the "Digital Signature Not Found" window may appear
warning that the installation software is not a digitally signed version. A digital signature is not
necessary; Multi-Tech has tested the software with Windows 2000. Click Yes to allow the
installation to continue. (Multi-Tech will be releasing a digitally signed version of the driver in
the near future.)
4. For Windows 2000 applications, the "Found New Hardware Wizard" window indicates the
modem has been installed and suggests you reboot the system to have new settings take effect.
Click Finish.
5. A message is displayed confirming reboot of the system; click Yes. Once the PC has rebooted,
installation of the MTD100U is complete. Continue with the Customizing Communication
Settings section in the MTD100U User Guide.

