Murphy HelmView HV750 User manual

00-02-0805
12-09-11
Section 78
HelmView™
Model HV750
Operations Manual

In order to consistently bring you the highest quality, full featured products, we reserve the right to change our
specifications and designs at any time. The latest version of this manual can be found at www.fwmurphy.com.
Please read the following information before installing.
BEFORE BEGINNING INSTALLATION OF THIS MURPHY
PRODUCT:
Read and follow all installation instructions.
Please contact FW MURPHY immediately if you have any
questions.

Contents
Product Information.........................................................................................3
FW Murphy Forum Access...........................................................................................3
HV750 Features and Operations..................................................................................4
Setting up the HV750 Display for the First Time ..........................................5
Product Features..............................................................................................7
Power Up .....................................................................................................................7
Main Menu ...................................................................................................................7
Gauge Display..............................................................................................................8
Engine Diagnostics ....................................................................................................10
Fault Code Pop-ups ...................................................................................................11
User Settings..............................................................................................................13
Utilities ............................................................................................................19
Data Logger ...............................................................................................................19
Trip Parameters .........................................................................................................20
Accessing the Hidden Screens....................................................................21
System Settings screen .............................................................................................22
Service Reminders screen .........................................................................................22
CAN GROUP Settings screen....................................................................................23
Gauge Screen Addendum.............................................................................25

(THIS PAGE INTENTIONALLY LEFT BLANK)

Section 78 00-02-0805
12-09-11 - 3 -
ProductInformation
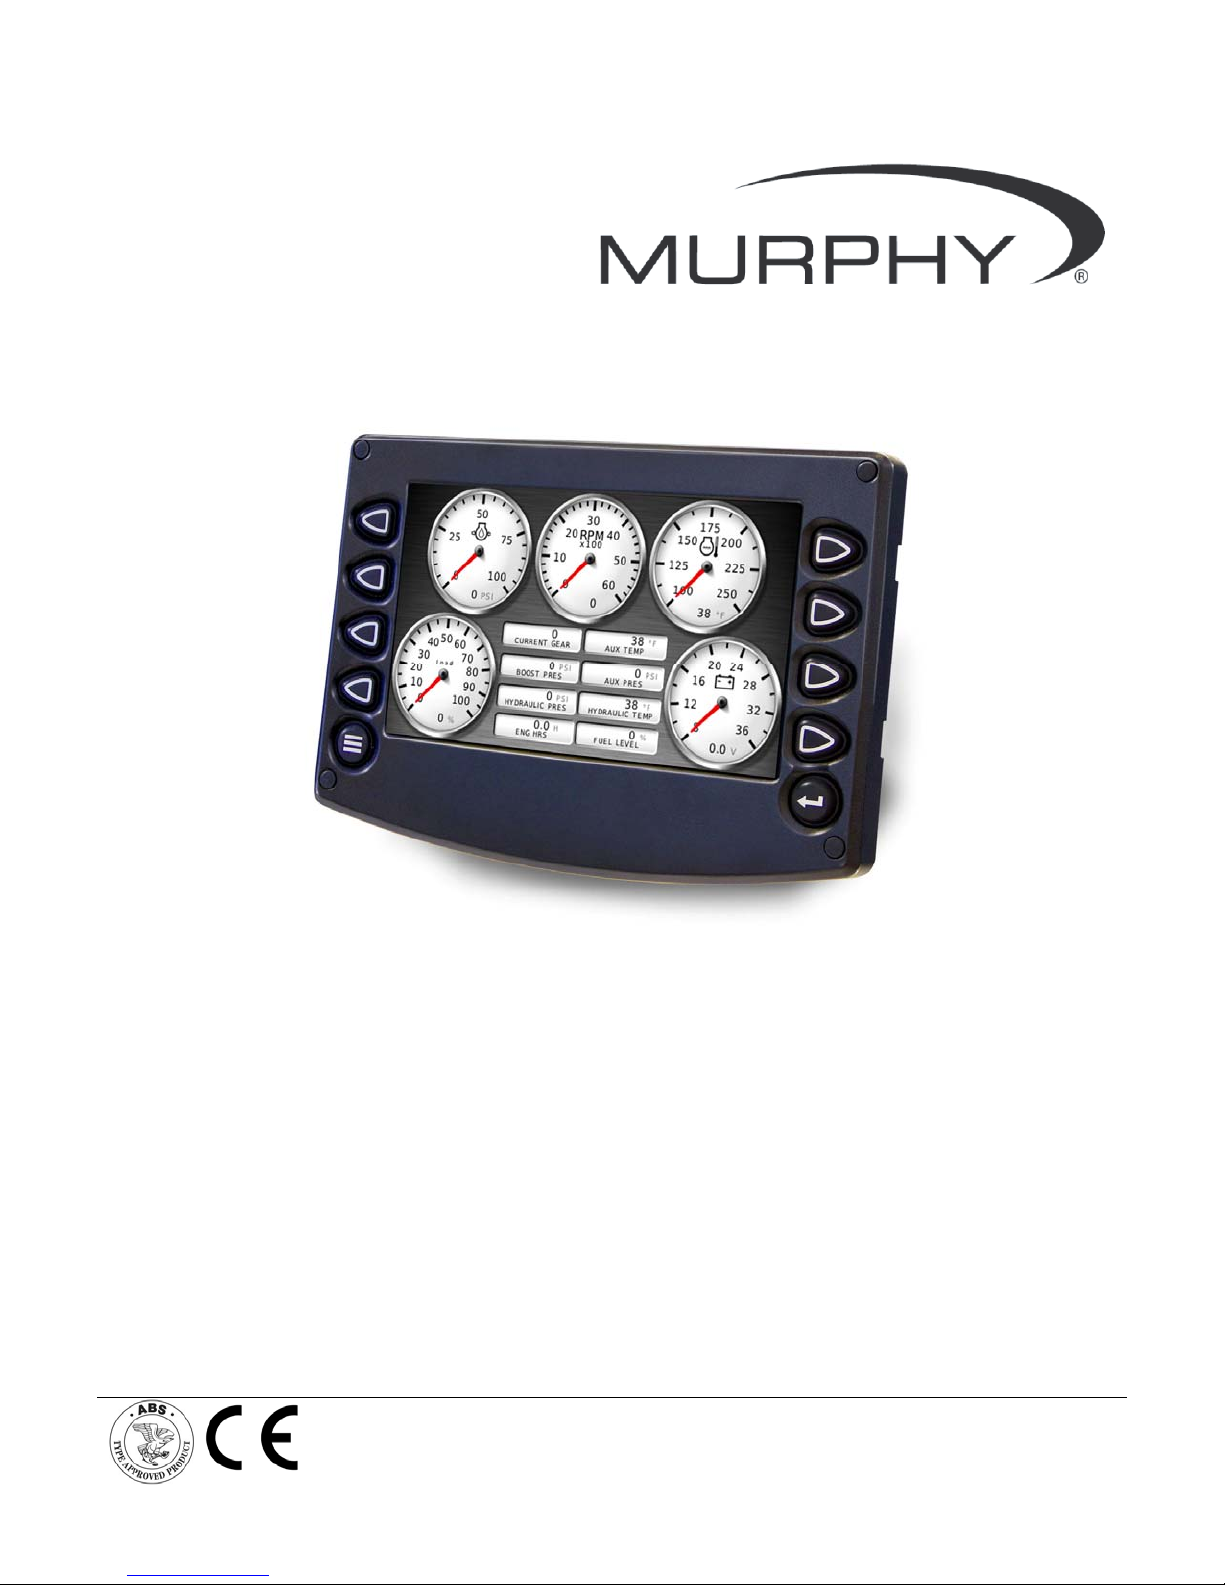
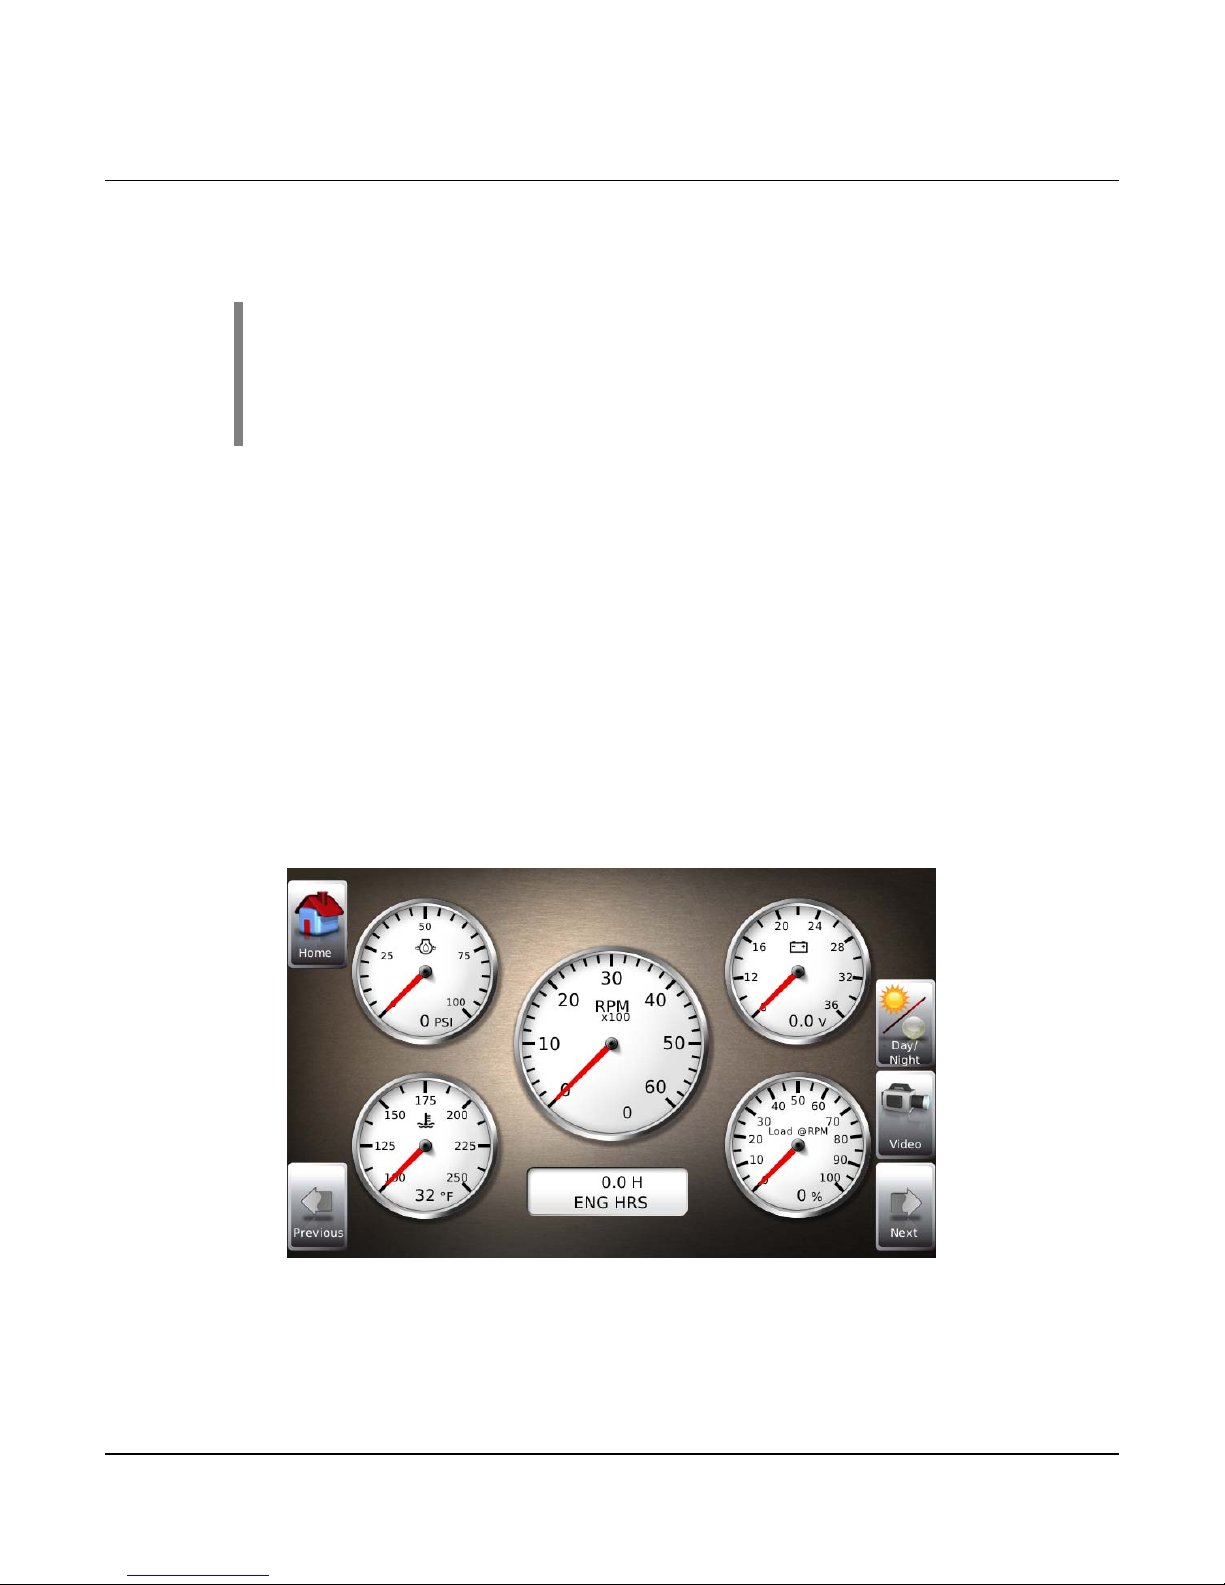
The HelmView™ Model HV750 display was specifically designed for instrumentation and
control on electronically controlled engines. These engines communicate using SAE J1939
and NEMA 2000 protocols. The HV750 display allows operators to view many different engine
and transmission parameters and service codes. The HV750 can simultaneously display port
and starboard (left and right, respectively) information. Optional upgrades (software and
firmware) are available to expand the usability of the HV750. For more information, review the
following summary about the FW Murphy Forum.
FW Murphy Forum Access
FW Murphy has created a forum for PowerVision supported products. The forum is a location
where a demonstration/trial version of the PowerVision configuration tool is available for
download. Many frequently asked questions are stored on the forum along with demo
configurations and examples on how to configure products. Please use the link below and
register for the forum:
http://forum.fwmurphy.com/
Once you register, you will receive your user name and password confirmation in separate
emails. Go to the Forum and log in, a page displays indicating a successful login. Almost
immediately, the page is directed to the Demo Users Forum. From here, you can investigate
and download a demo-configuration software tool or review previously asked questions.
In addition, the Forum contains software that has been released to the public. You can obtain
software updates here, so check the Forum regularly. Use the link below to go directly to the
software section:
http://forum.fwmurphy.com/viewtopic.php?f=10&t=43
This tool allows you to test and even build your own configurations. You can save them, but if
you would like to download the configuration to a product please contact your local sales
representative.

Section 78 00-02-0805
12-09-11 - 4 -
HV750 Features and Operations
The features and operations below are for the Murphy Standard HV750 configuration.
Flat Screen Display
A color screen displays gauges, soft key commands, and fault messages, as well as menu
options for setup and configuration.
Soft Key Commands
Columns of vertical commands located to the left and/or right of the display. They change
according to the options available for the screen displayed.
Soft Keys
The soft keys correspond to the soft key commands and allow you to make selections
accordingly.
MENU Key
Pressing the MENU key at any time displays the list of menu options.
ENTER Key
Pressing the ENTER key selects the option displayed much like the ENTER key on a
keyboard. The ENTER key also brings up the soft keys. Press once to display the left and right
arrows. Press twice to display all the soft keys. Press three times to hide all the soft keys.

Section 78 00-02-0805
12-09-11 - 5 -
Setting up the HV750 Display for the First Time
The guidelines below are intended for setting up the HV750 display for the first time. If you
require assistance during the set up process, contact FW Murphy Customer Support at (918)
317-4100.
1. At the Main menu, press the soft key to the left of ‘Utilities’.
2. The Utilities displays.

Section 78 00-02-0805
12-09-11 - 6 -
3. From the Utilities menu, use the soft keys to select ‘System Settings’. The following
screen displays.
4. With the cursor highlighting the J1939 source addresses, use the Arrow soft keys on the
left to scroll through the available ports (A, B, & D). Use the Arrow soft keys on the right
to change the address. Press the Save soft key to save changes or the Restore
Defaults soft key to return to the default settings.
Service Reminders
Factory defaults for Service Reminders apply automatically on first use of the HV750.
Normally, you should not need to access the Service Reminders screen.
FACTORY DEFAULT VALUES
Change Engine Oil – Default interval 50.0 Hrs.
Chang Air Filters – Default interval 75.0 Hrs.
Change Hydraulic Oil – Default interval 100.0 Hrs.
Service Engine – Default interval 125.0 Hrs.
Service Machine – Default interval 150.0 Hrs.

Section 78 00-02-0805
12-09-11 - 7 -
Product Features
Power Up
The HelmView display is frequently installed with power connected to the ignition. When you
turn the ignition on, the HV750 powers up and you can view vital engine conditions via
preconfigured gauge screens.
Main Menu
The main menu can be activated at any time by pressing the Menu key on the display.
Access the following features through the Main menu:
Gauge Display – provides a series of screens that display engine, transmission, and
auxiliary information in a variety of formats.
Engine Diagnostics – displays a list of engine fault codes, descriptions, and
messages.
User Settings – allows you to customize the display options for ambient light and
brightness, set US Standard or metric units, and language.
Utilities – provides links to other service and information menus.

Section 78 00-02-0805
12-09-11 - 8 -
Gauge Display
The Gauge Display screen consists of several predefined layouts that contain combinations of
analog gauges, straight bar gauges, or digital (text) readouts. These screens display upon
startup.
NOTE: On occasion gauges may ‘grey out’; this is caused when the
HV750 is not reading the CAN message properly from the source address
for which it is configured. This mainly occurs if the message is not being
broadcast on the network, or if the settings within the display are not
configured to read the parameter from the correct source.
A GPS screen is included in the HV750. A GPS device must be connected to the HV750 to
provide time and other readings from which to calculate trip and fuel information.
To scroll through the various gauge screens, press the Previous and Next soft keys. Repeat
this action until all screens have been viewed. The currently displayed screen stays active until
another key is pressed. To review all screens available without accessing the HV750, see the
Gauge Screens section at the end of this document. The following section gives more
information on using the Soft Key Commands.
Soft Key Commands
When a Gauge Display screen is active, pressing the Enter key displays other soft key
commands. Continue to press Enter to toggle through additional soft key commands, and
eventually remove the soft key icons from the screen.

Section 78 00-02-0805
12-09-11 - 9 -
Soft Key commands provide quick navigation and access to the following features:
Previous
Next
Video
Day/Night
Home
Previous and Next
These soft keys allow you to scroll through and display the various gauge screens.
Video
When enabled, displays either full screen video or partial video within a window on the Gauge
display. This video setting is changed on the User Settings screen further in this document.
Full Screen Video Partial Screen Video
Day/Night
The feature allows you to toggle the display screen between Day View and Night View. There
are two night view options available (Red and Blue) and a Backlight Toggle that turns OFF
the backlight in a blackout ‘Sleep’ Mode. The Backlight Toggle function only turns the backlight
off. The unit will operate as normal, but with no backlight.
Home
When the Home key (upper left) appears on a screen, the soft key can be used to immediately
jump to the screen you designate as the Home screen. This selection is made in User Settings,
Screen Setup (page 15).
Ambient Light adjustments are made from the User Settings screen explained in another
section of this document.

Section 78 00-02-0805
12-09-11 - 10 -
Day View
Night View - Red
Night View - Blue
Backlight Toggle
Engine Diagnostics
Choose Engine Diagnostics from the Menu for the HV750 to query the Engine Control Unit(s)
and provide feedback on any activated service codes.
Faults displayed are based on engine or auxiliary sources.

Section 78 00-02-0805
12-09-11 - 11 -
The following is a list of definitions for fields on the Engine Diagnostics screen:
Status – indicates if the fault has been corrected.
Source – identifies the component having the fault - port or starboard engine, or
auxiliary (for example, transmission).
SPN – (Suspect Parameter Number) an SAE identifier fault code
If the SPN is not translated into text by the HV750 display, see the engine
manufacturer's literature for a definition of the SPN number.
FMI – (Failure Mode Indicator) fault code
The FMI is defined by SAE J1939. If not translated into text, see the SAE
standard, or the engine manufacturer's literature.
Count – The number of times the event has been flagged.
Description – The common SPN's and FMI's have a text description stored in the
HV750 display. If there is no text, then define this SPN/FMI by referring to the engine
manufacturer’s literature, or the SAE J1939 standard.
Correction – Troubleshooting guidelines for corrective action to take in resolving the
fault. This field is only used with specific brands and models of engines.
Fault Code Pop-ups
A fault condition triggers a pop-up dialog box on the screen describing the nature of the fault.
The following screens are examples of warning and shutdown fault code pop-ups.

Section 78 00-02-0805
12-09-11 - 12 -
WARNING
SHUTDOWN
How to Hide/Show Faults
To hide the fault code pop-up displayed on the screen, press the soft key on the upper right
next to the Hide icon. The pop-up disappears, however the Warning or Stop icon remains on
the screen to indicate there is still a fault. Pressing the Hide soft key does not clear the fault; it
only hides the pop-up message.
When a fault code has been hidden, a Recall icon remains on the right side. When this soft
key is pressed, the fault code displays again. When a fault message is activated, a pop-up
message is displayed until the alarm is acknowledged by pressing the “Hide” key.
Warning showing Warning hidden, Recall button showing
Scrolling Through Multiple Messages
The title-bar of the fault code pop-up may indicate multiple messages, as in ‘Diagnostic
Message 1 of 2. Use the Previous and Next soft keys to scroll through additional messages.

Section 78 00-02-0805
12-09-11 - 13 -
User Settings
User Settings allows you to set viewing preferences for the HV750 Display. Pressing Up and
Down navigates through the options. To change an option, press the corresponding soft key
next to the desired soft key command.
Ambient Light
The ambient light options include one Day, two Night, and a Backlight Toggle. The appearance
of these screens is shown on page 9 and 10 of this document.
The Backlight Toggle turns the backlight off to ‘Sleep’ mode. You can reach this from the
User Settings screen or from any screen if either of the top two soft keys (left and right) are
unassigned. Hold the soft key down for 5-seconds to turn OFF the backlight (This function only
turns the backlight off. The unit continues to operate as normal, but with no backlight). Press
any soft key to ‘Wake’ the backlight.
In the screen below, you can use the unassigned upper right soft key to access the Backlight
Toggle mode, and the second soft key down to switch between night and day.

Section 78 00-02-0805
12-09-11 - 14 -
Brightness
You can set the brightness control by using the soft keys to change the settings in +1% and
+5% increments until the desired brightness is achieved.
NOTE: Brightness levels will change with ambient light setting. You can
save two brightness levels, one for day, and one for night.
Units
Select how units display by using the soft keys to select from the following:
USA Standard
Metric kPa
Metric Bar
British Standard

Section 78 00-02-0805
12-09-11 - 15 -
Language
This option allows you to select the language displayed on the HelmView. Available languages
include English, Spanish, German, Italian, French, Brazilian Portuguese, Russian, Chinese,
Japanese, Czech, and Arabic.
NOTE:
English is the standard language for
this configuration. Additions to this
feature will be provided in future
software updates or posted on the
forum at:
http://forum.fwmurphy.com/
Screen Setup
Initially Gauge Screens are listed in default order. You scroll through them using the Previous
and Next soft keys.
The Screen Setup allows you to turn specific screens ON or OFF depending on what you
want to monitor. Turn a screen ON by selecting the check box. To turn a screen OFF, click the
check box to clear.
To select a Home screen to display every time the unit is powered up, select the Home check
box for only one screen.

Section 78 00-02-0805
12-09-11 - 16 -
Video Mode
Change accordingly to match video input – either NTSC (National Television Standards
Committee used primarily in North and South America, or PAL (Phase Alternating Line) used
in Europe and Asia. Degradation of picture quality and resolution can occur if the correct Video
Mode is not selected.
NOTE: The HV750 reboots when you change the video input mode.
Time Zone Offset
Time is provided via GPS signal through your GPS receiver. Most GPS devices convert GPS
time to UTC (Coordinated Universal Time). Time Zones are normally offset from UTC by a
whole number of hours (UTC−12 to UTC+14).
Use the Up and Down Arrows to scroll to your time offset. The range offered is -12 to +13.

Section 78 00-02-0805
12-09-11 - 17 -
Enable DST
To Enable Daylight Savings Time, press the soft key for DST ON. To turn DST OFF, press the
soft key for DST Off.
Save
Once all changes have been made, press Save. The following confirmation screen is
displayed.
Press the Enter soft key to Save, or press the Menu soft key to Cancel.
Restore Defaults
Restore Defaults sets all the features of the display to the original factory settings. During
troubleshooting, you can use this as a last resort to reset the display to a known state.

Section 78 00-02-0805
12-09-11 - 18 -
To restore the default user settings, press the soft key for Restore Defaults. The following
confirmation screen displays.
Press the Enter soft key to Restore Defaults or press the Menu soft key to Cancel the action.
Table of contents
Other Murphy Marine Equipment manuals
Popular Marine Equipment manuals by other brands

DIGITAL YACHT
DIGITAL YACHT 4GXtream Long Range WiFi Kit Installation and instruction manual

Skipper
Skipper GDS101 Operation and installation manual

Village Marine
Village Marine LITTLE WONDER Series User's reference manual

Kongsberg
Kongsberg Simrad SY50 manual

Raytheon
Raytheon 138-119 Operator's and service manual

Raymarine
Raymarine Maxiview ST80 installation manual