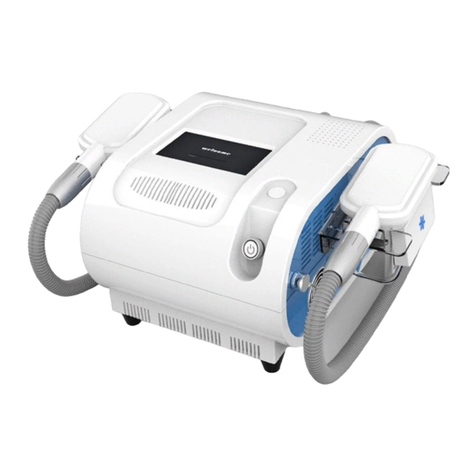
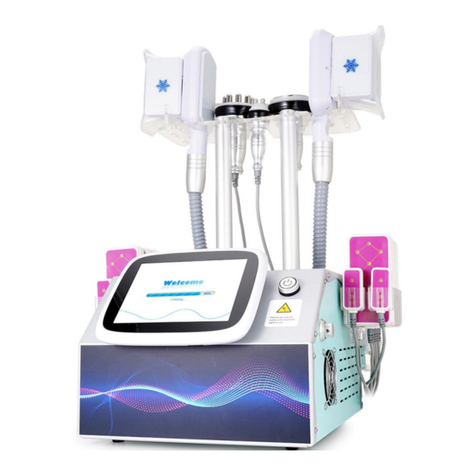
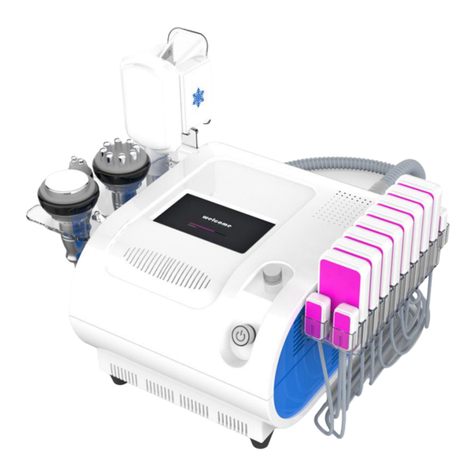
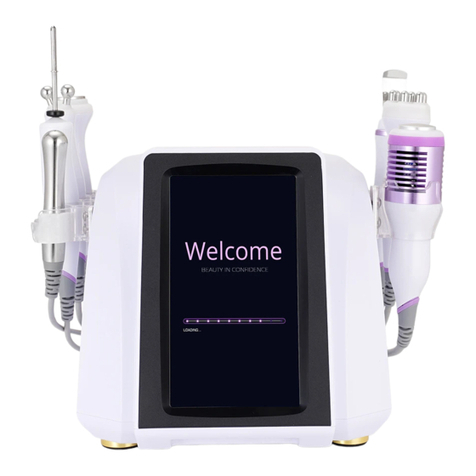
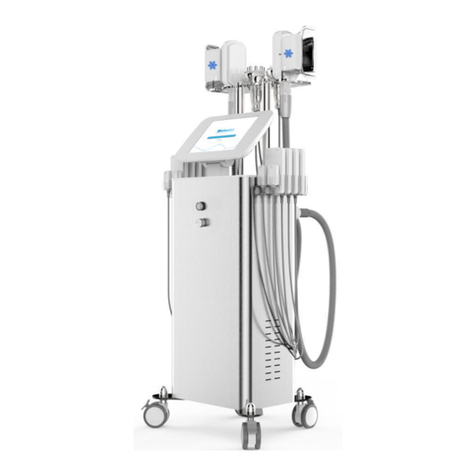
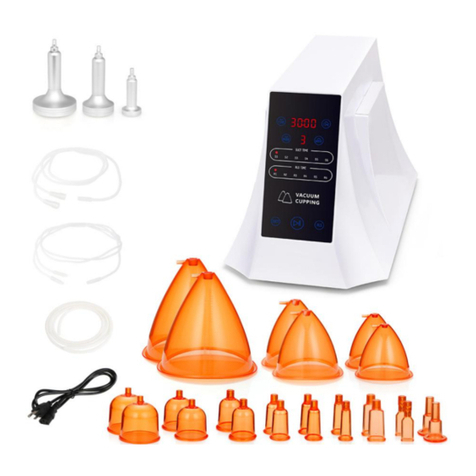
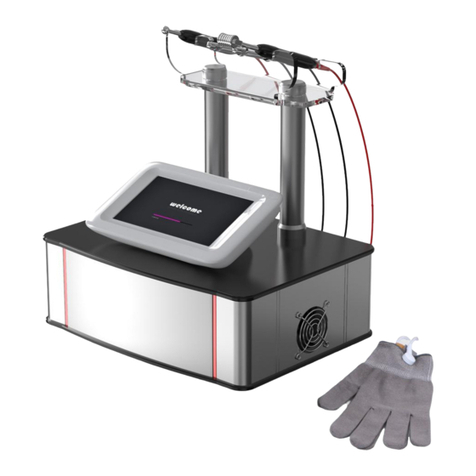
mychway MS-7008CX User manual

User Manual
MS-7008CX

Preface
To our valued users,
Thank you for choosing our latest product: integrated beauty
equipment. It applies freezing technology and is the newest
instrument to reduce weight and slim body. MS-7008CX is
professional beauty equipment, which needs to be operated by
people with professional training. Any improper use of this
equipment may bring adverse consequences to the body. Thus
we advise all people to read this manual thoroughly before
operation and strictly follow the instructions specified when in
use.
We believe our quality product will give you a good return and
our perfect after-sales service will make you worry-free.
Thank you.

Table of Contents
Preface
Part I
Introduction
Advantages
Working Principle
Efficacy
Indications
Contraindications
Matters Needing Attention After Treatment
Part II
Detailed Operation
Technical Parameters
Precautions on Use
Troubleshooting
FAQs
Packing List
Simplified Operating Steps
Diagrams

Part I
1. Introduction
Currently, the fat freezing machine is the most popular equipment to lose weight and
slim body. It can effectively replace various weight-loss programs in a beauty salon and
be operated easily, conveniently, and swiftly. The instrument solves body problems for
people pursuing beauty. Moreover, it works safely and effectively and requires no
injection, medication, or surgery. It's operated externally throughout, and it has an
instant result and no side effects. Fat freezing is a noninvasive procedure to reduce fat.
It targets and removes fat cells of particular body parts to decrease fat thickness,
making the body curve clearer.
2. Advantages
(1) It requires no surgery and anesthetic to carry out the procedure.
(2) Unevenness will not occur.
(3) Bleeding and swelling will not happen.
(4) It has an evident effect, which is not prone to rebound.
(5) It's non-invasive and will not affect our regular work and life.
(6) It effectively removes cellulite and edema and dissolves fat.
(7) It transfers fat and powerfully tightens skin.
(8) It eliminates deep-seated areolar tissue and obesity.
(9) It dissolves and rids fat and makes the body curve perfect.
(10) It causes no damages to the nerves, blood vessels, or tissue on the skin surface
while removing fat.
(11) It adopts the latest fat freezing technique in the world, which is more reliable.
(12) The freezing effect only targets the fat layer so that it will not cause frostbite to
internal organs or harm the skin.
(13) Its two handpieces can work in a double harness, saving time and effort.
3. Working Principle
(1)Vacuum Freezing
The water's freezing point is 0 ℃while the fat is 4 ℃. Vacuum freezing uses this
feature of the fat cell to reduce fat. The instrument utilizes a vacuum to draw fat into
the vacuum handpiece and circularly freezes every piece of fat. The process will slowly
absorb heat from the subcutaneous fat, reducing the fat cells' temperature to 0 ℃.
Namely, to freeze them. Low temperature kills fat cells without affecting skin or
muscles. The dead fat cells are then discharged through the liver, using no external
force. It can achieve fat freezing at a time.

Biological Effect: Water makes up 60% to 70% of the body. The water's freezing point
is 0℃, while fat freezes at a temperature of 4℃due to its nature. Fat freezing uses
exactly the gap to eliminate fat. When operating the instrument, place it on body
parts needing fat removal. The fats then solidify into a jelly-like shape rapidly,
triggering cytophagy (Cells fall off and die off per the growth rhythm.). The body takes
dead cells as wastes and naturally discharges them in 2 to 4 months. Therefore, this
method has an instant effect. You can feel that the fats decrease slowly in two weeks
to one month after treatment.
Fat freezing can remove fat and promote blood circulation and lymphatic drainage to
remove wastes from the body. Additionally, since dead fat cells are also discharged,
fats inside the body lessen, and rebounds can be effectively averted.
4. Efficacy
(1) Break up hard and thick fat and areolar tissue and dissolve fat cells.
(2) Reduce and rid fat and eliminate obesity.
(3) Relieve slack and aging skin, contract, shape, and tighten skin, and make it elastic.

(4) Dissolve fat and sculpt a perfect body curve.
(5) Sculpt an A4 waist, slender legs, and sexy buttocks.
5. Indications
(1) People with a pear-shaped figure due to long-time sitting.
(2) People with flabby arms.
(3) People with extensive fat accumulation between the outer side of the buttocks
and thigh.
(4) People whose skin starts to become slack or saggy.
(5) People who are obese because of eating and drinking too much.
(6) People with the slack abdomen, potbelly, obese waist, or striae atrophicae after
child delivery.
(7) People with flab on the waist and abdomen or swim-ring-like waist.
(8) People whose buttocks show an outward expansion or with excess fat or flab.
6. Contraindications
(1) People who just had plastic surgery or liposuction or implanted prostheses or
metal objects inside the treated parts.
(2) People who recently injected hyaluronic acid or skin booster or had an injection
for wrinkle removal, plastic surgery, etc.
(3) People with hypertension, heart disease, diabetes, severe thyroid, malignant
tumors, etc.
(4) People in the allergic period, with severely sensitive skin, or who are allergic to
metals.
(5) People with skin trauma or wounds.
(6) Overage people.
(7) People in menstruation, pregnancy, breastfeeding, or surgical recovery.
(8) People with skin disease or infectious disease.
(9) People who have an unrealistic illusion about the effect.
(10) People who have taken anticoagulants, vascular dilations, or corticosteroids for a
long time or are taking them now.
(11) People with liver diseases.
7. Matters Needing Attention After Treatment
(1) Keep warm, don't eat cold food, and avoid exposing to a windy environment and
catching a cold.
(2) Take a shower after 4 to 6 hours.
(3) Drink more warm water to replenish moisture and speed up metabolism.
(4) Refuse to eat and drink too much and stay up late.
(5) Avoid eating raw, cold, and spicy food; have enough sleep.
(6) Avoid wearing a crop top, backless clothes, miniskirt, mini-shorts, etc.
(7) Avoid scratching the treated parts.
(8) Do not rub or press the treated parts.

Part II
1. Detailed Operation
Connect the equipment correctly, power on, and the following initial interface will
show up.
Homepage
Return
Start/ Pause (This is the main switch. Click the start button of the relevant
handpiece, and then press this button to operate.)

Temperature warning sign. If a handpiece's temperature is abnormal, this
warning sign will appear.
Warning sign for water tank. This alert will show up when the water tank lacks
water or is abnormal.
Time display & setting (The button to adjust the working
time for the relevant handpiece. The advised operating time for a body part is 10 to
30 minutes; the advised time for first-time users is 10 minutes, which can be
increased after getting used to it.)
Time Setting (decrease)
Time Setting (increase)
Temperature display & setting (The advised temperature for a
handpiece is between -5℃and 5℃; the suggested temperature is 5℃for first-time
users, which can be lowered slowly after getting used to it.)
Temperature Setting (decrease)
Temperature Setting (increase)
Rotating knob for setting the vacuum freezing handpiece's suction. Adjust it
per the user's tolerance; start from the lowest suction and gradually increase it after
the client gets used to it.

Handpiece Adjustment
Time Display & Setting
Time Setting (decrease)
Time Setting (increase)
Temperature Display & Setting
Temperature Setting (decrease)
Temperature Setting (increase)
2. Technical Parameters
Voltage AC110V/220V 50-60Hz
Vacuum 650mmHg
Pump flow rate 60L/min
Vacuum pressure0-100Kpa
Freezing temperature: -10°C~5°C
Cooling device output :0-5Kpa
Cooling liquid pure water
Default working time:0-60min
Fuse size: F2AL250V
N.W: 8.5KG
Dimensions: 18"x14"x10"

3. Precautions on Use
(1) Clean the handpiece with normal saline after use and keep it properly.
(2) You must use a plug with a ground pin and ensure the power socket is already
grounded before using the equipment.
(3) Make sure the voltage of the equipment is adaptive. If the local voltage is
unstable, we suggest users add a voltage regulator with matching power between
the main supply and the equipment.
(4) Please uniformly use specified parts provided or indicated by the original
manufacturer to guarantee the equipment's curative effect and expected service
life.
(5) Please do not put the equipment near a water source, in a damp place, or in sites
that expose it to sunlight directly.
(6) Please do not place the equipment near an intense heat source since this may
affect its service life and everyday use.
(7) Please remove all the metal objects from the body before treatment to shun
unexpected situations that may affect the curative effect.
(8) Please do not use the equipment on the eyes, thyroid, parathyroid, testicles,
pregnant woman's abdomen, part with a pulse generator, etc.
(9) If you are suffering from an illness, you should use it with caution unless you get
permission from a doctor.
(10) Please turn off the equipment's power switch if no one uses it, and ensure the
main power is off before the exit of related personnel to guarantee the
equipment's safety.
(11) Strictly use the equipment and train the operators per the instructions specified
in the manual.
(12) It's advised to stop taking other weight-loss medicines for 1 to 2 months before
treatment if you are taking them now. The course of treatment shall be extended
if you want to start it immediately.
(13) Do not use the equipment with an empty stomach, and wait at least one hour
after a full meal before starting a weight-loss treatment.
(14) During operation, the equipment should contact the skin thoroughly to avoid
uneven temperature and force.
(15) When using the machine, you must apply a matched antifreeze membrane to the
treated part to avoid operating it in dry skin conditions or directly.
(16) After an operation, clean the equipment with normal saline to ensure its
cleanliness and hygiene to extend its service life.
4. Troubleshooting
(1) I can't start the equipment, and the indicator lamp doesn't light up.
A. Make sure you plug the power cord into a good power socket.
B. Check whether the fuse tube in the back is loose or burnt out.

(2) The machine stops working after launching.
A. Perhaps the water flow is not strong enough, making it hard to be detected.
B. Check whether the water tank lacks water.
(3) The water drop icon on the top left corner shows a red alert.
A. Check whether the water is enough.
B. Check whether the water tank is damaged.
(4) I can start the equipment, but an error message shows on the monitor.
A. Take out the power plug from the back, wait about one minute, reinsert the plug,
and restart the equipment.
B. If the solution mentioned above doesn't work, please contact the distributor for
assistance.
5. FAQs
(1) Q: Does fat freezing have side effects?
A: Fat freezing is an entirely non-invasive and painless procedure to reduce fat. It
utilizes the principle that fat cells are not cold-resistant compared with other cells,
making fat cells die off earlier due to low temperature. The freezing constant low
temperature only acts on fat cells and doesn't affect skin or muscle. The dead fat cells
then discharge along with body metabolism. Thus it has no side effects.
(2) Q: How does fat freezing slim the body?
A: Fat freezing is a procedure that a fat-freezing device will be placed on the skin
surface to reduce the temperature of subcutaneous tissue to 5 ℃, which causes
earlier aging and die-off of fat cells. The dead fat cells then are discharged through
body metabolism to achieve slimming.
(3) Q: Do I have to be on a diet and exercise after the treatment?
A: After the treatment, we still need to exercise regularly and control the diet. Fat
freezing only decreases fat inside the body. Essentially, it doesn't improve the basic
metabolism calories. Therefore, the weight may rebound if we don't exercise and
control what we eat.
(4) Q: How long does it take to see the effect of fat freezing?
A: It takes about 1 to 2 months, and it's related to individual constitution and
metabolism. Fat freezing utilizes the principle that fat cells are not cold-resistant. It
freezes fat cells to death under a constant low temperature of 5 ℃and then
discharges the dead cells through body metabolism. Therefore, it takes a period to see
the effect.
(5) Q: Why do we have to use the device with the matched antifreeze membrane?
A: The main ingredient of an antifreeze membrane is genetic molecules made

based on the principle of expanding with heat and contracting with cold and within
the skin's tolerance range. The clinical tests show that an antifreeze membrane can
effectively prevent skin frostbite caused by a fat freezing machine and is suitable for
freezing skin, achieving a cold-resistant effect.
6. Packing List
Main Unit x1
Vacuum Freezing Handpiece x2
Antifreeze Membrane x1
Parts Rack x2
Power Cord x1
Filter x2
Fuse x2
Funnel x1
7. Simplified Operating Steps
(1) Clean the treated part with a towel.
(2) Apply an antifreeze membrane.
(3) Adjust parameters.
(4) Place the handpiece on the treated part.
(5) Remove the handpiece when the time runs out.
(6) Remove the antifreeze membrane and clean the treated part.
Matched product: antifreeze membrane
8. Diagrams
Parameter
Setting
Matched
Product
Technique
Diagram
Waist & Abdomen Sculpting: 30 Minutes/ Once a Month
Vacuum
Freezing
Advised
Operating
Time:
10 to 30
minutes
Advised
Temperature:
Towel +
Antifreeze
Membrane +
Vacuum
Freezing
1. Clean the waist and
abdomen with a towel.
2. Choose a suitable
antifreeze membrane per
the size of the fatty part,
and apply it evenly to the
treated part.
3. Set the temperature,
time, and suction for the
corresponding handpiece.
N/A
Caution:
The waist and
abdomen's fat will be
absorbed slowly during
operation; the more
robust the suction, the
tighter the fatty part
will feel.

-5℃to 5℃
Suction can be
changed per
the client's
tolerance, and
it's advised to
start from the
lowest level to
avoid
discomfort.
4. Attach the handpiece
to the fatty part of the
abdomen with an
antifreeze membrane
covering it, adjust the
suction per the client's
tolerance, and leave it
there for about 10 to 30
minutes.
5. Remove the pads,
strap, and antifreeze
membrane, and clean the
treated part.
6. Treatment ends.
The two handpieces
can work in a double
harness.
When you attach the
handpiece to the fatty
part, bubbles form
because an antifreeze
membrane covers the
treated region,
generating air and
suction inside.
After treatment, the
waist and abdomen
may experience slight
swelling, redness, and
transitory petechiae
and ecchymosis. It's a
normal phenomenon;
please don't worry
about it.
The Recommended Course of Treatment
A course of treatment includes four treatment cycles. When you accomplish a
treatment cycle, swelling, blood stasis, and numbness will disappear in about 1 to 2
weeks; fat will decrease gradually in the second week; you can experience an evident
effect in about two months. On average, the fat thickness reduces by 22%, but it varies
from person to person. When you complete one course, the size lessens evidently, the
abdomen and waist turn slender, the waist shape is already clear, the big tummy starts
to vanish, and the skin becomes firm. You can take the treatment every two months in
a later stage to cement the effect.
Back Sculpting: 30 Minutes/ Once a Month
Vacuum
Freezing
Advised
Operating
Time:
10 to 30
minutes
Advised
Temperature:
-5℃to 5℃
Towel +
Antifreeze
Membrane +
Vacuum
Freezing
1. Clean the back with a
towel.
2. Choose a suitable
antifreeze membrane per
the size of the fatty part,
and apply it evenly to the
treated part.
3. Set the temperature,
time, and suction for the
corresponding handpiece.
4. Attach the handpiece
to the fatty part with an
antifreeze membrane
N/A
Caution:
The back will
experience an obvious
sense of tightening,
and fat will be
absorbed slowly.
After treatment, the
back may experience
slight swelling, redness,
and transitory
petechiae and

Suction can be
changed per
the client's
tolerance, and
it's advised to
start from the
lowest level to
avoid
discomfort.
covering it, adjust the
suction per the client's
tolerance, and leave it
there for about 10 to 30
minutes.
5. Remove the pads,
strap, and antifreeze
membrane, and clean the
treated part.
6. Treatment ends.
ecchymosis. It's a
normal phenomenon;
please don't worry
about it.
The Recommended Course of Treatment
A course of treatment includes four treatment cycles. When you accomplish a
treatment cycle, swelling, blood stasis, and numbness will disappear in about 1 to 2
weeks; fat will decrease gradually in the second week; you can experience an evident
effect in about two months. On average, the fat thickness reduces by 22%, but it varies
from person to person. When you complete one course, the size lessens evidently, the
back becomes thin, and excess fat starts to vanish. You can take the treatment every
two months in a later stage to cement the effect.
Buttock Sculpting: 30 Minutes/ Once a Month
Vacuum
Freezing
Advised
Operating
Time:
10 to 30
minutes
Advised
Temperature:
-5℃to 5℃
Suction can be
changed per
the client's
tolerance, and
it's advised to
start from the
lowest level to
avoid
discomfort.
Towel +
Antifreeze
Membrane +
Vacuum
Freezing
1. Clean the buttocks
with a towel.
2. Choose a suitable
antifreeze membrane per
the size of the fatty part,
and apply it evenly to the
treated part.
3. Set the temperature,
time, and suction for the
corresponding handpiece.
4. Attach the handpiece
to the fatty part with an
antifreeze membrane
covering it, adjust the
suction per the client's
tolerance, and leave it
there for about 10 to 30
minutes.
5. Remove the pads,
strap, and antifreeze
membrane, and clean the
treated part.
6. Treatment ends.
N/A
Caution:
The buttocks' fat will
be contracted
evidently.
After treatment, the
buttocks may
experience slight
swelling, redness, and
transitory petechiae
and ecchymosis. It's a
normal phenomenon;
please don't worry
about it.

The Recommended Course of Treatment
A course of treatment includes four treatment cycles. When you accomplish a
treatment cycle, swelling, blood stasis, and numbness will disappear in about 1 to 2
weeks; fat will decrease gradually in the second week; you can experience an evident
effect in about two months, but it varies from person to person. When you complete
one course, the size lessens evidently, the buttocks' excess fat and flab disappear, and
the buttocks' skin firms. You can take the treatment every two months in a later stage
to cement the effect.
Leg Sculpting: 30 Minutes/ Once a Month
Vacuum
Freezing
Advised
Operating
Time:
10 to 30
minutes
Advised
Temperature:
-5℃to 5℃
Suction can be
changed per
the client's
tolerance, and
it's advised to
start from the
lowest level to
avoid
discomfort.
Towel +
Antifreeze
Membrane +
Vacuum
Freezing
1. Clean the legs with a
towel.
2. Choose a suitable
antifreeze membrane per
the size of the fatty part,
and apply it evenly to the
treated part.
3. Set the temperature,
time, and suction for the
corresponding handpiece.
4. Attach the handpiece
to the fatty part of the leg
with an antifreeze
membrane covering it,
adjust the suction per the
client's tolerance, and
leave it there for about 10
to 30 minutes.
5. Remove the pads,
strap, and antifreeze
membrane, and clean the
treated part.
6. Treatment ends.
N/A
Caution:
The legs' fat will be
contracted evidently.
After treatment, the
legs may experience
slight swelling, redness,
and transitory
petechiae and
ecchymosis. It's a
normal phenomenon;
please don't worry
about it.
The Recommended Course of Treatment
A course of treatment includes four treatment cycles. When you accomplish a
treatment cycle, swelling, blood stasis, and numbness will disappear in about 1 to 2
weeks; fat will decrease gradually in the second week; you can experience an evident
effect in about two months. On average, the fat thickness reduces by 22%, but it varies
from person to person. When you complete one course, the size lessens evidently, legs
turn slender, leg shape is already apparent, legs' flab vanishes, skin becomes firm, and
slender legs form. You can take the treatment every two months in a later stage to
cement the effect.

Table of contents
Other mychway Medical Equipment manuals

mychway
mychway WL-9392 User manual

mychway
mychway SM-7005N User manual

mychway
mychway YH-3351 User manual

mychway
mychway MS-34J1 User manual

mychway
mychway WL-7008C User manual

mychway
mychway MS-2184 User manual

mychway
mychway MS-7206F User manual

mychway
mychway MS-1163 User manual

mychway
mychway SM-7205N User manual

mychway
mychway SR-AF1325 User manual

mychway
mychway MS-2183 User manual

mychway
mychway YH-6505 User manual

mychway
mychway MS-56F1 User manual

mychway
mychway MS-JS3000B User manual

mychway
mychway MS-6651 User manual

mychway
mychway MS-2275 User manual

mychway
mychway MS-2178 User manual

mychway
mychway MS-5651 User manual

mychway
mychway YH-6551 User manual

mychway
mychway MS-7202F User manual