manuals.online logo
Brands
  1. Home
  2. •
  3. Brands
  4. •
  5. NATHAN JAMES
  6. •
  7. Indoor Furnishing
  8. •
  9. NATHAN JAMES Garcia Headboard 98101 User manual

NATHAN JAMES Garcia Headboard 98101 User manual

Garcia Headboard
Let’s build the
23-0321
Scan me!
Free Lifetime
Warranty
45
4
5
M
I
N
U
T
E
A
S
S
E
M
B
L
Y
SKU 98101
2
This should be easy, just follow
our instructions and you will be
back to Netflix in no time.
Ok, let’s
get rolling
What’s included
What you need
• Some of your favorite bubbly
or your preferred relaxant
• Use the packaging carton as
a working surface to prevent
product damage during assembly
• Phillips head screwdriver
• Drill (for wall mounting only)
• Pencil (for wall mounting only)
• ⁄” Drill bit (for non-drywall wall
mounting only)
• ⁄” Drill bit (for drywall wall
mounting only)
Description Qty
A Right Side Frame 1
B Center Frame 1
C Left Side Frame 1
DLeg 2
E Horizontal Stretcher 3
F Horizontal Stretcher 1
G Bed Frame Adapter Plate 2
H Upholstered Panel 1
45:00
Estimated time for assembly
Toll-free at 1-866-619-1004
[email protected]
Nathanjames.com/help Scan me!
Free Lifetime
Warranty
3
The goods
IMPORTANT
1. Do not tighten bolts / screws completely until all bolts / screws are lined up and
inserted into holes.
2. Do not over tighten screws and bolts to avoid stripping.
3. Please use hand tools to assemble this product. Do not use power tools.
A
E F G
H
B C D
4
What’s included (cont.)
Description Qty
1 M6*20mm Bolt 29
2 M6*55mm Bolt 4
3Spring Washer 20
4Flat Washer 20
5Nut 8
6 Allen Key 1
7 Wrench 1
8 M4.2*32mm Screw 2
9M4*30mm Drywall Anchor 2
10 M4*30mm Non-Drywall Anchor 2
11 M4.2*50mm Screw 2
12 38mm Plastic End Cap 2
5
The goods (cont.)
1
5
9 10 11 12
6 7 8
234
6
Let’s get this thing fired
up! First, slide two of the
Horizontal Stretchers (E)
into the Center Frame
(B). Then slide the Right
Side Frame (A) onto the
ends of the Horizontal
Stretchers (E). Once in
place, secure using ten
of the M6*20mm Bolts
(1) and tighten using the
provided Allen Key (6).
Then, repeat this process
by sliding the remaining
Horizontal Stretchers
(E) and (F) onto the
ends of the Center
Frame (B). Next, slide
the Left Side Frame (C)
onto the ends of the
Horizontal Stretchers
(E) and (F). Once in
place, secure using ten
of the M6*20mm Bolts
(1) and tighten using the
provided Allen Key (6).
Step 1: To attach
to bed frame
1
1
B
B
E
A
E
E
F
C
x10
x10
These assembly steps
are for attaching the
headboard to your
existing bed frame.
If you’d rather mount
the headboard to
your wall, skip ahead
to page 13.
!
7
Next, slide the Legs (D) into the bottom
of the frame you built in Step 1. Secure
by placing a Flat Washer (4) first, then
a Spring Washer (3) on top of that, and
finally a M6*20mm Bolt (1). Tighten using
the provided Allen Key (6).
Step 2
1
1
3
3
4
4
D
D
8
Now it’s time to attach the
Bed Frame Adapter Plates
(G) to the Legs (D).
To secure these together,
run the M6*55mm Bolts
(2) through the back of the
Legs (D) and in through
the Bed Frame Adapter
Plates (G).
Be sure you’ve placed the
Flat Washer (4) and Spring
Washer (3) before inserting
the Bolt (2).
Then, secure on the other
side using the M6*7mm
Nuts (5). Again, make sure
you place the Flat Washer
and Spring Washer before
securing the Nuts.
Tighten all to 75%.
Note: The slotted cutouts
on the headboard legs and
bed frame adapter plates
allow for adjustability to be
compatible with a variety
of dierent bed frames.
Bed Frame Adapter Plate Notes: Adapter Plates can be
used in 2 dierent orientations (shown to the right) to allow
for maximum height adjustability. Slotted holes also allow
for maximum compatibility with your bed frame.
Step 3
OR
9
Now it’s time to attach the headboard to your bed frame
(not included). To secure the headboard, align the holes
in your bed frame with the slotted holes in the Bed Frame
Adapter Plates (G). Once aligned, slide the M6*20mm
Bolts (1) into place.
Be sure to first place a Flat Washer
(4), then a Spring Washer (3) before
inserting the bolts.
Secure on the
other side using the
M6*7mm Nuts (5).
Again, be sure to first
place a Flat Washer
and then a Spring
Washer before
inserting the Nuts.
Tighten all to 100%.
Bed frame NOT included
Step 4
10
Lay the Upholstered Panel
(H) over the top of the metal
frame you’ve assembled.
With the strap buckles at the
top, tighten the middle strap.
Step 5
H
11
Now, using the M6*20mm
Bolts (1), secure the
Upholstered Panel (H) to the
Horizontal Stretcher (F).
This will help keep everything
in place before you tighten
the rest of the straps.
Step 6
H
1
F
12
Finally, go ahead and begin
to tighten all of the straps.
Helpful tip: Slowly tighten
the straps in equal
increments to one another
for the best results; to
have everything tightened
equally and in alignment.
You did it! Now all that’s left
to do is sit back, relax, and
enjoy your new headboard!
Step 7
x4
13
Step 1: To
mount on wall
Let’s get this thing fired
up! First, slide two of the
Horizontal Stretchers (E)
into the Center Frame
(B). Then slide the Right
Side Frame (A) onto the
ends of the Horizontal
Stretchers (E). Once in
place, secure using ten
of the M6*20mm Bolts
(1) and tighten using the
provided Allen Key (6).
Then, repeat this process
by sliding the remaining
Horizontal Stretchers
(E) and (F) onto the
ends of the Center
Frame (B). Next, slide
the Left Side Frame (C)
onto the ends of the
Horizontal Stretchers
(E) and (F). Once in
place, secure using ten
of the M6*20mm Bolts
(1) and tighten using the
provided Allen Key (6).
1
1
B
B
E
A
E
E
F
C
x10
x10
These assembly steps
are for mounting
the headboard to
your wall. If you’d
rather attach the
headboard to your
existing bed frame,
head back to page 6.
!
14
Insert the Plastic End Caps
(12) into the bottom of the
Left Side Frame (C) and
Right Side Frame (A).
Step 2
12
C
A
12
15
Lay the assembled metal frame over
the Upholstered Panel (H).
Be sure that the hardware is facing out.
With the strap buckles at the top,
tighten the middle strap.
TOP
Step 3
H
16
Next, using the M6*20mm
Bolts (1), secure the
Upholstered Panel (H) to the
Horizontal Stretcher (F).
This will help keep everything
in place before you tighten
the rest of the straps.
Step 4
1
F
H
17
Finally, go ahead and begin
to tighten all of the straps.
Helpful tip: Slowly tighten
the straps in equal
increments to one another
for the best results; to have
everything tightened equally
and in alignment.
Step 5
x4
18
First, determine the height at which you
want your headboard to hang.
Next, using a drill and a ⁄” drill bit, drill
two holes 1562mm apart from each
other, making sure that they are level.
Once your holes are drilled, insert the
Non-Drywall Anchors (10) into the holes,
then begin screwing the M4.2*32mm
Screws (8) into the Non-Drywall Anchors.
Important Note: Take note
of where the top of the
keyholes on the Left Side
Frame (C) and Right Side
Frame (A) sit.
This will be the height that
you will drill your holes at.
Important Note:
Leave a 3mm
gap between
the wall and the
back of the screw
head to hang the
headboard on in
the following steps.
Step 6: Non-drywall application
10
10
8
8
19
9
9
11
11
First, determine the height at which you
want your headboard to hang.
Next, using a drill and a ⁄” drill bit, drill
two holes 1562mm apart from each
other, making sure that they are level.
Once your holes are drilled, insert the
Drywall Anchors (9) into the holes,
then begin screwing the M4.2*50mm
Screws (11) into the Drywall Anchors.
Step 6: Drywall application
Important Note: Take note
of where the top of the
keyholes on the Left Side
Frame (C) and Right Side
Frame (A) sit.
This will be the height that
you will drill your holes at.
Important Note:
Leave a 3mm
gap between
the wall and the
back of the screw
head to hang the
headboard on in
the following steps.
20
How to use drywall anchors

Other NATHAN JAMES Indoor Furnishing manuals
NATHAN JAMES Bonnie 74201 User manual

NATHAN JAMES

NATHAN JAMES Bonnie 74201 User manual

NATHAN JAMES Jasper 90301 User manual

NATHAN JAMES

NATHAN JAMES Jasper 90301 User manual

NATHAN JAMES Jacklyn 67201 User manual

NATHAN JAMES

NATHAN JAMES Jacklyn 67201 User manual

NATHAN JAMES Jacklyn 33902 User manual

NATHAN JAMES

NATHAN JAMES Jacklyn 33902 User manual

NATHAN JAMES Theo 66501 User manual

NATHAN JAMES

NATHAN JAMES Theo 66501 User manual

NATHAN JAMES Keanu Media Unit 75101 User manual

NATHAN JAMES

NATHAN JAMES Keanu Media Unit 75101 User manual

NATHAN JAMES Telos User manual

NATHAN JAMES

NATHAN JAMES Telos User manual

NATHAN JAMES Sophie User manual

NATHAN JAMES

NATHAN JAMES Sophie User manual
NATHAN JAMES Carlie Ladder A-Frame Bookcase User manual

NATHAN JAMES

NATHAN JAMES Carlie Ladder A-Frame Bookcase User manual

NATHAN JAMES WHIF1157 User manual

NATHAN JAMES

NATHAN JAMES WHIF1157 User manual
NATHAN JAMES Piper User manual

NATHAN JAMES

NATHAN JAMES Piper User manual

NATHAN JAMES Theo User manual

NATHAN JAMES

NATHAN JAMES Theo User manual

NATHAN JAMES Mina User manual

NATHAN JAMES

NATHAN JAMES Mina User manual

NATHAN JAMES Wesley 74401 User manual

NATHAN JAMES

NATHAN JAMES Wesley 74401 User manual
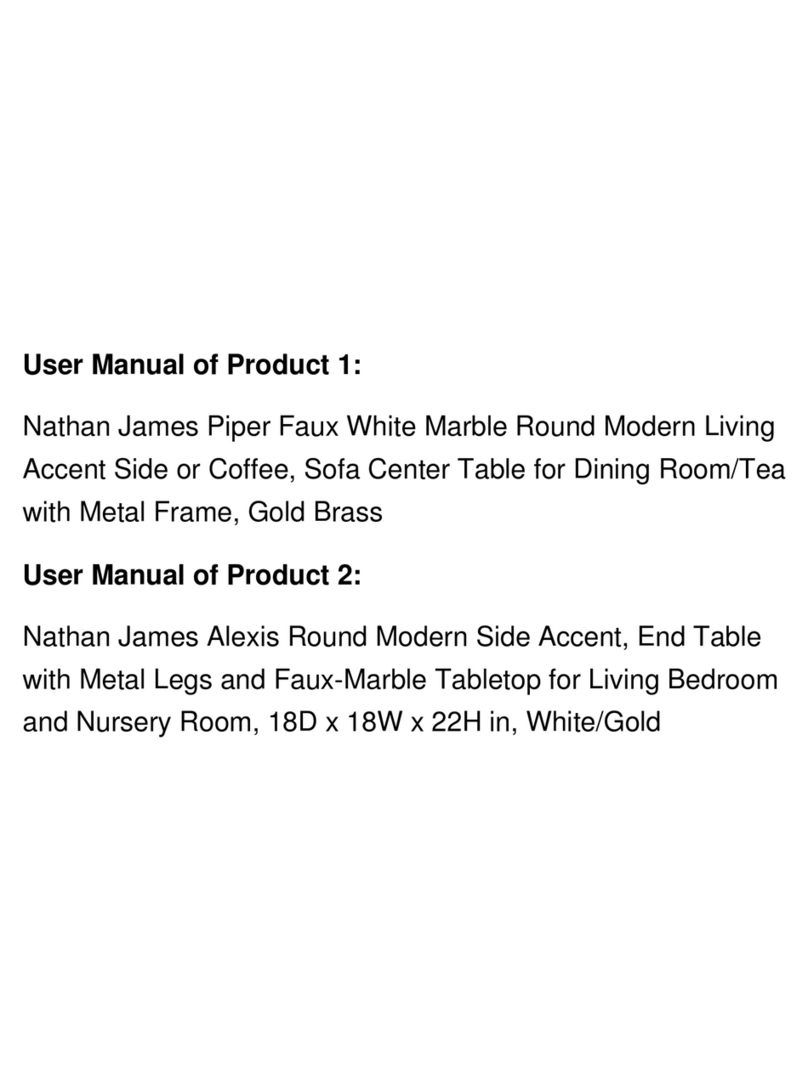
NATHAN JAMES Jenny 34505 User manual

NATHAN JAMES

NATHAN JAMES Jenny 34505 User manual

NATHAN JAMES Kalos Desk User manual

NATHAN JAMES

NATHAN JAMES Kalos Desk User manual
Popular Indoor Furnishing manuals by other brands

Finori PRO3/137 Assembly instructions

Finori

Finori PRO3/137 Assembly instructions

Costway HW61309 user manual

Costway

Costway HW61309 user manual

Monarch Specialties I 7842P Assembly instructions

Monarch Specialties

Monarch Specialties I 7842P Assembly instructions

BluDot Dang Long and Low Assembly notes

BluDot

BluDot Dang Long and Low Assembly notes

Sauder Carson Forge Technology Pier 412923 manual

Sauder

Sauder Carson Forge Technology Pier 412923 manual

Furniture of America CM6122BK-CS Assembly instructions

Furniture of America

Furniture of America CM6122BK-CS Assembly instructions

LIVARNO home 385506 Operation and safety notes

LIVARNO home

LIVARNO home 385506 Operation and safety notes

FANCII MICA manual

FANCII

FANCII MICA manual

Threshold STUDIO MCGEE Kennington TGT66BK Assembly instructions

Threshold

Threshold STUDIO MCGEE Kennington TGT66BK Assembly instructions

modway EEI-3001 quick start guide

modway

modway EEI-3001 quick start guide

JWA Mikayla 69394 Assembly instructions

JWA

JWA Mikayla 69394 Assembly instructions

Kiddicare Darcy Assembly instruction

Kiddicare

Kiddicare Darcy Assembly instruction

Whalen BBAVT27-MBC manual

Whalen

Whalen BBAVT27-MBC manual

realspace Axley Assembly instructions and warranty information

realspace

realspace Axley Assembly instructions and warranty information

GoodHome Santorin 5059340125046 manual

GoodHome

GoodHome Santorin 5059340125046 manual

Teamson Home VERSANORA VNF00101 manual

Teamson Home

Teamson Home VERSANORA VNF00101 manual

RTA BMP4458 Assembly instructions

RTA

RTA BMP4458 Assembly instructions

OVE COACH HOUSE 60 installation manual

OVE

OVE COACH HOUSE 60 installation manual

manuals.online logo
manuals.online logoBrands
  • About & Mission
  • Contact us
  • Privacy Policy
  • Terms and Conditions

Copyright 2025 Manuals.Online. All Rights Reserved.