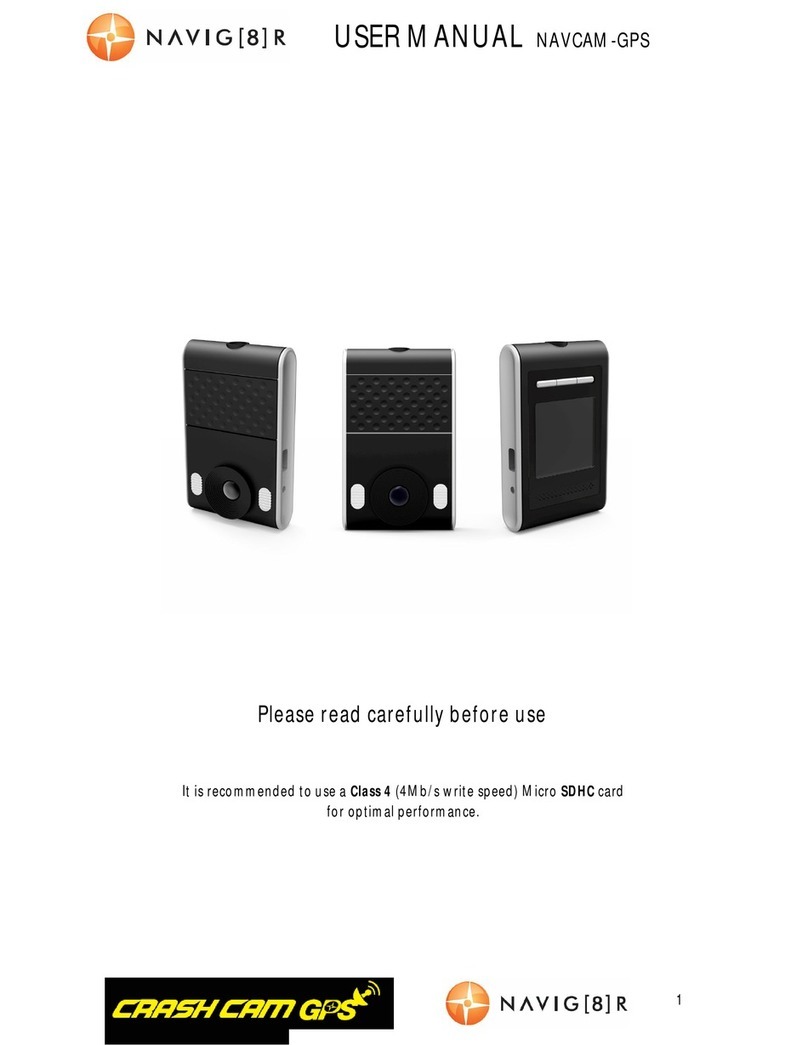
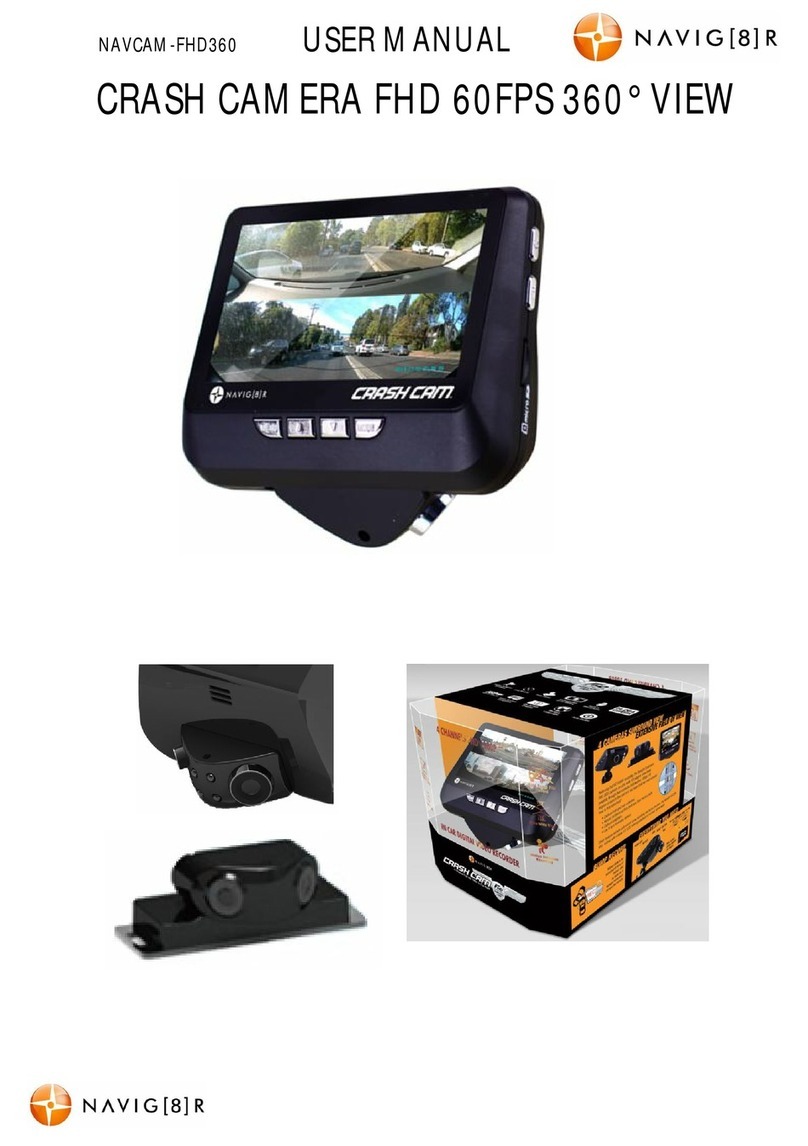
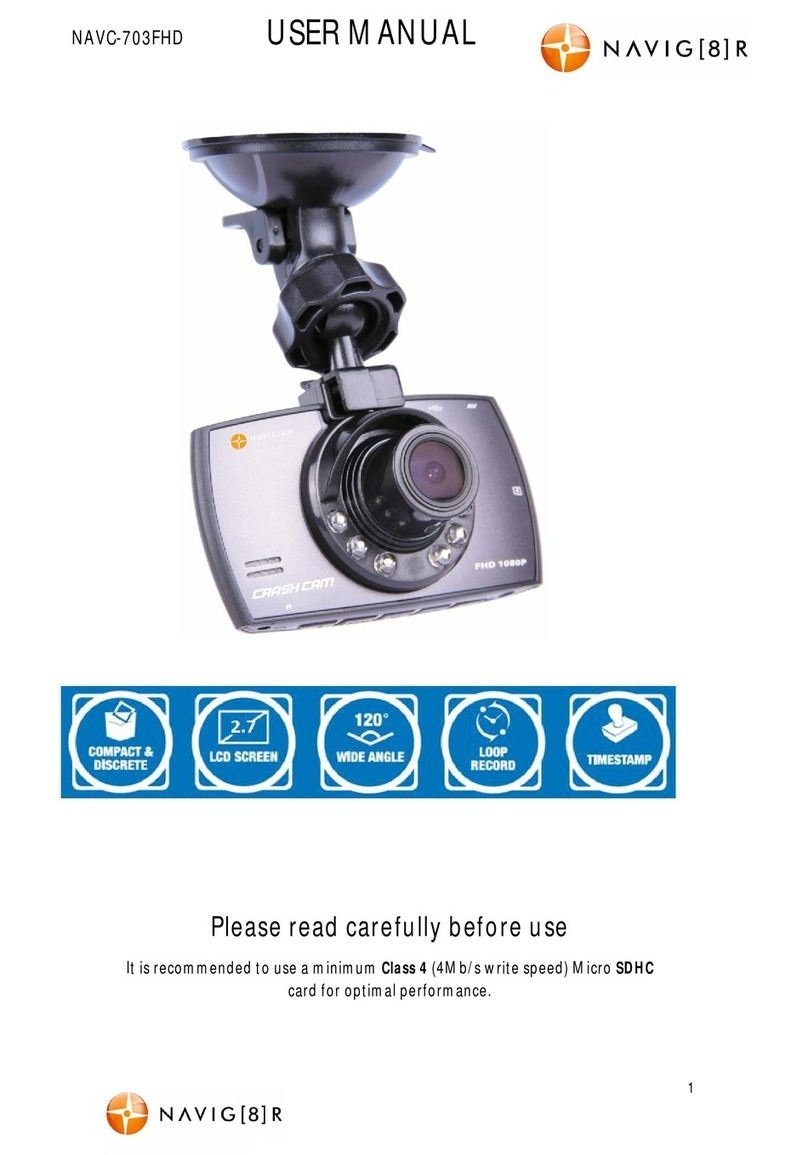
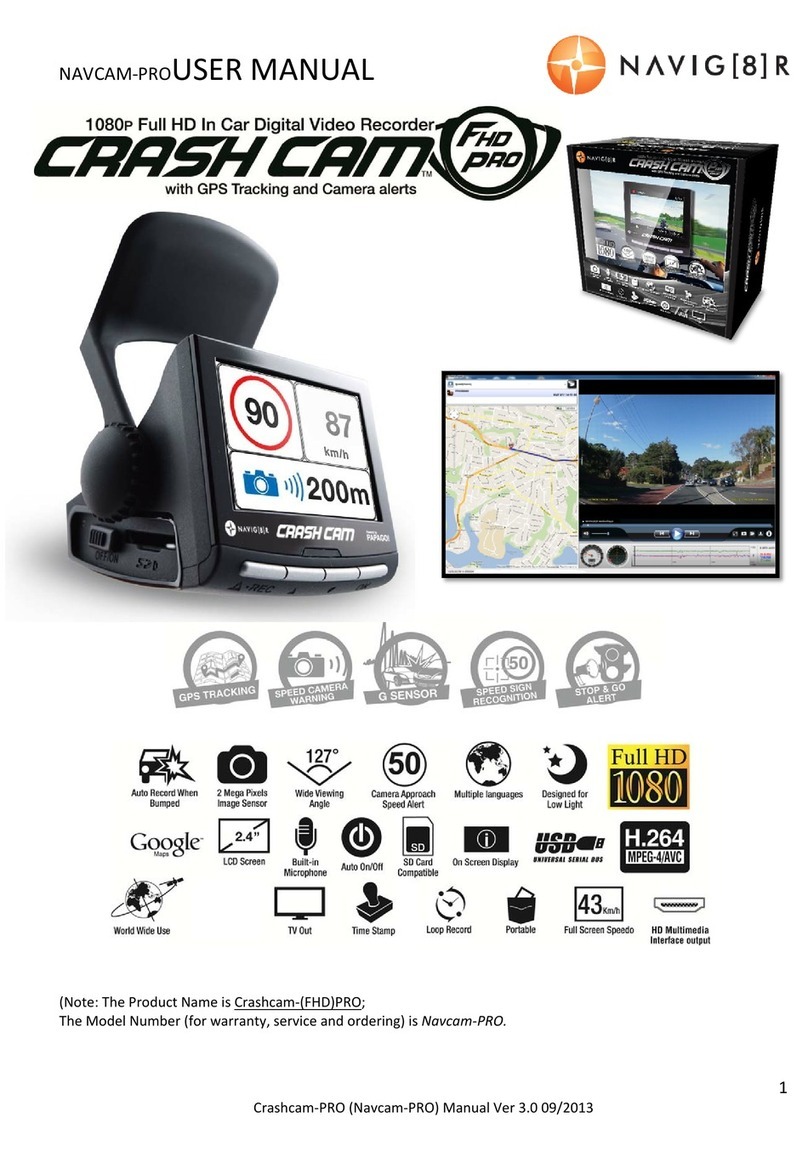
Navig8r NAVC-525-WIFI User manual

NAVC-525-WIFI USER M ANUAL
2
NAVC
-
525
-
WIFI
M anual Ver 2.
3
06
/ 201
7
Table Of Contents
What ’s In The Box 2
Inst allat ion t he Front Camera and GPS Ant enna 3
Buttons and Connections 4
M emory Card Required For Operation 4
Power On/ Off Function (Auto On/ Off) 5
Recording 5
Video/ Photos Storage Capacit y 6
Installing Your App (Crash Cam Viewer) 6
Connect Your Device and App via Wi-Fi 6
On Screen Display 7
The GPS Software - Overview 8
The GPS Software – Key Commands 9
M enu Sett ings 10
Trouble Shooting/ Q & A 12
Product Specifications 13
Important Safety Instructions And Precautions
- Read all instructions carefully before use.
- Retain manuals for future reference.
- Use t his product only in the manner described.
- Only use a water-dampened soft -cloth to clean t he surface of t his product.
- The follow ing w ill damage this product: any liquid such as water or moisture, ext reme heat, cold,
humidit y and dusty or sandy environments.
- The Crash Cam is designed t o be mount ed on a vehicle w indscreen, as high as possible, to ensure
the maximum viewpoint. Please ensure t hat any attached cables are secured and w ill not cause the
device to fall.
- During charging or ext ended use, the product m ay become w arm. This is normal.
- There are no user serviceable part s in this product.
- Unauthorised at t empt s t o dismant le or repair t his product will void the product w arranty.
What’s in the Box
Navig8r Crash Cam NAVC-525-WIFI, 1 x Windscreen Suction-cup M ount, 1 x GPSM odule, 1 x USB Car
Charger, 1 x USB Cable, 1 x Adhesive pad, 1 x User M anual

NAVC-525-WIFI USER M ANUAL
3
NAVC
-
525
-
WIFI
M anual Ver 2.
3
06
/ 201
7
Opt ional Adhesive M ount
(Included in package)
Inst allation t he Front Camera and GPS Antenna
* Suggested wiring installation (below)
The NAVC-525-WIFI works best when mount ed centrally and high up on t he w indscreen (t ypically
behind or close t o t he rear vision m irror for t he front camera). Use the supplied w indscreen suct ion
mount t o affix t he NAVC-525-WIFI t o the w indscreen and t hen adjust t he mount unt il you can see a
clear view of t he road ahead on t he M onit or. Not e: Be sure to remove the plastic cover from t he
silicone suction pad and ensure t he glass surfaces are clean, dry and lint free.
1) NAVC-525-WIFI device mounted behind t he rear vision
mirror.
2) Car charger cable routed behind rear vision mirror.
3) Cable hidden behind roof headlining.
4) Cable hidden behind “ A” pillar – bew are of airbag
equipped cars.
5) Cable is rout ed beside t he dashboard/ near t he door hinges.
6) Cable is passed under t he passenger carpet (or under t he dashboard).
7) Car charger plug is connected t o t he car’s “ cigaret t e socket” .
8) Connect the GPS module. Posit ion t he module behind one of t he sun visors as to not obstruct your
view. Affix to t he windscreen using the adhesive pad at tached t o t he module.
Once the wiring and installation of the NAVC-525-W IFI has been completed, please check the following:
- With t he car’s ignition on (or engine start ed), t he Blue LED indicator on the NAVC-525-WIFI will light up. Recording
should start automat ically. This w ill indicate a successful installat ion.
- When t he car’s ignition is turned off, the device should t urn off within 20 seconds. If this doesn’t happen then
pow er is still being supplied to the car charger socket and the device will need t o be switched off manually.

NAVC-525-WIFI USER M ANUAL
4
NAVC
-
525
-
WIFI
M anual Ver 2.
3
06
/ 201
7
Buttons and Connections
1 Lens
2 Wi-Fi LED
3 Wi-Fi Sw it ch
4 M icro SD Card Slot
5 Power On/ Off
6 Record Butt on
7 M ini USB Port
8 M ini HDM I Out put
9 Reset Button
10 Record LED indicat or
11 Charge LED indicator
M emory Card required for operation
The NAVC-525-WIFI requires a M icro SD card
(not included) to record video/ image content.
(See page 11 for a t able show ing M icro SD card
capacit y and the relevant amount of
video/ image content able t o be stored). For
optimal performance, w e recommend using a
Class 10 or faster M icro SD card to ensure fast
dat a t ransfer rates.
1
2
3
4
5
6
7
8
9
10
1
1

NAVC-525-WIFI USER M ANUAL
5
NAVC
-
525
-
WIFI
M anual Ver 2.
3
06
/ 201
7
Power On/ Off function (Auto On/ Off)
To t urn ON/ OFF the NAVC-525-WIFI, press and hold the power but ton. When connected to t he car
charger (cigaret t e socket) of your car, t he NAVC-525-WIFI will t urn ON and OFF automat ically when
the car’s ignition is t urned ON or OFF. If t he NAVC-525-WIFI does not t urn off immediat ely it means
the device is complet ing the file save process before turning off (usually only a few seconds).
Note: If t he car charger car charger socket is “ constant on” (in some European vehicles), then the NAVC-525-
WIFI w ill need to be turned ON/ OFF manually by the pow er button or by removing the car charger plug.
Whilst connected t o the car charger DC socket (or from a pow ered USB hub or PC USB port ) and the
camera is t urned OFF, the LED indicator will indicate RED (bat t ery is charging) and will t urn OFF once
the battery is fully charged. (Note – the device’s batt ery will not charge if connected t o a PC USB port)
Recording
Turn on your NAVC-525-WIFI and press t he REC button (unless auto REC on has been set wit h ignit ion
on). When recording commences, the LED indicator w ill flash BLUE. The recorded file is t hen saved
onto the M icro SD Card. You can manually stop recording by pressing the REC button or t urning the
car ignit ion off (stopping pow er to t he device).
Note: If G-Sensor is selected, recording w ill start automatically when there is movement detected. This sett ing
is ideal for w hen t he car is parked or unattended. Note that if left on bat tery power (car is turned off), the
st andby time and record time will be dependent on the level of charge on the battery.
In the event of an incident/ accident – Use Auto Bump File Save.
- Due to t he “ cycle recording” nat ure of this technology, older recorded files will be overwritten (depending
on t he resolut ion set tings and the memory capacit y of t he M icro SD card).
- The in-built G sensor will trigger an aut o-save lock if it senses a bump (sensitivit y is selectable via the
M enu), so that the file being recorded is not overwritt en in the cycle record process.

NAVC-525-WIFI USER M ANUAL
6
NAVC
-
525
-
WIFI
M anual Ver 2.
3
06
/ 201
7
Video/ Photos Storage Capacity
Resolution 16GB 32GB 64GB
1936 x 1296 (1296p) 2 Hours 3.5 Hours 7 Hours
1920 x 1080 (1080p) 4 Hours 8 Hours 16 Hours
1080 x 720 (720p) 5 Hours 10 Hours 21 Hours
Note: Actual recording times may vary depending on t he content of your recording.
Installing your App (Crash Cam view er)
ANDROID DEVICES
For Android devices, visit t he Google Play Store and search for
“ LINKINEYES” and install t he app.
IOS DEVICES (APPLE)
For Apple IOS devices, visit t he App St ore and search for
“ LINKINEYES” and install t he App.
Connect your Device and App via WiFi
The steps to connecting your smart device to your App are as follow s:
1) Swit ch on the Bluet oot h feature on your Smart Device
2) Sw it ch on your NAVC-525-WIFI crash camera.
3) Search and w ait for t he Device named NAVC-525-WIFI to appear.
4) Connect using the passw ord “ 1234567890” if required.
5) After a successful connection, you can now view and save footage from your Crash Camera, direct
to your smart device and share footage via social media.

NAVC-525-WIFI USER M ANUAL
7
NAVC
-
525
-
WIFI
M anual Ver 2.
3
06
/ 201
7
On Screen Display
INSTALLING THE PC SOFTWARE
M ain App Screen
Playback M enu
File M enu
Video Playback Screen

NAVC-525-WIFI USER M ANUAL
8
NAVC
-
525
-
WIFI
M anual Ver 2.
3
06
/ 201
7
Inst all the software disc and select inst allat ion
GPS Player. You can also view a soft copy of t he user
manual
Inst all GPS Player Soft w are
View User M anual
Note: Permission may need to be grant ed to t he
FFDSHOW program following inst allation.
Note: GPS Player zip file is also included in t he GPS player folder of camera micro SD card, ext ract it
and execut e t he player.
THE GPSSOFTWARE - OVERVIEW
File length
and G-
force
Playback
controls
including
zoom, step,
loop and
magnify
Speed,
bearing and
acceleration
File M anagement
(see table below)

NAVC-525-WIFI USER M ANUAL
9
NAVC
-
525
-
WIFI
M anual Ver 2.
3
06
/ 201
7
Note: A copy of all files for playback, need to be “added” to the software playlist
before playback. W hen deleting a file from the software, it is just removing it from
the playlist. It is not deleting the original file from your device.
THE GPS SOFTWARE – KEY COM M ANDS
Add file to list Find a file for playback and add t o playback list.
Remove from list Remove a file from the playback list
Refresh file list Refresh playback list
Clear file list Remove all files from playback list
Copy file to certain
location Save file t o a specific location (on your PC)
Delet e file from list Delet e specific file from playback list
Save whole group Combine multiple files int o one video. (Then select
location t o save mast er file)
Repair broken file Repair corrupt or damaged file or associat ed GPS dat a
Set lock (Prot ect against
deletion) Removes the delete opt ion for this file
Unlock Re-instate t he delet e opt ion for t his file
Group wit h … Group mult iple files toget her for easy view ing from t he
play list only (does not creat e a new master)
Ungroup Returns files back to default status aft er t he “ Group w it h
…” opt ion has been selected.
Find groups
aut omat ically Displays grouped files only on the play list .
Ungroup all Ret urns ALL files back to default status after t he “ Group
with …” opt ion has been selected.
Open t rack in Google
Eart h Display recorded GPS co-ordinates on Google Eart h
Export t rack [Not available on model NAVC-525-WIFI]
Att ach track [Not available on model NAVC-525-W IFI]
M ove video posit ion [Not available on model NAVC-525-W IFI]
Show file in explorer Click to playback a file from another folder
Property Display properties of selected file

NAVC-525-WIFI USER M ANUAL
10
NAVC
-
525
-
WIFI
M anual Ver 2.
3
06
/ 201
7
M ENU SETTINGS
Feature Options Description
Video
Resolution
2560 x 1080 30P 21:9
2304 x 1296 30P 16:9
1920 x 1080 30P 16:9
1920 x 1080 30P 16:9 HDR
1280 x 720 60P 16:9
1280 x 720 30P 16:9
1280 x 720 30P 16:9 HDR
1920x1080 45P 16:9
This sett ing changes t he resolut ion of t he
video being recorded by t he camera. The
higher resolut ion will give higher qualit y
video but
you w ill not be able to store as much
video on the M icro SD card as t he files
will be larger.
Video
Qualit y
S.Fine / Fine / Normal / Cancel
Enables t he qualit y of t he recording to be
adjusted. Normal is the lowest qualit y
set t ing which will allow you t o store more
video on your M icro SD card. Super Fine
is t he highest quality sett ing but t he
files will take up more space on the M icro
SD card.
Video date
stamp On / Off / Cancel
When t he Date stamp for video is turned
on, the date w ill be overlaid in t he video
being recorded. The Date can be set in
the Time/ Date set ting in t he main menu.
Video t ime
Stamp On / Off / Cancel
When t he t ime stamp for video is turned
on, the time w ill be overlaid in t he video
being recorded. The Time can be set in
the Time/ Dat e sett ing in the main menu.
Video driver
ID stamp On / Off / Cancel
When t he Driver ID st amp for video is
turned on, the Driver ID will be overlaid in
the video being recorded.
Video Loop
lengt h
1min / 2m in / 3m in / 5min /
Cancel
This sett ing det ermines the lengt h of the
video file before a new file is started. The
video lengt h can be set from 1 to 5
minut es long.
Phot o
Resolution
4M (2688x1512 16:9) /
9M (4000x2250 16:9) /
13M (4800x2700 16:9)
Changes t he resolution of t he photos
t aken by t he camera. Higher resolut ion
set t ings give higher qualit y phot os but
the files will be larger.
Phot o
Qualit y S.Fine / Fine / Normal / Cancel Higher qualit y photos w ill t ake up more
of t he space on t he M icro SD card.
Phot o date
stamp On / Off / Cancel
When t he Date stamp for photo is t urned
on, the date w ill be overlaid in t he phot os
taken by t he camera. The Dat e can be set
in the Time/ Dat e set t ing in the main
menu.
Phot o t ime
stamp On / Off / Cancel
When t he Time stamp for Photo is t urned
on, the t ime will be overlaid in the phot os
taken by the camera. The t ime can be set
in the Time/ Dat e setting in t he main
menu.
NAVC-525-WIFI USER M ANUAL
11
NAVC
-
525
-
WIFI
M anual Ver 2.
3
06
/ 201
7
Phot o driver
ID stamp On / Off / Cancel
When t he Driver ID st amp for video is
turned on, the Driver ID will be overlaid in
the video being recorded.
M icrophone On / Off / Cancel
The microphone sound set t ing can be
used to enable or disable audio recording
in your vehicle.
G-Sensor
Off / Low / M id / High / Cancel
Changes t he sensit ivity of t he camera’s G-
Force Sensor. If your camera is creat ing a
lot of ‘event’ files t hen you can low er t he
sensit ivit y of the G-Force sensor. If t he
sensit ivit y of the G-Sensor is too low then
the camera may not creat e an ‘event ’ file
if you are involved in a light accident .
Choosing the
correct set t ing will depend on your
vehicle and condition of the road surface.
Language English Changes t he user interface menu
language. (English available only)
Set date and
time Default Setting: Ok/ Cancel
Allow s you t o set the time and date
set t ing of t he camera. It is import ant t o
set the correct time and date so t he
recorded videos and phot os can be
labelled correct ly. To display an overlay
of t he Time and/ or Dat e in the recorded
videos and photos, please turn the
Video/ Date st amp set t ings to on in
13 t he main menu.
Reset
Camera
set t ings
Default set t ings This allows you to reset the camera to
factory default sett ings.
Format
Camera
storage
space
Format/ Cancel
This function allows you t o format t he
M icro SD card in t he camera. Formatting
the M icro SD card w ill erase all photos
and videos you have previously recorded.
Please ensure you have backed up any
files you w ish to keep before using this
format opt ion. Please see our notes on
formatting M icro SD cards in the
troubleshooting guide.
Format
Camera
storage
space
Free Space / Total Space Displays the tot al and used space
available on your M icro SD card.

NAVC-525-WIFI USER M ANUAL
12
NAVC
-
525
-
WIFI
M anual Ver 2.
3
06
/ 201
7
Trouble Shooting/ Q & A
Fault
Suggestion
Device does not t urn
off
If in vehicle: check the style can develop. That t he Car charger socket
is not still powered (on) w hen t he key is removed (as with some
European cars).
Wait 20 seconds for file finalisation/ closure.
Disconnect power lead t o device.
Press “ ok” to st op recording, then press power t o t urn off.
Cant playback the
.M PEG4 video files
Upgrade your w indow s media player version or use an alternate
media player such as VLC media player. (w w w .videolan.org)
M y video/ pictures of
an incident are NOT
there
Check the capacity of your M icro SD card, the files may have been
overwrit ten in t he record cycle process.
The device has
frozen/ stopped
working
Check the speed of your M icro SD card. We recommend class 10 for
fast er t ransfer rates, especially if the record file size is bigger
If the ambient t emperature is excessive, you may need to wait for a
few minut es.
The date/ time is
incorrect
Reset t he date/ t ime in t he set tings menu. If t he battery runs
complet ely flat, then the date/ t ime w ill need t o be reset.
The suction cup
keeps coming off
Ensure the windscreen and surface area of t he suct ion cup is clean.
In w et or very hot weather, t he suction cup mount may need to be
reapplied. Do not apply the suction mount on the portion of a
windscreen w hich is not glass (eg; some vehicles may have a coat ing)
The captured image
is not stored
Your M icro SD card m ight be full or t he file may not have been saved
before power w as t urned off to t he unit. M ake sure to st op recording
before shut t ing dow n.
I cannot turn my
device on
Try charging the bat t ery for 10 minutes and t ry again. The battery
may be complet ely exhausted.
M y screen keeps
turning off
When not connected to pow er (charging) t he unit will alw ays turn off
after 30 seconds to conserve power. This function cannot be
changed.
I cannot take any
photos
Your M icro SD might be full. Try rem oving some files.
Recording seems to
stop by itself
M ake sure you are using the right class 10 M icro SD Card as not ed in
this user manual.
I get an error
message when I try
to play back files
You m ight have some corrupt sectors on your M icro SD Card. Try re-
formatting it and trying again.
The video images are
hazy
M ake sure t he lens is clean and free from debris.
There are horizontal
stripes interference
on the image
A) Set frequency set t ing according t o t he local pow er supply– 50Hz
B) Ensure you are using the original (high capacit y) car charger.
There are a lot of
features not
available on this
model even though
they are ment ioned
in this manual. Why?
Just like buying a car, there are cert ain models wit h full features and
some wit h lesser features. As t he NAVC-525-WIFI model is renewable
and re-released in the coming years, some of t hese feat ures w ill
become available and even newer feat ures will also be added.

NAVC-525-WIFI USER M ANUAL
13
NAVC
-
525
-
WIFI
M anual Ver 2.
3
06
/ 201
7
Product Specifications
Note: Please use the supplied Hi current 5V 2Am p USB car charger as supplied w ith t his product.
Voltage input 12 t o 24VDC (Cars and Trucks)
USB Port For Pow er only
TV Standard PAL or NTSC selectable
Audio Recording Support ed
Screen size 2.4 inch TFT Screen
Date / Time stamp Supported – on video and on phot os
M ot ion Det ection Supported – whilst stat ionery as well as m oving and
connected to pow er
Video Resolut ion
2560x1080/ 30fps, 21:9 2304x1296 30fps,
16:9/ 1920x1080 30fps, 16:9 HDR 1920x1080 30fps,
16:9/ 1280x720 60fps, 16:9/ 1280x720 30fps,
16:9/ HDR 1280x720 30fps, 16:9/ 1920x1080 45fps
Phot o Resolution
4M (2688x1512 16:9)/ 9M (4000x2250
16:9)/ 13M (4800x2700 16:9); Default 4M (2688x1512
16:9)
Aut o Bump Record (G sensor)
Adjustable sensit ivit y (Low / M edium/ High)
Lens viewing angle Front: 150 degrees
Cycle recording t imes 1 or 3 or 5 M inut es
File Format Image: JPG Video : M PEG4 Compression: H.264
M emory Card M icro SD cards supported. Class 10 recommended.
M aximum capacity is 32GB
Language System English
Car charger
Input volt age: 12-24v
Output voltage: 5v 2000ma
(Suit able for car or truck use)
Lens OV4689 Sensor + 6 layers fish eye lens
For further product informat ion on t his and other products please visit our product web page at
www.laserco.com.au or email support @laserco.com.au

NAVC-525-WIFI USER M ANUAL
14
NAVC
-
525
-
WIFI
M anual Ver 2.
3
06
/ 201
7
Warranty Against Defects
Laser Corporation Pt y Ltd (“ Laser” ) warrants your new product to be free from defect s in materials and workmanship for 12 months,
from t he date of purchase, provided that the product is used in accordance wit h accompanying recommendations or instructions
where provided. The benefit of this warrant y is in addition t o your rights under the Australian Consumer Law and t o ot her right s and
remedies of the consumer under a law in relation to the goods or services to which t he warranty relates.
Through a network of retailers and resellers, Laser will provide you wit h your choice of a repair, exchange (where possible) or refund
(w it hin Dead on Arrival period) for this product if it becomes defective wit hin t he warrant y period.
This warrant y will no longer apply where the defect is a result of alt eration, accident, misuse, abuse, normal w ear and tear, neglect or
improper st orage. Please retain your receipt as proof of purchase
How t o make a product w arrant y claim:
St ep 1: Find your receipt which proves t he dat e of purchase. Where the date of purchase cannot be verified, your place of purchase
or Laser will make an assessment based on the date of manufacture, t he condition of t he Laser Product and t he t ype of defect.
St ep 2a): Cont act your place of purchase. They will assess t he nature of the fault and repair, replace or fund the product as per their
store refund or w arrant y policy.
St ep 2b): If your place of purchase cannot be cont act ed, then you can cont act Laser customer service wit h details of your Laser
Product: Phone: (02) 9870 3388; or Email: support@laserco.com.au or online www.laserco.com.au/ w arrant y (click on “ Consumers. Our
business address is at 1/ 6-8 Byfield Street , North Ryde, NSW 2113
St ep 3: Laser w ill issue you with a Return Aut horisat ion (RA) number wit hin 48 hours. When requested, send us t he defective Product
and a copy of your receipt. Laser will cover the cost of t he return delivery.
St ep 4: Wait for us to cont act you. Once we have received your defective Laser Product for inspection, we will inform you of our
assessment of your claim within 7 days. When we cont act you, we will firstly let you know w hether you have a valid claim under this
Warrant y, and if so, we will inform you w hether your defective Laser Product will be replaced or repaired, toget her with the number of
days you can expect t o wait to receive your replaced or repaired Laser Product.
St ep 5: For furt her details on warrant y cover and returns, please check Terms and Conditions for Warranty Returns section on
ht tp:/ / www.laserco.com.au/ warrant y
Our goods come with guarantees that cannot be excluded under the Australian Consumer Law. You are entitled to a replacement or
refund for a major failure and compensation for any other reasonably foreseeable loss or damage. You are also entitled t o have t he
goods repaired or replaced if the goods fail to be of accept able quality and the failure does not amount to a major failure.
This manual suits for next models
1
Table of contents
Other Navig8r Dashcam manuals

Navig8r
Navig8r Crash Cam Dual X User manual

Navig8r
Navig8r NAVC-ARECH163 User manual

Navig8r
Navig8r NAVCAM-616GPS User manual

Navig8r
Navig8r NAVCAM-717D User manual

Navig8r
Navig8r NAVCAM-FHDGPS Crash Cam FHD GPS User manual

Navig8r
Navig8r NAVC-703FHD User manual

Navig8r
Navig8r NAVCAM-GPS User manual

Navig8r
Navig8r NAVC-307 User manual

Navig8r
Navig8r NAV-502FHDi User manual

Navig8r
Navig8r Crashcam-PRO User manual