UNITED STATES
This equipment has been tested and found to comply with the limits for
a Class A digital device, pursuant to Part 15 of the FCC Rules. These
limits are designed to provide reasonable protection against harmful
interference when the equipment is operated in a commercial
environment. This equipment generates , uses, and can radiate radio
frequency energy and, if not installed and used in accordance with the
instruction manual, may cause harmful interference to radio
communications. Operation of this equipment in a residential area is
likely to cause harmful interference in which case the user will be
required to correct the interference at his own expense.
CANADA
This digital apparatus does not exceed the Class A limits for radio noise
emissions from digital apparatus set out in the radio Interference
Regulations of the Canadian Department of Communications.
Le present appareil numerique n’emet pas de bruits radioelectroniques
depassant les limites applicables aux appareils numeriques de la Class A
prescrites dans le Reglement sur le brouillage radioelectrique que edicte
par le ministre des Communications du Canada
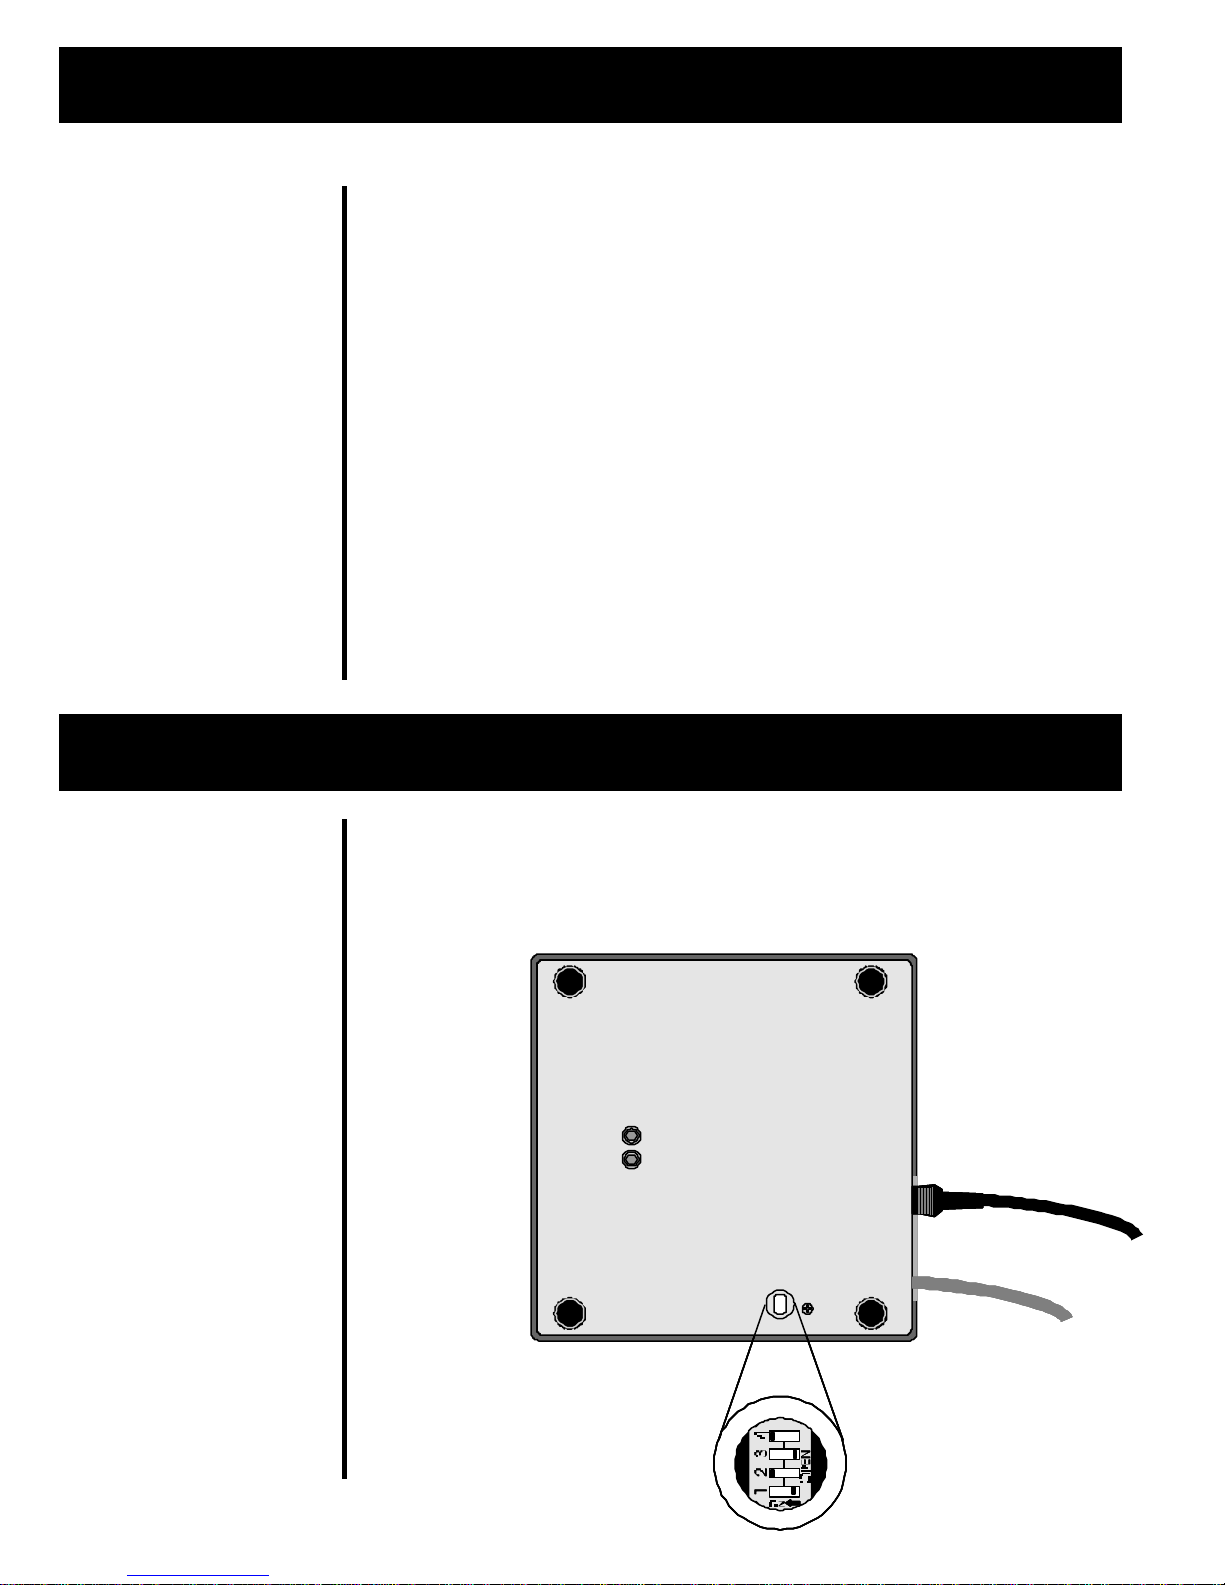
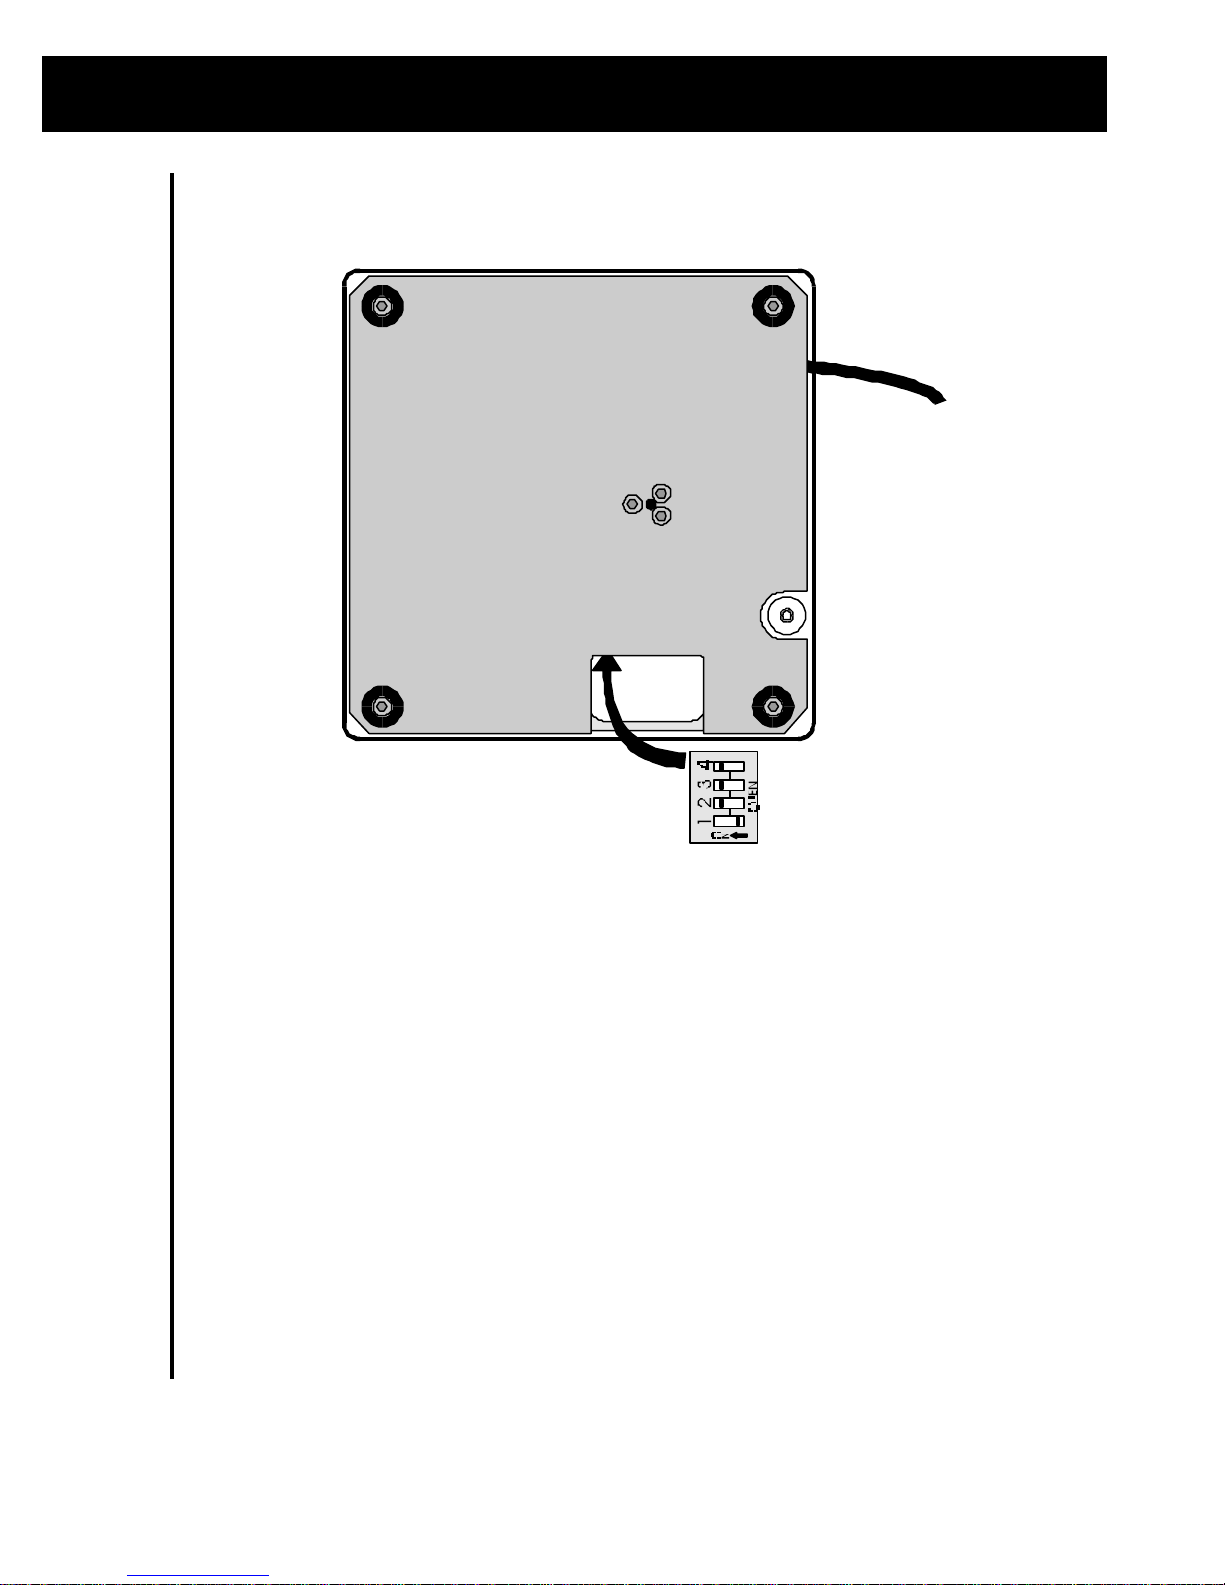
CAUTION
Risk of electrical shock. Do not remove cover. No user serviceable
parts inside. Refer servicing to qualified service personnel.
Weigh-Tronix reserves the right to change
specifications at any time.