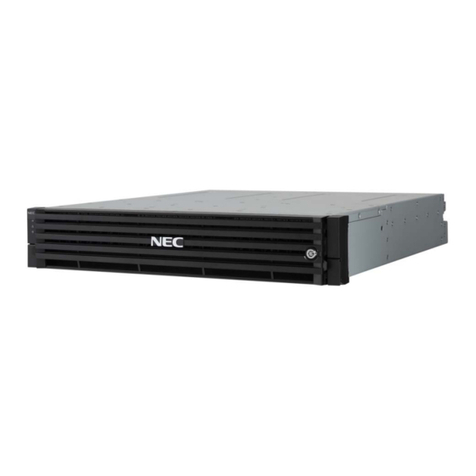
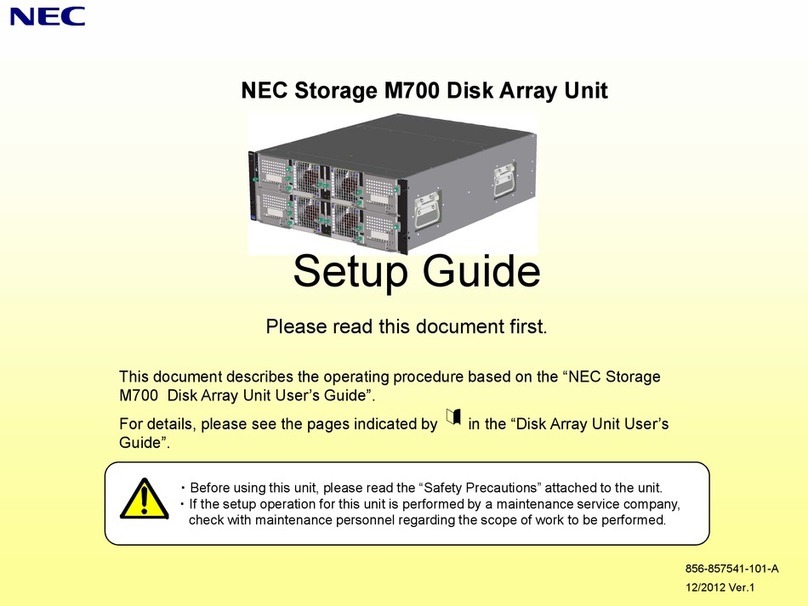
NEC M120 User manual

Setup Guide
NEC Storage M120/M320/M320F Disk Array Unit
Please read this document first.
This document describes the operating procedure based on the “NEC Storage
M120/M320/M320F Disk Array Unit User’s Guide”.
For details, please see the pages indicated by in the “Disk Array Unit User’s
Guide”.
・Before using this unit, please read the “Safety Precautions” attached to the unit.
・If the setup operation for this unit is performed by a maintenance service company,
check with maintenance personnel regarding the scope of work to be performed.
CBZ-018437-002-00
5/ 2018 Ver.1.1

1Starting the Setup: Preparation and Procedure
ProcedurePreparation
◆Make sure the following items are available:
・Application server, and client machine
・Installation CD
・LAN cable (shielded)
・Interface cable for connecting the application server
・IP addresses (for disk array unit and connection
ports)
・Network equipment (if necessary)
・Tool (Phillips screwdriver :
#1,#2 CROSS-RECESSED DRIVE)
・At least three disk drives
・Operators (a minimum of two workers)
(When using PathManager)
◆Perform the following setup operations with respect to
the application server to which this unit is to be connected:
- Acquiring a host adapter WWPN
- Mounting the host bus adapter
- Installing the host bus adapter driver
- Installing PathManager
◆Perform the following procedure:
1) Starting the setup –Preparation and Procedure
2) Checking the package
3) Checking appearance and features
4) Installation
5) Connection –connecting the cables
6) Turning the power on
7) Installing and setting up the software
7-1 Preparation
7-2 Specifying the IP address
7-3 Installing ControlCommand (Containing NEC Storage
Manager Agent Utility)
8) Initializing the disk array unit
8-2 Initializing and configuring the disk array
8-3 Verifying the connection
9) Finish –setup complete
8-1 Collecting host information
7-4 Starting iSM client
3-1 Prerequisites
Ch. 2, Workflow - Installation to Operation

Checking the package
When opening the boxes, check the enclosed “Packing list” and make sure that all the listed items are
accounted for.
If there is any missing or damaged item, contact the sales department that services your account or the dealer
from which the system was purchased.
2
Notice
◆Notes on handling cables:
Be sure to handle cables carefully. Careless handling might cause the characteristics to degrade or mechanical damage (cable
disconnection).
•Handle cable connectors carefully so that they are not dropped on the floor and damaged.
•Do not place excessive strain on the connector portion or cable portion of the connected cable.
•Do not pull strongly on the cable.
◆Notes on installing cables:
•Observe the defined minimum bending radius.(SAS cable: 100 mm, Optical cable: 50 mm)
•Install cables so that they do not cover the exhaust vents of the devices.
•Be sure to lock the cables.
•Form the base (connection portion) of the cable so as not to put excessive strain on it.
◆Notes on handling optical cables
If an optical cable that is dusty or dirty is inserted into a controller of the Disk Array Unit, the optical power may be attenuated,
causing a data error.
•Before inserting an optical cable, clean the connector portion.

Part Name –CheckingAppearance and Features
Check the mount positions for the components and LED.
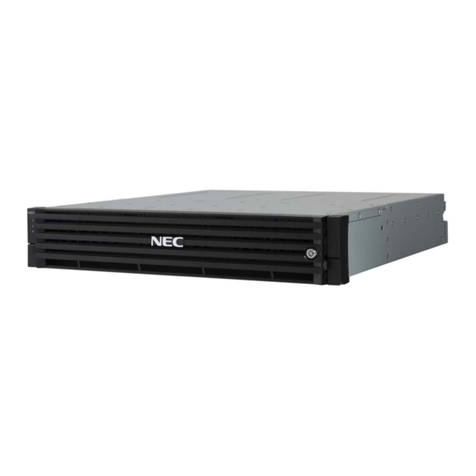
Disk Array Unit
[Front view]
[3.5-inch disk drive-mounting model]
[2.5-inch disk drive-mounting model]
3
1-2-1 Disk Array Controller
Disk drive/Dummy carrier
POWER LED
ID LED SERVICE LED
POWER LED
ID LED SERVICE LED
Disk drive/Dummy carrier

[Rear view]
[Single controller Model]
Power supply (PS1)
Dummy canister Controller (CONT0)
Power supply (PS0)
Controller (CONT1) Controller (CONT0)
Power supply (PS1) Power supply (PS0)
[Dual controller Model]
[12G-SAS 4Port]
[Disk Port :
12G Extend SAS]
[16G-FC 8Port]
[32G-FC 8Port]
[Host Port :
16G-FC 4Port]
[Controller]
[Host Port Card] [Mezzanine Card]

[Front view]
[Rear view]
Disk Enclosure
[Optional]
Same as the Disk Array Unit.
See the “Front view” of the Disk Array Unit.
1-2-2 Disk Enclosure (optional)
Power supply (PS1) Power supply (PS0)
Adapter (ADP1) Adapter (ADP0)

Installation
Perform the installation safely by reading the following safety precautions.
Installing host port cards, mezzanine cards and cache memories
Step 1
Step 2 Installing SFP modules (only for FC ports)
・SFP module is a precision component. Protect it from any shock or vibration.
・When connecting cables, remove and store the dustproof cover.
・There are two types of SFP modules: 16Gb FC and 32Gb FC.
・No extra lock screw is provided with the controller.
So, keep the removed screws in a safe place until the next time you use them.
・After installing optional components, be sure to firmly attach the ejector to the controller by using the
lock screws. Otherwise, there is a possibility that a failure or malfunction occurs in the controller.
3-2-3-2 Installing a host port card and mezzanine
3-2-3-3 Installing a cache memory
Install SFP modules into FC ports or iSCSI Optical ports.
3-2-3-4 Installing an SFP (only when a host port card is optical)
4-1 Assembling the controller
Install optional components if they are not already mounted in the controller. If they are all mounted, go to 4-2.
In the case you install an optional controller to a single controller model, be sure to install it AFTER finishing all
configuration of the Disk Array Unit as a single controller model.
Install host port cards, mezzanine cards and cache memories into the Disk Array Unit..
4
3-2-3-1 Removing or Installing a controller
3-2-3 Assembling the Controller

・The disk array unit (with a 3.5-inch disk drive) weighs 32 kg; the disk enclosure, 28 kg.
・Mount the disk array enclosure and the disk array unit, top-down, in the indicated order.
・Mounting the unit on the rack should be performed by two or more persons working together.
・See the “Disk Array Unit Installation Guide”.
3-2-5 Mounting a Disk Array Unit on a Rack
Install the disk drive if it is not already mounted on the Disk Array Unit or the disk enclosure.
3-2-4 Installing Disk Drives
4-2 Installing Disk Drives
4-3 Mounting the disk array unit and the disk enclosure on the rack
・Disk drives are electronic devices.
・As system disks, install three disk drives, in locations 00, 01, and 02.
When handling a disk drive, take anti-static measures, such as wearing a wrist strap.
・On each disk drive, affix a system disk label and a location label(when 3.5-inch disk drives are installed).
・Store the removed dummy carrier in a safe place.

Connection –connecting the cables
■Connect the cables by checking the locations of cables (see figure below) .
Disk Array Unit Note: Connect the power cable to the outlet after the connection of other cables is completed.
[ex. M120(Dual controllers) with a pair of 32Gb FC 8port HPE and a pair of 16Gb FC 4Port Mezzanine card.]
5
1-2-3-3 Controller (CONT) Figure 1-18 Locations and Port Numbers
Connect the same way for Disk Array Units with other types of controller.
For details about name of each port, see the following section.
3-3 Connecting Disk Array Units
Host port
Power plug
Disk port (DP0,DP1)
Management port
To Application server
To disk enclosure
To a client machine
To power outlet
Power button
DP1 DP0
HP11 HP9 HP7 HP5
HP10 HP8 HP6 HP4
To Application server
Host port
HP3 HP2 HP1 HP0
Mezzanine card supports a host port or a disk port.
Connect disk port (DP3, DP2) to a disk enclosure.

[Optional]
Note: Connect the power cable to the outlet after the connection of other cables is completed.
•When connecting a SAS cable, be sure to insert the connector in the correct direction. Connect the SAS cable so that the
pull tab faces up.
Note that the direction of the connector is opposite from that of the SAS host port. In the case of the SAS host port, the
pull tab must face down.
•SAS cables have grooves in the connector that protect against incorrect insertion. Push the connector of the SAS cable
into the port securely until you hear a click. If you feel some resistance, the direction of the connector may be wrong. In
this case, do not insert the connector forcibly. Check the direction of the connector.
•When the connector has been inserted to the port correctly, it cannot be removed unless you pull the tab.
•If the link LED of the disk port does not turn on, or if the fault LED turns on, the direction of the connector may be wrong.
•A disk enclosure does not power on if both SAS cables are disconnected.
•When removing a SAS cable, be sure to remove the connector by pulling the pull tab straight along the cable.
※A port next to DP0-IN is not used
7-3-4 Disk Enclosures
Disk enclosure
Power plug
Disk port (DP-OUT)
To power outlet
To Disk Enclosure on next level
Disk port (DP0-IN) DP0-IN
To Disk Array Unit or
disk enclosure closer to Disk Array Unit
DP-OUT
・Disk Array Unit
Disk port
・Disk Enclosure
・Disk Array Unit
Reference:
SAS Host port

■Connecting the SAS cables
Disk Array Unit
M320 3.5-inch disk
drive mounting model
DE09
DE08
DE07
DE06
DE05
DE04
DE03
DE02
DE01
DE19
DE18
DE17
DE16
DE15
DE14
DE13
DE12
DE11
DE10
DE29
DE28
DE27
DE26
DE25
DE24
DE23
DE22
DE21
DE20
DE39
DE38
DE37
DE36
DE35
DE34
DE33
DE32
DE31
DE30
M320/ M320F 2.5-inch disk
drive mounting model
DP3 DP2 DP1 DP0
M120
2.5-
inch
disk
drive
mount
ing
model
M120 3.5-inch disk
drive mounting model
Disk enclosure max units M12e M120 M320 M320F
Standard extend Standard extend
3.5-inch drive 4 10 10 10 - -
2.5-inch drive 2 5 10 710 7
Note: For wiring, see the User’s Guide.
extend
Standard

Turning the Power On
6
3-4-1 Powering On the Disk Array Unit
Preparation
・Check the disk array controller and the disk enclosures are connected correctly.
・Do not connect the power supply input cable to the disk array controller or power on the DiskArray Unit.
Power on the units
Connect the power supply input cable to the units, in the order of the disk enclosure and the disk array
controller, or power on the units at the same time or in the order of the disk enclosure and the disk
array controller.
Check the LEDs
Do not operate the Disk Array Unit until the Power LED (green) located at the front of the Disk Array Unit
is lit and the Service LED (amber) goes off after cyclic flashing.
•In the case of the maximum configuration, it takes approximately six to ten minutes to performing
initialization and the self test after power-on. During this period, the Service LED (amber) flashes
cyclically.
•If the Service LED (amber) does not go off and the Power LED (green) is not lit after 15 minutes for
the M120 Disk Array Unit or 30 minutes for the M320 Disk Array Unit, the Disk Array Unit may be failing.
See Chapter 9, "Troubleshooting" .
After checking the LEDs, power on the application servers.
For information on other power control systems, see the Users Guide.
Follow the steps below to power on the Disk Array Unit.
Make sure to power on the application servers after the Disk Array Unit is successfully started.
Step 0
Step 1
Step 2

Installing and Setting Up the Software
4-1 Configuring NEC Storage Manager
7-1 Preparation
4-3-1 Installing Network Setting Tool
7-2 Specifying the IP address
4-4 Installing ControlCommand (Containing NEC Storage Manager Agent Utility) on an Application Server
7-3 Installing ControlCommand (Containing NEC Storage Manager Agent Utility)
Install the software required to prepare and set up the NEC Storage Manager client.
Install the network setup tool and then specify the IP address for the disk array. See the following sections:
Prepare the client machine on which NEC Storage Manager client will be used. See the following section:
Install ControlCommand (Containing NEC Storage ManagerAgent Utility) on the application server. See the
following section:
7-4 Starting NEC Storage Manager client
Start the NEC Storage Manager client on the client machine. See the following section:
7
4-2 Preparations for Using NEC Storage Manager Client
4-3-2 Configuring IP Addresses by Using Network Setting Tool
4-3-3 Setting the Disk Array Unit Time Zone
4-5 Starting NEC Storage Manager Client

Initializing the Disk Array Unit
Initialize the disk array. The initialization method differs depending on the model.
8-1 Collecting host information for FC connection or SAS connection
Collect host information from the application server. See the following section:
8-2 Initializing and configuring the disk array
Initialize and configure the disk array from the iSM client. See the following section:
FC connection
・To automatically collect host information, go to 8-2.
8
FC connection
SAS connection
5-2 Retrieving Host Information - Overview
6-2 Retrieving Host Information - Overview
5-3 Initializing the FC connection
Initialize and configure the disk array from the iSM client. See the following section:
SAS model
6-3 Initialization the SAS Connection

8-3 Verifying the connection
Verify the connection to the disk array from the application server to which the logical
disk has been assigned. See below.
FC connection
SAS connection
5-4 Checking Connection from Application Servers
6-4 Checking Connection from Application Servers

* For a description on how to install/uninstall a controller, a disk drive, or a disk enclosure, see the following section:
Setup Complete
This concludes the setup. If any problem should arise, see the following section:
Chapter 9, Troubleshooting
NEC Corp. 5-7-1, Shiba, Minato-ku, Toyo Japan Phone: +81-3-3454-1111
NEC Storage M120/M320/M312F Disk Array Unit Setup Guide
The information in this manual is subject to change without notice. © NEC Corporation 2018 All rights reserved.
9
7-3 Installation and Removal
This manual suits for next models
2
Table of contents
Other NEC Disk Array System manuals
Popular Disk Array System manuals by other brands

Sun Microsystems
Sun Microsystems STOREDGE A5000 Product notes

D-Link
D-Link DSN-3400-10 - xStack Storage Area Network Array Hard... Hardware reference guide

MaxTronic
MaxTronic SS-6601E user manual

G-Technology
G-Technology G-RAID2 installation guide

NetApp
NetApp AFF A900 manual

Veracity
Veracity Coldstore CSTORE15-3U quick start guide