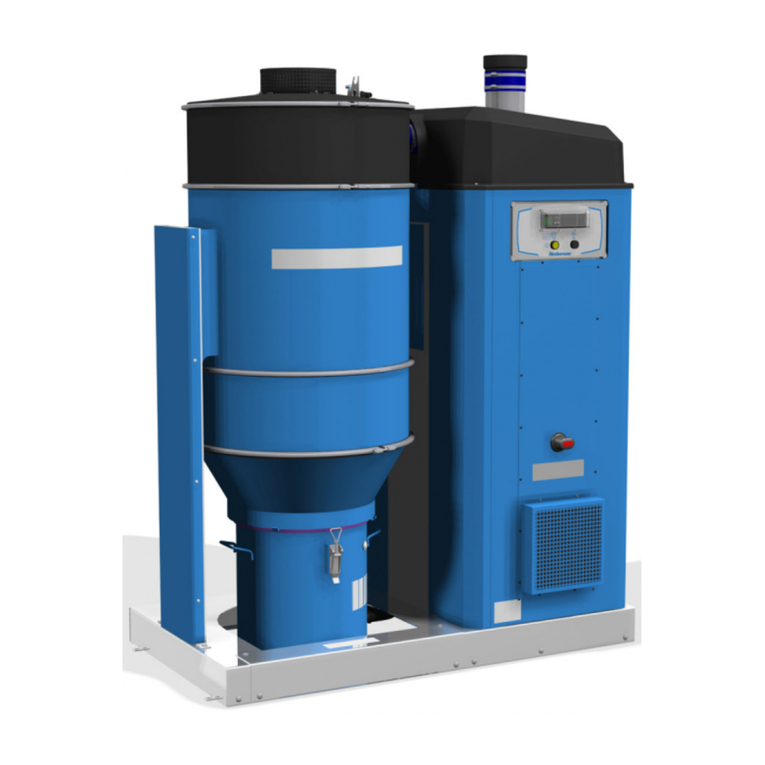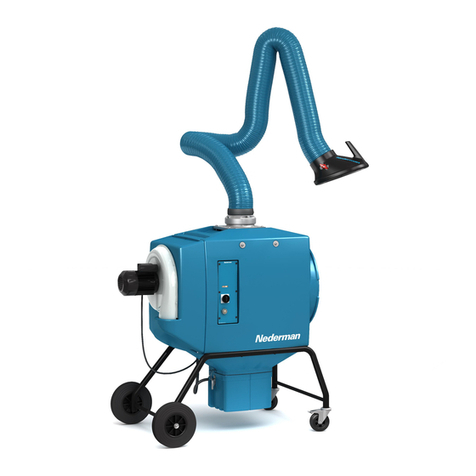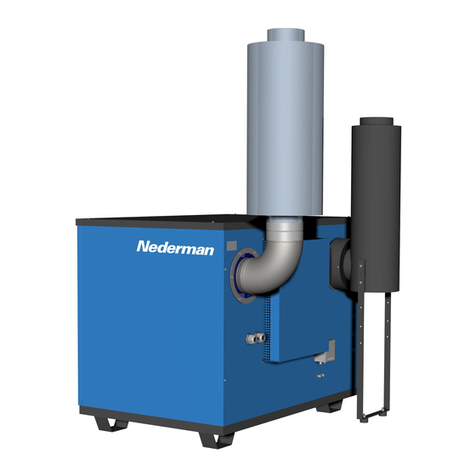
FilterCart Advanced+
EN 1Preface
Thank you for using a Nederman product!
The Nederman Group is a world-leading supplier and
developer of products and solutions for the environ-
mental technology sector. Our innovative products
will filter, clean and recycle in the most demanding of
environments. Nederman's products and solutions wil
improve your productivity, reduce costs and also
reduce the impact on the environment from in-dustrial
processes.
Read all product documentation and the product iden-
tification plate carefully before installation, use, and
service of this product. Replace documentation imme-
diately if lost. Nederman reserves the right, without
previous notice, to modify and improve its products
including documentation.
All installation, maintenance, and repair should be
done by qualified personnel using only Nederman
original spare parts and accessories. Contact the
nearest au-thorized distributor or Nederman for
advice on tech-nical service and obtaining spare parts.
If there are any damaged or missing parts when the
product is de-livered, notify the carrier and the local
Nederman representative immediately.
2 Safety
2.1Classification of important informa-
tion
This document contains important information that is
presented either as a warning, caution or note, ac-
cording to the following examples:
WARNING!Risk of personal injury
Warnings indicate a potential hazard to the
health and safety of personnel, and how that
hazard may be avoided.
CAUTION!Risk of equipment damage
Cautions indicate a potential hazard to the
product but not to personnel, and how that
hazard may be avoided.
NOTE!
Notes contain other information that is import-
ant for personnel.
2.2General safety instructions
WARNING!Risk of personal injury
• In case of fire, smoke from FilterCart Ad-
vanced+ may contain hazardous substances
such as burning polycarbonate, Pvc, poly-
ethylene, etc. Also, depending on the mater-
ial being separated, there may be hazardous
smoke from the separated dust.
• The product must not be used in an environ-
ment with the danger of explosion or for dust
or gases in explosive concentrations.
• If the product has been used for dust applic-
ations it must not be used for welding fumes
or grinding dust.
• Check that no sparks or other objects that can
cause fire are sucked into the arm. For weld-
ing applications generating a high amount
of sparks, spark protection (accessory) must
be mounted in the hood to reduce the risk of
fire. See Figure1 .
• The product must not be used for extracting
toxic substances (except welding fume).
• The product must not be used without filter
cartridge and casing.
• The product must not be used in closed
rooms without general ventilation.
• Only properly trained personnel are allowed
to use this product.
10
