NERI LIGHT 150 User manual

1
www. neri.biz
Rev. A - 2013
ATTENZIONE - CAUTION
Questo manuale va letto
e conservato con molta attenzione
This manual should be read with
attention and kept with great care
LIBRETTO ISTRUZIONI
APPARECCHI
DI ILLUMINAZIONE
INSTRUCTION BOOKLET
LIGHT FIXTURES
LIGHT 150

2 3
NERI spa
S.S. Emilia 1622 - 47020 Longiano (FC) - Italy
Tel. +39 0547 652111 Fax +39 0547 54074
Certicato/Certicate
9105.DONE
ISO 9001:2008
Certicato/Certicate
9191.NER1
ISO 14001:2001
Autori: Isacco Neri - Titolo: Libretto istruzioni apparecchi serie 150 - Pubblicatore: Neri spa
Progetto e coordinamento graco: Daniele Lombardi
Stampa: Grache MDM s.r.l., Forlì FC, Dicembre 2012.
Tutti i diritti riservati. E’ fatto espresso divieto a qualunque riproduzione parziale o totale del presente testo.
DESIGN PATENTED, PRINTED IN ITALY
Ogni riproduzione ed utilizzo per ni propri di questo manuale non è consentita. Tutti i diritti sono riservati.
E’ vietata la riproduzione anche parziale di esso senza il consenso scritto della Neri spa.
La Neri spa si riserva il diritto di apportare modiche ai propri prodotti e alla documentazione senza obbligo di preavviso.
Any reproduction and use for its own purposes of this manual is not permitted. All rights reserved.
Reproduction of this manual, even partially, is forbidden without written consent from Neri spa.
Neri spa reserves the right to modify its products and documentation without obligation to give prior warning.

3
www. neri.biz
INDICE - INDEX
pag 4NOTE ALLA CONSEGNA
DELIVERY INFORMATION
SIMBOLI E ETICHETTA
SYMBOLS AND LABEL
pag 5
DISIMBALLO
UNPACKING
pag 6
INSTALLAZIONE
INSTALLATION
pag 7-8
DESTINAZIONE D’USO
INTENDED USE
pag 10
MANUTENZIONE
MAINTENANCE
pag 11
SMALTIMENTO
DISPOSAL
pag 10
GARANZIA
GARANTEE
pag 10
AVVERTENZE PER L’INSTALLAZIONE
INSTALLATION INFORMATION
pag 9
CARATTERISTICHE
CHARACTERISTICS
pag 9

4 5
INTRODUZIONE - INTRODUCTION - INTRODUCTION - EINLEITUNG - INTRODUCCIÓN
La Neri spa è impegnata costantemente nella ricerca e progettazione di prodotti di alta qualità, lunga durata e sicurezza.
Questo manuale intende presentare le metodiche di installazione, uso e manutenzione corrette, ponendosi come guida
nei confronti di installatori professionali. A tale scopo questo manuale va letto e conservato con molta attenzione.
Neri spa is constantly committed to research and design for products of high quality, durability and safety. This manual
aims to present correct methods of installation, use and maintenance, as a guide for professional installers. This manual
should be read and kept with great care.
NOTE GENERALI ALLA CONSEGNA - DELIVERY INFORMATION
Gli apparecchi per illuminazione possono essere spediti esclusivamente in scatole di cartone (A) in varie dimensioni.
In ogni caso comunque al ricevimento della merce controllare che:
1) l’imballo sia integro; 2) la fornitura corrisponda all’ordine (vedi bolla di consegna); 3) non vi siano parti mancanti.
In caso di danni o parti mancanti, informare immediatamente e in modo dettagliato (e/o con foto) la Neri spa.
The light xture can be shipped and delivered only in cardboard boxes (A) of various sizes.
On receipt of the goods, always:
1) check that packing is undamaged; 2) check that goods received correspond to order (consult delivery note); 3) check
that there are no missing parts.In case of damage or missing parts, immediately inform Neri spa, giving full details
(and/or with pho-tograph).
A

5
www. neri.biz
1 Fig. 9Fig. 8Fig. 7Fig. 6Fig. 5Fig. 4Fig. 3Fig. 2
SIMBOLI ED ETICHETTA - SYMBOLS AND LABEL
I simboli mostrati sopra hanno il seguente signicato:
Fig. 1 > ABBIGLIAMENTO DA LAVORO
Fig. 2 > SCARPE ANTINFORTUNISTICHE
Fig. 3 > CASCO OBBLIGATORIO
Fig. 4 > GUANTI DA LAVORO
Fig. 5 > PERICOLO PER L’OPERATORE
Fig. 6 > DANNI AI COMPONENTI
Fig. 7 > INQUINAMENTO AMBIENTALE
Fig. 8 > NOTA INFORMATIVA
Fig. 9 > VERIFICA TECNICA.
The symbols shown above have the following meanings:
Fig. 1 > WORK APPAREL
Fig. 2 > SAFETY SHOES
Fig. 3 > OBLIGATORY HELMET
Fig. 4 > WORK GLOVES
Fig. 5 > DANGER FOR THE OPERATOR
Fig. 6 > DAMAGE TO COMPONENTS
Fig. 7 > ENVIRONMENTAL POLLUTION
Fig. 8 > INFORMATIVE NOTE
Fig. 9 > TECHNICAL CHECK.
Etichette adesive di avvertimento e indicazione sono poste sull’apparecchio e l’installatore deve scrupolosamente seguirne le
indicazioni. Vi possono essere indicazioni sul posizionamento dell’apparecchio rispetto alla carreggiata stradale, richiami di
attenzione sulle caratteristiche della lampada da installare o sostituire o altre indicazioni di particolare importanza.
Stickers with warnings and instructions are applied to the light fixture, and the installer must comply scrupulously with the
information given. The information given may include instructions on the positioning of the light fixture with respect to the
roadway indications on the characteristics of the lamp to be fitted or replaced or other instructions of particular importance.

6 7
DISIMBALLO - UNPACKING
A B
C D
ATTENZIONE PERICOLO
CAUTION : DANGER
Per il disimballo degli elementi (in base al tipo di imballo omettere ciò che non serve) comportarsi nel seguente modo:
1) predisporre a terra una robusta stuoia per proteggere le parti verniciate (Fig. A);
2) togliere il nylon di protezione e tagliare le centine (Fig. B) (ATTENZIONE pericolo di schiacciamento);
3) non trascinare gli elementi a terra, ma porli sulla stuoia;
4) non usare taglierini o lame per togliere l’imballo, si potrebbe danneggiare la verniciatura, manualmente togliere il nastro adesivo dagli
imballi;
5) utilizzare una pinza per togliere i punti metallici dalle scatole (Fig. C): ATTENZIONE a non disperderli nell’ambiente;
ATTENZIONE - La non osservanza delle prescrizioni citate sopra aumenta il rischio di incidenti.
IMPORTANTE - Non disperdere l’imballo nell’ambiente, potrebbe essere fonte di pericolo e inquinamento (Fig. D). Seguire
le normali procedure di smaltimento dei riuti urbani in conformità alle norme vigenti.
To unpack, proceed as follows (disregard instructions that do not apply to type of packing received):
1) Lay a robust mat on ground to protect paintwork (Fig. A).
2) Remove protective plastic and cut strapping (Fig. B) (Caution: risk of crushing injury).
3) Do not pull the elements on the ground; place them on a mat.
4) Do not use knives or other blades to remove packing materials, as this could damage paintwork, but remove adhesive tape from
packing by hand.
5) Use a pair of pliers to remove the metal staples from the cartons (Fig. C): WARNING: dispose of the removed staples properly.
CAUTION – Failure to apply the above precautions will increase the risk of accidents.
IMPORTANT – Do not dispose incorrectly of packaging materials, which could be a source of pollution and danger (Fig.
D).Follow normal waste disposal procedures for urban wastes in compliance with applicable legislation.

7
www. neri.biz
Accertarsi che l’apparecchio di illuminazione sia in perfetto stato e che la tensione di funzionamento sia compatibile con la tensione di linea.
Check that the light fixture is in perfect condition and that its operating voltage is compatible with the power supply voltage.
Allentare le quattro viti al lati dell’apparecchio, ed estrarre la piastra porta cablaggio (fig. A). Svitare le due viti sulla
piastra porta cablaggio (fig. B) per rimuovere la staffa di supporto da fissare alla parete. Individuare le tre asole in cui
segnare i punti per il fissaggio sulla parete (fig. C). Livellare la staffa e fissare con tre tirafondi (non forniti).
Loosen the four screws on the sides of the appliance, and remove the wiring plate (fig. A). Unscrew the two screws on
the wiring plate (Fig. B) to remove the mounting plate to attach to the wall. Locate the three holes that mark the points
for mounting on the wall (fig. C). Level the plate and secure with three screws (not supplied).
Fissata la piastra alla parete, applicare la piastra cablaggio, fissandola con le viti (fig. B, C). Inserire il cavo elettrico
(fig. D) attraverso il passacavo (1) e collegare i cavi al sezionatore (2) e stringere la fascetta del fermacavo.
L’apparecchio è dotato di portafusibile (fig. E)
When the support plate is fixed to the wall, apply the wiring plate and secure with the screws (Fig. B, C). Plug the
power cable (fig. D) through the hole (1) and connect the cables to the disconnector (2) and tighten the cable gland.
Light fixture equipped of fuseholder (fig. E).
INSTALLAZIONE - INSTALLATION
MN150A
AC
B
1
D E
2
3

89
Per la sostituzione della lampada procedere nel seguente modo.
1- Svitare le 3 viti della ghiera blocca schermo superiore.
2 - Rimuovere la ghiera
3 - Rimuovere lo schermo in vetro temprato.
4 - Estrarre la lampada e sostituirla con una di uguali caratteristiche. (Non toccare la lampada a mani nude).
Ripetere le operazione in ordine inverso per applicare la lampada, lo schermo in vetro, la ghiera blocca schermo con le 3 viti.
To replace the bulb, proceed as follows.
1 - Unscrew the 3 screws on the bezel of screen.
2 - Remove the bezel.
3 - Remove the screen in tempered glass.
4 - Remove the bulb and replace it with the same characteristics. (Do not touch the bulb with bare hands).
Repeat the operation in reverse order to apply the lamp, the glass screen, the bezel with the 3 screws.
INSTALLAZIONE - INSTALLATION
MN150A
1 2 3 4
A B
Per il collegamento elettrico in classe I (g. A) o in classe II (g. B), collegare i cavi elettrici come da gure sotto.
For the electrical connection in class I (g. A) or class II (g. B), connect the wires as shown in bottom gure.
CL II
CL I

9
www. neri.biz
L’installazione deve essere eseguita secondo le prescrizioni della norma CEI 64-7 Impianti elettrici di illuminazione
pubblica e similari. L’apparecchio è previsto solo per il funzionamento nella posizione per cui è stato progettato (vedi
disegni modelli pagine seguenti). In fase di montaggio è cura dell’installatore verificare in particolare che l’accoppiamento
braccio-apparecchio garantisca il grado di protezione IP specificato sull’apparecchio stesso.
L’apparecchio deve essere utilizzato solo se completo degli schermi di protezione.
Se lo schermo risulta danneggiato o rotto, l’apparecchio non va utilizzato.
Ripristinare le condizioni originali prima di riutilizzarlo
Gli schermi di protezione sono in polimetilmetacrilato (PMMA). Per i ricambi e la loro fornitura rivolgersi al costruttore
dell’apparecchio. Il peso massimo degli apparecchi cablati (ad esclusione della lampada), la proiezione della superficie
massima soggetta alla spinta del vento (CxS) e le dimensioni dei modelli sono riportati nella tabella a pagina 15.
Per l’alimentazione sono idonei cavi dotati di un isolamento supplementare o doppio.
Quando l’apparecchio è in classe II fare attenzione che, durante l’installazione, parti metalliche esposte non vadano in
contatto elettrico con parti dell’installazione elettrica collegate ad un conduttore di protezione.
L’apparecchio è idoneo per l’installazione all’interno e all’esterno.
Le eventuali lampade a vapori di alogenuri impiegate devono essere a bassa emissione UV.
Installation must be carried out in accordance with national standards.
The fixture is intended only to work in the position
for which it was designed (see model drawings on the following pages). During assembly, the installer must make sure that the
arm-fixture coupling guarantees the IP safety class specified on the fixture.
The fixture must be used only if complete with safety screens.
If the screen is damaged or broken, the fixture must not be used.
Restore the original conditions before reusing.
The safety screens is made of polymethyl methacrylate (PMMA). For their spare parts and supplies, refer to the
manufacturer of the equipment. The maximum weight of the fully-wired light fixtures (excluding lamp), the maximum
projected surface area subject to wind pressure (CxS) and the dimensions of the different models are shown in the chart
on the page 15. Cables with added or double insulation are recommended for the power supply.
If the lantern is installed under Class II protection standards, particular care must be taken while assembling to ensure that exposed
metal parts do not come into electrical contact with parts of the electrical installation connected to a protection conductor.
The light fixture is suitable for internal and external installation.
If fitted, halide vapour lamps must have low UV emission.
AVVERTENZE PER L’INSTALLAZIONE - INSTALLATION INFORMATION
CARATTERISTICHE - CHARACTERISTICS
Apparecchio per illuminazione stradale conforme alle norme CEI EN 60598-1; 60598-2-3; Direttiva B.T. 73/23/CEE; Direttiva
EMC 89/336/CEE - 92/31/CEE - 98/68/CEE.
Apparecchio realizzato in fusione di alluminio e in lamiera di acciaio zincata. Schermi in vetro temperato.
Device for street lighting compliant with CEI EN 60598-1; 60598-2-3; Directive B.T. 73/23/CEE; Directive EMC 89/336/CEE
– 92/31/CEE – 98/68/CEE standards.
Light xture made in cast aluminium and in galvanised sheet steel. Screen in tempered glass.
27
33,5
16
AUTOMATIC
IK 08
400V 6A gG
8,5X31,5 mm
Cos ϕ0,9
Volt 230 Freq.50 Hz
Kg 7,0
IP65
0.06 m
2
35 W
70 W
G8,5
G8,5
MT
MT

10 11
L’apparecchio è stato realizzato a regola d’arte. La sua durata ed efcienza sarà migliore se usato correttamente e con
interventi di manutenzione regolare. Questo apparecchio deve essere destinato solo all’uso per il quale è stato progettato, e
cioè l’illuminazione di ambienti esterni-interni. Ogni altro uso è considerato improprio e pericoloso, ed il costruttore non può
essere considerato responsabile per danni derivanti da un uso improprio e irragionevole.
The light xture has been manufactured in compliance with correct practice. Its duration and efciency will be greater if used
correctly and with regular maintenance operations. This light xture must be installed only for the use for which it was designed,
namely for the illumination of outdoor / indoor spaces. Any other use must be considered to be improper and dangerous, and
the manufacturer cannot be held liable for any damage caused by improper and unreasonable use.
La garanzia del costruttore opera per anni 2 (due) dalla data di fattura.
La garanzia è esclusa nelle ipotesi in cui sia fatto un uso improprio dell’apparecchio, in caso di interventi o modiche non
autorizzate dalla costruttrice, e comunque ogni qualvolta non siano state rispettate le istruzioni del presente manuale.
Qualsiasi intervento per modiche alle parti meccaniche ed elettriche anche di lieve entità invalida ogni forma di garanzia e di
responsabilità del costruttore.
The manufacturer’s guarantee is valid for 2 (two) years from the date of invoicing.
The guarantee is invalidated if the light xture is used improperly, in case of operations or modications that have not been authorized
by the manufacturer, and in all other situations in which the instructions given in this manual are not respected.Any kind of operation to
modify mechanical or electrical components, even if only slight, will invalidate all forms of guarantee and liability of the manufacturer.
DESTINAZIONE D’USO - INTENDED USE
GARANZIA - GARANTEE
SMALTIMENTO - DISPOSAL
Apparecchio contrassegnato in conformità alla Direttiva Europea 2002/96/CE; 2003/108/CE (WEEE). Il simbolo sul prodotto
o sulla documentazione, indica che il prodotto non va trattato come riuto domestico, ma deve essere consegnato presso
specici punti di raccolta per il riciclaggio di apparecchiature elettriche o elettroniche. Assicurandosi che questo prodotto sia
smaltito in modo corretto, l’utente contribuisce a prevenire le potenziali conseguenze negative per l’ambiente e la salute.
Lo smaltimento abusivo o inadeguato comporta sanzioni economiche e/o amministrative, stabilite a norma di legge.
Per informazioni sui centri di raccolta e sul corretto smaltimento del prodotto, contattare l’autorità locale o la Neri. S.p.A.
This product is marked according to the European directive 2002/96/EC; 2003/108/EC (WEEE). The symbol on the product,
or on the documents, indicates that this appliance may not be treated as household waste. Instead it shall be handed over to
the applicable collection point for the recycling of electrical and electronic equipment. Make sure that this product is disposed
in corrected way, the customer contributes to prevent the negative potential consequences for the environment and the health.
The illicit disposal or inadequate involves economic and/or administrative sanctions, established according to the law. For
information about the centers of collection and the corrected disposal of the product, contact the local authority or the Neri
S.p.A.

11
www. neri.biz
Le operazioni di manutenzione vanno eseguite solo da personale specializzato, e riguardano esclusivamente la
pulizia esterna e la sostituzione della lampada, (vedi operazioni descritte al capitoli installazione).
Accertarsi che la nuova lampada abbia le stesse caratteristiche della vecchia.
La lampada, se sostituita ad intervalli regolari manterrà nel tempo la sua massima efficienza luminosa.
In occasione di tale manutenzione si consiglia di pulire anche la struttura esterna (ad apparecchio chiuso) solo con
acqua e spugna (non utilizzare idropulitrici a pressione ed altri prodotti per la pulizia).
Nel caso si rendesse necessario la sostituzione di parti, contattare esclusivamente la Neri spa per i pezzi di ricambio
originali.
Maintenance operations must be carried out only by specialised personnel, andregard solely external cleaning and
replacement of the lamp (see operations described in installation sections).
Check that the new lamp has the same characteristics as the one being replaced.
If replaced at regular intervals, lamps will maintain their maximum efficiency over time.
When the lamp is replaced, it is also advisable to clean the external structure (with the light fixture closed) with only
water and a sponge (do not use pressure washers or other cleaning products). If components need to be replaced,
contact only Neri spa to obtain original spare parts.
Attenzione, prima di effettuare operazioni di manutenzione disinserire l’apparecchio dalla rete di alimentazione elettrica.
Caution: before carrying out maintenance operations, disconnect the light fixture from the power supply system.
MANUTENZIONE - MAINTENANCE
230 VOLT
ON
OFF

Table of contents
Other NERI Light Fixture manuals
NERI
NERI LIGHT 32 Series User manual

NERI
NERI LIGHT 500 User manual
NERI
NERI Light 23 Series User manual
NERI
NERI Altair Heron User manual
NERI
NERI Light 106 User manual
NERI
NERI LIGHT 22 Series User manual
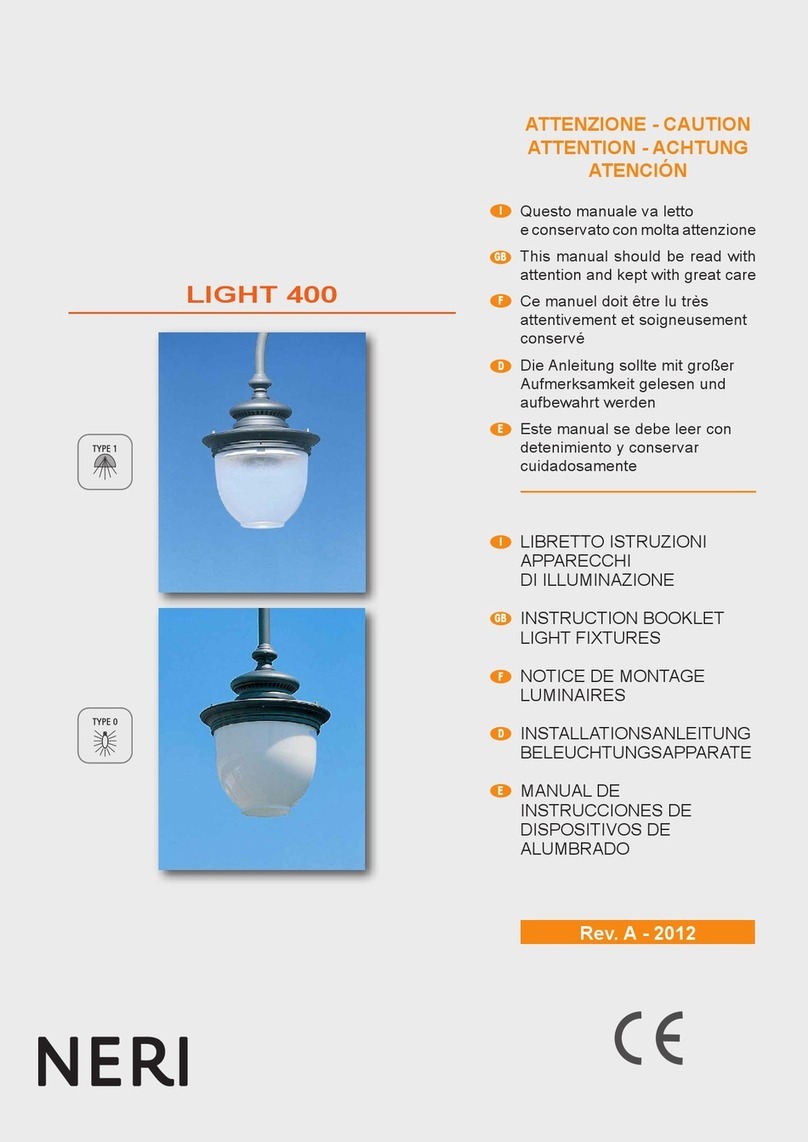
NERI
NERI LIGHT 400 User manual
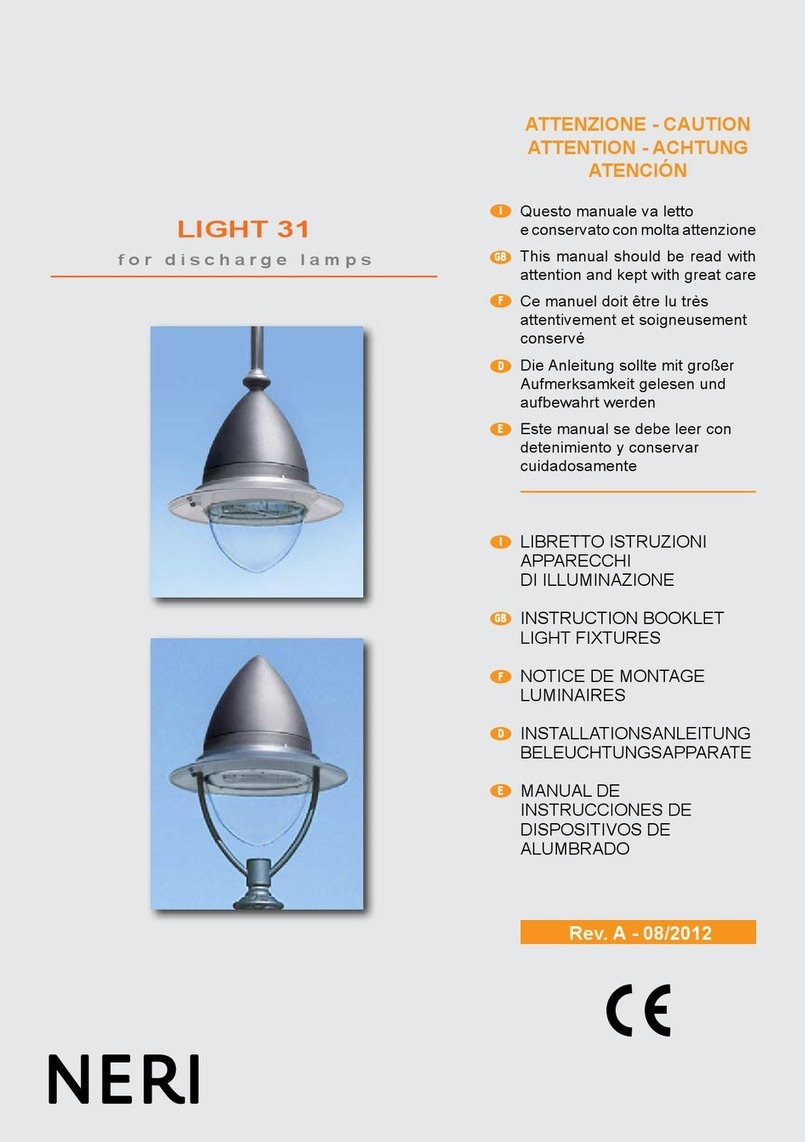
NERI
NERI LIGHT 31 Series User manual
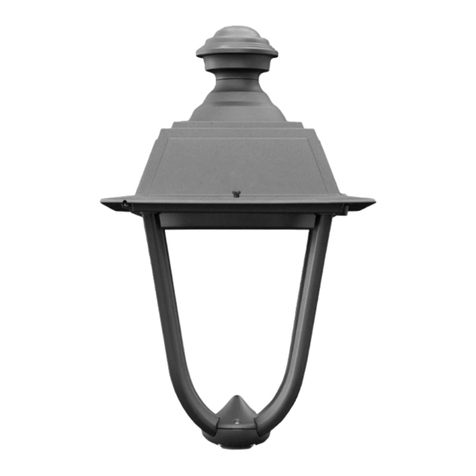
NERI
NERI LIGHT 804 User manual
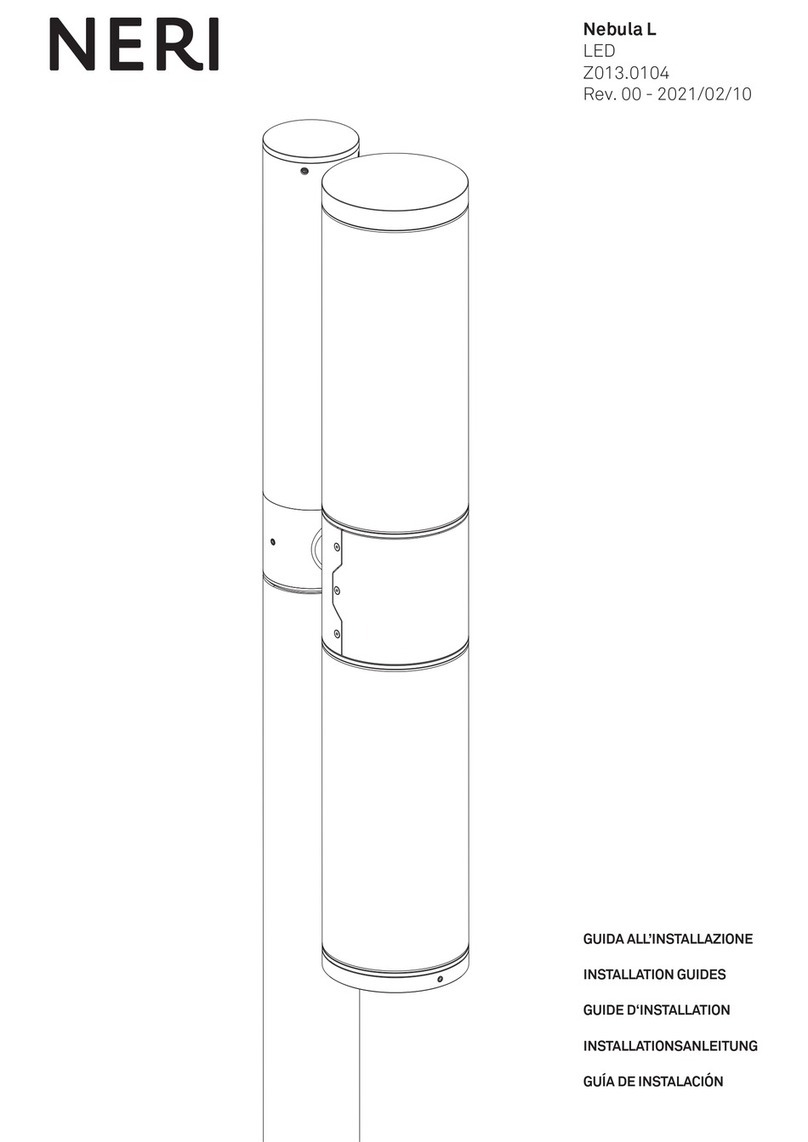
NERI
NERI Nebula L User manual
Popular Light Fixture manuals by other brands

ColorKey
ColorKey stagepar 64 tri-cob user manual
Blizzard Lighting
Blizzard Lighting Blockhead II user manual
Lightolier
Lightolier QVS2GPTOS2FT specification
Lightolier
Lightolier SC4WC232 specification

Sagitter
Sagitter ARCHER S7 user manual
Altman
Altman Spectra-Cyc SS-CYC-100 Series Installation and instruction manual
