manuals.online logo
Brands
  1. Home
  2. •
  3. Brands
  4. •
  5. NETGEAR
  6. •
  7. Security Camera
  8. •
  9. NETGEAR Ocuity 100 User manual

NETGEAR Ocuity 100 User manual

This manual suits for next models

1

Other NETGEAR Security Camera manuals

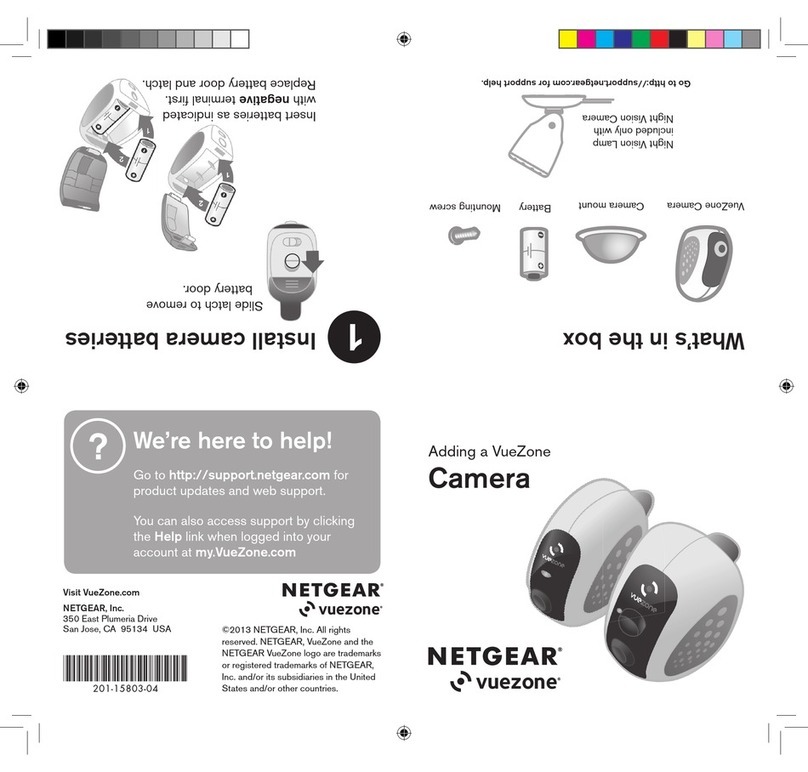
NETGEAR VueZone User manual

NETGEAR

NETGEAR VueZone User manual

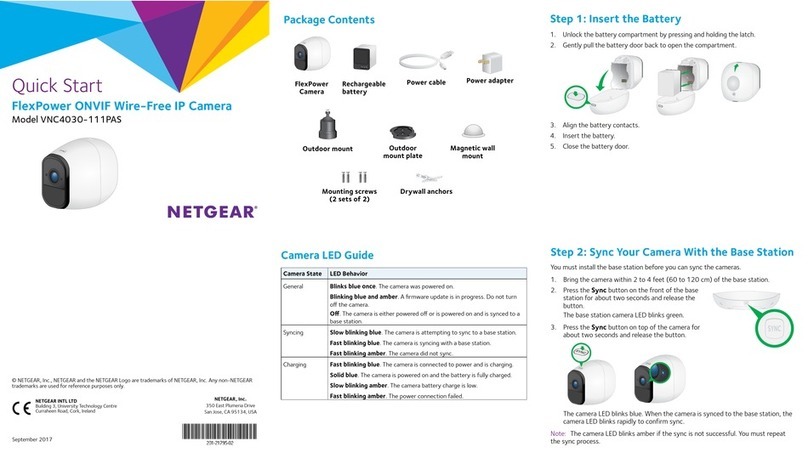
NETGEAR VNC4030-111PAS User manual

NETGEAR

NETGEAR VNC4030-111PAS User manual

NETGEAR arlo VMS3330-100EUS User manual

NETGEAR

NETGEAR arlo VMS3330-100EUS User manual

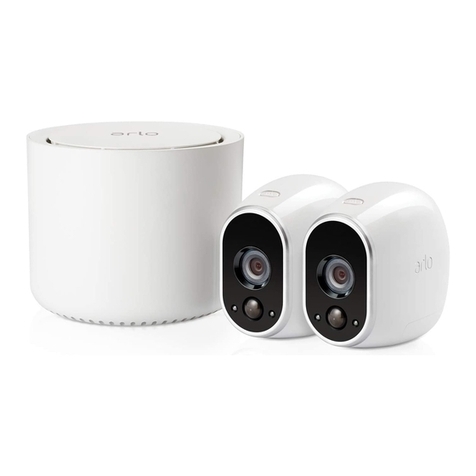
NETGEAR ARLO PRO User manual

NETGEAR

NETGEAR ARLO PRO User manual

NETGEAR Arlo Go User manual

NETGEAR

NETGEAR Arlo Go User manual

NETGEAR Arlo Q User manual

NETGEAR

NETGEAR Arlo Q User manual

NETGEAR Arlo User manual

NETGEAR

NETGEAR Arlo User manual

NETGEAR Arlo User manual

NETGEAR

NETGEAR Arlo User manual

NETGEAR Arlo Go User manual

NETGEAR

NETGEAR Arlo Go User manual

NETGEAR Arlo Q User manual

NETGEAR

NETGEAR Arlo Q User manual

NETGEAR arlo Wire-Free Camera User manual

NETGEAR

NETGEAR arlo Wire-Free Camera User manual

NETGEAR ARLO PRO User manual

NETGEAR

NETGEAR ARLO PRO User manual

NETGEAR Arlo Pro VMS4330-100EUS User manual

NETGEAR

NETGEAR Arlo Pro VMS4330-100EUS User manual

NETGEAR Arlo Q Plus User manual

NETGEAR

NETGEAR Arlo Q Plus User manual

NETGEAR VMS4130-100EUS User manual

NETGEAR

NETGEAR VMS4130-100EUS User manual

NETGEAR Arlo Q User manual

NETGEAR

NETGEAR Arlo Q User manual

NETGEAR Arlo Q Plus User manual

NETGEAR

NETGEAR Arlo Q Plus User manual

NETGEAR Arlo Go User manual

NETGEAR

NETGEAR Arlo Go User manual

NETGEAR VueZone User manual

NETGEAR

NETGEAR VueZone User manual

NETGEAR Arlo Q Plus User manual

NETGEAR

NETGEAR Arlo Q Plus User manual

NETGEAR Arlo Go User manual

NETGEAR

NETGEAR Arlo Go User manual

Popular Security Camera manuals by other brands

ADEMCO RapidDome Owners Operating & Installation Guide

ADEMCO

ADEMCO RapidDome Owners Operating & Installation Guide

EverFocus EBA2880 user manual

EverFocus

EverFocus EBA2880 user manual

Honeywell OptiCAM-IR Installation and setup guide

Honeywell

Honeywell OptiCAM-IR Installation and setup guide

Uniq UC-600 user manual

Uniq

Uniq UC-600 user manual

OPTICOM NVD-120-S datasheet

OPTICOM

OPTICOM NVD-120-S datasheet

Steren CCTV-221 instruction manual

Steren

Steren CCTV-221 instruction manual

Arm Electronics C420BCDNVFIR Features

Arm Electronics

Arm Electronics C420BCDNVFIR Features

Eneo PLD-2036PTZ installation guide

Eneo

Eneo PLD-2036PTZ installation guide

Axis AXIS M20 Series installation guide

Axis

Axis AXIS M20 Series installation guide

Panasonic KX-HCM230 operating instructions

Panasonic

Panasonic KX-HCM230 operating instructions

COP-USA CC15NV-SL Specifications

COP-USA

COP-USA CC15NV-SL Specifications

Active Silicon HARRIER H.264 quick start guide

Active Silicon

Active Silicon HARRIER H.264 quick start guide

Motorola Avigilon 1.3C-H5SL-BO1-IR installation guide

Motorola

Motorola Avigilon 1.3C-H5SL-BO1-IR installation guide

INSTEON 2864-232 user manual

INSTEON

INSTEON 2864-232 user manual

Wisenet XNB-6002 quick start guide

Wisenet

Wisenet XNB-6002 quick start guide

Axis M5525-E user manual

Axis

Axis M5525-E user manual

Vitek VTC-IR62NZ922 user guide

Vitek

Vitek VTC-IR62NZ922 user guide

Panasonic WV-SF342 Specifications

Panasonic

Panasonic WV-SF342 Specifications

manuals.online logo
manuals.online logoBrands
  • About & Mission
  • Contact us
  • Privacy Policy
  • Terms and Conditions

Copyright 2025 Manuals.Online. All Rights Reserved.

Installation Guide
Ocuity 100 Wireless IP Camera
HMNC100
Package Contents
IP camera
Power adapter
Wall anchor kit
Stand
Camera Features
Right LED
Left LED
WPS button
Reset
Power
USB / Ethernet
connection
Connect the IP Camera
Note: To connect the camera, you need a router that is connected to a computer.
1. Connect the power adapter to the camera and plug it into an electrical outlet.
2. Connect your camera to a router.
Press the WPS button on the side of the camera. Within two minutes,
press the WPS button on your wireless router.
Support
Contact your service provider for technical support.
For compliance details, visit http://www.netgear.com/about/regulatory/.
For the current EU Declaration of Conformity, visit
http://support.netgear.com/app/answers/detail/a_id/11621/.
Wi Fi ®
HMNC100_IG.fm Page 1 Thursday, February 6, 2014 9:38 AM
February 2014
NETGEAR, the NETGEAR logo, and Connect with Innovation are trademarks and/or registered trademarks
of NETGEAR, Inc. and/or its subsidiaries in the United States and/or other countries. Information is subject
to change without notice. © NETGEAR, Inc. All rights reserved.
NETGEAR, Inc.
350 East Plumeria Drive
San Jose, CA 95134 USA
Technical Specifications
Resolution 720p (1280 x 720)
Frame rate 30 FPS at 720p
Memory Buffer 30-second rolling buffer for pre-trigger event recording
Low-light capability 1 LUX (without IR LED)
Night vision 0 Lux -Range: 7M
Field of view 100 degrees diagonal
LEDs 2 bi-color (red/green) power and network LEDs
Power supply 1120 VAC to 5 VDC 2A with DC jack connector
WiFi 802-11n dual-band selectable - 2x2 with WPS 2.0
Mounting solution • Shelf or desk
• Wall or ceiling (optional)
Connectors • Power
• Network (over USB)
Multiple clients Supports 4 simultaneous streams for multiple clients
API PSIA
Troubleshooting
To determine the status of the camera, use the LEDs on the front of the camera.
Left LED Right LED Behavior
Red Red The camera has power and is booting.
Off Off The booting sequence is complete, there is no
WiFi link.
Off Blinking green The window is open for the camera to connect
with other WPS-enabled devices.
Off Green The camera is connected to a WPS-enabled
device.
Blinking green Solid green The camera is transmitting data over the WiFi
link.
Wall Mounting
To wall-mount the camera, complete the following steps:
1. Drill holes in the wall where you will wall-mount the camera.
Holes should be xxx inches (xxx centimeters) center to center.
2. Install wall anchors in the holes.
Use pan head Phillips wood screws, 3.5 x 20 mm (diameter x
length, European) or #6 type screw, 1 inch long (U.S.).
3. Insert screws into the wall anchors, leaving 3/16 in. (0.5 cm) of each
screw exposed.
HMNC100_IG.fm Page 2 Thursday, February 6, 2014 9:38 AM