Installation Guide
Business router
January 2021 © NETGEAR, Inc., NETGEAR and the NETGEAR Logo
are trademarks of NETGEAR, Inc. Any non‑NETGEAR
trademarks are used for reference purposes only.
Continued on the next page.
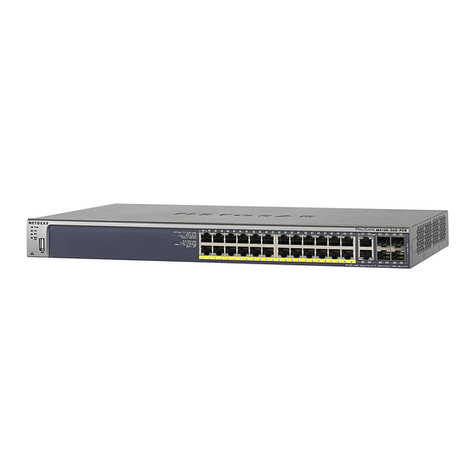
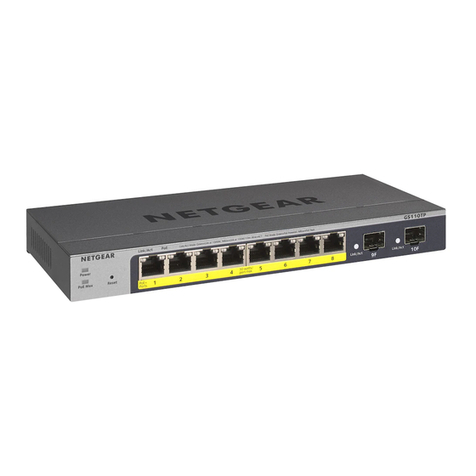
16-Port PoE+Gigabit Ethernet Plus Switch with 1 SFP
Port (180W)
GS316EP
16-Port High-Power PoE+ Gigabit Ethernet Plus
Switch with 1 SFP Port (231W)
GS316EPP
Package contents
• NETGEAR Gigabit Ethernet Plus Switch
• Power adapter (power cable varies by region)
• Wall‑mount installation kit
• Rubber feet
• Mounting ties (for power adapter)
• Installation Guide
1. Register the switch
1. From a computer or mobile device that is connected to the Internet, visit
my.netgear.com.
2. Log in to your NETGEAR account.
Note: If you don’t have a free NETGEAR account, you can create one.
The My Products page displays.
3. From the menu on the left, select Register a Product.
4. In the Serial Number eld, type the serial number of your switch.
The serial number is 13 digits long. It is printed on the switch label.
5. From the Date of Purchase menu, select the date that you purchased the
switch.
6. Click the REGISTER button.
Your switch is registered to your NETGEAR account.
A conrmation email is sent to your NETGEAR account email address.
Note: We recommend that you use a Category 5e (Cat 5e) cable or higher‑rated
cable for Gigabit Ethernet connections.
2. Connect the switch
Internet
Laptop
VoIP phone
WiFi access point
GS316EPP switch
Sample connections
Desktop computer
Security cameras
Laptop
Internet
PoE+ connections
To use the SFP port, you must insert an SFP transceiver module, which you can
purchase from NETGEAR.
This switch is designed for indoor use only. If you want to connect it to a device
located outdoors, the outdoor device must be properly grounded and surge
protected, and you must install an Ethernet surge protector inline between the
switch and the outdoor device. Failure to do so can damage the switch.
WARNING: Before connecting this switch to outdoor cables or devices, see
https://kb.netgear.com/000057103 for safety and warranty information.
3. Check the LEDs
When you connect the power cord to the switch and plug it into an electrical
outlet, the LEDs indicate the status:
LED Description
Power
Solid green: The switch is powered on and operating normally.
Off.Power is not supplied to the switch.
PoE Max
(The status of
the switch’s PoE
budget.)
Off: Sufcient (more than 7W of) PoE power is available.
Solid yellow: Less than 7W of PoE power is available.
Blinking yellow: At least once during the previous two minutes, less
than 7W of PoE power was available.
Left port LED Solid green:1000 Mbps link on this port.
Blinking green: 1000 Mbps activity on this port.
Solid yellow: 100 Mbps or 10 Mbps link on this port.
Blinking yellow: 100 Mbps or 10 Mbps activity on this port.
Off. No link is detected on this port.
Right Port LED Solid Green: The port is delivering PoE power.
Off: The port is not delivering PoE power.
Solid yellow: A PoE fault occurred.
4. Discover the switch’s IP address and access
the switch
The NETGEAR Switch Discovery Tool (NSDT) lets you discover the switch in your
network and access the local browser interface of the switch from a Mac or a
Windows‑based computer.
To install the NETGEAR Switch Discovery Tool, discover the switch in your
network, access the switch, and discover the switch IP address:
1. To download the tool, visit https://www.netgear.com/support/product/
netgear-switch-discovery-tool.aspx .
Download either the Mac or Windows version.
2. Temporarily disable the rewall, Internet security, antivirus programs, or all of
these on the computer that you use to congure the switch.
3. Unzip the NSDT les, and click or double-click the executable le (for
example, NDST‑1.2.102.exe) to install the program on your computer.
You might see the tool icon appear on your Mac dock or Windows desktop.
4. Reenable the security services on your computer.
5. Power on the switch.
6. Connect your computer to the same network as the switch.
7. Open the NSDT.
The initial page displays a menu and a button.
8. From the Choose a Connection menu, select the network for this switch.
9. Click the Start Searching button.
The NSDT displays the IP addresses of the switches that it discovers.
10. Click the ADMIN PAGE button.
The login page or login window of the local browser user interface (UI)
opens.
