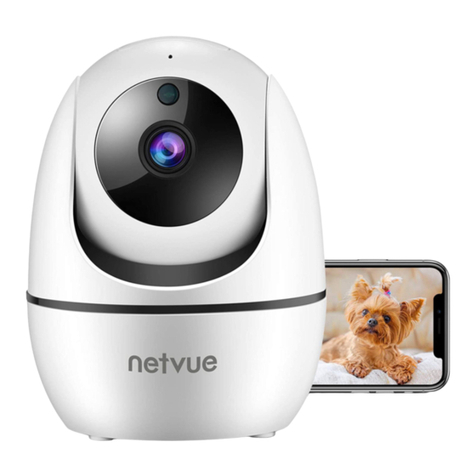
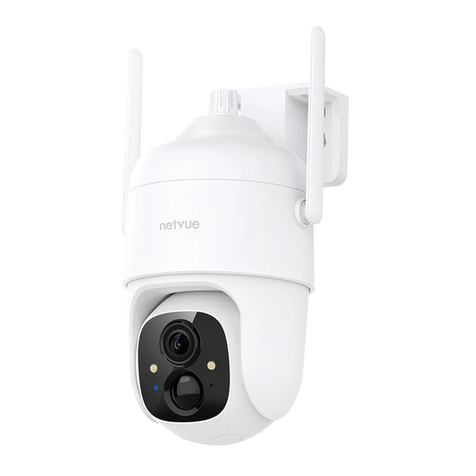
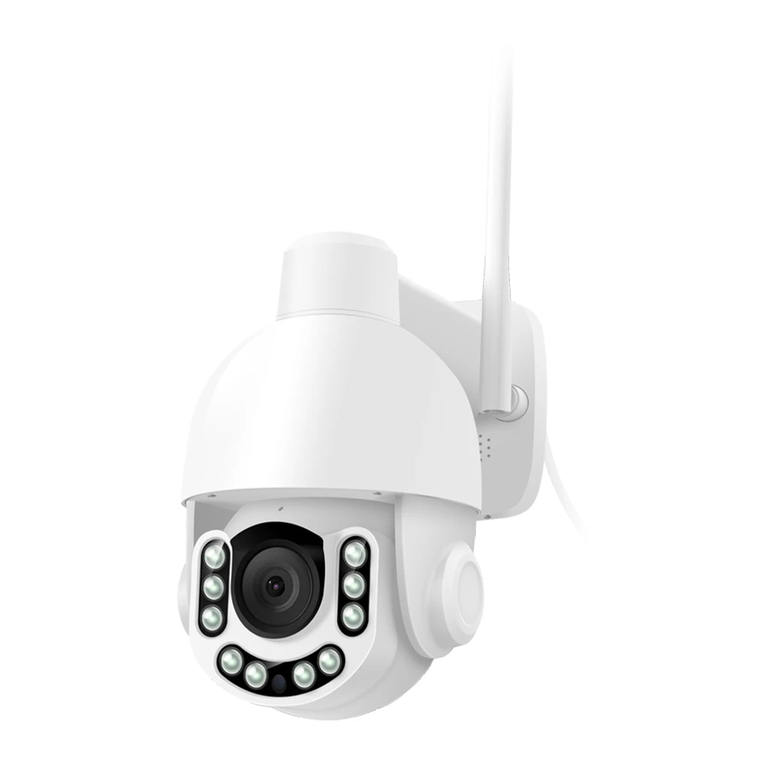
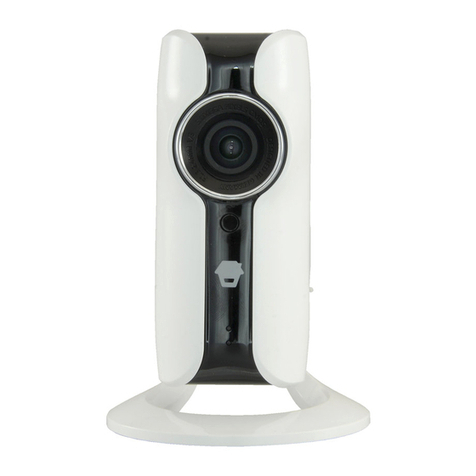
Netvue Sentry 2 User manual

Sentry 2 Quick Guide


This device complies with part 15 of the FCC Rules. Operation is subject to the
condition that this device does not cause harmful interference (1) this device may
not cause harmful interference, and (2) this device must accept any interference
received, including interference that may cause undesired operation.
Any changes or modifications not expressly approved by the party responsible for
compliance could void the user's authority to operate the equipment.
NOTE: This equipment has been tested and found to comply with the limits for a
Class B digital device, according to Part 15 of the FCC Rules. These limits are
designed to provide reasonable protection against harmful interference in a
residential installation. This equipment generates, uses and can radiate radio
frequency energy and, if not installed and used by the instructions, may cause
harmful interference to radio communications. However, there is no guarantee that
interference will not occur in a particular installation.
If this equipment does cause harmful interference to radio or television reception,
which can be determined by turning the equipment off and on, the user is
encouraged to try to correct the interference by one or more of the following
measures:
-- Reorient or relocate the receiving antenna.
-- Increase the separation between the equipment and receiver.
-- Connect the equipment into an outlet on a circuit different from that to which
the receiver is connected.
-- Consult the dealer or an experienced radio/TV technician for help.
The device has been evaluated to meet general RF exposure requirement. The
device can be used in portable exposure conditions without restriction.
The antennas used for this transmitter must be installed to provide a separation
distance of at least 20 cm from all persons and must not be co-located for operating
in conjunction with any other antenna or transmitter.
FCC ID 2AO8RNI-3261
CE RED This product can be used across EU member states.
Warning

CE RED Dieses Produkt kann in allen EU-Mitgliedstaaten verwendet werden.
CE RED Ce produit peut être utilisé dans tous les États membres de l'UE.
CE RED Este producto se puede usar en todos los estados miembros de la UE.
CE RED Questo prodotto può essere utilizzato in tutti gli Stati membri dell'UE.

Catalogue
1. What’s In The Box
2. Camera Structure
3. Insert Micro SD Card
4. Read Before Installing
5. Set Up With Netvue App
6. Installation
7. Status Light
8. Netvue Protect Plan
P. 1
P. 2
P. 3-5
P. 6
P. 11
P. 12-26
P. 27-28
P. 29-31
1. Was ist in der Box
2. Kamerastruktur
3. Legen Sie die Micro SD-Karte ein
4. Vor der Installation lesen
5. Mit Netvue App einrichten
6. Installation
7. Statusanzeige
8. Netvue Protect Plan
P. 1
P. 2
P. 3-5
P. 7
P. 11
P. 12-26
P. 27-28
P. 29-31

1. Contenu de la boîte
2. Structure de la caméra
3. Insérez la carte Micro SD
4. À lire avant l'installation
5. Configuration avec l'application Netvue
6. Installation
7. Voyant d'état
8. Plan Netvue Protect
P. 1
P. 2
P. 3-5
P. 8
P. 11
P. 12-26
P. 27-28
P. 29-31
1. Qué hay en la caja
2. Estructura de la cámara
3. Insertar tarjeta Micro SD
4. Leer antes de instalar
5. Configurar con la aplicación Netvue
6. Instalación
7. Luz de estado
8. Plan de protección de Netvue
P. 1
P. 2
P. 3-5
P. 9
P. 11
P. 12-26
P. 27-28
P. 29-31

1. Cosa c'è nella confezione
2. Struttura della telecamera
3. Inserire la scheda micro SD
4. Leggere prima dell'installazione
5. Configurazione con l'app Netvue
6. Installazione
7. Spia di stato
8. Piano Netvue Protect
P. 1
P. 2
P. 3-5
P. 10
P. 11
P. 12-26
P. 27-28
P. 29-31

What’s In The Box
Quick Guide
Kurzanleitung
Guide rapide
Guía rápida
Guida veloce
X 3
Anchors
Anker
Ancres
Anclas
Ancore Sentry 2
Weatherproof Tube
Wetterfeste Röhre
Tube résistant aux intempéries
Tubo resistente a la intemperie
Tubo resistente alle intemperie
Sentry 2 Quick Guide
Power Adapter
Netzteil
Adaptateur secteur
Adaptador de corriente
Adattatore di alimentazione
X 3
Mounting Screws
Befestigungsschrauben
Vis de montage
Tornillos de montaje
Viti di montaggio
Drilling Template
Bohrschablone
Gabarit de perçage
Plantilla de perforación
Modello di perforazione
1

2
Camera Structure
Infrared LEDs
Infrarot-LEDs
LED infrarouges
LEDs infrarrojos
LED a infrarossi
Light Sensor
Lichtsensor
Capteur de lumière
Sensor de luz
Sensore di luce
Lens
Linse
Lentille
Lente
Lente
Wi-Fi Configuration Button
Wi-Fi-Konfigurationstaste
Bouton de configuration Wi-Fi
Botón de configuración de Wi-Fi
Pulsante di configurazione Wi-Fi
Ethernet Cable Port
Ethernet-Kabelanschluss
Port de câble Ethernet
Puerto de cable Ethernet
Porta cavo Ethernet
Power Port
Stromanschluss
Port d'alimentation
Puerto de alimentación
Porta di alimentazione
Status Light
Statusanzeige
Voyant d'état
Luz de estado
Spia di stato
Microphone
Mikrofon
Microphone
Micrófono
Microfono
Micro SD Card Slot
Micro SD-Kartensteckplatz
Emplacement pour carte micro SD
Ranura para tarjeta micro SD
Slot per scheda micro SD
Speaker
Lautsprecher
Orateur
Orador
Altoparlante
Antenna
Antenne
Antenne
Antena
Antenna
TF RST

Insert Micro SD Card
Sentry 2 comes with a built-in card slot which supports up to 128GB Micro SD
card. Once you insert the storage card, the camera will automatically start to
record and store videos in the storage card. You can view those videos on the
‘Replay’ page by clicking the ‘Replay’ button in the ‘Homepage’.
Step 1: Make sure your Sentry 2 is power off. Loosen the screws and then take
off the cover.
Step 2: Insert Micro SD card. Make sure you insert it in the correct direction.
Step 3: Put the cover back and tighten the screws.
Sentry 2 verfügt über einen integrierten Kartensteckplatz, der bis zu 128 GB
Micro-SD-Karte unterstützt. Sobald Sie die Speicherkarte einlegen, beginnt
die Kamera automatisch mit der Aufnahme und Speicherung von Videos auf
der Speicherkarte. Sie können diese Videos auf der Seite "Wiedergabe"
anzeigen, indem Sie auf der Seite "Startseite" auf die Schaltfläche "Wieder-
gabe" klicken.
Schritt 1: Stellen Sie sicher, dass Ihr Sentry 2 ausgeschaltet ist. Lösen Sie die
Schrauben und nehmen Sie die Abdeckung ab.
Schritt 2: Legen Sie die Micro SD-Karte ein. Stellen Sie sicher, dass Sie es in
der richtigen Richtung einführen.
Schritt 3: Setzen Sie die Abdeckung wieder auf und ziehen Sie die Schrauben
fest.
3

4
Sentry 2 est livré avec un emplacement pour carte intégré qui prend en
charge jusqu'à 128 Go de carte Micro SD. Une fois que vous insérez la carte de
stockage, l'appareil photo commencera automatiquement à enregistrer et à
stocker des vidéos sur la carte de stockage. Vous pouvez visionner ces vidéos
sur la page "Replay" en cliquant sur le bouton "Replay" dans la "Homepage".
Étape 1: Assurez-vous que votre Sentry 2 est éteint. Desserrez les vis, puis
retirez le couvercle.
Étape 2: Insérez la carte Micro SD. Assurez-vous de l'insérer dans le bon sens.
Étape 3: Remettez le couvercle en place et serrez les vis.
Sentry 2 viene con una ranura para tarjeta incorporada que admite tarjetas
Micro SD de hasta 128 GB. Una vez que inserte la tarjeta de almacenamiento,
la cámara comenzará automáticamente a grabar y almacenar videos en la
tarjeta de almacenamiento. Puede ver esos videos en la página "Reproducir"
haciendo clic en el botón "Reproducir" en la "Página de inicio".
Paso 1: Asegúrese de que su Sentry 2 esté apagado. Afloje los tornillos y luego
retire la cubierta.
Paso 2: Inserte la tarjeta Micro SD. Asegúrese de insertarlo en la dirección
correcta.
Paso 3: Vuelva a colocar la cubierta y apriete los tornillos.

Sentry 2 è dotato di uno slot per schede integrato che supporta schede Micro
SD fino a 128 GB. Una volta inserita la scheda di memoria, la fotocamera inizierà
automaticamente a registrare e memorizzare i video nella scheda di memoria.
Puoi visualizzare questi video nella pagina "Ripeti" facendo clic sul pulsante
"Ripeti" in "Pagina iniziale".
Passo 1: Assicurarsi che Sentry 2 sia spento. Allentare le viti e quindi rimuovere
il coperchio.
Passo 2: Inserire la scheda Micro SD. Assicurati di inserirlo nella direzione
corretta.
Passo 3: Rimettere il coperchio e serrare le viti.
Micro SD Card Slot
Micro SD-Kartensteckplatz
Emplacement pour carte micro SD
Ranura para tarjeta micro SD
Slot per scheda micro SD
1
32
TF RST
5

6
1. Keep the Sentry 2 and all accessories out of reach of children and pets.
2. The Sentry 2 comes with a power adapter. If you prefer to use other
power adapters, please make sure they are certified and allow DC12V (≥
1000mA) power supply voltage.
3. The product can only be used at normal temperature and humidity:
Working temperature: -10°C - 50°C (14°F-122°F)
Working relative humidity: 0-95%.
4. Please do not expose the camera lens to direct sunlight.
5. Please do not install the camera where is likely struck by lightning.
Read Before Installing
Note:
1. Netvue Sentry 2 only works with 2.4GHz Wi-Fi.
2. Strong lights may interfere with the ability to scan the QR code.
3. Avoid placing the device behind furniture or near microwaves. Try to
keep it within range of your Wi-Fi signal.

1. Bewahren Sie den Sentry 2 und sämtliches Zubehör außerhalb der
Reichweite von Kindern und Kindern auf Haustiere.
2. Der Sentry 2 wird mit einem Netzteil geliefert. Wenn Sie andere
Netzteile bevorzugen, stellen Sie bitte sicher, dass diese zertifiziert sind,
und lassen Sie eine Versorgungsspannung von DC12V (≥1000mA) zu.
3. Das Produkt kann nur bei normaler Temperatur und Luftfeuchtigkeit
verwendet werden:
Arbeitstemperatur: -10 ° C - 50 ° C (14 ° F-122 ° F)
Relative Arbeitsfeuchtigkeit: 0-95%.
4. Bitte setzen Sie das Kameraobjektiv keinem direkten Sonnenlicht aus.
5. Bitte installieren Sie die Kamera nicht dort, wo sie wahrscheinlich vom
Blitz getroffen wird.
Vor der Installation lesen
Hinweis:
1. Netvue Sentry 2 funktioniert nur mit 2,4-GHz-WLAN.
2. Starke Lichter können die Fähigkeit zum Scannen des QR-Codes
beeinträchtigen.
3. Stellen Sie das Gerät nicht hinter Möbeln oder in der Nähe von
Mikrowel
len auf.Versuchen Sie, es in Reichweite Ihres Wi-Fi-Signals zu halten.
7

8
1. Gardez le Sentry 2 et tous les accessoires hors de portée des enfants et
animaux domestiques.
2. Le Sentry 2 est livré avec un adaptateur secteur. Si vous préférez
utiliser d'autres adaptateurs secteur, veuillez vous assurer qu'ils sont
certifiés et autorisent une tension d'alimentation DC12V (≥1000mA).
3. Le produit ne peut être utilisé qu'à température et humidité normales:
Température de fonctionnement: -10 ° C - 50 ° C (14 ° F-122 ° F)
Humidité relative de travail: 0-95%.
4. Veuillez ne pas exposer l'objectif de la caméra à la lumière directe du
soleil.
5. Veuillez ne pas installer la caméra dans un endroit susceptible d'être
frappé par la foudre.
À lire avant l'installation
Remarque:
1. Netvue Sentry 2 fonctionne uniquement avec le Wi-Fi 2,4 GHz.
2. Des lumières fortes peuvent interférer avec la capacité de scanner le
code QR.
3. Évitez de placer l'appareil derrière des meubles ou à proximité de
micro-ondes. Essayez de le garder à portée de votre signal Wi-Fi.

9
Leer antes de instalar
1. Mantenga Sentry 2 y todos los accesorios fuera del alcance de los niños
y mascotas.
2. El Sentry 2 viene con un adaptador de corriente. Si prefiere utilizar
otros adaptadores de corriente, asegúrese de que estén certificados y
permitan una tensión de alimentación de 12 V CC (≥ 1000 mA).
3. El producto solo se puede utilizar a temperatura y humedad normales:
Temperatura de trabajo: -10 ° C - 50 ° C (14 ° F-122 ° F)
Humedad relativa de trabajo: 0-95%.
4. No exponga la lente de la cámara a la luz solar directa.
5. No instale la cámara donde sea probable que le caiga un rayo.
Nota:
1. Netvue Sentry 2 solo funciona con Wi-Fi de 2,4 GHz.
2. Las luces fuertes pueden interferir con la capacidad de escanear el
código QR.
3. Evite colocar el dispositivo detrás de muebles o cerca de microondas.
Trate de mantenerlo dentro del alcance de su señal Wi-Fi.

10
1. Tenere Sentry 2 e tutti gli accessori fuori dalla portata dei bambini e
animali domestici.
2. Sentry 2 viene fornito con un adattatore di alimentazione. Se si
preferisce utilizzare altri adattatori di alimentazione, assicurarsi che
siano certificati e che consentano una tensione di alimentazione DC12V
(≥1000mA).
3. Il prodotto può essere utilizzato solo a temperatura e umidità normali:
Temperatura di funzionamento: -10 ° C - 50 ° C (14 ° F-122 ° F)
Umidità relativa di lavoro: 0-95%.
4. Si prega di non esporre l'obiettivo della fotocamera alla luce solare
diretta.
5. Si prega di non installare la videocamera in luoghi colpiti da fulmini.
Leggere prima dell'installazione
Nota:
1. Netvue Sentry 2 funziona solo con Wi-Fi a 2,4 GHz.
2. Luci forti possono interferire con la capacità di scansionare il codice QR.
3. Evitare di posizionare il dispositivo dietro mobili o vicino a microonde.
Cerca di mantenerlo entro la portata del segnale Wi-Fi.

11
Set Up with Netvue App
Download the Netvue App from App Store or Google Play. Follow the in-app instruction
to complete the entire set up process.
Laden Sie die Netvue App aus dem App Store oder von Google Play herunter. Befolgen
Sie die Anweisungen in der App, um den gesamten Einrichtungsprozess abzuschließen.
Téléchargez l'application Netvue depuis l'App Store ou Google Play. Suivez les
instructions de l'application pour terminer l'ensemble du processus de configuration.
Descargue la aplicación Netvue desde App Store o Google Play. Siga las instrucciones de
la aplicación para completar todo el proceso de configuración.
Scarica l'app Netvue da App Store o Google Play. Segui le istruzioni in-app per
completare l'intero processo di configurazione.

12
Installation
Check the following things before you start to drill holes on your wall:
1. Sentry 2 has been successfully added to your Netvue App and is able to
stream video.
2. Have planned the cable route. Measured the length of the power cable and
Ethernet cable (if you plan to use Ethernet connection) you will need.
Überprüfen Sie die folgenden Punkte, bevor Sie mit dem Bohren von
Löchern an Ihrer Wand beginnen:
1. Sentry 2 wurde erfolgreich zu Ihrer Netvue-App hinzugefügt und kann
Videos streamen.
2. Haben Sie die Kabelstrecke geplant. Sie haben die Länge des Stromkabels
und des Ethernet-Kabels gemessen (wenn Sie eine Ethernet-Verbindung
verwenden möchten), die Sie benötigen.
Vérifiez les éléments suivants avant de commencer à percer des trous sur
votre mur:
1. Sentry 2 a été ajouté avec succès à votre application Netvue et est capable
de diffuser des vidéos.
2. Avoir planifié le tracé du câble. Mesure de la longueur du câble d'alimenta-
tion et du câble Ethernet (si vous prévoyez d'utiliser une connexion Ethernet)
dont vous aurez besoin.

13
Verifique lo siguiente antes de comenzar a perforar agujeros en su pared:
1. Sentry 2 se ha agregado con éxito a su aplicación Netvue y puede transmitir
video.
2. Haber planificado la ruta del cable. Midió la longitud del cable de
alimentación y del cable Ethernet (si planea usar una conexión Ethernet) que
necesitará.
Controlla le seguenti cose prima di iniziare a praticare i fori sul muro:
1. Sentry 2 è stato aggiunto con successo alla tua app Netvue ed è in grado di
riprodurre video in streaming.
2. Hanno pianificato il percorso del cavo. Misurata la lunghezza del cavo di
alimentazione e del cavo Ethernet (se prevedi di utilizzare la connessione
Ethernet) che ti serviranno.
Table of contents
Other Netvue Security Camera manuals
Netvue
Netvue Vigil User manual
Netvue
Netvue Orb Cam User manual
Netvue
Netvue Home Cam 2 User manual

Netvue
Netvue Orb Cam User manual
Netvue
Netvue Home Cam User manual
Netvue
Netvue Vigil Plus User manual
Netvue
Netvue Birdfy Cam User manual
Netvue
Netvue Spotlight Cam User manual
Netvue
Netvue Vigil User manual
Netvue
Netvue Orb Pro User manual
