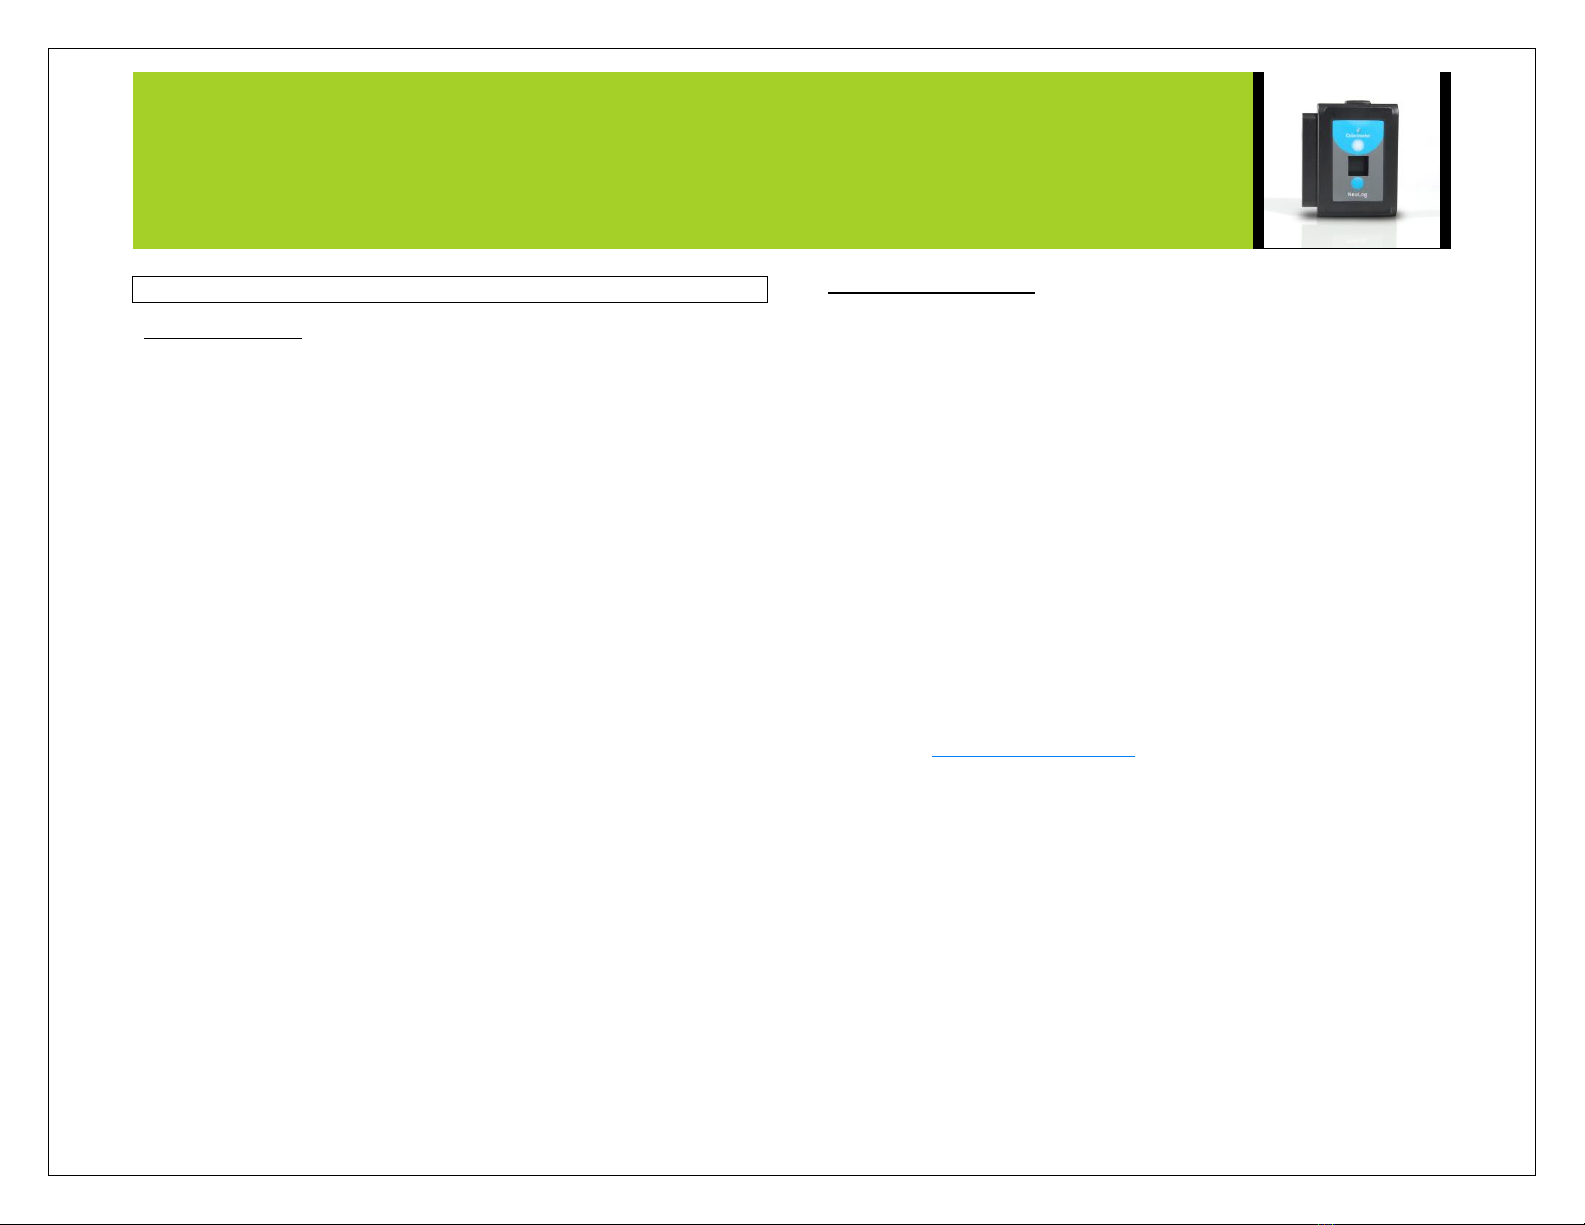
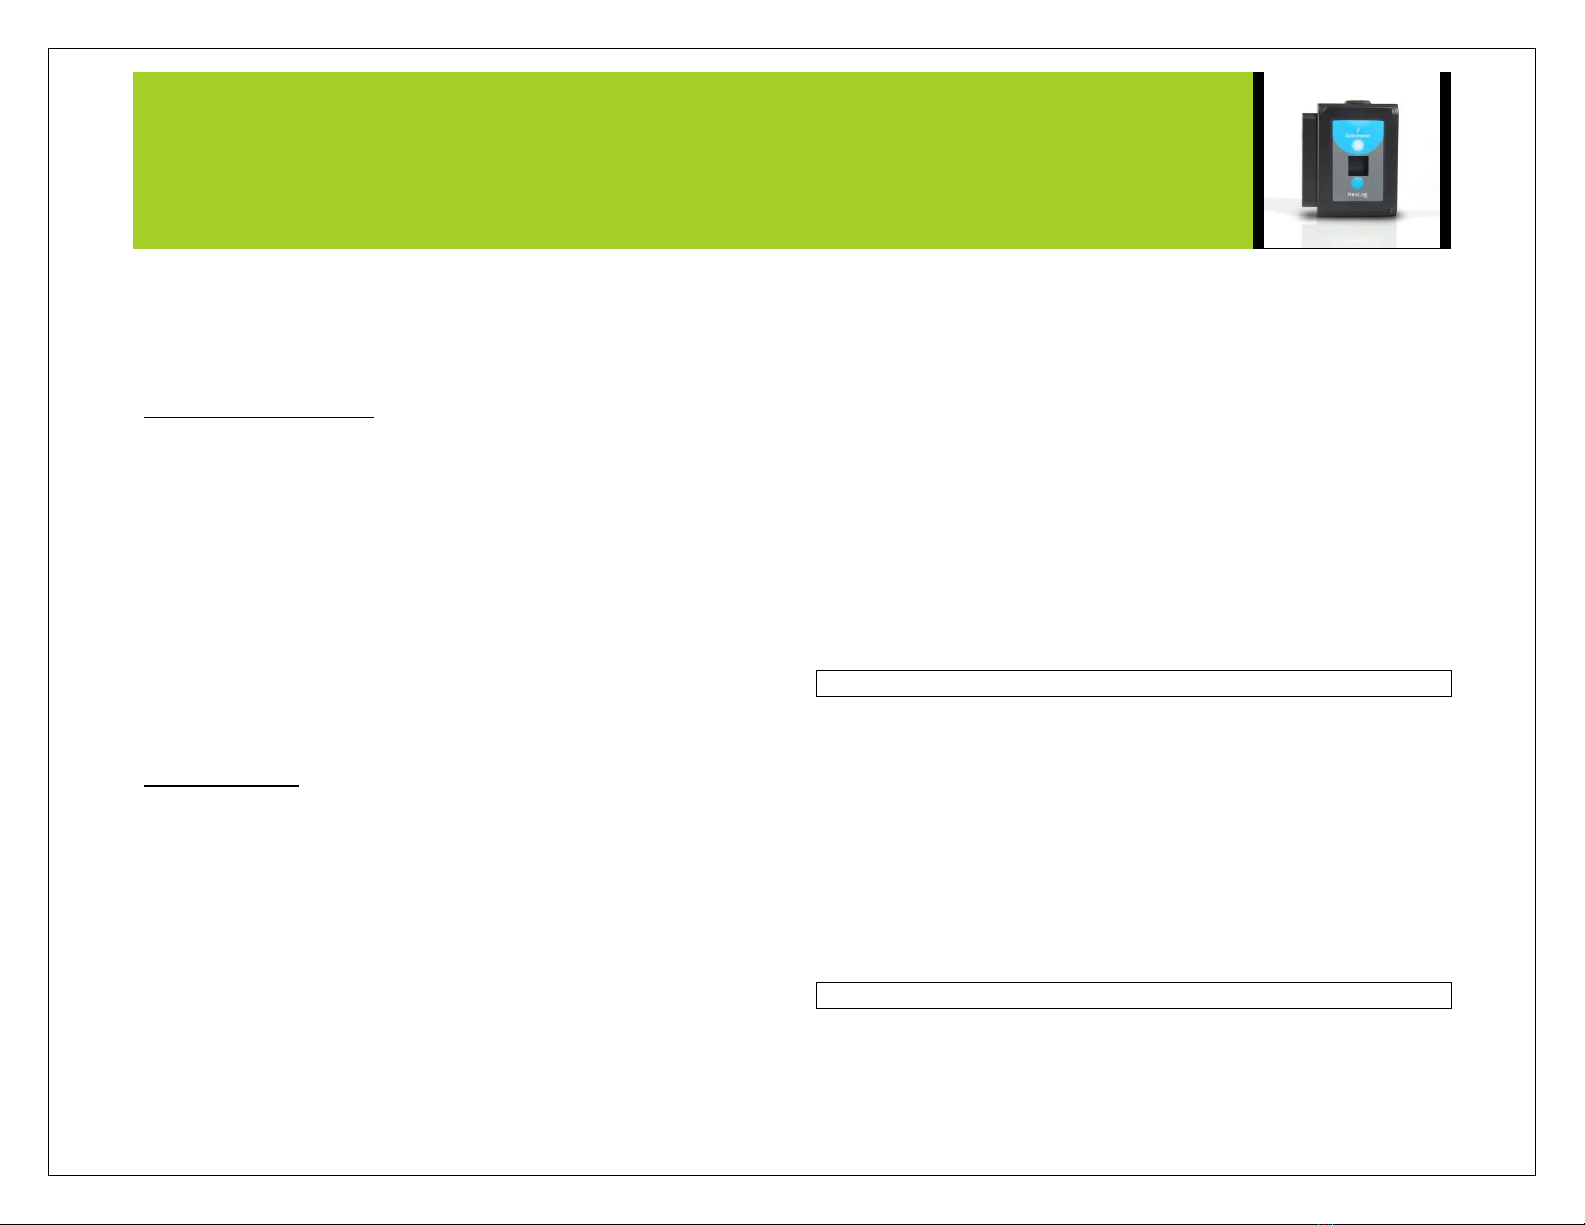
NEULOG COLORIMETER LOGGER SENSOR GUIDE
NeuLog colorimeter logger sensor
NUL-219
The colorimeter sensor can be used for any science experiment or activity where
liquid samples of different colors and concentrations are utilized such as in the fields
of Chemistry, Biology, Pharmacology, Biochemistry, Environmental Science, Physics,
or even just to study the behavior of light waves.
Colorimeters are used to determine absorbance of given wavelengths (generally red,
green, and blue) in a liquid solution. Absorbance is directly related to the
concentration of known solutes in the solution which is calculated using the Beer-
Lambert law.
The sensor comes pre-calibrated and never needs to be recalibrated.
Just a few of the thousands of possible experiments that can be done with the NUL-
219 sensor are: Monitoring of ecological systems, study of photosynthesis, analyzing
chemical reactions, water quality testing, studying light waves, studying Beer’s Law,
and can take the place of a spectrophotometer in many experiments.
The NeuLog colorimeter sensor can collect data using the following units of
measurement:
%Transmittance: The amount of light that passes through a sample.
Absorbance: The amount of light which is absorbed by a sample.
Cuvette usage and handling:
It is important to maintain a standard for cuvette usage as their quality will directly
impact the results of your experiments. If the cuvette has fingerprints, smudges, or
cracks the sensor will detect them and give off an improper colorimeter reading.
Smudges left from handling can easily be wiped off with tissue paper.
Proper usage:
1. Carefully remove the cuvettes from their packaging.
2. Load your liquid sample into the cuvette before placing it into the sensor to
prevent spilling and damaging the sensor.
3. Plug the cap into the cuvette and gently invert a few times. Shaking will
create air bubbles which will be detected by the sensor and give an
incorrect reading.
4. Before placing the cuvette in the sensor; hold the cuvette as far toward the
top as you can and wipe the bottom portion of the cuvette off with a tissue.
Do not touch the bottom portion of the cuvette again as this will leave a
residue which will affect the results of the experiment.
5. To load the cuvette into the colorimeter sensor;
a. Determine which sides of the cuvette are clear and which sides
have an opaque finish.
b. The clear opposing sides must be positioned facing the front and
back of the sensor (they won’t fit the other way) while the glossy
sides face either side.
c. If the cuvette does not fit with a gentle push, rotate 90° in either
direction and try again.
6. After experimentation, empty your samples and gently rinse out the cuvettes
with distilled water and then let the cuvettes air-dry.
Selecting a wavelength:
Selecting the correct wavelength is important to get the best data and can easily be
determined using one of two different methods. There is no incorrect wavelength, just
some which are more informative than others. Lab experiments often come with a
predetermined wavelength to use. If it doesn’t, follow one of these methods for the
best results:
Knowing that the color we see solutions as is based on the color which is
reflected from it (and not absorbed): Choose a color you know will be absorbed.
For example, if the solution is red try the blue LED option.
Once the sensor is connected and the NeuLog software is open (follow one of
the guides below for more instruction) click the “Module setup” button and try the
different LED color options to determine which has the highest absorbance
(which will read out in real time on the sensor’s icon). Select the color which has
the highest absorbance reading.