manuals.online logo
Brands
  1. Home
  2. •
  3. Brands
  4. •
  5. NeuLog
  6. •
  7. Accessories
  8. •
  9. NeuLog NUL-215 User manual

NeuLog NUL-215 User manual

NEULOG CONDUCTIVITY FIELD SENSOR GUIDE
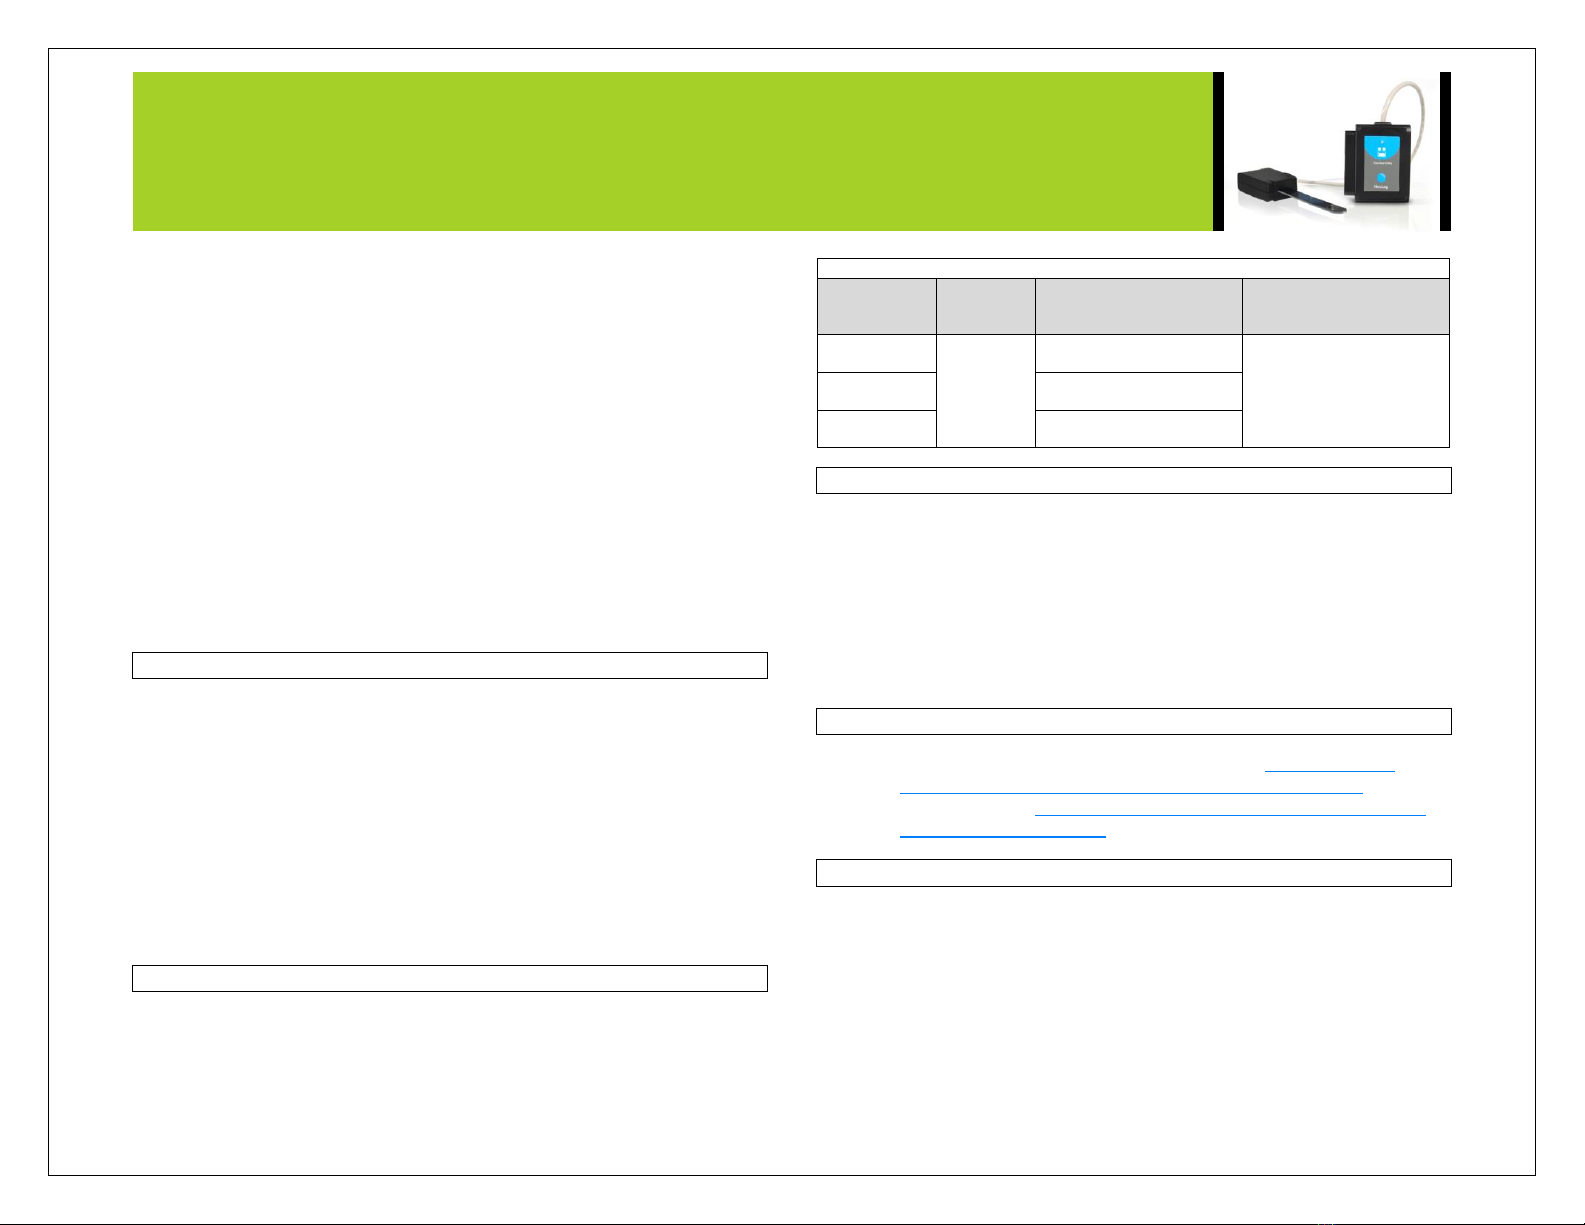
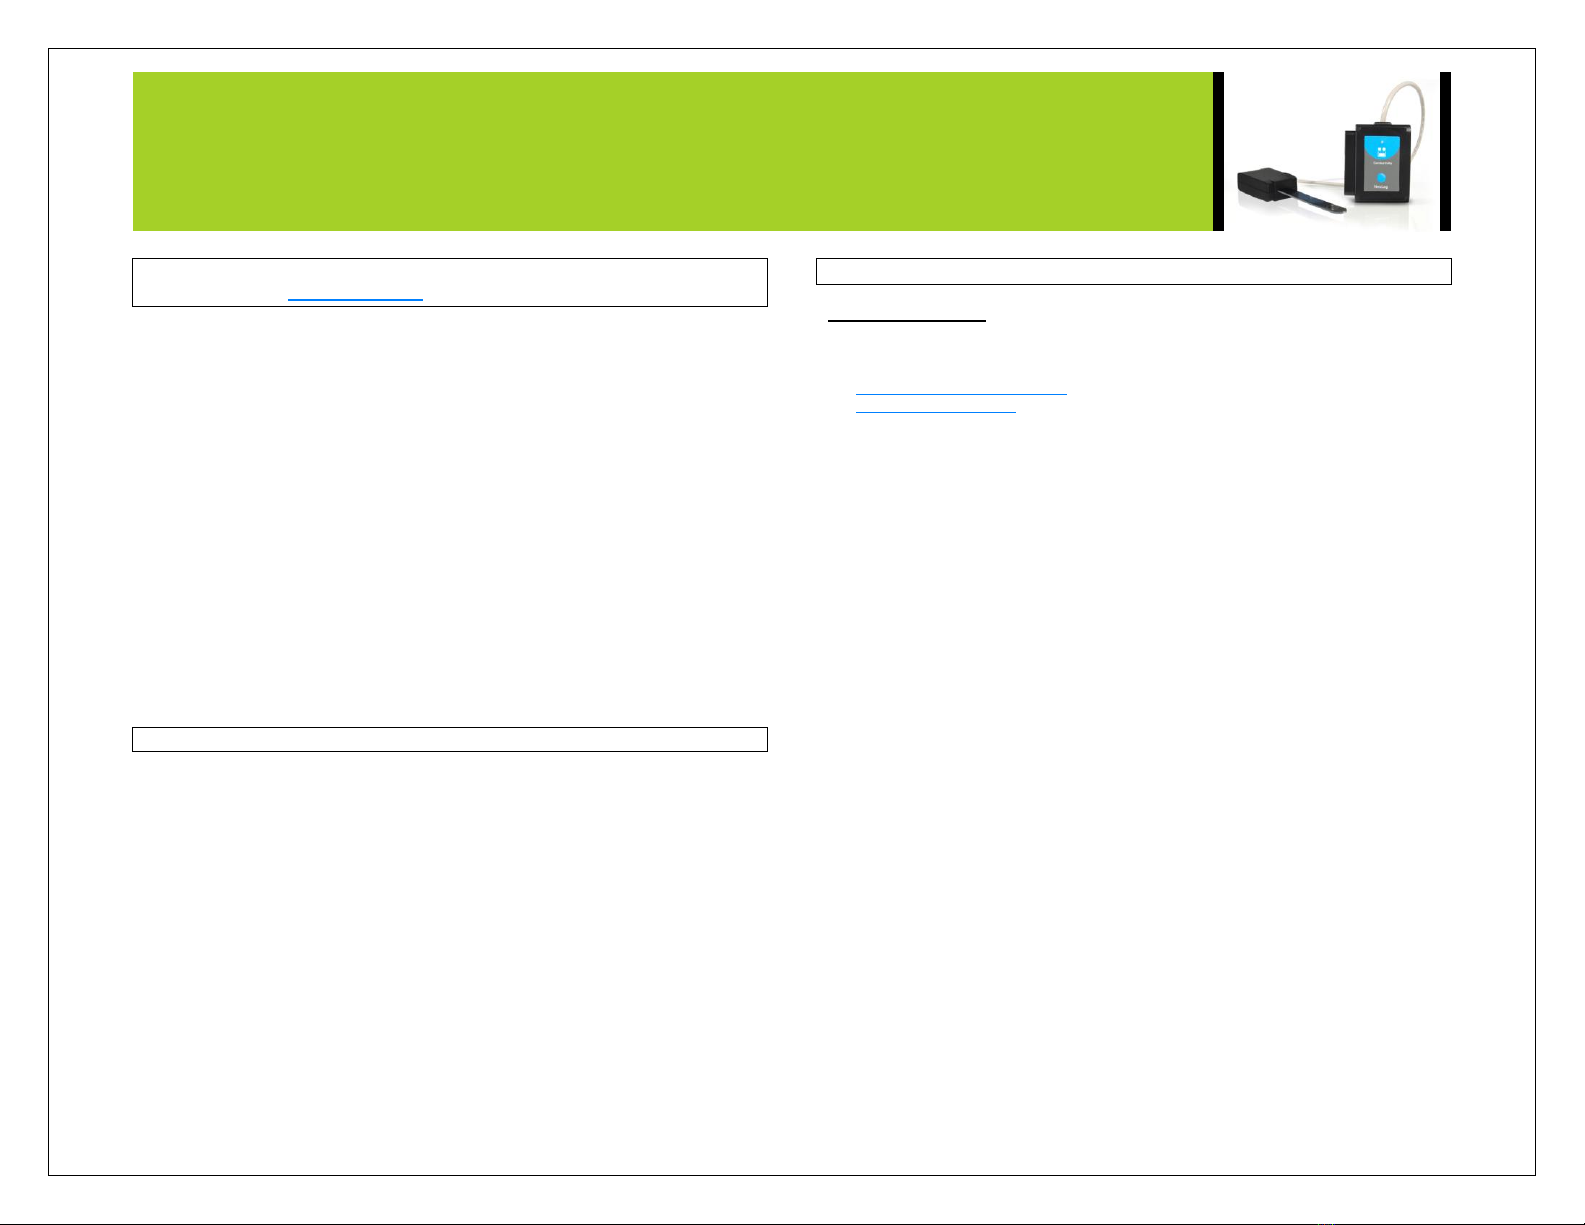
NeuLog conductivity sensor
NUL-215 Carolina # 369644
The NeuLog Conductivity Sensor can be used for any science experiment or activity
which utilizes liquid samples that can conduct electrical currents such as in the fields
of Chemistry, Biology, Earth Science, Environmental Science, Biochemistry, Physics,
etc.
Electrical conductivity is a material property measured by how easily it is able to
conduct electrical currents. A current is the flow of electrical charge (electrons)
through ions in a material. This sensor is designed for detecting electrical currents
specifically with liquid solutions.
The sensor comes pre-calibrated so you can start experimentation right out of the box
using any of the following guides. There are three units in which data can be
collected: μs/cm – micro Siemens per centimeter, mg/L –milli gram per liter, and ppm
–parts per million.
Just a few of the thousands of possible experiments that can be done with the NUL-
215 sensors are: Monitoring of ecological systems, chemical analysis and
identification, environmental health testing, water quality testing, etc.
Probe usage and care:
The probe has two flat electrodes with known surface areas and distance between
them. A signal is supplied to the electrodes and by testing the signal behavior, the
conductivity of the solution is calculated.
General care:
Avoid touching the probes flat green surface if possible.
Never submerge the probes plastic body in any liquid.
Gently rinse the probe off with distilled water after each use and between
samples to avoid damage and contamination.
Handle and store with care to avoid damaging or chipping the probe.
Quick start procedure:
PC or Mac Computer
Materials needed:
NUL-215 Conductivity Sensor
USB-200 USB Module
A USB to mini USB cable (which comes with the USB-200)
Your conductivity sensor needs to be connected to a USB-200 module. The USB-200
module then connects to a computer via a USB to mini-USB cable. Please note that
you cannot plug the conductivity sensor directly into the computer.
Resident PC software and browser based software can be downloaded for free at
www.NeuLog.com/dowload as well as a full software user guide. Note: Make sure not
to download and install both types of software, they will conflict on the computer.
Procedure:
1. Install the NeuLog software
2. Connect the USB-200 module to the PC or Mac
3. Connect the conductivity sensor to the USB-200 module (they directly plug
together). Please note there is no calibration required for this sensor.
4. Open the NeuLog software.
5. Once a conductivity sensor logo appears on the left side of the screen the
probe has been automatically identified and you can begin experimentation.
6. If the conductivity sensor is not automatically identified then click the
“Search for sensors” icon to find the sensor.
7. Select the “On-line experiment” button; this will open a graph below.
8. Click on the “Module setup” button located on the conductivity sensor icon in
the module window to change the sensor settings if need be.
9. Click on the experiment set up button to change the experiment settings if
need be (experiment duration for example).
10. The conductivity sensor will give a live reading in the box to the left of the
screen while plugged in.
11. To run an experiment and collect data click “Run experiment”.
12. To end data collection early, click “Stop experiment”.
NEULOG CONDUCTIVITY FIELD SENSOR GUIDE
Tablet, smart phone device
Materials needed:
NUL-215 Conductivity Sensor
WIFI-201 WIFI module
BAT-200 Battery
Your conductivity sensor needs to be connected to a WIFI-201 module. The WIFI-201
module will create a closed NeuLog wifi network which will stream the NeuLog data to
a device of your choosing. Once your device is wirelessly connected to the NeuLog
network you can run experiments and collect data through a browser of your choosing.
Procedure:
1. Connect the conductivity sensor directly to the left side of a WIFI-201
module (no wires required).
2. Connect a BAT-200 module to the right side of the WIFI-201 module.
3. Although not required, we recommend plugging the BAT-200 to an outlet
using a USB to micro USB charger (such as a typical cell phone charger).
The WIFI-201 module will run for 15-75 minutes (depending on the sensor)
without being plugged in.
4. For further WIFI-201 instructions or the WIFI-201 quick start guide please
visit www.NeuLog.com/download.
5. The WIFI-201 indicator lights will flash; take no action until the LED to the
far left turns blue.
6. Take your tablet or smart phone and go to the Wi-Fi settings and select the
NeuLog network which matches the WIFI module ID found on the back of
the WIFI-201 device. (NeuLogXXXX for example)
7. Give your device 1-2 minutes to connect to the WIFI-201 network.
8. Once the device is connected go to your browser and type in the website
wifi201.com into the URL bar, then wait for 30-60 seconds.
9. You will see a “Control mode” icon in the browser, click on this icon.
10. The browser will then load a new screen and begin to auto detect the
sensors, this can take a few minutes.
11. If the browser does not auto detect, select “Search for sensors”
12. Once the sensor is found you will see an icon on the left side of the screen
for the conductivity sensor. The icon will display data in real time.
13. To set the conductivity sensor’s settings click on “Module setup” button
located on the conductivity sensor icon on the left side of your screen.
14. To change the experimental settings click the “Experiment setup” button
(experiment duration for example).
15. To run an experiment and collect data click “Run experiment”.
Operation with NeuLog viewer
Materials needed:
NUL-215 Conductivity Sensor
VIEW-101 Viewing Module
BAT-200 Battery
Procedure:
1. Connect the conductivity sensor to the left side of the viewer.
2. Connect the BAT-200 module to the right side of the viewer.
3. The VIEW-101 will auto detect the sensor and you will see it appear on the
left side of the screen.
4. Once the sensor appears it will be monitoring data in real time.
5. To run an experiment and collect data click the run button (little green
person).
Off-line experiments
(Off-line experiments are for when you do not have a sensor connected directly to a
computer, tablet, smartphone, or NeuLog viewer).
Materials needed:
NUL-215 Conductivity Sensor
BAT-200 Battery
Materials needed to configure your offline experiment:
USB-200 USB Module or WIFI-201 WIFI module or VIEW-101 Viewing Module
A USB to mini USB cable (which comes with the USB-200)
NEULOG CONDUCTIVITY FIELD SENSOR GUIDE
Procedure:
1. Connect the conductivity sensor directly to the left side of a charged BAT-
200 module.
2. When ready to collect data press the “Start/Stop” button on the conductivity
sensor, a red light will turn on for the duration of the experiment.
3. To change the experiment settings first connect to your chosen device (PC,
Mac, tablet, smart device) and select the “Module setup” button. (For more
information on how to change the experiment settings view quick start
procedure section for your chosen device in this document.)
4. After the experiment has concluded (when the “Start/Stop” button is pressed
again or the data collection period ends) connect the sensor to your chosen
device. (full instructions in each device’s quick start procedure section)
5. Open NeuLog software.
6. Click the “Off-line experiment” button.
7. Click the “Load data from sensors” button.
8. Select which experimental data to upload. (5 experimental runs can be
stored at one time on the NUL-215 conductivity sensor)
Restoring sensor’s factory default settings:
Procedure:
1. Connect the USB-200 to a PC, Mac, tablet, or smart device.
2. Connect the conductivity sensor to a USB-200 module (they directly plug
together). Please note there is no calibration required for this sensor.
3. Open the NeuLog software.
4. Click the “Tools” icon.
5. Click “Restore sensor’s factory defaults” icon.
6. If prompted to clear the graph, click either the “Off-line experiment” or “On-
line experiment” (whichever you are using).
7. Click “Clear experiment results”.
8. Resume from step 4.
Included with sensor:
NeuLog NUL-215 conductivity sensor guide (this document).
Conductivity probe which is directly attached to the sensor’s plastic body.
Sensor specifications:
Range and
operation
modes
ADC
resolution
Resolution
Max sample rate (S/sec)
0 to 20,000
µS/cm
15 bit
0-2000 µS/cm -0.1 µS/cm
Over 2000 1 µS/cm
100
0 to 18,000
mg/L
0 to 1000 mg/L 0.1 mg/L
Over 1000 –1 mg/L
0 to 18,000
ppm
0-1000 ppm 0.1 ppm
Over 1000 - 1 ppm
Sensor features:
Fully digital data.
Rugged plastic ergonomic case.
Push button switch for Start/Stop experiments in off line mode.
LED indicator of experiment status (blinks while collecting data).
Pre-calibrated sensing equipment.
Conductivity sensing electrodes located on the probe which is attached
directly to the sensor’s plastic body.
Note: NeuLog products are intended for educational use.
Videos and experiment examples:
Videos, literature and other probes can be found at www.NeuLog.com
http://www.NeuLog.com/Products/ConductivityloggerSensor.aspx
Ions in Solution - http://www.neulog.com/Portals/3/Users/Experiment C-3
Ions in Solution Ver 3.2.3.pdf
Technical background:
The philosophy behind NeuLog’s plug and play technology is based on each sensor’s
ability to store its own data due to an internal flash memory chip and micro-controller
in each plastic NeuLog body. This technology allows the sensor to collect and then
store the digital data in the correct scientific units (oC, oF, Lux, %, ppm, for example).
The sensor is pre-calibrated at the factory. The built-in software in the logger can be
upgraded for free at any time using the provided firmware update.
NEULOG CONDUCTIVITY FIELD SENSOR GUIDE
On the conductivity probe there are two electrodes of known surface area with a
known distance between them which allows for the sensor to determine the
conductivity of solutions. The electrodes located on the conductivity probe have an
electrical potential difference applied to them to generate a current through the
solution. If ions are present the current will flow between the electrodes. Current
flows through solutions via ion transport, therefore the higher number of ions present
in a solution the easier an electrical current can flow and a higher conductivity value
will be measured. The electrodes alternate polarities to prevent a total ion migration to
either pole which could cause polarization and electrolysis.
Maintenance and storage:
Never submerge the NeuLog plastic body in any liquid.
Do not allow liquid into either the sensor’s or probe’s plastic body.
After using the probe rinse with distilled water and then blot or let air dry.
Store in a box at room temperature out of direct sunlight.
Warranty:
We promise to deliver our sensor free of defects in materials and workmanship for a
period of 3 years from the date of purchase. Our warranty does not cover damage of
the product caused by improper use, abuse, or incorrect storage. Sensors with a shelf
life such as ion selective proves have a warranty of 1 year. Should you need to act
upon the warranty please contact your distributor. Your sensor will be repaired or
replaced.
Thank you for using NeuLog!
Flexible, simple, fast, forward thinking.
W: www.neulog.com
E: info@neulog.com
A: 850 St Paul Street, Suite 15, Rochester, NY 14605
P: 1.866.553.8536
V04302013

Other NeuLog Accessories manuals

NeuLog NUL-227 User manual

NeuLog

NeuLog NUL-227 User manual

NeuLog NUL-204 User manual

NeuLog

NeuLog NUL-204 User manual

NeuLog NUL-218 User manual

NeuLog

NeuLog NUL-218 User manual

NeuLog NUL-219 User manual

NeuLog

NeuLog NUL-219 User manual

NeuLog NUL-209 User manual

NeuLog

NeuLog NUL-209 User manual

NeuLog NUL-219 User manual

NeuLog

NeuLog NUL-219 User manual

NeuLog NUL-228 User manual

NeuLog

NeuLog NUL-228 User manual

NeuLog NUL-222 User manual

NeuLog

NeuLog NUL-222 User manual

NeuLog NUL-236 User manual

NeuLog

NeuLog NUL-236 User manual

NeuLog NUL-229 User manual

NeuLog

NeuLog NUL-229 User manual

NeuLog NUL-211 User manual

NeuLog

NeuLog NUL-211 User manual

NeuLog NUL-232 User manual

NeuLog

NeuLog NUL-232 User manual

NeuLog NUL-245 User manual

NeuLog

NeuLog NUL-245 User manual

NeuLog NUL-228 User manual

NeuLog

NeuLog NUL-228 User manual

NeuLog NUL-237 User manual

NeuLog

NeuLog NUL-237 User manual

NeuLog NUL-209 User manual

NeuLog

NeuLog NUL-209 User manual

NeuLog NUL-216 User manual

NeuLog

NeuLog NUL-216 User manual

NeuLog NUL-212 User manual

NeuLog

NeuLog NUL-212 User manual

NeuLog NUL-220 User manual

NeuLog

NeuLog NUL-220 User manual

NeuLog NUL-237 User manual

NeuLog

NeuLog NUL-237 User manual

NeuLog NUL-227 User manual

NeuLog

NeuLog NUL-227 User manual

NeuLog NUL-212 User manual

NeuLog

NeuLog NUL-212 User manual

NeuLog NUL-216 User manual

NeuLog

NeuLog NUL-216 User manual

NeuLog NUL-220 User manual

NeuLog

NeuLog NUL-220 User manual

Popular Accessories manuals by other brands

Geca CTP21 user manual

Geca

Geca CTP21 user manual

FirstHealth FH7020 instruction manual

FirstHealth

FirstHealth FH7020 instruction manual

E+E Elektronik EE211 Operation manual

E+E Elektronik

E+E Elektronik EE211 Operation manual

Black & Decker BDL153S instruction manual

Black & Decker

Black & Decker BDL153S instruction manual

Baumer UNAR 18N6912/S14G manual

Baumer

Baumer UNAR 18N6912/S14G manual

Patton electronics 590A user manual

Patton electronics

Patton electronics 590A user manual

Svan SVR082C operating instructions

Svan

Svan SVR082C operating instructions

Zicom Z.HA.HA.MC.ATOUCH.SENSOR user manual

Zicom

Zicom Z.HA.HA.MC.ATOUCH.SENSOR user manual

SkyLink GS-MT installation instructions

SkyLink

SkyLink GS-MT installation instructions

Abibird AbiSensor quick start guide

Abibird

Abibird AbiSensor quick start guide

SUPA PEG Supa-Wing Deluxe Setup / Fold Away Instructions

SUPA PEG

SUPA PEG Supa-Wing Deluxe Setup / Fold Away Instructions

Wetelux 83 63 55 instruction manual

Wetelux

Wetelux 83 63 55 instruction manual

Kaiser Baas Rapid Charge 15K quick start

Kaiser Baas

Kaiser Baas Rapid Charge 15K quick start

cecotec SpiralChef 400 instruction manual

cecotec

cecotec SpiralChef 400 instruction manual

SENSIRION SCD42 manual

SENSIRION

SENSIRION SCD42 manual

Eldat EasyWave SH01 user manual

Eldat

Eldat EasyWave SH01 user manual

IFM VSP003 operating instructions

IFM

IFM VSP003 operating instructions

Utilitech UT-7451 manual

Utilitech

Utilitech UT-7451 manual

manuals.online logo
manuals.online logoBrands
  • About & Mission
  • Contact us
  • Privacy Policy
  • Terms and Conditions

Copyright 2025 Manuals.Online. All Rights Reserved.