manuals.online logo
Brands
  1. Home
  2. •
  3. Brands
  4. •
  5. NeuroTek
  6. •
  7. Medical Equipment
  8. •
  9. NeuroTek Deluxe Tac/AudioScan User manual

NeuroTek Deluxe Tac/AudioScan User manual

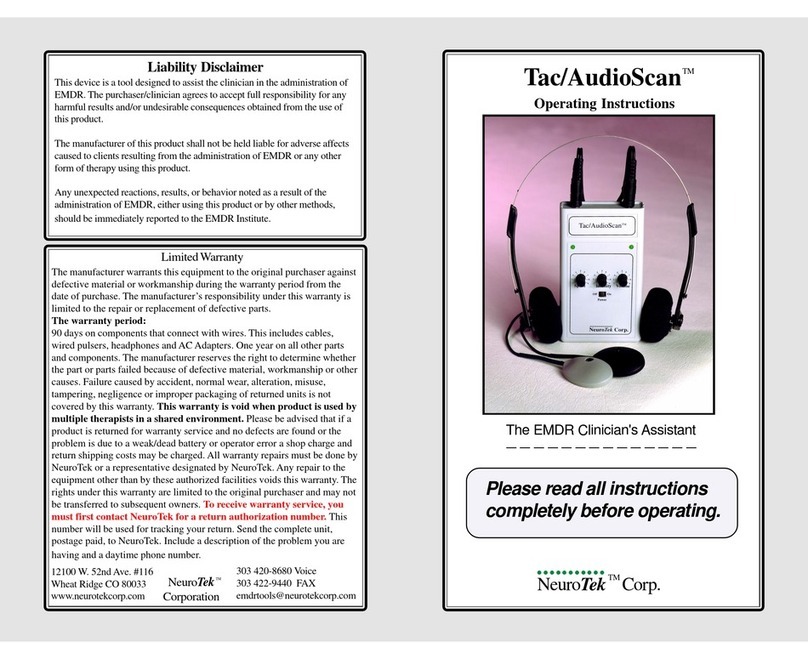
Liability Disclaimer
This device is a tool designed to assist the clinician in the administration of
EMDR. The purchaser/clinician agrees to accept full responsibility for any
harmful results and/or undesirable consequences obtained from the use of
this product.
The manufacturer of this product shall not be held liable for adverse affects
caused to clients resulting from the administration of EMDR or any other
form of therapy using this product.
Any unexpected reactions, results, or behavior noted as a result of the
administration of EMDR, either using this product or by other methods,
should be immediately reported to the EMDR Institute.
TM
The EMDR Clinician's Assistant
Please read all instructions
completely before operating.
TM
Deluxe
Tac/AudioScan
Operating Instructions
...........
Limited Warranty
The manufacturer warrants this equipment to the original purchaser against
defective material or workmanship during the warranty period from the date
of purchase. The manufacturer’s responsibility under this warranty is
limited to the repair or replacement of defective parts.
The warranty period:
90 days on components that connect with wires. This includes cables,
wired pulsers, headphones and AC Adapters. One year on all other parts
and components. The manufacturer reserves the right to determine whether
the part or parts failed because of defective material, workmanship or other
causes. Failure caused by accident, normal wear, alteration, misuse,
tampering, negligence or improper packaging of returned units is not
covered by this warranty. This warranty is void when product is used by
multiple therapists in a shared environment. Please be advised that if a
product is returned for warranty service and no defects are found or the
problem is due to a weak/dead battery or operator error a shop charge and
return shipping costs may be charged. All warranty repairs must be done
by NeuroTek or a representative designated by NeuroTek. Any repair to the
equipment other than by these authorized facilities voids this warranty. The
rights under this warranty are limited to the original purchaser and may not
be transferred to subsequent owners. To receive warranty service, you
must first contact NeuroTek for a return authorization number. This
number will be used for tracking your return. Send the complete unit,
postage paid, to NeuroTek. Include a description of the problem you are
having and a daytime phone number.
303 420-8680 Voice
303 422-9440 FAX
[email protected]
12100 W. 52nd Ave. #116
Wheat Ridge CO 80033
www.neurotekcorp.com
TM
NeuroTe k
Corporation
Deluxe Tac/AudioScan Operating Instructions
Headphones
Speed
Power
Tactile pulsers
Visual Indicators
Visual Indicators
Pulser
The DeluxeTac/AudioScan is very simple to operate. The only assembly required
is plugging in the headphones and the tactile pulsers. Set the volume, speed and intensity
controls to the desired levels and you are ready to go.
Audio Mode: To select one of 4 internally generated sounds or use an external
audio source, move the mode switch to the select position. When the desired audio mode
If your pulsers stop working or become intermittent, try a new, fresh battery or try
using the AC adapter.When the battery becomes weak, the tones and lights may
continue to operate correctly while the pulsers may become weak or intermittent. This is
normal when the battery is weak. If a new battery does not fix the problem, contact
NeuroTek for instructions. Please do not return any product without first calling us as this
may delay any needed repairs.
* If your pulsers stop working or become intermittent *
**** Important Information - Please Read ****
External audio source
plugs in here.
Audio Mode Select
Deluxe Tac/AudioScan Controls
AC Adapter
An important note about the cables
To extend the life of your product and reduce the possibility of product
failure, we advise using care when handling the cables for this product. By
following these suggestions you may significantly extend the product’s life and
reduce the need for repairs:
1. Do not wrap cables tightly around the product. Coil the wires and use a twist tie.
2. Do not pull or stretch the cables.
3. Do not step or walk on the wires that are lying on the floor.
4. If the lengths seem too long, coil the excess and wrap with a rubber band or
twist tie to prevent from dragging on the floor.
By using care and common sense, you may prevent the need for future repairs.
To open, slide
cover down
-
Battery
polarity
+
Battery Compartment
Example of how to connect to
external audio source: Using
audio cable (supplied with plug
on both ends), connect one
end to headphone port on your
music source and the other
end to the Deluxe Tac/
AudioScan's audio input port
as shown.
is illuminated on the visual indicators, move the switch back to
the stop (middle) position to set the mode. If selecting the ex-
ternal audio mode, connect from the audio input jack on the
Tac/AudioScan to the headphone jack of any external tape or
CD player using the supplied interface cable. (See example)
To start the alternating tones and tactile, move the mode switch
to the start position. To pause in between sets, stop the alter-
nations by moving the mode switch back to the center (stop)
position. If the power switch is turned off, the audio mode will
return to the default "tones" mode when turned back on.
Hold the gray pulser in your left hand and the black
pulser in your right hand. The gray pulser pulses with the left
light and tone, and the black pulser pulses with the right light
and tone.
If the Tac/AudioScan doesn't work, verify that the bat-
tery is inserted correctly. Follow the label illustration inside the
battery compartment for correct battery orientation.
Hint: When using an external audio source containing
a speaking voice, turn the base adjustment on your audio source
to the lowest minimum setting for best sound quality.
Digital Display
shows count &
settings
Green lights turn red
when low battery
plugs in here
Control
Switch
Intensity Control
plug in here. plug in here.
Low Battery indicator: When the battery gets low the 2 green visual indicators
will turn red. The red lights indicate it is time to change the battery.
Digital Display: In normal operation mode the digital
display is in counter mode and 3 dots are turned off. When
paused the display holds last count. The counter will reset
when the session is restarted. Selecting audio modes will
turn on 3 dots on the display. The left digit displays Speed
setting, middle digit displays Intensity setting and right
digit displays Volume setting. Moving mode switch back to
center locks in audio mode and continues to display
adjustment settings. Moving mode switch back to run
returns display to counter mode.
Mode/Stop/Start
Volume
Control
Mode Switch

Other NeuroTek Medical Equipment manuals

NeuroTek Advanced LapScan 4000 User manual

NeuroTek

NeuroTek Advanced LapScan 4000 User manual

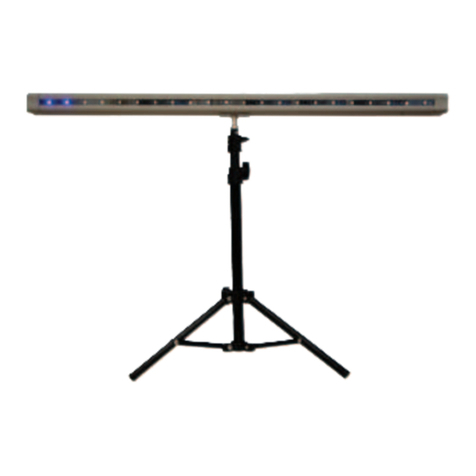
NeuroTek EyeScan Deluxe User manual

NeuroTek

NeuroTek EyeScan Deluxe User manual

NeuroTek Tac/AudioScan User manual

NeuroTek

NeuroTek Tac/AudioScan User manual

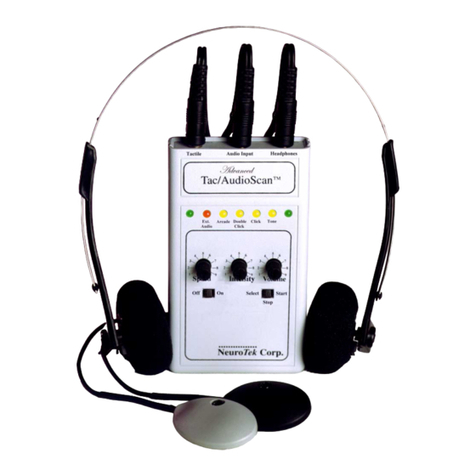
NeuroTek Advanced Tac/AudioScan User manual

NeuroTek

NeuroTek Advanced Tac/AudioScan User manual

NeuroTek Elite Deluxe EyeScan Series User manual

NeuroTek

NeuroTek Elite Deluxe EyeScan Series User manual

NeuroTek Elite Series User manual

NeuroTek

NeuroTek Elite Series User manual

NeuroTek Elite Series User manual

NeuroTek

NeuroTek Elite Series User manual

Popular Medical Equipment manuals by other brands

Bauerfeind GloboPed Mobil Instructions for use

Bauerfeind

Bauerfeind GloboPed Mobil Instructions for use

Ossur FORM FIT Instructions for use

Ossur

Ossur FORM FIT Instructions for use

Accu-Chek Rapid-D Link Instructions for use

Accu-Chek

Accu-Chek Rapid-D Link Instructions for use

Arjo Prioma Series Service manual

Arjo

Arjo Prioma Series Service manual

Sanofi-aventis Lantus SoloStar Instruction leaflet

Sanofi-aventis

Sanofi-aventis Lantus SoloStar Instruction leaflet

Topline BTL-4000 user guide

Topline

Topline BTL-4000 user guide

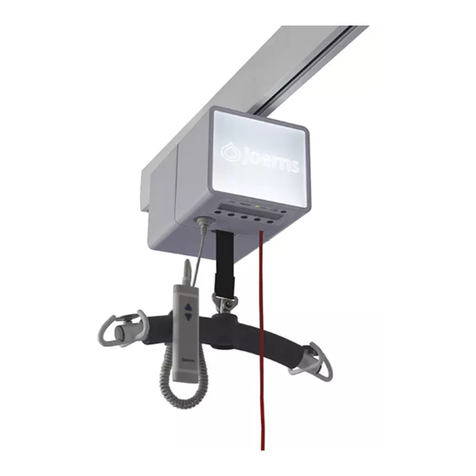
Joerns Oxford Elara Series User instruction manual

Joerns

Joerns Oxford Elara Series User instruction manual

SORG Boogie Fix & Swings Instructions for use

SORG

SORG Boogie Fix & Swings Instructions for use

Arjo MAA1150 Instructions for use

Arjo

Arjo MAA1150 Instructions for use

Arden Medical URIAS 75 000 0 Instructions for use

Arden Medical

Arden Medical URIAS 75 000 0 Instructions for use

Orthofix FORZA PTC Spacer System Instructions for use

Orthofix

Orthofix FORZA PTC Spacer System Instructions for use

PARAMOUNT BED Celenus PD-200 Series instruction manual

PARAMOUNT BED

PARAMOUNT BED Celenus PD-200 Series instruction manual

Tecnomed Italia Skudo Installation, operation and maintenance manual

Tecnomed Italia

Tecnomed Italia Skudo Installation, operation and maintenance manual

Kinetec Maestra Series user manual

Kinetec

Kinetec Maestra Series user manual

Schill Aerosonic Travel Instructions for use

Schill

Schill Aerosonic Travel Instructions for use

Promeba PC-675 user guide

Promeba

Promeba PC-675 user guide

FIBERLOCK KONTROL KUBE ABACUS Setup instructions

FIBERLOCK

FIBERLOCK KONTROL KUBE ABACUS Setup instructions

Medset PADSY TELESMART-H/P Instructions for use

Medset

Medset PADSY TELESMART-H/P Instructions for use

manuals.online logo
manuals.online logoBrands
  • About & Mission
  • Contact us
  • Privacy Policy
  • Terms and Conditions

Copyright 2025 Manuals.Online. All Rights Reserved.