Advanced LapScan 4000 Operating Instructions 23
Getting Started:
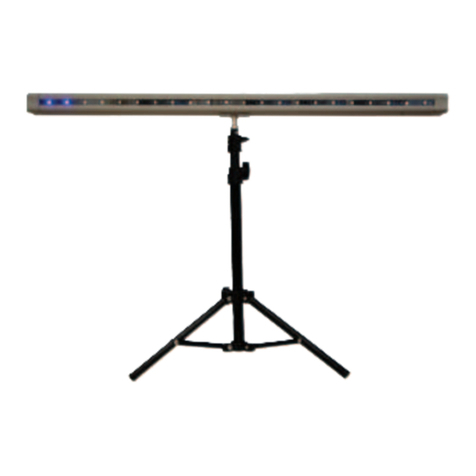
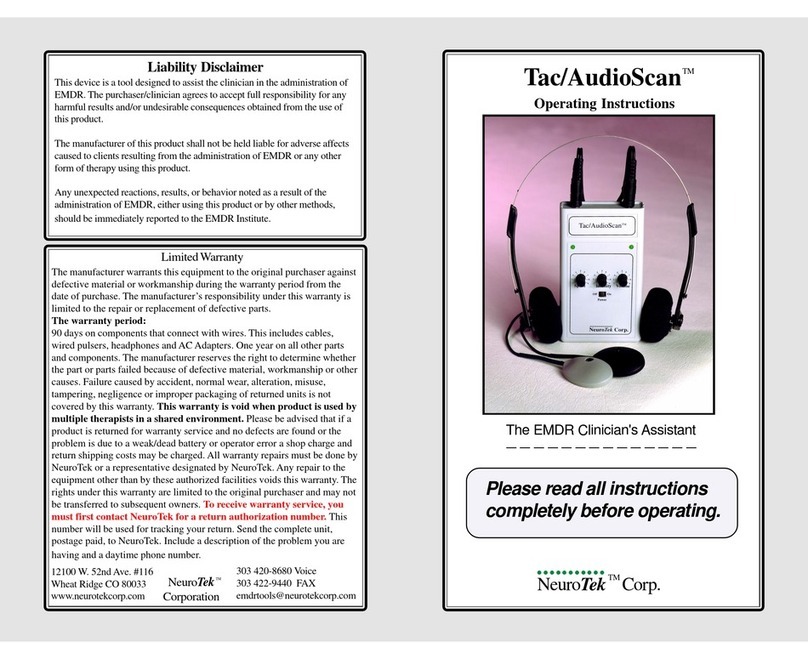
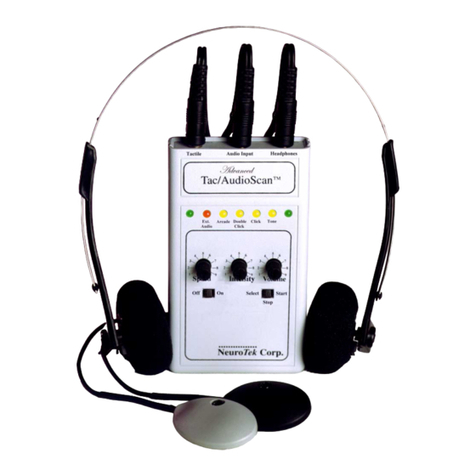
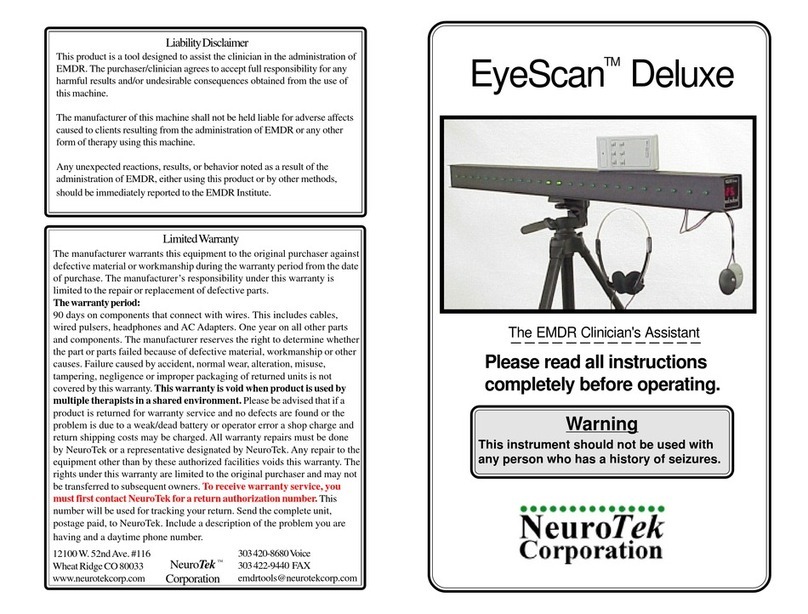
Your Advanced LapScan 4000 includes the following items: the LapScan unit,AC adapter, remote
control (with AAbatteries), tactile pulsers, audio interface cable and headphones.
You may either use your AC adapter to power your LapScan or use 6 "C" cell batteries (not
included). TheAC adapter plugs in the back of the instrument then into a nearby wall socket. To insert
the 6 "C" batteries into the battery compartment, remove battery cover located in the back of the LapScan
and insert batteries as shown on battery label. Please note: TheAC adapter must be disconnected from
the LapScan for the batteries to be functional.
If you wish to use the audio and tactile functions, plug the headphones and pulsers into the labeled
jacks located on the front, lower right of the LapScan as shown below. Be certain the plugs are inserted
completely for proper operation. Hold the gray pulser in the left hand and black in the right hand.
To turn on your LapScan, press the “Power On” button (1). When you do so, your LapScan will
produce one complete horizontal scan before stopping in the middle of the screen. The H-Line (Horizon-
tal Line) indicator and the tone indicator will be illuminated. The numeric display (2) will be off, and the
mode display (3) will be in visual mode.
Panel Control Operation:
To start a scanning sequence, press the “Start/Stop” button. Once scanning, the Scan Mode (4) and
Auditory indicators (5) will turn off while the lights are moving.
To stop a scanning sequence, press the “Start/Stop” button. When the lights reach the center,
scanning will stop and the Scan Mode (4) and Auditory indicators (5) will illuminate, showing the
currently selected modes.
All modes and settings may be changed whether scanning or stopped. The buttons labeled /\ (up) and \/
(down) are dual function. When pressed independently, they will increase and decrease the value of the
currently selected mode. If you press and hold the Mode Select button, pressing the /\ and \/ buttons will
change the currently selected mode. The following descriptions illustrate this principle:
Visual Scan Mode: To change the visual scan mode, hold the Mode Select button down and press /\ or
\/ until the Visual indicator light is illuminated. Release the Mode Select button and press the /\ or \/
button until the desired visual pattern is selected. If the lights are scanning, the next mode will not engage
until the current cycle is finished and the lights return to the center.
Auditory Mode: To change the auditory mode, hold the Mode Select button down and press /\ or \/ until
the Auditory indicator light is illuminated. Release the Mode Select button and press the /\ or \/ button
until the desired auditory sound is selected. For ExternalAudio, plug the audio interface cable into the
Green Indicator
Remote Control Operation:
All button functions on the Remote Control are reflected in the diagram below.
The green indicator will flash when any button is pushed. If the green light fails to
flash, replace the 2AAbatteries in the remote.
To begin scanning, press the “Start” button. To stop scanning, press the “Stop”
button. To change the currently selected mode, press the “Mode /\ or Mode \/
buttons. To change the value of the currently selected mode, press the /\ or \/
buttons. Power to the LapScan must be turned on and off from the main panel.
Ext.Audio Jack in the lower right area of the LapScan and plug the other end of the cable into the
headphone jack of your tape or CD player. Set the volume on your tape/CD player to maximum and
start your music. With the Mode Display set to Auditory, select Ext.Audio. Hint: Slower speeds
will be more pleasant when using external music.
Speed Select Mode: To change the speed, hold the Mode Select button down and press /\ or \/
until the Speed indicator light is illuminated. The numeric display will indicate the current speed.
Release the Mode Select button and press the /\ or \/ button until the desired speed is selected. The
numeric display will indicate a speed between 1 and 40.
Pulser Intensity Select Mode: To change the pulser intensity, hold the Mode Select button down
and press /\ or \/ until the Intensity indicator light is illuminated. The numeric display will indicate
the current intensity setting. Release the Mode Select button and press the /\ or \/ button until the
desired intensity is selected. The numeric display will indicate an intensity between 1 and 15.
Volume Select Mode: To change the volume, hold the Mode Select button down and press /\ or \/
until the Volume indicator light is illuminated. The numeric display will indicate the current volume
setting. Release the Mode Select button and press the /\ or \/ button until the desired volume is
selected. The numeric display will indicate a volume between 1 and 15.
Counter Display Mode: To select counter display mode, hold the Mode Select button down and
press /\ or \/ until the Counter indicator light is illuminated. The numeric display will indicate the
current counter setting. Each time the scan is stopped, the most recent scan count is displayed.
When the start button is pushed, the counter will reset to zero and start counting. When in the
counter display mode, pressing the /\ or \/ buttons will increase or decrease the current speed. The
numeric display will indicate a count between 1 and 999.
To turn off the unit, press the “Power Off” Button.
4
.
Start
Stop
Mode
Mode
NeuroTek Corp
............
^
^
^
^
Remote Control
NeuroTek Corporation
.......... Headphones
Ext.Audio
Tactile
1
5
524
AdvancedLapScan 4000 Visual
Counter
Auditory
Speed
Intensity
Volume
Ext. Audio
ArcadeDClickClick
Tone
Power Off
/\
\/
Power On
Start/Stop
Mode Select
HLine D Line Circle Infinity
