manuals.online logo
Brands
  1. Home
  2. •
  3. Brands
  4. •
  5. Next
  6. •
  7. Indoor Furnishing
  8. •
  9. Next 852520 User manual

Next 852520 User manual

Other Next Indoor Furnishing manuals
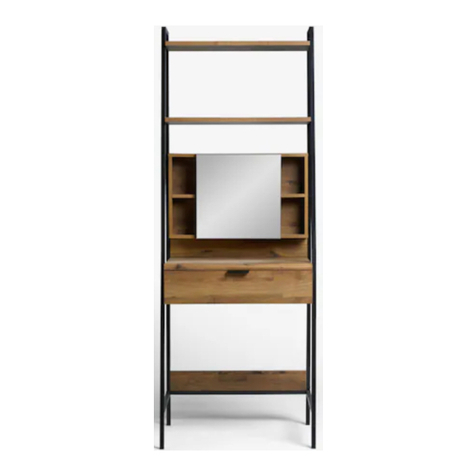
Next 987810 User manual

Next

Next 987810 User manual

Next BRONX 835815 User manual

Next

Next BRONX 835815 User manual

Next QUINN DBL ROBE 885964/A13925 User manual

Next

Next QUINN DBL ROBE 885964/A13925 User manual

Next 136638 User manual

Next

Next 136638 User manual

Next ASHTON 858081 User manual

Next

Next ASHTON 858081 User manual

Next 418025 User manual

Next

Next 418025 User manual

Next MALVERN 76992 User manual

Next

Next MALVERN 76992 User manual

Next U46138 User manual

Next

Next U46138 User manual

Next BRIGITTE 819052 User manual

Next

Next BRIGITTE 819052 User manual

Next MARIELLE 709246 User manual

Next

Next MARIELLE 709246 User manual

Next 131023 User manual

Next

Next 131023 User manual

Next EA Hartford 421161 User manual

Next

Next EA Hartford 421161 User manual

Next ELISE User manual

Next

Next ELISE User manual

Next IVA 380058 User manual

Next

Next IVA 380058 User manual

Next 681451 User manual

Next

Next 681451 User manual

Next PRIMROSE KING 370841 User manual

Next

Next PRIMROSE KING 370841 User manual

Next AMELIA 598425 User manual

Next

Next AMELIA 598425 User manual

Next SPIRIT TALLBOY 677954 User manual

Next

Next SPIRIT TALLBOY 677954 User manual

Next 965199 User manual

Next

Next 965199 User manual

Next CORSICA 132943 User manual

Next

Next CORSICA 132943 User manual

Next ASHTON 863677 User manual

Next

Next ASHTON 863677 User manual

Next 984335 User manual

Next

Next 984335 User manual

Next M75915 User manual

Next

Next M75915 User manual

Next MODULAR II 875583 User manual

Next

Next MODULAR II 875583 User manual

Popular Indoor Furnishing manuals by other brands

Regency LWMS3015 Assembly instructions

Regency

Regency LWMS3015 Assembly instructions

Furniture of America CM7751C Assembly instructions

Furniture of America

Furniture of America CM7751C Assembly instructions

Safavieh Furniture Estella CNS5731 manual

Safavieh Furniture

Safavieh Furniture Estella CNS5731 manual

PLACES OF STYLE Ovalfuss Assembly instruction

PLACES OF STYLE

PLACES OF STYLE Ovalfuss Assembly instruction

Trasman 1138 Bo1 Assembly manual

Trasman

Trasman 1138 Bo1 Assembly manual

Costway JV10856 manual

Costway

Costway JV10856 manual

moss DESIGN Caisson Credenza Assembly instructions

moss DESIGN

moss DESIGN Caisson Credenza Assembly instructions

Aquaglide FULL DECK 15.0 owner's manual

Aquaglide

Aquaglide FULL DECK 15.0 owner's manual

AREBOS AR-HE-SW30 user manual

AREBOS

AREBOS AR-HE-SW30 user manual

Till-Hilft Fulda 87005.330 Assembly instructions

Till-Hilft

Till-Hilft Fulda 87005.330 Assembly instructions

Twoey Outside 2010 quick start guide

Twoey Outside

Twoey Outside 2010 quick start guide

Hettich Easys 200 operating instructions

Hettich

Hettich Easys 200 operating instructions

The bedboss RELAX 404 Series owner's manual

The bedboss

The bedboss RELAX 404 Series owner's manual

Oeseder Möbelindustrie Bern 991 720 Assembly instructions

Oeseder Möbelindustrie

Oeseder Möbelindustrie Bern 991 720 Assembly instructions

Costway HW68469 user manual

Costway

Costway HW68469 user manual

BROSA Hans Assembly guide

BROSA

BROSA Hans Assembly guide

Prodigg MINIKA PBA015T-FUR installation manual

Prodigg

Prodigg MINIKA PBA015T-FUR installation manual

Whittier Wood Furniture McKenzie 3504AFGACa quick start guide

Whittier Wood Furniture

Whittier Wood Furniture McKenzie 3504AFGACa quick start guide

manuals.online logo
manuals.online logoBrands
  • About & Mission
  • Contact us
  • Privacy Policy
  • Terms and Conditions

Copyright 2025 Manuals.Online. All Rights Reserved.

Tools Needed
Helpline
If you have any problems with this product or require
any replacement fittings please contact Customer
Services Tel: 0844 844 8999
• Any spills should be removed immediately with a soft clean damp cloth and dried immediately.
• All assembly fixings should always be tightened properly and periodically check all fixings and tighten if
necessary.
• Avoid keeping furniture in direct sunlight or close to any heat sources as this can cause cracking, discolouration
or warping.
• Never drag pieces of furniture across the floor as this will cause damage to the joints.
• Ensure the product is protected with mats and coasters when items are placed on the surfaces, to prevent
scratching or damage.
• Do not put hot dishes directly on the surfaces of the item.
• Made in China.
• A minimum of 2 persons is required to assemble this product.
• Do not rub or scrub the surface when cleaning.
• For general cleaning, periodically dust with a soft cloth.
PRODUCT INFORMATION
• Made from Pine with NC lacquer finish and painted finish.
• We suggest you spend a short time reading through this leaflet and then follow the simple step-by-step
instructions.
ASSEMBLY INSTRUCTIONS.
Regrettably self assembly items cannot be returned once assembly is partly or fully completed unless the item is
found to be faulty. Should you need to return the unassembled product, please repack in the original packaging.
IMPORTANT
IMPORTANT - RETAIN FOR FUTURE REFERENCE - READ CAREFULLY.
• Carefully check that you have all parts before beginning assembly.
• Keep fittings out of children's reach and keep children well away from the construction area.
CARE INSTRUCTIONS
• Natural features ensure that each piece is individual. Every effort is made to ensure colour continuity between
pieces, however this is a natural product, slight colour variations and natural grain markings may occur.
• We recommend that the packaging is used to protect the surfaces during assembly.
• Always use a non-silicone based furniture polish. Silicone in furniture polishes can break down the lacquer finish.
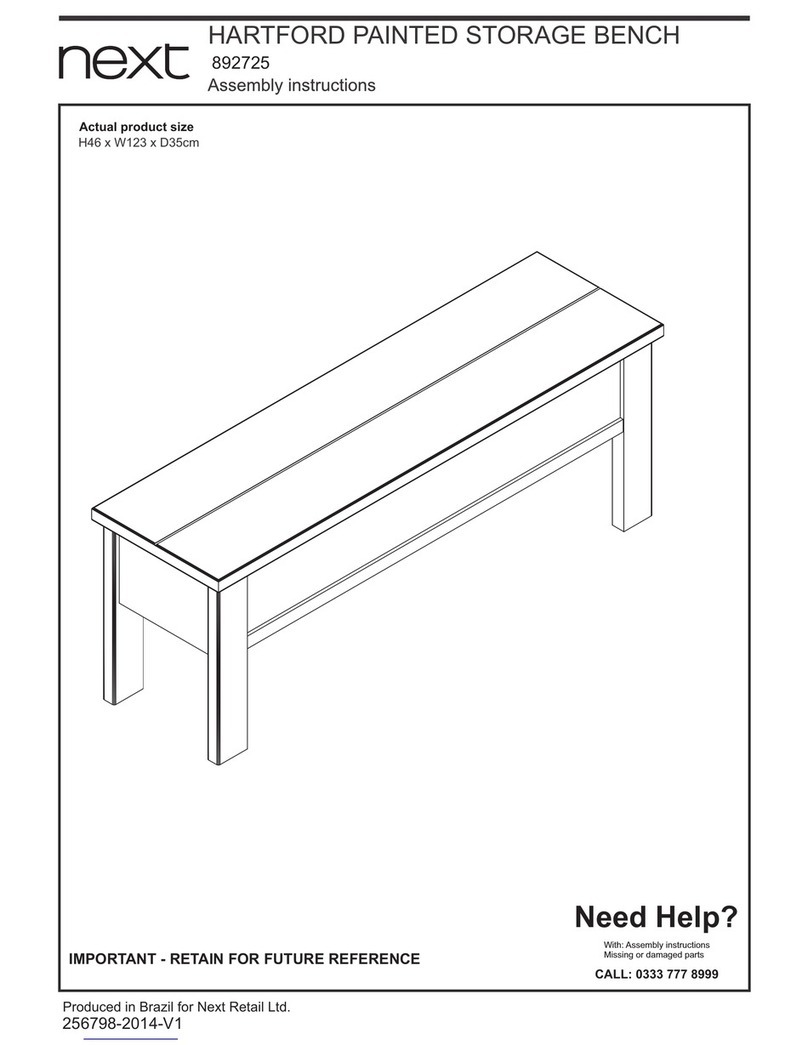
852520 HARTFORD PTD CNRTVUN
Page 1 of 13
FITTINGS
• All assembly fixings should always be tightened properly and periodically check all fixings and tighten if
necessary.
Page 2 of 13
PARTS
Page 3 of 13
1. Insert 10 x cambolts (A) into top panel 1.
2. Insert 2 x dowels (E) into rail 13.
3. Insert 3 x cambolts (A) into rail 12.
4. Insert 2 x dowels (E) into rail 25.
5. Insert 4 x dowels (E) into panel 9.
6. Insert 1 x dowel (D) and 2 x dowels (E) into rail 15.
7. Insert 1 x dowel (D) and 2 x dowels (E) into rail 16.
8. Insert 12 x dowels (E) into 2 x panels 11.
9. Insert 4 x dowels (E) into 2 x panels 17.
10. Insert 12 x dowels (E) and 4 x cambolts (A) into 2
x panels 10.
11. Insert 4 x cambolts (A) into leg 2.
12. Insert 4 x cambolts (A) into leg 3.
1. Insert 6 x cambolts (A) into rail 5 .
2. Insert 5 x cambolts (A) into rail 7 .
3. Insert 5 x cambolts (A) into rail 6.
4. Insert 6 x cambolts (A) into rail 4.
STEP TWO
STEP ONE
Page 4 of 13
1.Attach leg 3 to panel 10.
2. Insert 3 x camlocks (B) into panel 10 and tighten
with a screwdriver. Ensure the arrow indicator on the
camlocks are pointing towards the panel edge and
ensure the assembly bolt locates properly into the
camlocks before turning.
1. Attach rails 7 & 5 to panel 11.
2. Insert 6 x camlocks (B) into panel 11 and tighten
with a screwdriver. Ensure the arrow indicator on the
camlocks are pointing towards the panel edge and
ensure the assembly bolt locates properly into the
camlocks before turning.
1. Attach panel 17 to the assembled unit.
2. Insert 1 x screw (K) into panel 17, and tighten with
a screwdriver.
1. Attach rail 16 to panel 17.
2. Insert 1 x screw (K) into rail 16, and tighten with a
screwdriver.
STEP FOUR
STEP FIVE
STEP SIX
STEP THREE
Page 5 of 13
1. Attach the unit assembled from Step Six to the
unit assembled from Step Three.
2. Insert 3 x camlocks (B) into panel 10 and tighten
with a screwdriver. Ensure the arrow indicator on the
camlocks are pointing towards the panel edge and
ensure the assembly bolt locates properly into the
camlocks before turning.
1. Insert 1 x screw (K) and tighten with a screwdriver.
1. Attach panel 10 to leg 2.
STEP SEVEN
STEP EIGHT
STEP NINE
2. Insert 3 x camlocks (B) into panel 10 and tighten
with a screwdriver. Ensure the arrow indicator on the
camlocks are pointing towards the panel edge and
ensure the assembly bolt locates properly into the
camlocks before turning.
Page 6 of 13
1. Attach rails 4 & 6 to panel 11.
2. Insert 6 x camlocks (B) into panel 11 and tighten
with a screwdriver. Ensure the arrow indicator on the
camlocks are pointing towards the panel edge and
ensure the assembly bolt locates properly into the
camlocks before turning.
1. Attach panel 17 to the assembled unit.
2. Insert 1 x screw (K) into panel 17, and tighten with
a screwdriver.
1. Attach rail 15 to panel 17.
2. Insert 1 x screw (K) into rail 15, and tighten with a
screwdriver.
STEP TEN
STEP ELEVEN
STEP TWELVE
Page 7 of 13
1. Attach the unit assembled from Step Twelve to the
unit assembled from Step Nine.
2. Insert 3 x camlocks (B) into panel 10 and tighten
with a screwdriver. Ensure the arrow indicator on the
camlocks are pointing towards the panel edge and
ensure the assembly bolt locates properly into the
camlocks before turning.
1.Insert 1 x screw (K) into rail 15, and tighten with a
screwdriver.
1. Attach rail 12 to rail 25.
STEP THIRTEEN
STEP FOUREEN
STEP FIFTEEN
Page 8 of 13
2. Insert 3 x camlocks (B) into panel 25 and tighten
with a screwdriver. Ensure the arrow indicator on the
camlocks are pointing towards the panel edge and
ensure the assembly bolt locates properly into the
camlocks before turning.
1. Attach rails 8 & 13 and panel 9 to the units
assembled from Step Eight & Step Fourteen.
2. Insert 10 x camlocks (B) into rails 8 & 13 and panel
9 and tighten with screwdriver. Ensure the arrow
indicator on the camlocks are pointing towards the
panel edge and ensure the assembly bolt locates
properly into the camlocks before turning.
1. Insert 6 x screws (C) into rails 12 & 25, and tighten
with a screwdriver.
STEP SEVENTEEN
STEP SIXTEEN
Page 9 of 13
1. Attach top panel 1 to the assembled unit.
2. Insert 10 x camlocks (B) into 2 x panels 10 and 2 x
panels 11, and tighten with a screwdriver. Ensure the
arrow indicator on the camlocks are pointing
towards the panel edge and ensure the assembly
bolt locates properly into the camlocks before
turning.
1. Insert 2 x screws (C) into rail 8 & top panel 1, and
tighten with a screwdriver.
1. Attach back panel 14 to the assembled unit.
STEP EIGHTEEN
STEP NINETEEN
STEP TWENTY
Page 10 of 13