manuals.online logo
Brands
  1. Home
  2. •
  3. Brands
  4. •
  5. Nice
  6. •
  7. Security Sensor
  8. •
  9. Nice HySecurity Hy5B User manual

Nice HySecurity Hy5B User manual

Installation Instructions
Hy5B Vehicle Detector: MX4125
Hy5B Installation
To install an Hy5B vehicle detector, you will need to take the following steps:
• Test the vehicle loop.
• To use all the features of Hy5B, update the software version on the gate operator
to the latest version using S.T.A.R.T. and a PC laptop. Access free software
updates from the HySecurity website: www.hysecurity.com
• Install the Hy5B vehicle detector.
• Fully cycle the gate at least 2 times to allow the detector to adjust to the effects
of the gate during travel. Drive a test vehicle over the loops.
NOTE: For in depth aspects on all features of the Hy5B, see Hy5B User & Reference
Guide found in the Tech Support section of our website.
Test the Vehicle Loop
Run diagnostic tests on the vehicle loops before installing Hy5B vehicle
detectors to ensure the loops are in good working condition. The following
tests cannot guarantee a functioning loop, but failure of either test means that
the loop may be damaged or need to be replaced.
1. Test – Measure the resistance of the loop and lead-in wire. It should not
exceed 4.0 ohms.
2. Test – Measure the resistance to earth ground with a Megohmeter
(Megger). It should be 100 Megohms or more. Below 50 mega-ohms, install
a new loop.
NOTE: Loops may function at 100 Megohms or less, but will not be reliable (for example, when
the ground is wet from rainfall). A low megohm reading on the resistance to earth ground usually
occurs due to broken or moisture saturated insulation. Be sure to use wire with a direct burial
jacket such as XLPE or XHHW wire. Do NOT use THHN wire.
Check the Version of Software
1. In the eld, open the gate operator’s Control Box.
2. To view the software version, press the RESET key. To use Hy5B features, the
software version must be h4.55 or h5.56 (or higher). Otherwise, the Hy5B
reverts to Hy5A emulation mode.
Tools Needed
• Wire cutters
• Wire stripper
• Megohmeter (test the loops)
Parts in Box
• Hy5B
• 3 plastic standoffs (use 2, 1 extra)
• Installation Instructions
Table 1: LED Display Status
LED Acvity Indicates Condion & Resoluon
OFF Hy5A mode Emulaon mode. Some Hy5B features are unavailable.
GREEN PULSING Heart beat Normal operaon.
RED ON Call Mode Status indicates loop acvaon in process.
RED FLASHING
View display for
more informaon:
Inializing
or
Faulty loop
If inializing, wait unl inializaon is complete.
If ashing during loop operaon, take following steps:
1. Check loop wiring.
See Test the Vehicle Loop on page 2.
2. Replace loop.
3. If loop is not at issue, swap out Hy5B vehicle detector
with a known operaonal Hy5B.
4. If necessary, replace Hy5B.
Diagram 1.
Hy5B Vehicle Detector and Loop
Vehicle loop features and
functions explained on
the front label.
Metal pins fit into a
socket on the controller
board.
Terminal Ground: Lightning protection
Optional connection:
Use where lightning strikes occur.
LED
Underground
Loop
Conduit to gate operator
Houses lead in wire
Loop wire
Push terminals for loop wire.
Accepts 20 - 14 AWG
Strip length: 10mm (½ to ⅜ inch)
www.SecureOpeners.com | (800) 878-7829 | [email protected]
7. The Hy5B indicator light ashes red and the following appears.
Smart Touch 7-segment Display STC (OLED) and Smart DC Display
InIt INITIALIZING
8. When the LED on the Hy5B detector stops ashing red, it ashes green.
Initialization is complete and the detector is ready for use.
NOTE: If using Hy5A emulation mode, the LED does not ash green, it goes dark. See
Table 1: LED Display Status on page 1. The ashing green LED indicates Hy5B mode.
9. Press Reset. Pressing the Reset button:
•Clears alerts
•Checks Hy5B loop connections and re-tunes Hy5B to prevent crosstalk
• Un-installs memory of vehicle detectors physically removed
NOTE: If the Hy5B is unplugged after it is initialized, an alert appears on the display,
ALERT 10. If the issue is not resolved, ERROR 3 appears. When faults occur, the gate
operator functions as if the Hy5B is triggered.
If connecting more than one reversing loop, wiring must be in series (not
in parallel). Combine loops in series by tying together one lead from each
loop (crimp or solder wires). Insert remaining leads (one from each loop) into
the Hy5B vehicle detector set in either the OOLD or IOLD socket. For more
information, refer to the Hy5B User Guide.
CAUTION
Do not connect Free Exit loop wires to the same Hy5B detector containing obstruction loop
wires (reversing loops). You cannot combine Free Exit vehicle detection with reversing loop
detection. If you attempt to do so, vehicles crossing over the Free Exit will not be detected.
Diagram 3. Insert Plasc Standos
Diagram 2. Control Boxes
Squared-off end of
standoff
Hy5B
vehicle
detector
Power switches
Turn off both
the DC and AC
switches.
Smart Touch
Control Box
Power toggle switch
3. If you wish to update the software, download the
current S.T.A.R.T. software to your PC laptop, and then
load the gate operator code to the controller board
before installing Hy5B vehicle detectors.
See www.hysecurity.com for updates.
NOTE: Hy5A emulation mode does not include all the features of Hy5B. If you are replacing
Hy5A detectors and updating the gate operator software, be aware Build Year 1 (BY1) or Build
Year 2 (BY2) will need to be addressed. BY2 requires monitoring of external entrapment
protection sensors per UL 325 - 2016 Standard of Safety. If the gate operator was installed
prior to 2016, BY1 may be used.
Install Hy5B Vehicle Detectors
Table 2: Vehicle Loop Sets
Loop Type Installer
Menu
Loops Smart
DC
Loops Smart
Touch
Descripon
Exit Loop ELD EXIT LOOP FREE EXIT Opens a fully-closed gate.
Inside Reversing
Loop
ILD INSIDE
OBSTRUCTION
INSIDE OBSTR Connects to the inside
reversing loop.
Outside
Reversing Loop
OLD OUTSIDE
OBSTRUCTION
OUTSIDE
OBSTR
Connects to the outside
reversing loop.
Reset/Shadow/
Center
SLD/CLD CENTER LOOP SHADOW /
RESET
Prevents a gate from starting
open or closed when a vehicle
is in the path of the gate.
Install one Hy5B detector at a time. Each vehicle detector socket is labeled as
shown in column 2 of Table 2: Vehicle Loop Sets.
1. Turn power OFF in control box. See Diagram 2. Control Boxes.
2. Insert the squared-off end of the plastic standoff through the hole in the
Hy5B detector. See Diagram 3. Insert Plastic Standoffs.
NOTE: The plastic standoff “squared-off end” does not t into the mounting holes of the
control box. Double check the orientation of squared-off ends.
3. To minimize excessive exing, keep each Hy5B perpendicular to the control
board as you plug it into the Hy5B socket.
4. Secure the Hy5B by inserting each plastic standoff into the chassis.
5. Place the two wires from the loop into the push terminals of the Hy5B. For
ease of installation, the wire gauge should be 20 - 14 AWG.
NOTE: If you have more Hy5B detectors, repeat the steps 2 through 4 for each additional
Hy5B detector.
6. Turn power to the gate operator back ON.
SmartDC Control Box
CAUTION
Do not leave excess loop wire coiled in the
control box because it can generate false calls.
www.SecureOpeners.com | (800) 878-7829 | [email protected]

Other Nice Security Sensor manuals

Nice Mhouse MAD6 User manual

Nice

Nice Mhouse MAD6 User manual

Nice LP22 Operating instructions

Nice

Nice LP22 Operating instructions

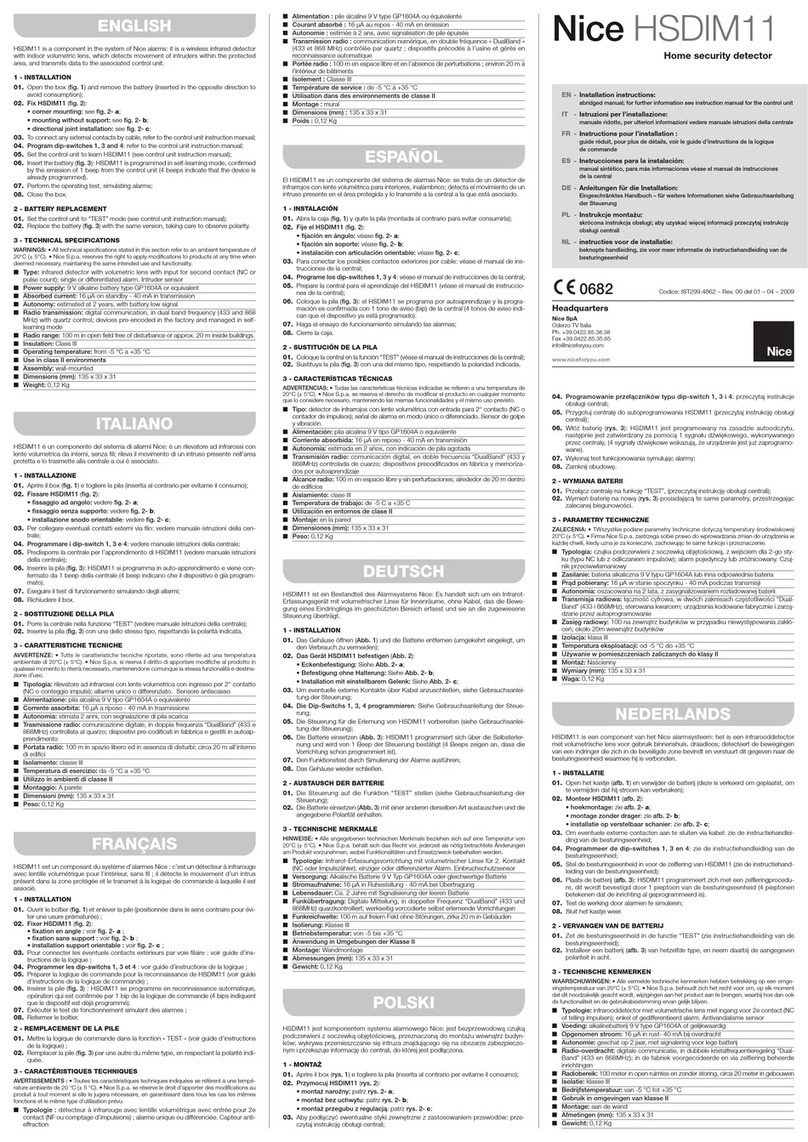
Nice HSDID11 User manual

Nice

Nice HSDID11 User manual

Nice LP21 Operating instructions

Nice

Nice LP21 Operating instructions

Nice MOONBUS MOFOB Technical specifications

Nice

Nice MOONBUS MOFOB Technical specifications

Nice HSDIM10 User manual

Nice

Nice HSDIM10 User manual

Nice HSDIM11 User manual

Nice

Nice HSDIM11 User manual

Nice Silentron Sil Bus 4080 Technical specifications

Nice

Nice Silentron Sil Bus 4080 Technical specifications

Nice Silentron Sil Bus 4081 Technical specifications

Nice

Nice Silentron Sil Bus 4081 Technical specifications

Nice EPMORB User manual

Nice

Nice EPMORB User manual

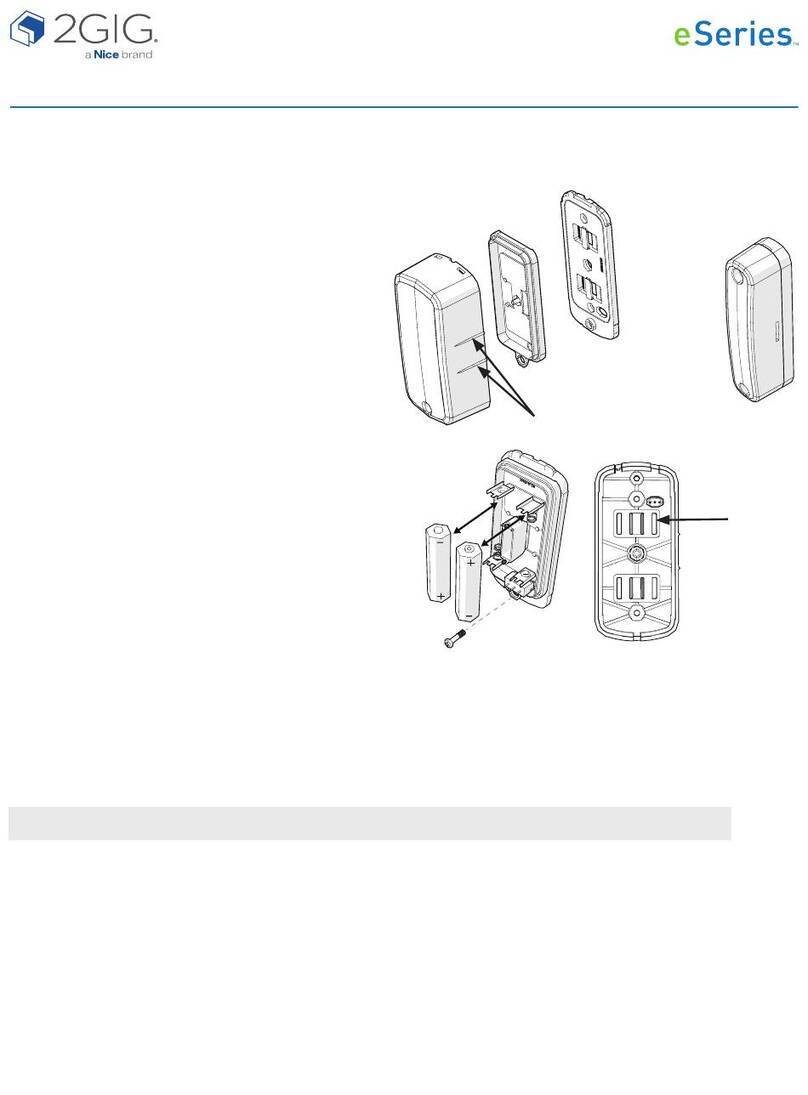
Nice 2GIG e Series User manual

Nice

Nice 2GIG e Series User manual

Nice CO Alarm-Control Technical specifications

Nice

Nice CO Alarm-Control Technical specifications

Nice Flood-Control Technical specifications

Nice

Nice Flood-Control Technical specifications

Nice Silentron Sil Bus Product manual

Nice

Nice Silentron Sil Bus Product manual

Nice HSDIM24 Technical specifications

Nice

Nice HSDIM24 Technical specifications

Nice HSDIM12 User manual

Nice

Nice HSDIM12 User manual

Nice F210B Product manual

Nice

Nice F210B Product manual

Nice LP21 User manual

Nice

Nice LP21 User manual

Nice Mhouse MAD3 Guide

Nice

Nice Mhouse MAD3 Guide

Nice HSDIM23 Technical specifications

Nice

Nice HSDIM23 Technical specifications

Nice MOONBUS MOFB Product manual

Nice

Nice MOONBUS MOFB Product manual

Nice LP21 User manual

Nice

Nice LP21 User manual

Nice F210 User manual

Nice

Nice F210 User manual

Popular Security Sensor manuals by other brands

BUCKINGHAM MFG 355TQ2 Instructions & warnings

BUCKINGHAM MFG

BUCKINGHAM MFG 355TQ2 Instructions & warnings

Kistler 8852A Series instruction manual

Kistler

Kistler 8852A Series instruction manual

PCB Piezotronics 4115A-05A Installation and operating manual

PCB

PCB Piezotronics 4115A-05A Installation and operating manual

Kistler 4502A Series instruction manual

Kistler

Kistler 4502A Series instruction manual

DeWalt DW0892G instruction manual

DeWalt

DeWalt DW0892G instruction manual

David White 47-LD18N instruction manual

David White

David White 47-LD18N instruction manual

Infinite L-com SRCN-C413-2 user guide

Infinite

Infinite L-com SRCN-C413-2 user guide

Dionex PDA-100 Operator's manual

Dionex

Dionex PDA-100 Operator's manual

Omron F3SG-R Series user manual

Omron

Omron F3SG-R Series user manual

Rosslare SA-20 installation manual

Rosslare

Rosslare SA-20 installation manual

BR 700-PRO user manual

BR

BR 700-PRO user manual

Intermatic EK4000 Series Installation and setup instructions

Intermatic

Intermatic EK4000 Series Installation and setup instructions

Hanna 1200 user manual

Hanna

Hanna 1200 user manual

bloom lab BL-REF-2 manual

bloom lab

bloom lab BL-REF-2 manual

Hama 00186434 operating instructions

Hama

Hama 00186434 operating instructions

Dectris PILATUS3 R Technical specification and operating instruction

Dectris

Dectris PILATUS3 R Technical specification and operating instruction

Pyle PRMDC10 user manual

Pyle

Pyle PRMDC10 user manual

horiba LO-300 instruction manual

horiba

horiba LO-300 instruction manual

manuals.online logo
manuals.online logoBrands
  • About & Mission
  • Contact us
  • Privacy Policy
  • Terms and Conditions

Copyright 2025 Manuals.Online. All Rights Reserved.