manuals.online logo
Brands
  1. Home
  2. •
  3. Brands
  4. •
  5. Nienkamper
  6. •
  7. Indoor Furnishing
  8. •
  9. Nienkamper Metronome User manual

Nienkamper Metronome User manual

Metronome™
INSTALLATION GUIDE
Tel 800-668-9318
Tel 416-298-5700
Fax 416-298-9535
[email protected]
www.nienkamper.com
5/16”-18 x 1-3/4” cap screw
5/16”-18 x 7/8” socket button
head screw
1/4”-20 x 3/4” socket button head
screw
1/4”-20 x 1/2” socket button head
screw
1/4”-20 x 7/8” Chicago bolt
Base mounting plate
2-1/4” x 1-1/4” x 1/4”
Mid mounting plate
6” X 2” X 1/4”
Outrigger Bracket
Mid base splice
4 required per base
LOCATE BASES
MID BASE COMPONENTS
RAILS TO END BASE
MID BASE SPLICE TO RAILS
Locate bases and rails. Stand bases upside down.
Locate the Mid base and the Mid base splice.
(4) mid base splices, (4) 5/16-18 x 7/8” button head cap screw, and (8)
1/4-20 x 3/4” button head cap screw are required per mid base.
Attach rails to end base using 5/16”-18 x 1-3/4” cap screw. Align the
grove in the rail towards the center of the base.
Attach the Mid splice to the Support rail with the 5/16-18 x 7/8” button
head cap screw.
1
3
2
4
RAILS TO MID BASE STAND BASES UP
Attach Mid splice and rail to the Mid base with the 1/4-20 x 3/4” button
head cap screw.
Using one person at each base stand base and rail assembly right side up.
5 6
OUTRIGGERS POSITIONING RAILS
Attach outrigger to support rail with 1/4”-20 x 5/8” Chicago bolts Attach mid bracket to the Outrigger using 1/4”-20 x 1/2” socket button
head screw.
7 8
MOUNT PLATES TO TOP POWER TROUGH
Place worksurface upside down on a clean blanket. Attach Base
mounting plate 2-1/8” x 1-1/4” x 1/4” to the underside of the
worksurface with (2) 1/4-20 x 7/8” Chicago bolts.
Place Power trough face down in the open of the worksurface. Attach
the Power trough to the top with #8 x 3/4” wood screws.
9 10
BASE TO WORKSURFACE SPLINE
Attach the end base to the worksurface with 1/4-20 x 1/2” cap screw.
The mid base and Outrigger attach to the worksurface using 1/4-20 x
7/8” Chicago bolts.
Use splines and tight joints at all seams.
11 12
TROUGH AND CONDUIT
CONDUIT ON TROUGH
POWER TROUGH
The cable conduit can be mounted to the underside of the top or
directly to the Power trough cover. Cable conduit comes assembled
with a bracket to mount it directly to the underside of the top.
There is a hole in the power trough lower cover.
Place the conduit ange in the hole and align with the conduit. Hand
tighten until snug.
Remove the lower cover of the power trough by loosening 4 Chicago
bolts. Remove the steel U shaped bracket from the conduit by
unscrewing the aluminum ange. The ange is hand tightened and
does not require any tools to remove.
13
15
14
Flange
Power Trough
Lower Cover
632014

Other Nienkamper Indoor Furnishing manuals
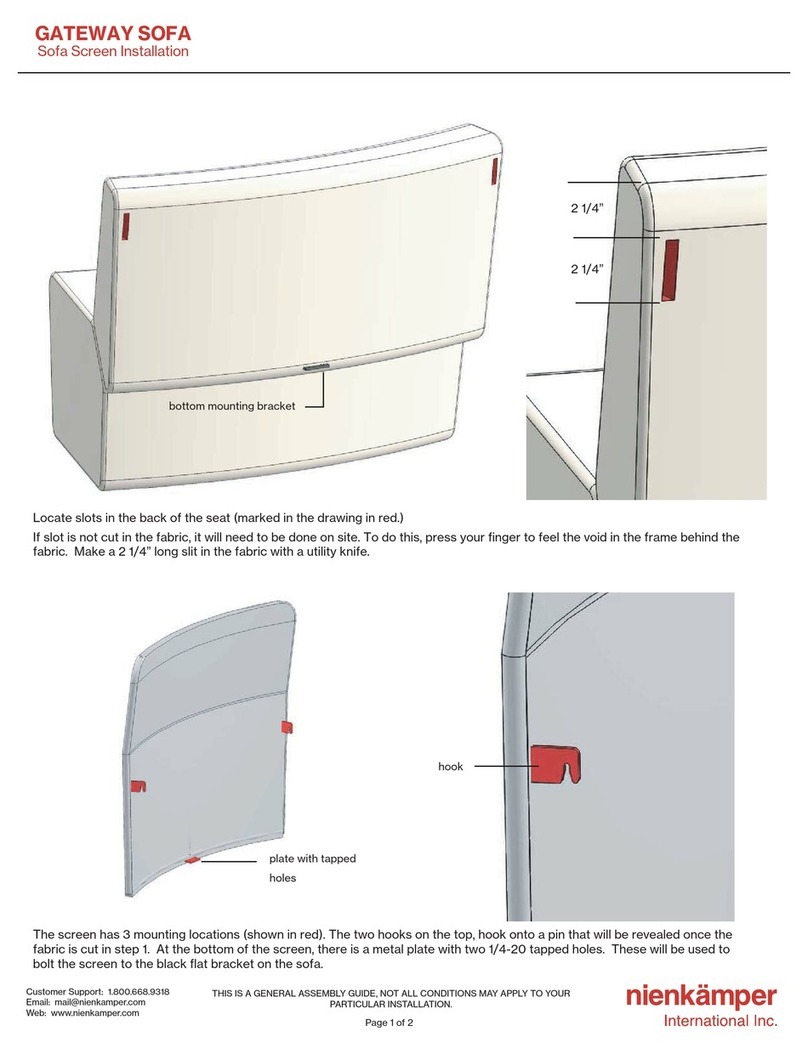
Nienkamper GATEWAY SOFA User manual

Nienkamper

Nienkamper GATEWAY SOFA User manual
Nienkamper Nomad User manual

Nienkamper

Nienkamper Nomad User manual
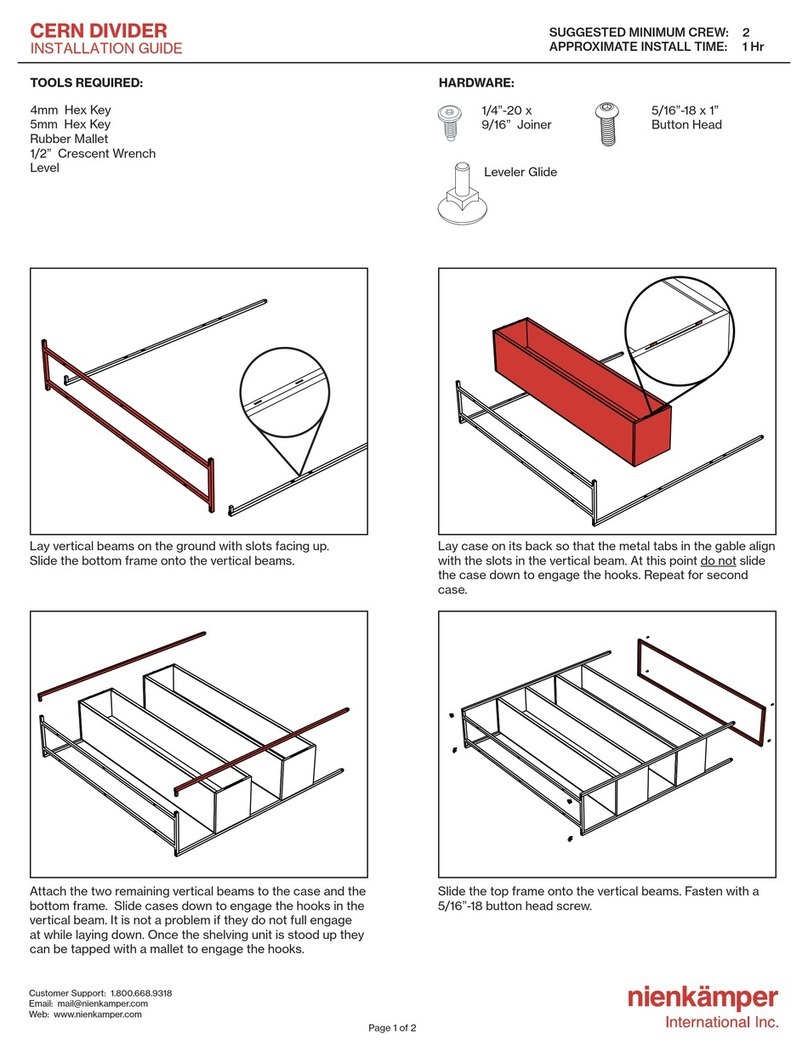
Nienkamper CERN DIVIDER User manual

Nienkamper

Nienkamper CERN DIVIDER User manual
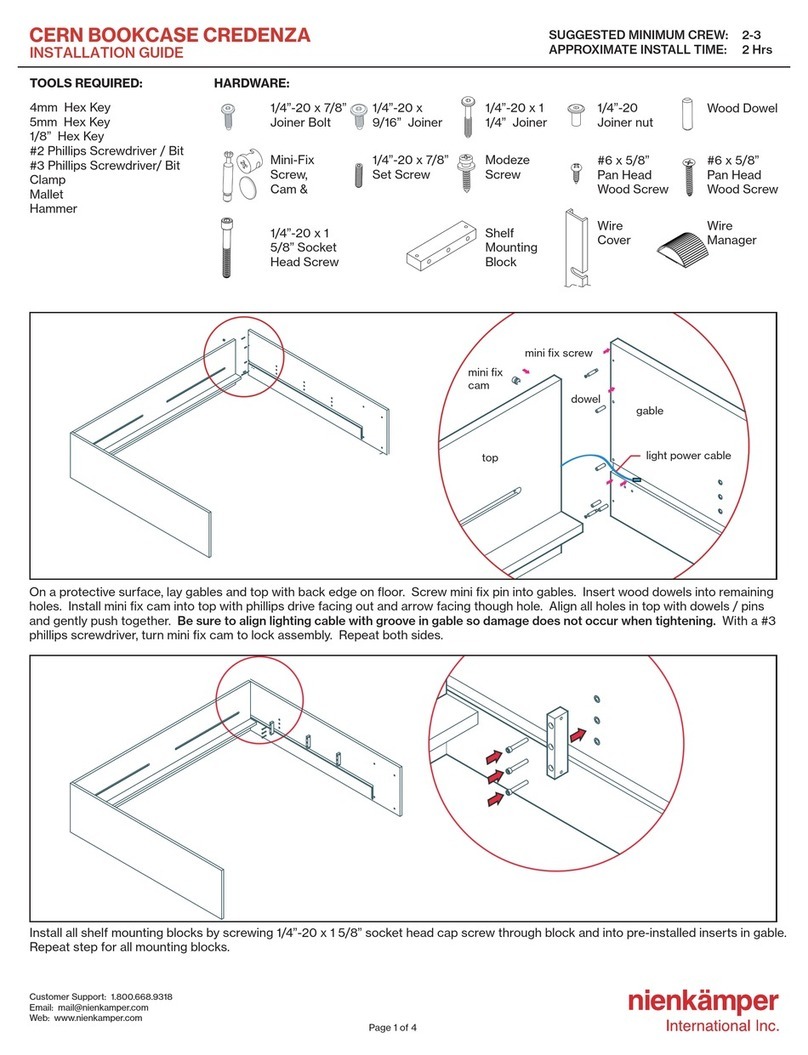
Nienkamper CERN BOOKCASE CREDENZA User manual
Nienkamper

Nienkamper CERN BOOKCASE CREDENZA User manual

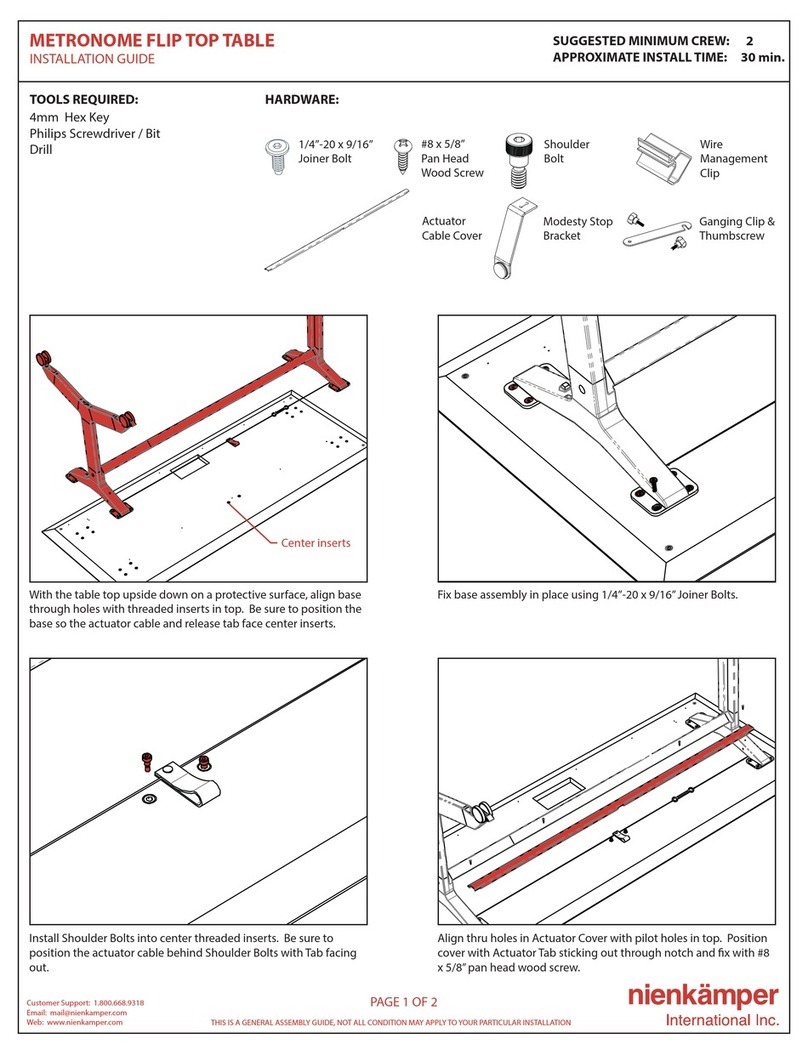
Nienkamper METRONOME FLIP TOP User manual

Nienkamper

Nienkamper METRONOME FLIP TOP User manual

Nienkamper Vox Base User manual

Nienkamper

Nienkamper Vox Base User manual
Nienkamper GATEWAY User manual

Nienkamper

Nienkamper GATEWAY User manual

Nienkamper VOX User manual

Nienkamper

Nienkamper VOX User manual

Popular Indoor Furnishing manuals by other brands

Regency LWMS3015 Assembly instructions

Regency

Regency LWMS3015 Assembly instructions

Furniture of America CM7751C Assembly instructions

Furniture of America

Furniture of America CM7751C Assembly instructions

Safavieh Furniture Estella CNS5731 manual

Safavieh Furniture

Safavieh Furniture Estella CNS5731 manual

PLACES OF STYLE Ovalfuss Assembly instruction

PLACES OF STYLE

PLACES OF STYLE Ovalfuss Assembly instruction

Trasman 1138 Bo1 Assembly manual

Trasman

Trasman 1138 Bo1 Assembly manual

Costway JV10856 manual

Costway

Costway JV10856 manual

moss DESIGN Caisson Credenza Assembly instructions

moss DESIGN

moss DESIGN Caisson Credenza Assembly instructions

Aquaglide FULL DECK 15.0 owner's manual

Aquaglide

Aquaglide FULL DECK 15.0 owner's manual

AREBOS AR-HE-SW30 user manual

AREBOS

AREBOS AR-HE-SW30 user manual

Till-Hilft Fulda 87005.330 Assembly instructions

Till-Hilft

Till-Hilft Fulda 87005.330 Assembly instructions

Twoey Outside 2010 quick start guide

Twoey Outside

Twoey Outside 2010 quick start guide

Hettich Easys 200 operating instructions

Hettich

Hettich Easys 200 operating instructions

The bedboss RELAX 404 Series owner's manual

The bedboss

The bedboss RELAX 404 Series owner's manual

Oeseder Möbelindustrie Bern 991 720 Assembly instructions

Oeseder Möbelindustrie

Oeseder Möbelindustrie Bern 991 720 Assembly instructions

Costway HW68469 user manual

Costway

Costway HW68469 user manual

Next ALIX A27743 Assembly instructions

Next

Next ALIX A27743 Assembly instructions

BROSA Hans Assembly guide

BROSA

BROSA Hans Assembly guide

Prodigg MINIKA PBA015T-FUR installation manual

Prodigg

Prodigg MINIKA PBA015T-FUR installation manual

manuals.online logo
manuals.online logoBrands
  • About & Mission
  • Contact us
  • Privacy Policy
  • Terms and Conditions

Copyright 2025 Manuals.Online. All Rights Reserved.