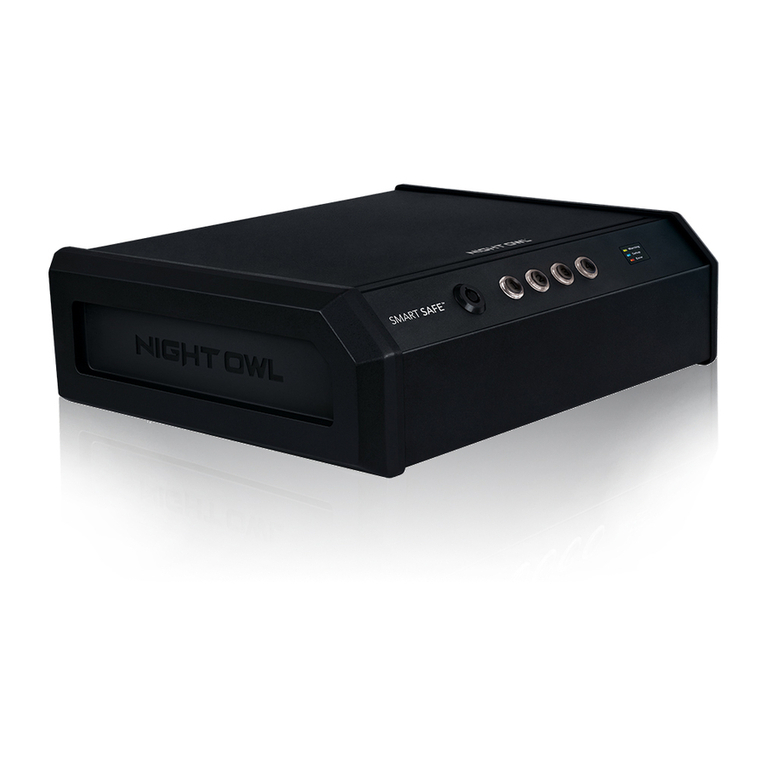
Night Owl Smart Safe NCS-03WFB User manual

Quick Setup Guide

1 x Smart Safe
(Model #: NCS-03WFB)
1 x Battery Cartridge Cover
1 x Battery Cartridge
4 x Batteries
4 x Mounting Hardware
2 x Smart Safe Keys
Package Contents
What’s in the Box
A
C
E
EB
B D
D
F
CF
1
A

2
E
F
G
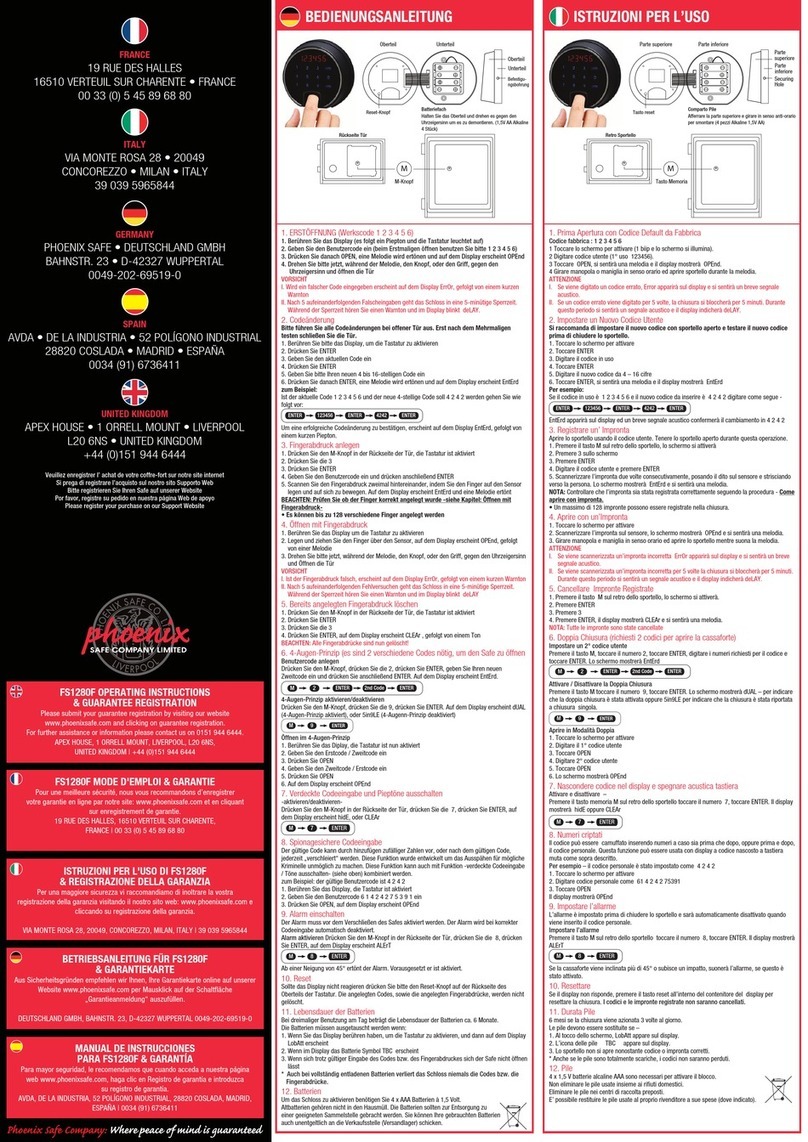
Reset Wi-Fi Button: Press to reset the Wi-Fi connection.
Reset Digital Access Code: Press to create or change the Access Code.
Setup / Wi-Fi Status LED: Access Code setup and Wi-Fi status light.
TOP INTERIOR VIEW
About your Smart Safe
A
B
C
D
Activation Button: Press and release to activate.
4 x Access Code Button: Press and release to enter the Access Code.
Battery / Error LED: Battery and Error indicator status light.
Keypad LED: Access Code status light.
TOP VIEW
A
B
C
D
G
E
F

3
Smart Safe Setup
Open the safe with the provided key.
Remove the battery cover by sliding it toward the center of the safe, exposing the battery
cartridge. Use your fingers to remove the battery cartridge, as shown below.
1
2
STEP 1: Programming the Access Code
TOP INTERIOR VIEWINTERIOR VIEW
Install 4 AA batteries (included) and replace the battery cartridge and battery cover.
3
Note: When replacing the battery cartridge, make sure the arrow sticker points toward the center of the safe.
Store the keys in a secure location. DO NOT store the keys in the safe! If you
forget your 4-Digit Access Code, you can open the safe with the key.

4
4Press and hold the “Reset Button” for 5 seconds. The Status Light turns blue and blinks.
Create your 4-digit Access Code using the keypad on the safe (can be any 4-digit combination).
Close the safe and press “OK” (Keypad Status Light turns solid yellow). Re-enter the Access
Code to open the safe.
6
5
Note: You have 30 seconds to program the code. The safe beeps three times after entering the 4 digit code.
Note: After entering the wrong password 5 times, the safe locks the keypad for 1 hour.
BEEP
BEEP
BEEP

5
3
2
Meet Night Owl Safe
STEP 2: Download the Night Owl Safe App and Add the Safe
Download the Night Owl Safe Application
from the “App Store” for iOS®devices or
“Play Store” for Android™devices.
Create a new account or login if you already
have an existing account.
After completing the account setup and
verification process, sign into the app and
tap the + symbol in the upper right corner
of the screen to add a device.
The Night Owl Safe App will guide you through the rest of the setup process.
1
4
Note: Need more help? Check out the Night Owl Support Site for videos and tutorials on setting up the Night Owl Safe.

6
Status Light Key
Beep Key
Solid Red for 3 Seconds
Rapidly Blinking Blue
Slow Blinking Blue
Solid Blue for 3 Seconds
Solid Yellow while
entering password
• Wrong Digital Access Code entered.
• Digital Access Code setup error.
• Connecting to the App during the Wi-Fi
pairing process failed. (Wrong Wi-Fi
password entered, or no Internet found.)
• Digital Access Code setup timed out.
• Wi-Fi Pairing process timed out.
• Activation key is pressed after the key
pad is locked. (After 5 failed attempts
entering the password, the safe’s keypad
locks for 1 hour.)
• Programming Digital Access Code (4Hz).
• Safe in pairing mode (1Hz).
• Digital Access Code Setup
process completed successfully.
• The Wi-Fi Pairing process
completed successfully.
• Activated when Activation Button is
pressed and released.
Slow Blinking Red for 1 Minute
The Battery Status is low AND any of the
following occurs:
• Safe door is closed.
• Activation Key is touched.
• Digit button
pressed and
released
• Programing
Digital Access
Code
• Safe is in
pairing mode
• New Digital
Access Code
setup successful
• Connecting to
Wi-Fi successful
• Incorrect
password
entered
• Failed to connect
to Wi-Fi
Note: If any trigger occurs while in this state (i.e. the safe
is moved), the LED will slow blink red for another minute.
A
C
A
B
A
B
Error Indicator
Setup Indicator
Warning/Message Indicator
1 x Beep 2 x Beeps 3 x Beeps LONG Beep
for 3 seconds

Rev 180816
FCC RADIATION NORM
FCC
This device complies with Part 15 of the FCC Rules. Operation is subject to the following two conditions: (1) this device may not cause harmful
interference, and (2) this device must accept any interference received, including interference that may cause undesired operation.
FCC Compliance Statement
These limits are designed to provide reasonable protection against frequency interference in residential installation. This equipment generates,
uses, and can radiate radio frequency energy, and if not installed or used in accordance with the instructions, may cause harmful interference to
radio communication. However, there is no guarantee that interference will not occur in television reception, which can be determined by turning
the equipment off and on. The user is encouraged to try and correct the interference by one or more of the following measures:
•Reorient or relocate the receiving antenna.
•Increase the separation between the equipment and the receiver.
•Connect the equipment into an outlet on a circuit different from that to which the receiver is connected.
•Consult the dealer or an experienced radio/TV technician for help.
CAUTION!
The Federal Communications Commission warns the user that changes or modifications to the unit not expressly approved by the party
responsible for compliance could void the user’s authority to operate the equipment.
This equipment should be installed and operated with a minimum distance of 8 inches between the radiator and your body.
www.NightOwlSP.com
EMAIL
Technical Support
Support@NightOwlSP.com
Sales Support
Sales@NightOwlSP.com
PHONE (English, Spanish & French)
Technical Support
1.866.390.1303
Live Chat 24/7, 365 days a year
Pre-Sales Support
1.866.979.0580
WEBSITE
24/7 Product Support
• How-To Videos
• Manuals
Contact Us
iPhone, iPad, Mac and Mac OS X are registered trademarks of Apple Inc.
Windows, Windows XP, Windows Vista, Windows 7, Windows 8 and
Windows 10 are registered trademarks of Microsoft Corporation in the
United States and/or other countries.
For system manuals, troubleshooting guides, FAQs,
video tutorials and more:
Need Help?
Please visit www.NightOwlSP.com.
Click the Support tab.
In the search bar, type “CS03”.
Access the support material needed.
1
2
3
4
Table of contents
Other Night Owl Safe manuals