manuals.online logo
Brands
  1. Home
  2. •
  3. Brands
  4. •
  5. Night Stick
  6. •
  7. Flashlight
  8. •
  9. Night Stick NSP 1162 User manual

Night Stick NSP 1162 User manual

Bayco Products, Inc. • 640 South Sanden Blvd. • Wylie, TX 75098 • 1-800-233-2155 • 1-469-326-9400 • www.nightstick.com
INS-NSP-116X-118X-17
Instruction Manual
Safety Light / Flashlights
Models NSP 1162 / 1164 / 1166 / 1168 / 1170
/ 1172 / 1174 / 1176 / 1178 / 1180 / 1182
THANK YOU FOR PURCHASING THE SAFETY LIGHT / FLASHLIGHT.
SAVE THESE INSTRUCTIONS.
Please read these instructions before using your safety light / ashlight.
yCAUTION: Do not use this work light in explosive atmospheres, near ammable
liquids, or where explosion-proof lamps are required. Do not immerse in water.
yCAUTION: For light duty work only.
INSTALLING OR REPLACING BATTERIES
1. Remove the battery cover on the lower back of the light.
2. Install the 4 AA alkaline batteries and align the battery + / - with the light housing. For
best performance and run-time always use premium quality AA alkaline batteries.
3. Replace the battery cover.
BATTERY NOTES
yBatteries may lose power when stored for long periods.
yAlkaline batteries can leak and cause corrosion if stored for long periods. Always
remove batteries if the light will be unused for extended periods.
yBatteries should be stored between 68-78°F (20-25°C)
ATTACHING THE LANYARD RING
The lanyard ring is made of pliable material. Loop a suitable lanyard through the
rectangular lanyard attachment hole. Slide the ashlight into the ring. The ring will
conform to the light body and hold the light.
REMOVABLE MAGNETIC CLIP
Snap the magnetic clip onto the light body. Attach to any steel surface. The light can
rotate inside the clip.
OPERATION
TURNING THE SAFETY LIGHT / FLASHLIGHT ON/OFF
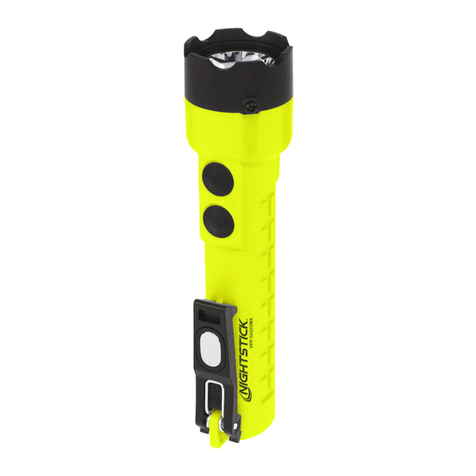
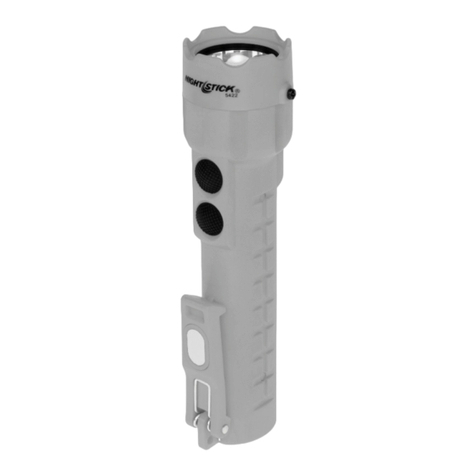
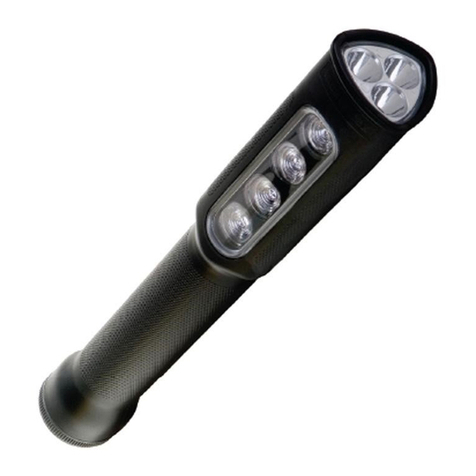
All models have two body switches that control the ashlight and the safety light.
The ashlight and safety light functions can be operated independently and together.
MODELS 1162 / 1164 / 1166 / 1168
SAFETY LIGHT
1. The upper switch controls the ashlight. Lightly press the switch for momentary
ashlight operation. For constant on, press the switch until it clicks. Press again for off.
2. The lower switch controls the safety light. Press for full power.
3. Press again for half-power. Press again to activate ashing safety light. Press again
for off.
MODELS 1170 / 1172 / 1176 / 1178 /1180 /1182
SAFETY LIGHT
1. The upper switch controls the ashlight. Lightly press the switch for momentary
ashlight operation. For constant on, press the switch until it clicks. Press again for off.
2. The lower switch controls the safety light. Press for constant (non-ashing) safety
light. Press again to activate alternating asher. Press again for off.
MODEL 1174
SAFETY LIGHT
1. The upper switch controls the ashlight. Lightly press the switch for momentary
ashlight operation. For constant on, press the switch until it clicks. Press again for off.
2. The lower switch controls the ood /safety light. Press for oodlight. Press again to
activate ashing amber light. Press again for off.
WARRANTY
1 YEAR WARRANTY
Bayco Products, Inc. warrants this product to be free from defects in workmanship
and materials to the original purchaser for 1 year from the date of purchase, and includes
the LEDs, housing, lenses, electronics, switches, rechargeable batteries and chargers.
Bulbs (other than LEDs) are covered for 90 days from the date of purchase.
We will repair or replace this product should we determine it to be defective. This is the
only warranty, expressed or implied, including any warranty of merchantability or tness for
a particular purpose.
For a complete copy of the warranty, go to www.nightstick.com/nightstick-product-
support/warranties. Retain your receipt for proof of purchase.
Mode d’emploi
Lampes de sécurité/ lampes
NSP 1162 / 1164 / 1166 / 1168 / 1170 / 1172 / 1174
/ 1176 / 1178 / 1180 / 1182
MERCI D’AVOIR ACHETÉ LA LAMPE DE SÉCURITÉ/ LAMPE.
VEUILLEZ CONSERVER CES DIRECTIVES.
yATTENTION : Ne pas utiliser cette lampe de travail dans des atmosphères
explosives, près des liquides inammables, ou des emplacements où des lampes
antidéagrantes sont requises. Ne pas immerger dans l’eau.
yATTENTION : Pour travaux légers seulement.
INSTALLATION OU REMPLACEMENT DES PILES
1. Retirez le couvercle de la batterie sur le bas du dos de la lumière.
2. Installez les 4 piles alcalines AA et d’aligner la batterie + / - avec le boîtier de la
lumière. Pour de meilleures performances et d’exécution de première qualité toujours
utiliser des piles alcalines AA.
3. Replacez le couvercle de la batterie.
NOTES DE BATTERIE
yLes piles peuvent perdre de la puissance lorsqu’il est stocké pendant de longues
périodes.
yLes piles alcalines peuvent fuir et provoquer de la corrosion s’il est stocké pendant
de longues périodes. Toujours retirer les piles si la lumière ne sera pas utilisée pendant
de longues périodes.
yLes piles doivent être conservés entre 68-78 ° F (20-25 ° C)
FIXATION DE LA BAGUE CORDON
L’anneau de corde est réalisée en matériau souple. Boucle d’un cordon adapté à
travers le trou de xation lanière rectangulaire. Faites glisser la lampe de poche dans le
ring. L’anneau sera conforme au corps du feu et maintenez la lumière.
AMOVIBLE CLIP MAGNETIQUE
Enclencher le clip magnétique sur le corps de lumière. Joindre à toute surface en
acier. La lumière peut tourner à l’intérieur du clip.
UTILISATION DE LA LUMIERE
Tous les modèles disposent de deux interrupteurs du corps qui contrôlent la lampe
de poche et la lumière de sécurité. Les fonctions d’éclairage une lampe de poche et de
la sécurité peuvent être actionnés indépendamment et ensemble.
MODÈLES 1162/1164/1166/1168
1. Le commutateur supérieur contrôle la lampe de poche. Appuyez légèrement sur
l’interrupteur pour le fonctionnement torche momentanée. Pour constante, appuyez sur
l’interrupteur jusqu’à ce qu’un déclic. Appuyez à nouveau pour la désactiver.
2. Le commutateur inférieur contrôle la lumière de sécurité. Appuyez sur pour la pleine
puissance.
3. Appuyez à nouveau pendant une demi-puissance. Appuyez à nouveau pour activer la
lumière de sécurité clignotant. Appuyez à nouveau pour la désactiver.
MODÈLES 1170/1172/1176/1178/1180/1182
1. Le commutateur supérieur contrôle la lampe de poche. Appuyez légèrement sur
l’interrupteur pour le fonctionnement torche momentanée. Pour constante, appuyez sur
l’interrupteur jusqu’à ce qu’un déclic. Appuyez à nouveau pour la désactiver.
Bayco Products, Inc. • 640 South Sanden Blvd. • Wylie, TX 75098 • 1-800-233-2155 • 1-469-326-9400 • www.nightstick.com
INS-NSP-116X-118X-17
1. Le commutateur inférieur contrôle la lumière de sécurité. Appuyez sur la lumière
de sécurité constant (non clignotant). Appuyez à nouveau pour activer clignotant en
alternance. Appuyez à nouveau pour la désactiver.
MODÈLE 1174
1. Le commutateur supérieur contrôle la lampe de poche. Appuyez légèrement sur
l’interrupteur pour le fonctionnement torche momentanée. Pour constante, appuyez sur
l’interrupteur jusqu’à ce qu’un déclic. Appuyez à nouveau pour la désactiver.
2. Le commutateur inférieur contrôle le ot / éclairage de sécurité. Appuyez sur pour
projecteur. Appuyez à nouveau pour activer le clignotant orange. Appuyez à nouveau
pour la désactiver.
GARANTIE
GARANTIE LIMITÉE DE 1 AN
Bayco Products, Inc. garantit que ce produit est exempt de défauts de matériaux
et de fabrication à l’acheteur original pour une période d’un (1) an à partir de la date
d’achat, et inclut les DEL, les boîtiers, les lentilles, les électroniques, les interrupteurs,
les batteries rechargeables et les chargeurs. Les ampoules (autres que les DEL) sont
couvertes pour une période de 90 jours à partir de la date d’achat.
Ce produit sera réparé ou remplacé si nous déterminons qu’il est défectueux. Ceci
est la seule garantie explicite ou implicite, y compris toute garantie de qualité marchande
ou d’adéquation à un usage particulier.
Pour une copie détaillée de la garantie, vous rendre sur le site www.nightstick.com/
nightstick-product-support/warranties. Gardez ce reçu comme preuve d’achat.
Manual de Instrucciones
Lámparas de Seguridad
NSP 1162 / 1164 / 1166 / 1168 / 1170 / 1172 / 1174
/ 1176 / 1178 / 1180 / 1182
GRACIAS POR SU COMPRA DE LÁMPARAS DE SEGURIDAD
GUARDE ESTAS INSTRUCCIONES.
yPRECAUCIÓN: No utilice esta lámpara de trabajo en atmósferas explosivas, cerca
de líquidos inamables o donde se requieran lámparas a prueba de explosión. No
sumergir en agua.
yPRECAUCIÓN: Para trabajo liviano solamente.
INSTALACIÓN O REEMPLAZO DE BATERÍAS
1. Retire la tapa de la batería en la parte posterior inferior de la luz.
2. Instale las 4 pilas alcalinas AA y alinee la batería + / - con la cubierta de la luz. Para
un mejor rendimiento y tiempo de ejecución utilice siempre de primera calidad pilas
alcalinas AA.
3. Vuelva a colocar la tapa de la batería.
NOTAS SOBRE LA BATERÍA
• Las baterías pueden perder el poder cuando se almacena por largos períodos.
• Las pilas alcalinas pueden tener fugas y causar corrosión si se almacena por
largos períodos. Siempre quite las baterías si la luz se vaya a utilizar durante períodos
prolongados.
• Las baterías deben ser almacenados entre 68-78 ° F (20-25 º C)
COLOCACIÓN DE LA ANILLA DE SUJECIÓN
El anillo de sujeción está hecha de material exible. Repetición de la cuerda de
seguridad adecuada a través del oricio de jación rectangular de cuerda. Deslice la
linterna en el ring. El anillo se adaptará al cuerpo de luz y sostener la luz.
CLIP MAGNÉTICOS EXTRAÍBLES
Encaje el clip magnético en el cuerpo de luz. Adjunte a cualquier supercie de acero.
La luz puede girar en el interior del clip.
FUNCIONAMIENTO
Todos los modelos tienen dos interruptores que controlan el cuerpo de la linterna, y
la luz de seguridad. Las funciones de luz de linterna y de seguridad puede funcionar de
forma independiente y en conjunto.
MODELOS 1162/1164/1166/1168
1. El interruptor superior controla la linterna. Presione ligeramente el interruptor para
el funcionamiento linterna momentánea. Por constante, pulse el interruptor hasta que
haga clic. Presione de nuevo por fuera.
2. El interruptor inferior controla la luz de seguridad. Pulse para acceder a la máxima
potencia.
3. Presione de nuevo por medio de energía. Pulse otra vez para activar la luz intermitente
de seguridad. Presione de nuevo por fuera.
MODELOS 1170/1172/1176/1178/1180/1182
1. El interruptor superior controla la linterna. Presione ligeramente el interruptor para
el funcionamiento linterna momentánea. Por constante, pulse el interruptor hasta que
haga clic. Presione de nuevo por fuera.
2. El interruptor inferior controla la luz de seguridad. Pulse para que la luz de seguridad
constante (no intermitente). Pulse otra vez para activar el intermitente alterna. Presione
de nuevo por fuera.
MODELO 1174
1. El interruptor superior controla la linterna. Presione ligeramente el interruptor para
el funcionamiento linterna momentánea. Por constante, pulse el interruptor hasta que
haga clic. Presione de nuevo por fuera.
2. El interruptor inferior controla la inundación / la luz de seguridad. Pulse para proyector.
Pulse otra vez para activar la luz intermitente de color ámbar. Presione de nuevo por
fuera.
GARANTÍA
GARANTIA LIMITADA DE POR VIDA
Bayco Products, Inc. garantiza que este producto está libre de defectos de mano
de obra y materiales durante la vida del comprador original. La garantía de por vida
limitada incluye los LED, la carcasa y los lentes. Las pilas recargables, los cargadores,
los interruptores, la electrónica y los accesorios incluidos están garantizados por un
período de dos años con un comprobante de compra. Se excluyen el desgaste y
los fallos normales, que son causados por accidentes, mal uso, abuso, instalación
defectuosa y daños por rayos.
Repararemos o reemplazaremos este producto si lo determinamos como
defectuoso. Esta es la única garantía, expresa o implícita, incluyendo cualquier garantía
de comerciabilidad o idoneidad para un propósito particular.
Para obtener una copia completa de la garantía, visite www.nightstick.com/
nightstick-product-support/warranties. Conserve su recibo para comprobar la compra.

This manual suits for next models

10

Other Night Stick Flashlight manuals

Night Stick NSR-9850 User manual

Night Stick

Night Stick NSR-9850 User manual

Night Stick FORGE XPP-5465 User manual

Night Stick

Night Stick FORGE XPP-5465 User manual

Night Stick NSR-9746XL User manual

Night Stick

Night Stick NSR-9746XL User manual

Night Stick NSR-9514 User manual

Night Stick

Night Stick NSR-9514 User manual

Night Stick XPP-5456G User manual

Night Stick

Night Stick XPP-5456G User manual

Night Stick 017398804714 User manual

Night Stick

Night Stick 017398804714 User manual

Night Stick NSR-9940XL User manual

Night Stick

Night Stick NSR-9940XL User manual

Night Stick 4620 User manual

Night Stick

Night Stick 4620 User manual

Night Stick NSP-4650B User manual

Night Stick

Night Stick NSP-4650B User manual

Night Stick NSR-9920XL User manual

Night Stick

Night Stick NSR-9920XL User manual

Night Stick Intrant XPR-5568RX User manual

Night Stick

Night Stick Intrant XPR-5568RX User manual

Night Stick XPP-5420 User manual

Night Stick

Night Stick XPP-5420 User manual

Night Stick Xtreme Lumens NSR-9746 Series User manual

Night Stick

Night Stick Xtreme Lumens NSR-9746 Series User manual

Night Stick XPP-5422B User manual

Night Stick

Night Stick XPP-5422B User manual

Night Stick Xtreme Lumens TWM-850 User manual

Night Stick

Night Stick Xtreme Lumens TWM-850 User manual

Night Stick TAC-400 User manual

Night Stick

Night Stick TAC-400 User manual

Night Stick NSR-9854XL User manual

Night Stick

Night Stick NSR-9854XL User manual

Night Stick USB-558XL User manual

Night Stick

Night Stick USB-558XL User manual

Night Stick XPP-5418GX User manual

Night Stick

Night Stick XPP-5418GX User manual

Night Stick XPR 5572G User manual

Night Stick

Night Stick XPR 5572G User manual

Night Stick NSR-9944XL User manual

Night Stick

Night Stick NSR-9944XL User manual

Night Stick 5522-BATT User manual

Night Stick

Night Stick 5522-BATT User manual

Night Stick XPP-5422GM User manual

Night Stick

Night Stick XPP-5422GM User manual

Night Stick XPP-5418GX User manual

Night Stick

Night Stick XPP-5418GX User manual

Popular Flashlight manuals by other brands

Makita LM01W manual

Makita

Makita LM01W manual

Daihen MWXC-2001 instruction manual

Daihen

Daihen MWXC-2001 instruction manual

ESAB PT-38 instruction manual

ESAB

ESAB PT-38 instruction manual

PowerTac Scholar user manual

PowerTac

PowerTac Scholar user manual

Pelican Little ED 3610 LED user manual

Pelican

Pelican Little ED 3610 LED user manual

BGS technic 86690 manual

BGS technic

BGS technic 86690 manual

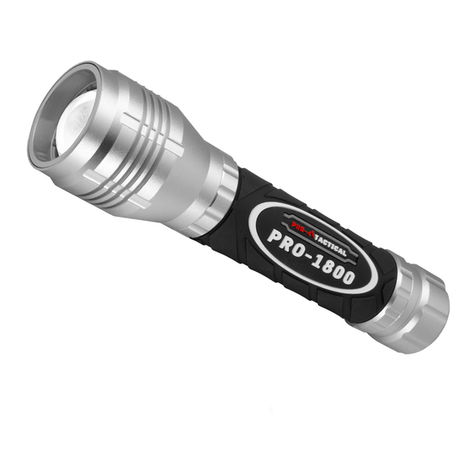
Pro-4 Tactical PRO-1800 instruction manual

Pro-4 Tactical

Pro-4 Tactical PRO-1800 instruction manual

Stahl Tools F10WC-U5 user manual

Stahl Tools

Stahl Tools F10WC-U5 user manual

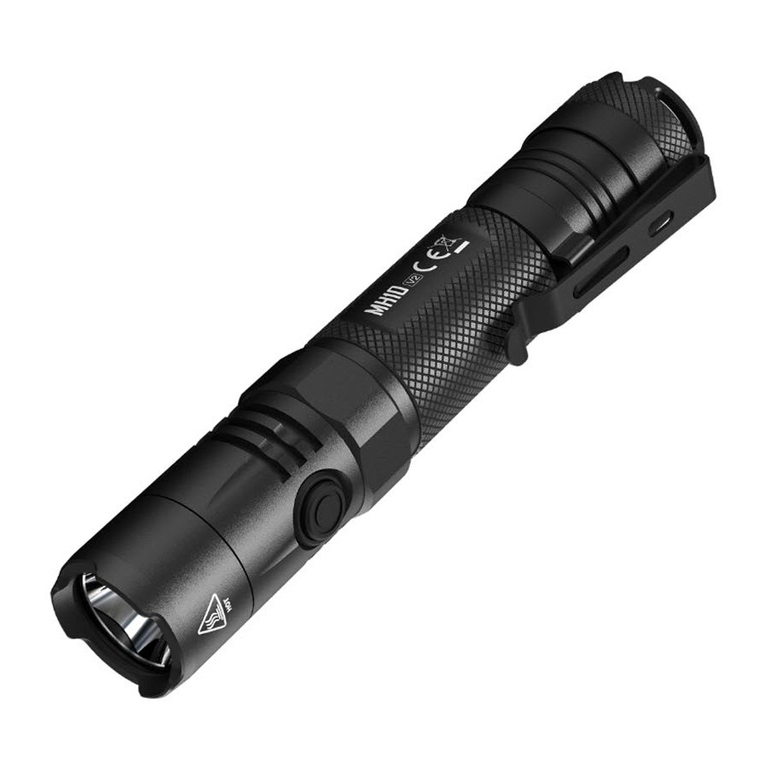
Nitecore mh10v2 user manual

Nitecore

Nitecore mh10v2 user manual

Sunoptic Surgical TITAN 9000 Operation manual

Sunoptic Surgical

Sunoptic Surgical TITAN 9000 Operation manual

LORCH LTV Operation manual

LORCH

LORCH LTV Operation manual

Seac Sub SHOT instructions

Seac Sub

Seac Sub SHOT instructions

Xtralite NiteSafe Duo XL20733 instruction manual

Xtralite

Xtralite NiteSafe Duo XL20733 instruction manual

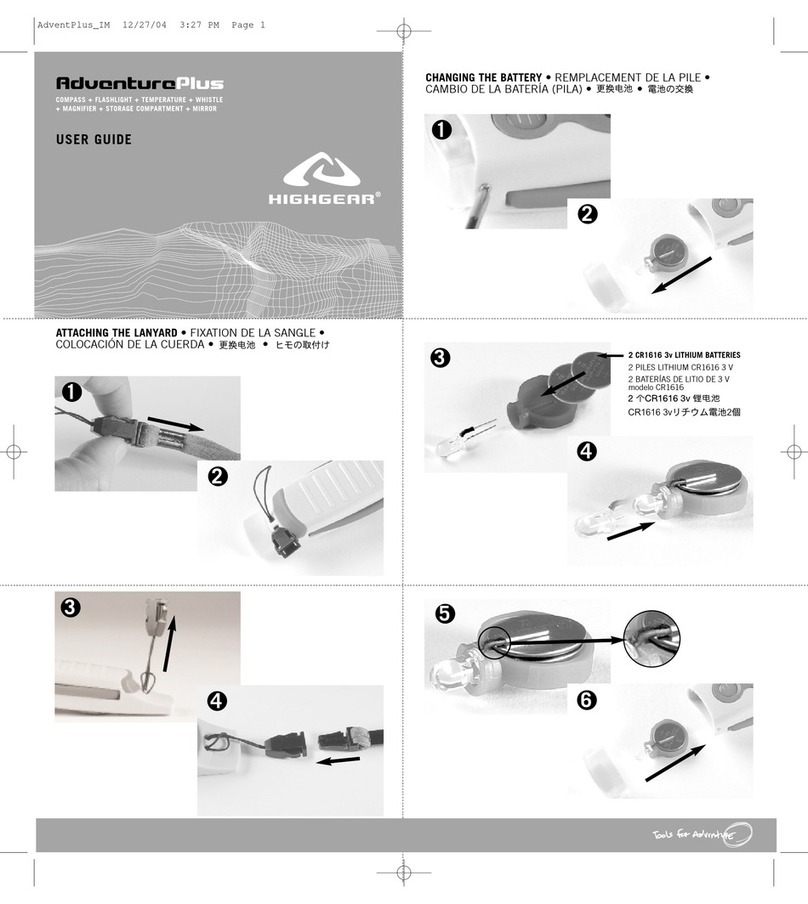
HighGear AdventurePlus user guide

HighGear

HighGear AdventurePlus user guide

Silverline 456996 quick start guide

Silverline

Silverline 456996 quick start guide

Weefine Solar Flare 5000 user manual

Weefine

Weefine Solar Flare 5000 user manual

Hypertherm Duramax Series Field Service Bulletin

Hypertherm

Hypertherm Duramax Series Field Service Bulletin

Browning ALPHA ELITE instructions

Browning

Browning ALPHA ELITE instructions

manuals.online logo
manuals.online logoBrands
  • About & Mission
  • Contact us
  • Privacy Policy
  • Terms and Conditions

Copyright 2025 Manuals.Online. All Rights Reserved.