Night Watcher NW750 User manual
Other Night Watcher Floodlight manuals

Night Watcher
Night Watcher NW720 User manual
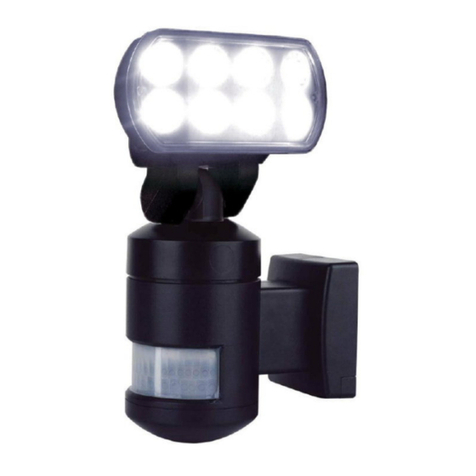
Night Watcher
Night Watcher NW1200X Installation instructions

Night Watcher
Night Watcher NW520 User manual
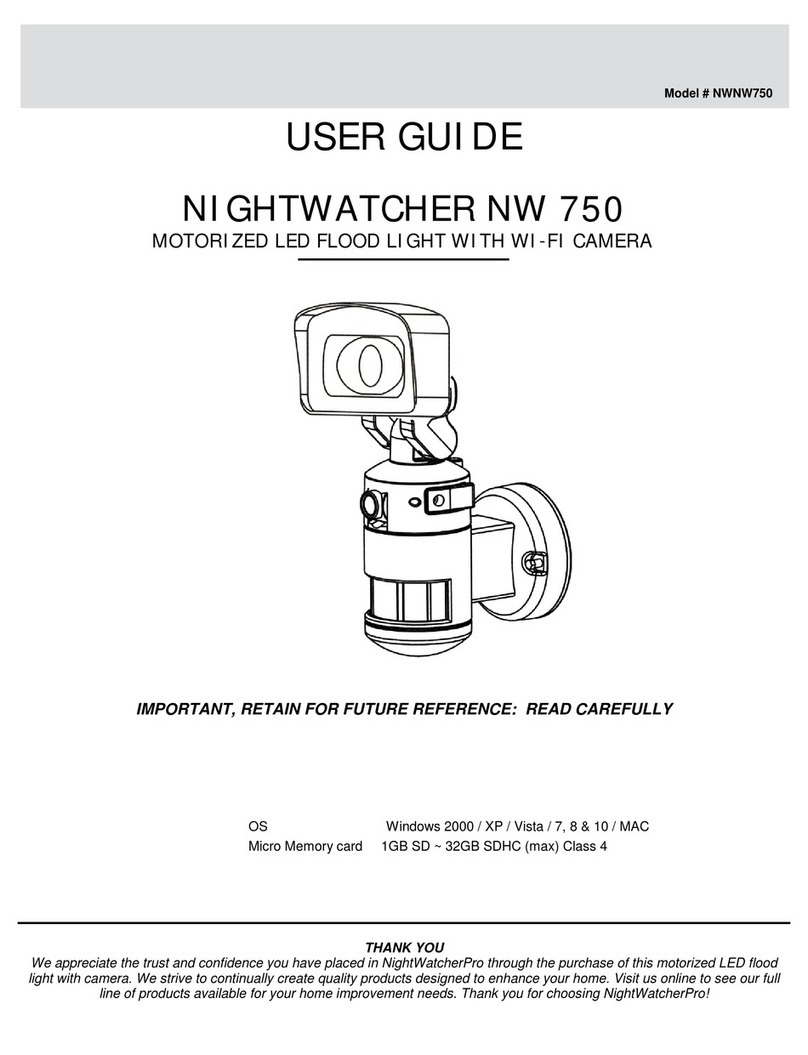
Night Watcher
Night Watcher NW750 User manual
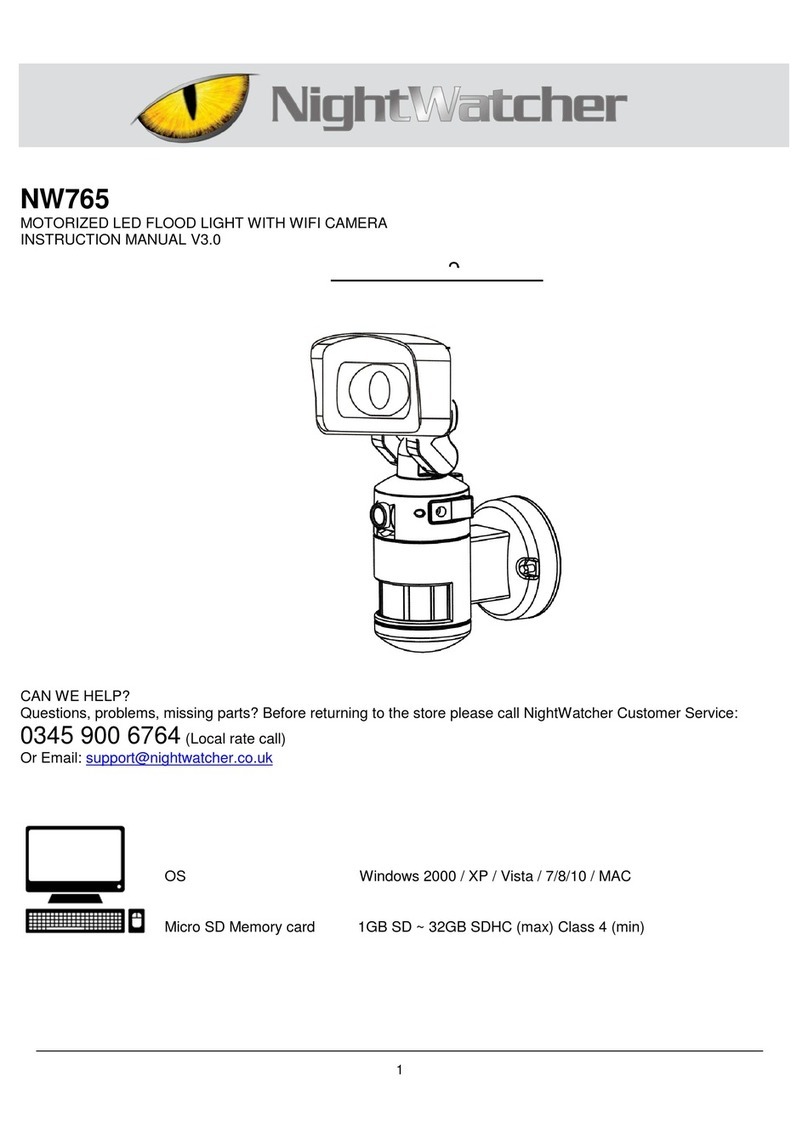
Night Watcher
Night Watcher NW765 User manual
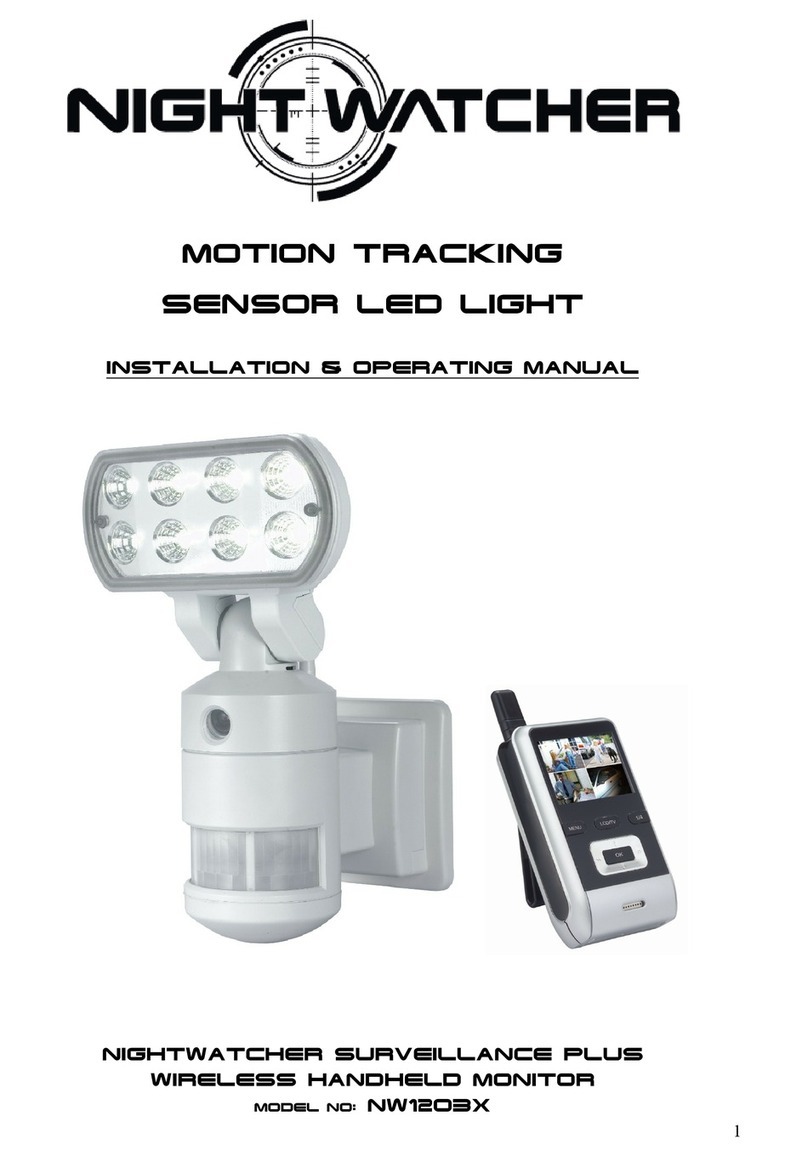
Night Watcher
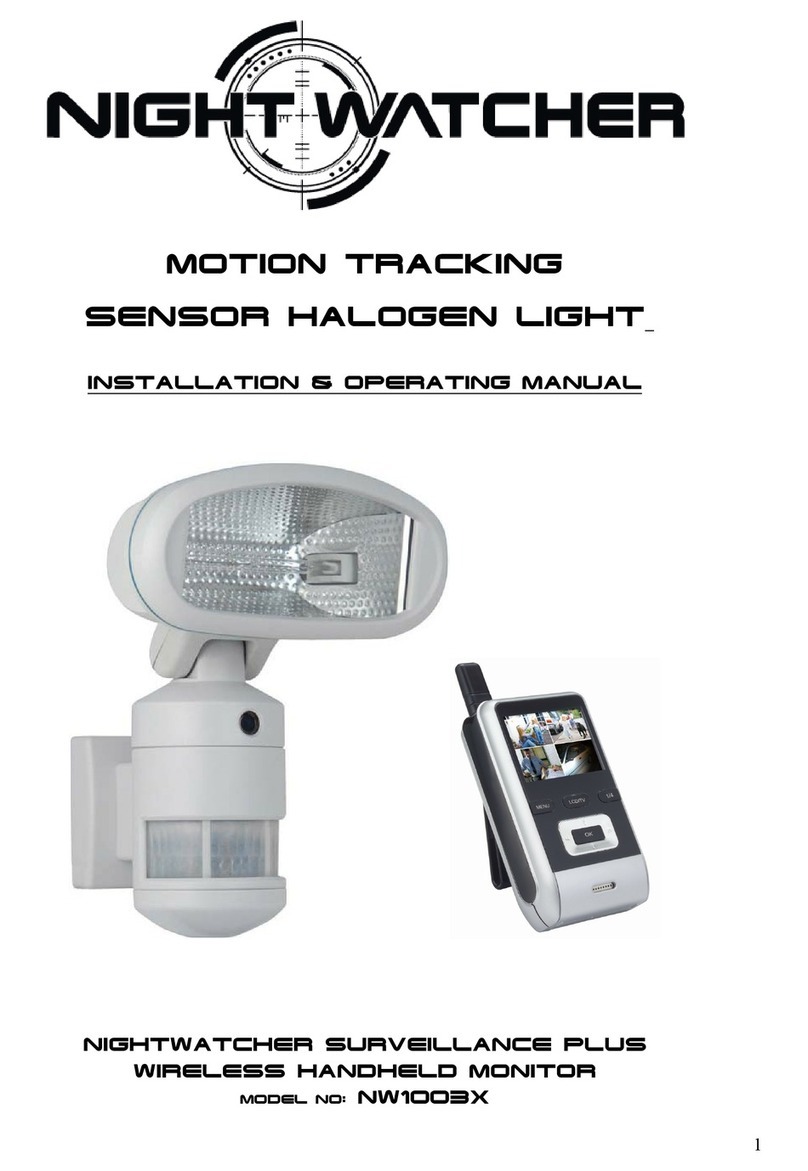
Night Watcher NW1203x Installation instructions
Night Watcher
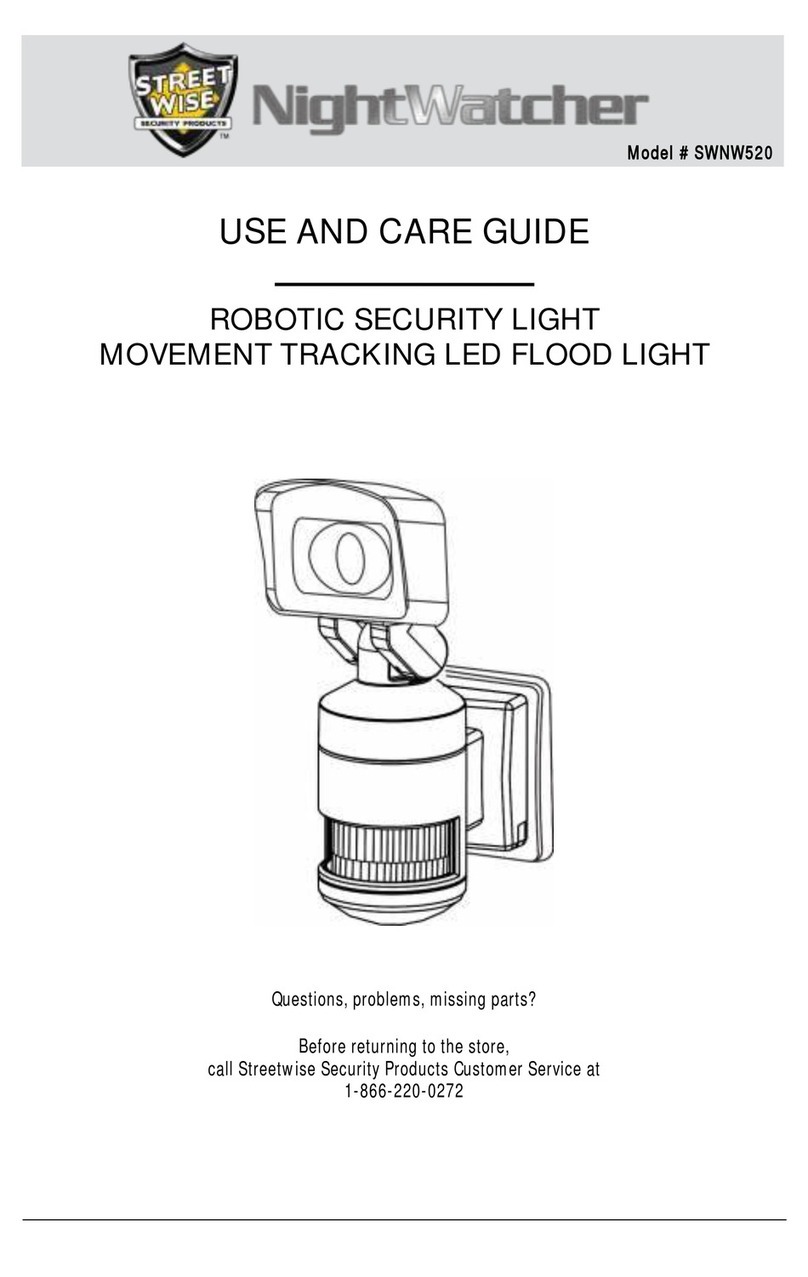
Night Watcher nw1003X Installation instructions
Night Watcher
Night Watcher SWNW520 User manual
Popular Floodlight manuals by other brands

EuroLite
EuroLite LED SLS-400 user manual
BEGA
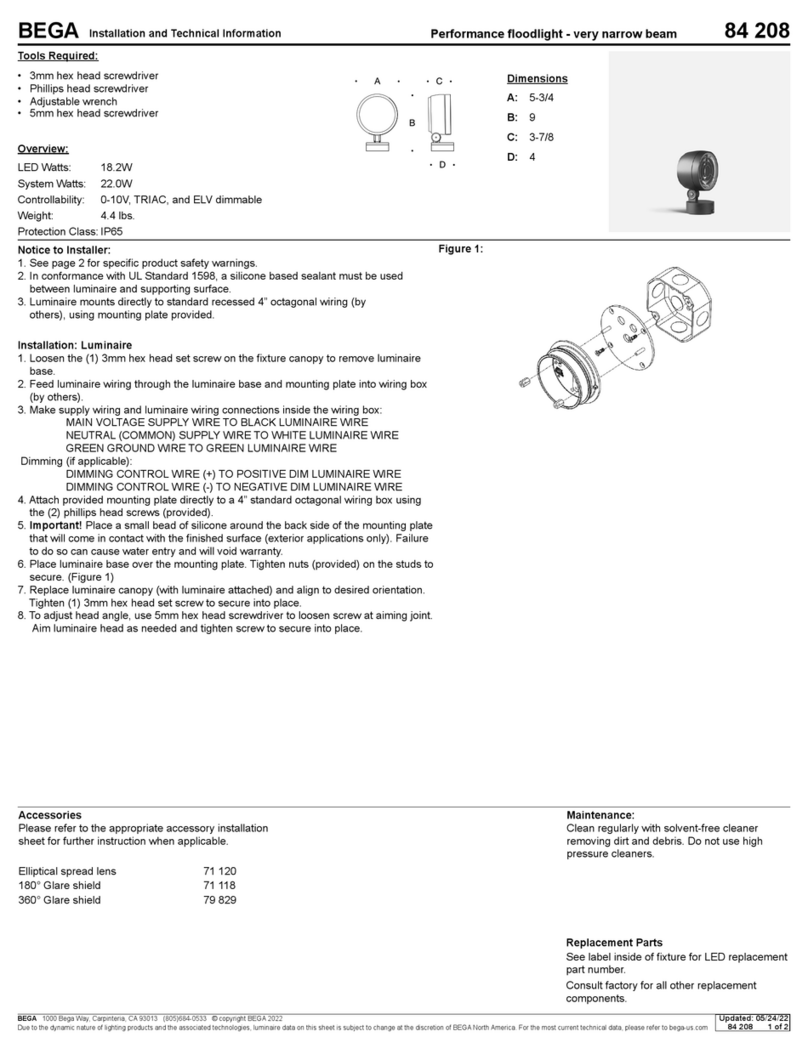
BEGA 84208 Installation and technical information
Tungsram
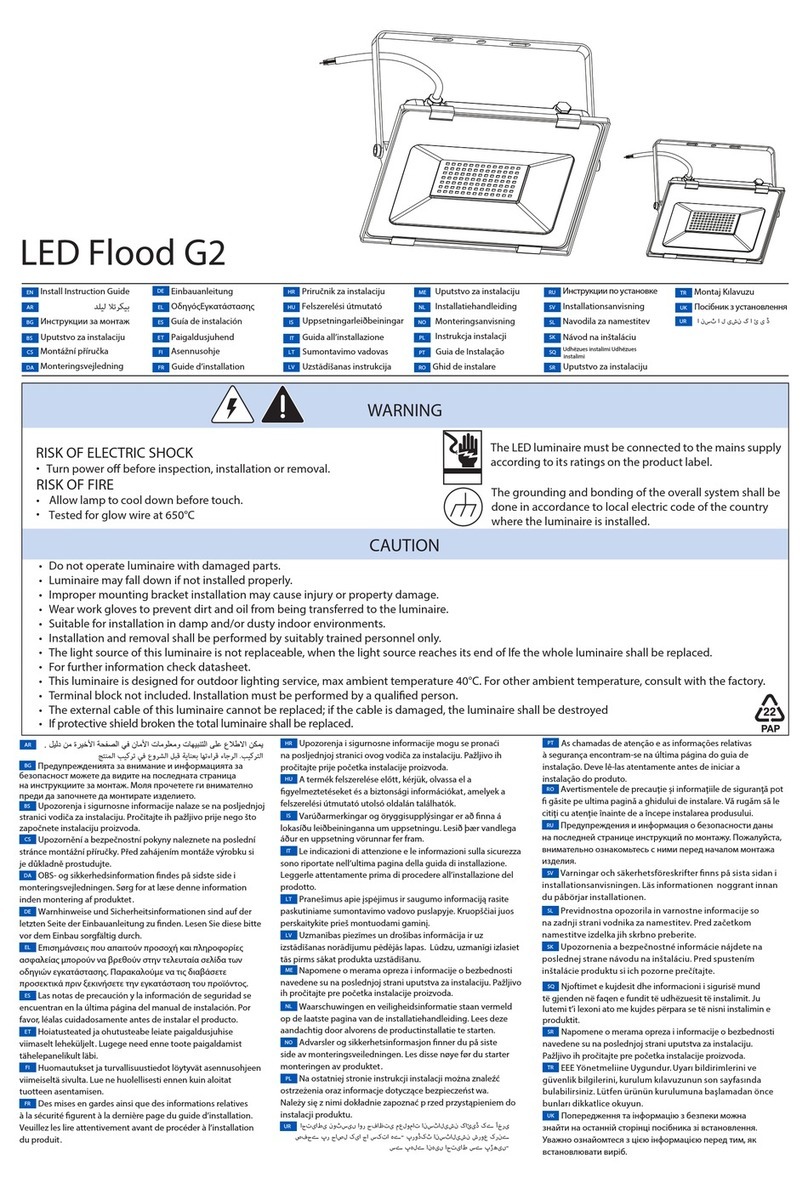
Tungsram LED Flood G2 Install Instruction Guide
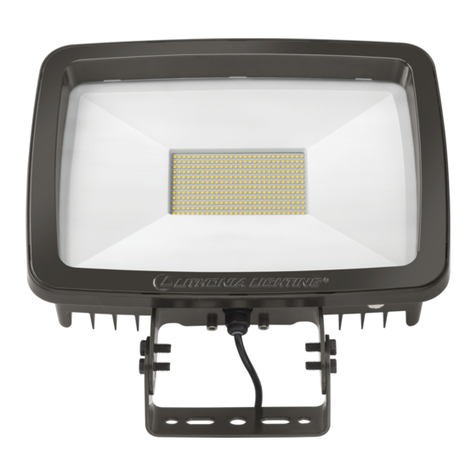
Lithonia Lighting
Lithonia Lighting TFX3 installation instructions
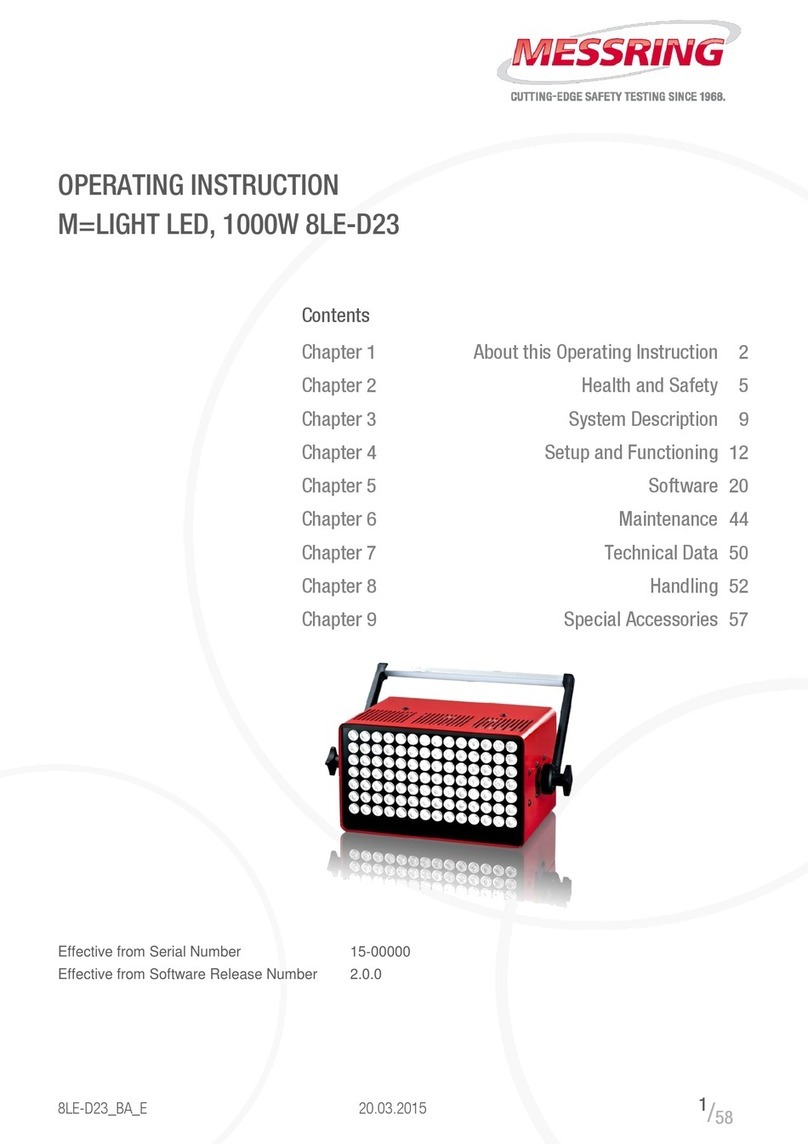
MESSRING
MESSRING M-LIGHT LED operating instructions
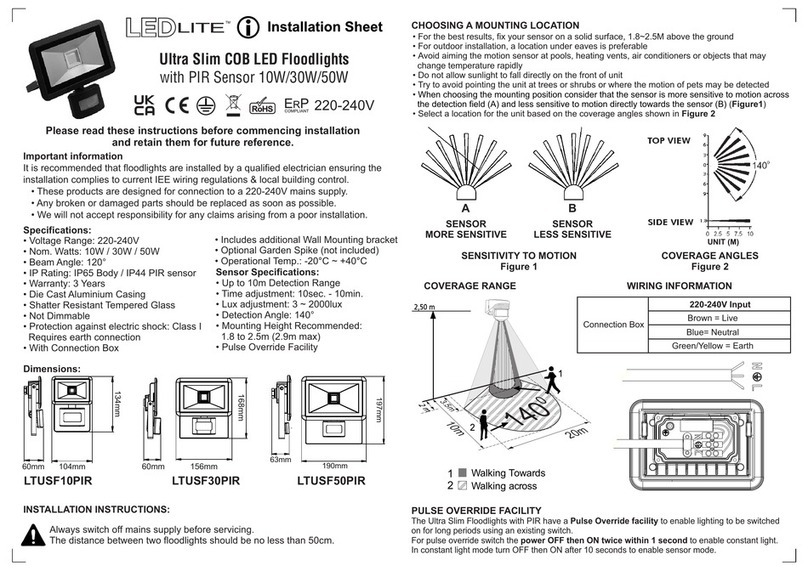
LEDLITE
LEDLITE LTUSF10PIR Installation sheet
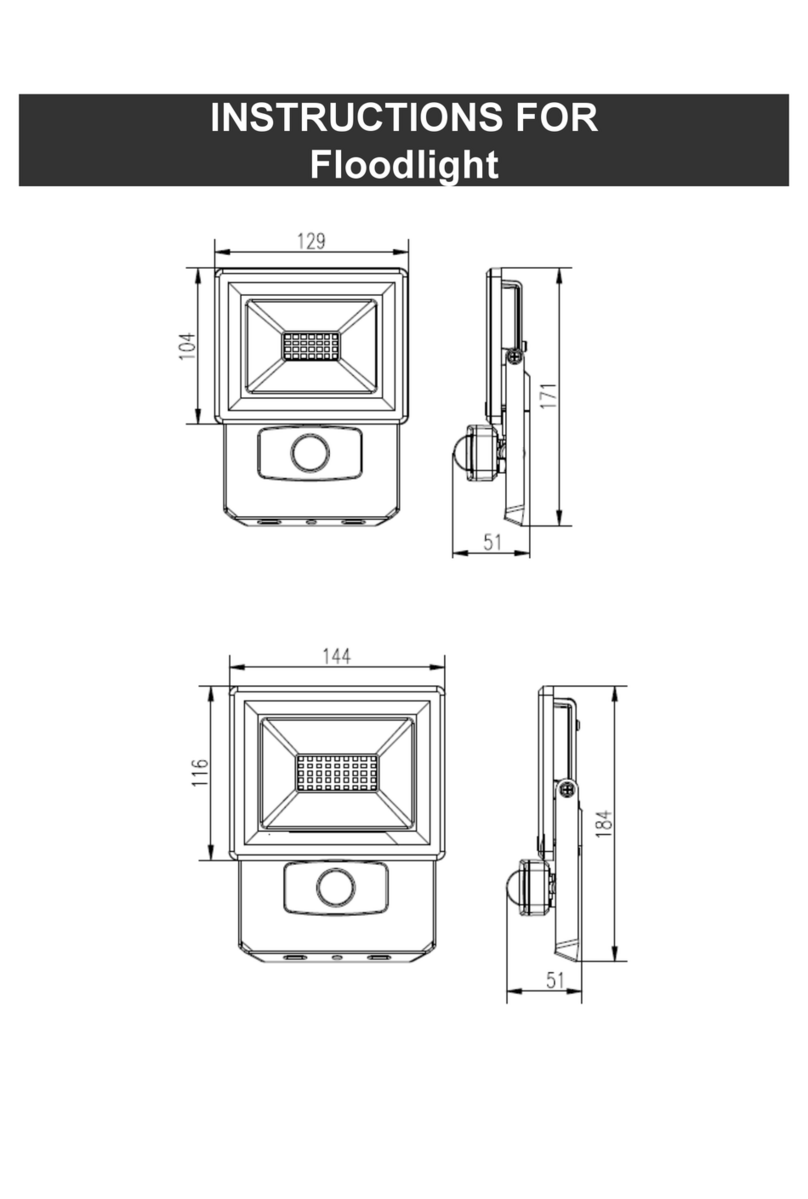
B-LED
B-LED B1461-S instructions
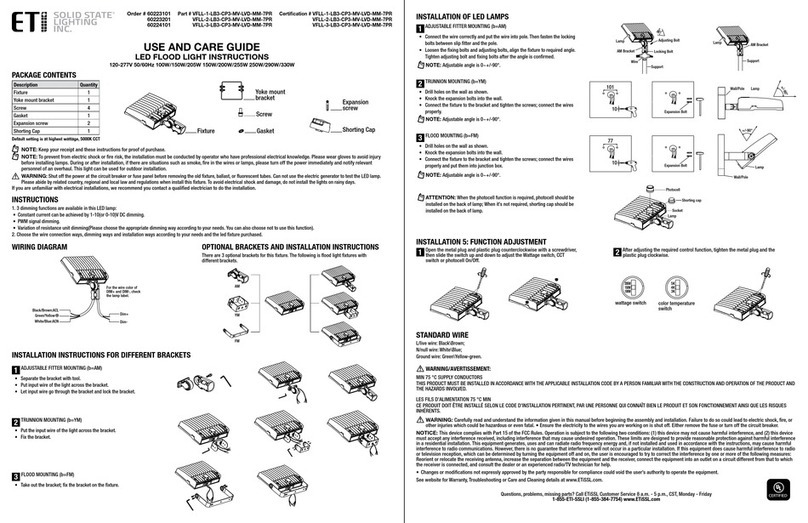
ETI Solid State Lighting
ETI Solid State Lighting VFLL-1-LB3-CP3-MV-LVD-MM-7PR Use and care guide
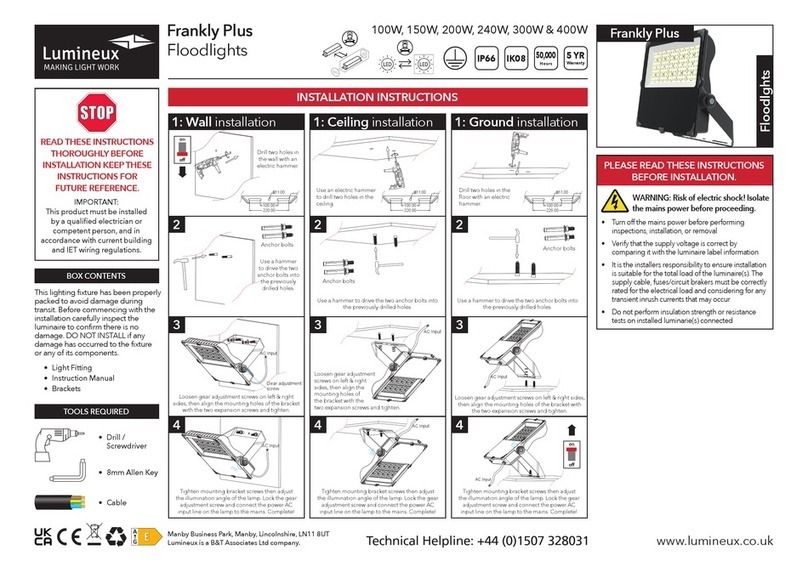
Lumineux
Lumineux Frankly Plus installation instructions
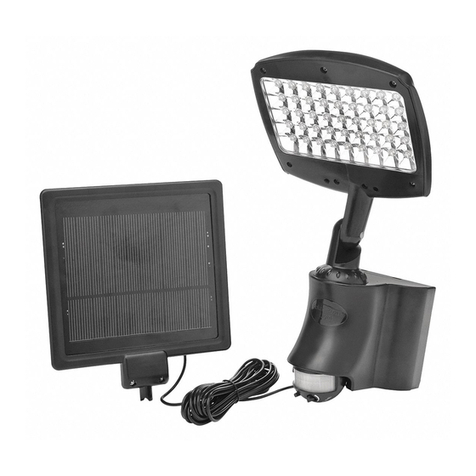
Designers Edge
Designers Edge L-955 instructions

Equinox Systems
Equinox Systems Ripper EQLA27 user manual
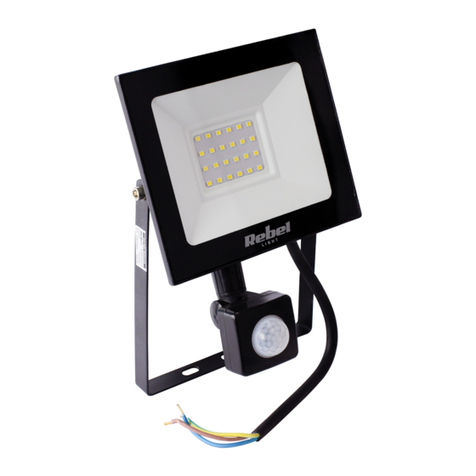
Rebel
Rebel URZ3484 user manual
Rotolight
Rotolight TITAN X2 Service manual

Home Zone Security
Home Zone Security AEC-326KA2-AC14W manual

MEDC
MEDC XB12 Technical manual

Lighting Technologies
Lighting Technologies HB LED Series manual
Verde Energy Group
Verde Energy Group VER-CF4-30-750 Product instructions
CRX
CRX CRX3322 instruction manual


