manuals.online logo
Brands
  1. Home
  2. •
  3. Brands
  4. •
  5. NightSearcher
  6. •
  7. Flashlight
  8. •
  9. NightSearcher ZOOM 580R User manual

NightSearcher ZOOM 580R User manual

ZOOM 580R - User manual
Product size (mm) 62x41x43mm NS Part No. NSHTZOOM580R
Product weight (g) 95g Supplied with USB Charging cable
+ battery pack
Warning:
- Turn off head torch before attempting any routine cleaning or maintenance.
- To clean the light, wipe the lens with a soft cloth and a non-corrosive detergent.
- DO NOT look directly into the LED. This can damage eyesight.
- DO NOT expose the battery to re/high temperatures or extreme wet/cold conditions.
- Do not try to repair the unit. In case of any problems or questions please contact NightSearcher Limited
or an authorised distributor.
Note:
- Do not mix new batteries with used batteries or mix batteries from different battery manufacturer or
from different type.
- Remove the batteries when unused for a period of time to prevent battery leakage in the device.
If at any time, you need to dispose of this product or parts of this product: please note that
waste electrical products and batteries should not be disposed of with ordinary household
waste. Recycle where facilities exist. Check with your local authority for recycling advice.
Alternatively, NightSearcher is happy to take receipt of this product at end-of-life and will
recycle it on your behalf.
Adjustable head strap
Sangle de tête réglable
Correa de cabeza ajustable
Cinturino regolabile
Verstellbarer Kopfriemen
可调节头带
調整可能なヘッドストラップ
Operational Instructions
1. Turn on the head torch by pressing the switch once to enter the High mode
2. Press the switch again to cycle through the other modes:
Medium→Low→Warm White→Warm White Flashing→Off
3. To adjust the light beam, rotate the bezel to the left for Spot beam and to the right for Flood Beam.
4. The head torch can be rotated 90° degrees to archive the desired beam angle.
Cool White Zoom Light
Lumière blanche fraîche de zoom
Luz de Zoom Blanca Fresca
Cool White Zoom Light
Cool White Zoom Licht
冷白色变焦灯
クールホワイトズームライト
Rotate bezel for spot to ood beam
Tournez la lunette pour spot to ood faisceau
Gire el bisel para que el haz se inunde
Ruota la ghiera per il raggio da spot a ood
Drehen Sie die Blende für den Spot, um den Strahl zu uten
旋转表圈以便泛光照射
現場のためにベゼルを回転させて洪水ビームにする
5 light modes - High→Medium→Low→Warm White→Warm White Flashing
5 modes d’éclairage - Élevé → Moyen → Faible → Blanc chaud → Blanc chaud clignotant
5 modos de luz - Alto → Medio → Bajo → Blanco cálido → Intermitente blanco cálido
5 modi luce - Alto → Medio → Basso → Bianco caldo → Bianco caldo Lampeggiante
5 Lichtmodi - Hoch → Mittel → Niedrig → Warmweiß → Warmweiß blinkend
5种光模式 - 高→中→低→暖白色→暖白色闪烁
5つのライトモード - High→Medium→Low→Warm White→Warm White点滅
Recharge battery pack:
1. Lift the open launch on top of the head torch and pull open the battery compartment. The Li-ion
battery can be charged in the head torch compartment or can be removed and charged outside of
the head torch.
2. When you use the head torch for the rst time or have not used it for a long time, you need to fully
charge the ashlight for 2.5 hours.
3. Insert the micro USB cable into the battery pack and power supply (only use USB
adaptor/Electronics device with maximum output of 5V), a red charging light will illuminate to
indicate charging has started.
4. The charging light will turn green once the battery pack is fully charged.
5. 3 x AAA alkaline batteries can also be used to power the head torch, simply remove the power
pack and insert the batteries.
BEAM
DISTANCE
150m
580
LIGHT
OUTPUT
LUMENS
CHARGING
TIME
2.5HRS
RUNNING
TIME
18 HRS
Attention:
- Éteignez la torche avant d’effectuer un nettoyage ou un entretien de routine.
- Pour nettoyer la lumière, essuyez l’objectif avec un chiffon doux et un détergent non corrosif.
- NE regardez PAS directement dans la LED. Cela peut endommager la vue.
- N’exposez PAS la batterie au feu / à des températures élevées ou à des conditions extrêmes
d’humidité ou de froid.
- N’essayez pas de réparer l’appareil. En cas de problèmes ou de questions, veuillez contacter
NightSearcher Limited ou un distributeur autorisé.
Remarque:
- Ne mélangez pas des piles neuves avec des piles usagées ou ne mélangez pas des piles provenant
de fabricants de piles différents ou de types différents.
- Retirez les piles inutilisées pendant une période de temps an d’éviter toute fuite de la pile dans
l’appareil.
Instructions opérationnelles
1. Allumez la lampe frontale en appuyant une fois sur l’interrupteur pour passer en mode haute
2. Appuyez de nouveau sur l’interrupteur pour faire déler les autres modes:
3. Moyen → Bas → Blanc chaud → Blanc chaud Clignotant → Désactivé
4. Pour régler le faisceau lumineux, faites pivoter la lunette vers la gauche pour le rayon spot et vers
la droite pour la zone Flood Beam.
5. La torche de tête peut être tournée de 90 ° pour archiver l’angle de faisceau désiré.
Rechargez la batterie:
1. Soulevez le lancement ouvert sur le dessus de la torche et ouvrez le compartiment à piles. La
batterie Li-ion peut être chargée dans le compartiment de la torche frontale ou peut être retirée et
chargée à l’extérieur de la torche frontale.
2. Lorsque vous utilisez la torche frontale pour la première fois ou que vous ne l’avez pas utilisée
depuis longtemps, vous devez charger complètement la torche pendant 2,5 heures.
3. Insérez le câble micro-USB dans la batterie et l’alimentation (utilisez uniquement le port USB
adaptateur / appareil électronique avec une sortie maximale de 5V), un voyant de charge rouge
s’allume pour indiquer que le chargement a commencé.
4. Le voyant de charge devient vert une fois la batterie complètement chargée.
5. 3 piles alcalines AAA peuvent également être utilisées pour alimenter la torche, il suft de retirer le
bloc d’alimentation et d’insérer les piles.
Si à tout moment, vous devez vous débarrasser de ce produit ou de parties de ce produit:
veuillez noter que les batteries de produits électriques usagés ne doivent pas être jetées avec
les ordures ménagères ordinaires. Recycler là où les installations existent. Vériez auprès de
votre autorité locale pour des conseils de recyclage. Alternativement, NightSearcher est heureux
de recevoir ce produit en n de vie et le recyclera en votre nom.
Élimination sûre des déchets de produits électriques et des batteriesÉlimination sûre des déchets de produits électriques et des batteries
Si en algún momento necesita deshacerse de este producto o de partes de este producto: tenga
en cuenta que los residuos de productos eléctricos, bombillas y baterías no deben eliminarse
con la basura doméstica ordinaria. Recicle donde existen instalaciones. Consulte con su
autoridad local para obtener consejos de reciclaje. Alternativamente, NightSearcher se
complace en recibir este producto al nal de su vida útil y lo recicla en su nombre.
Eliminación segura de residuos de productos eléctricos, baterías y bombillas
Advertencia:
- Apague la linterna frontal antes de intentar cualquier limpieza o mantenimiento de rutina.
- Para limpiar la luz, limpie la lente con un paño suave y un detergente no corrosivo.
- NO mire directamente al LED. Esto puede dañar la vista.
- NO exponga la batería al fuego / altas temperaturas o condiciones extremadamente húmedas / frías.
- No intente reparar la unidad. En caso de cualquier problema o pregunta, póngase en contacto con
NightSearcher Limited o un distribuidor autorizado.
Nota:
- No mezcle pilas nuevas con pilas usadas ni mezcle pilas de diferentes fabricantes de pilas o de otro
tipo.
- Retire las baterías cuando no las utilice durante un período de tiempo para evitar fugas de la batería
en el dispositivo.
Instrucciones operacionales
1. Encienda la antorcha de la cabeza presionando el interruptor una vez para entrar en el modo alto
2. Presione el interruptor nuevamente para pasar por los otros modos:
3. Medio → Bajo → Blanco cálido → Parpadeo blanco cálido → Apagado
4. Para ajustar el haz de luz, gire el bisel hacia la izquierda para el haz puntual y hacia la derecha
para el haz de luz.
5. La antorcha de cabeza se puede girar 90 ° para archivar el ángulo de haz deseado
Recargue el paquete de batería:
1. Levante el lanzamiento abierto en la parte superior de la antorcha de cabeza y abra el
compartimento de la batería. La batería de iones de litio se puede cargar en el compartimiento de
la antorcha de la cabeza o se puede quitar y cargar fuera del soplete de la cabeza.
2. Cuando usa la linterna frontal por primera vez o no la usa desde hace mucho tiempo, debe
cargarla por completo durante 2,5 horas.
3. Inserta el cable micro USB en la batería y la fuente de alimentación (solo usa USB
4. adaptador / dispositivo electrónico con salida máxima de 5 V), se encenderá una luz roja de carga
para indicar que la carga ha comenzado.
5. La luz de carga se pondrá verde una vez que la batería esté completamente cargada.
6. También se pueden usar 3 pilas AAA alcalinas para alimentar la linterna frontal, simplemente retire
la unidad de alimentación e inserte las baterías.
Warm white diffused beam for close up work
Poutre diffuse blanche chaude pour le gros plan
Haz difuso blanco cálido para el trabajo de cerca
Fascio diffuso bianco caldo per lavori ravvicinati
Warmweißer diffuser Strahl für Nahaufnahmen
温暖的白色漫射光束为关闭工作
クローズアップ作業のための暖かい白色拡散ビーム
充电电池组:
抬起头部火炬顶部的开放式发射器并拉开电池盒。锂离子电池可以在头部割炬舱内充
电,或者可以在头部割炬外部移除和充电。
当您首次使用头部手电筒或长时间未使用时,需要将手电筒充满电2.5小时。
将micro USB电缆插入电池组和电源(仅限使用USB
最大输出为5V的适配器/电子设备),红色充电指示灯将亮起表示充电已开始。
一旦电池组充满电,充电指示灯将变成绿色。
3节AAA碱性电池也可用于为头部电筒供电,只需取下电源组并插入电池即可。
操作说明
按一次开关打开头部手电筒,进入高级模式
再次按开关循环其他模式:
中→低→暖白→暖白闪烁→关闭
要调整光束,请将挡板向左旋转以获得点光束,向右旋转Flood Braam。
头部火炬可以旋转90度以归档所需的光束角度。
Se in qualsiasi momento, è necessario smaltire questo prodotto o parti di questo prodotto: si
prega di notare che i riuti di prodotti elettrici, lampadine e batterie non devono essere smaltiti
con i riuti domestici ordinari. Riciclare dove esistono le strutture. Rivolgersi al proprio ente
locale per i consigli di riciclaggio. In alternativa, NightSearcher è lieto di ricevere il ricevimento di
questo prodotto alla ne della vita e riciclarlo a suo nome.
Élimination sûre des déchets de produits électriques et des batteriesDepurazione sicura dei riuti prodotti elettrici, batterie e lampadine
Sollten Sie zu diesem Zeitpunkt jederzeit dieses Produkt oder Teile dieses Produkts entsorgen
müssen, beachten Sie bitte, dass Abfälle von elektrischen Produkten, Glühlampen und
Batterien nicht mit normalem Hausmüll entsorgt werden dürfen. Recycling wo Einrichtungen
vorhanden sind. Überprüfen Sie mit Ihrer örtlichen Behörde auf Recycling Beratung. Alternativ,
NightSearcher ist glücklich, den Empfang dieses Produkts am Ende des Lebens zu nehmen und
wird es in Ihrem Namen recyceln.
Élimination sûre des déchets de produits électriques et des batteriesSichere Entsorgung von Elektro- und Elektronik-Altgeräten, Batterien und Glühlampen
如果在任何时候,您需要处理本产 品或本产品的部件:请注意,废电气产品,灯泡
和电池不应与普通家庭垃圾一起处理。循环使用设施。请向当地政府查询回收建
议。或者,NightSearcher很乐意在此期间收到此产品,并代您回收。
Élimination sûre des déchets de produits électriques et des batteries
废弃电气产品,电池和灯泡的安全处置
本製品または本製品の一部を処分する必要がある場合は、いつでも廃棄してください。電気製
品、電球および電池は、一般家庭の廃棄物と一緒に廃棄しないでください。施設が存在する場
所でリサイクル。リサイクルのアドバイスについては、自治体にお問い合わせください。ま
た、NightSearcherは、この製品を寿命末期に受領して喜んでリサイクルします。
Élimination sûre des déchets de produits électriques et des batteries
電気製品、バッテリー、電球の安全な廃棄
NightSearcher products have been carefully tested and inspected before shipment and are guaranteed to be free from defective materials and workmanship for a period of 36 months
(battery not covered) from the date of purchase, provided that the enclosed instructions have been followed. Should you experience problems with your NightSearcher product, please
return the item, complete with any chargers, to your place of purchase or contact NightSearcher Ltd direct. Your NightSearcher warranty does not apply to normal wear and tear, nor
does it cover any damage caused by misuse, careless or unsafe handling, alterations, accidents or repairs attempted or made by any personnel without prior approval from
NightSearcher Ltd. Your NightSearcher warranty is not effective unless you can provide a dated proof of purchase. Please note that this warranty does not affect your statutory rights.
If at any time, you need to dispose of this product or parts of this product: Please note that waste electrical products, batteries should not be disposed of with household waste.
Please recycle where facilities exist, check with your local authority for recycling advice.
NightSearcher Limited - Unit 4 Applied House - Fitzherbert Spur – Farlington – PORTSMOUTH – Hampshire - PO6 1TT – UK
WARRANTY TERMS
Avvertimento:
- Spegnere la torcia prima di eseguire qualsiasi operazione di pulizia o manutenzione di routine.
- Per pulire la luce, pulire l’obiettivo con un panno morbido e un detergente non corrosivo.
- NON guardare direttamente nel LED. Questo può danneggiare la vista.
- NON esporre la batteria a fuoco / alte temperature o condizioni estreme di bagnato / freddo.
- Non provare a riparare l’unità. In caso di problemi o domande, contattare NightSearcher Limited
o un distributore autorizzato.
Nota
- Non mischiare batterie nuove con batterie usate o mischiare batterie di produttori diversi o di tipo
diverso.
- Rimuovere le batterie quando non utilizzate per un periodo di tempo per evitare perdite di batteria nel
dispositivo.
Istruzioni operative
1. Accendere la torcia frontale premendo una volta l’interruttore per accedere alla modalità alta
2. Premi di nuovo l’interruttore per scorrere le altre modalità:
3. Medio → Basso → Bianco caldo → Bianco caldo Lampeggiante → Off
4. Per regolare il fascio di luce, ruotare la ghiera verso sinistra per il fascio Spot e verso destra per
Flood Beam.
5. The head torch can be rotated 90° degrees to archive the desired beam angle.
Ricarica batteria:
1. Sollevare il lancio aperto sulla parte superiore della torcia frontale e aprire il vano batteria. La
batteria agli ioni di litio può essere caricata nello scomparto della torcia frontale o può essere
rimossa e caricata al di fuori della torcia frontale.
2. Quando si usa la torcia per la prima volta o non la si usa da molto tempo, è necessario caricare
completamente la torcia per 2,5 ore.
3. Inserire il cavo micro USB nel pacco batteria e l’alimentazione (usare solo USB
adattatore / dispositivo elettronico con potenza massima di 5 V), si accenderà una luce rossa di
ricarica per indicare che la ricarica è iniziata.
4. La luce di ricarica diventa verde quando la batteria è completamente carica.
5. 3 batterie alcaline AAA possono essere utilizzate anche per alimentare la torcia frontale, basta
rimuovere il gruppo batterie e inserire le batterie.
Warnung:
- Schalten Sie den Scheinwerfer aus, bevor Sie eine routinemäßige Reinigung oder Wartung
vornehmen.
- Wischen Sie das Objektiv mit einem weichen Tuch und einem nicht ätzenden Reinigungsmittel ab, um
das Licht zu reinigen.
- Schauen Sie NICHT direkt in die LED. Dies kann die Sehkraft beeinträchtigen.
- Setzen Sie die Batterie NICHT Feuer / hohen Temperaturen oder extremer Nässe / Kälte aus.
- Versuchen Sie nicht, das Gerät zu reparieren. Bei Problemen oder Fragen wenden Sie sich bitte an
NightSearcher Limitedoder ein autorisierter Händler.
Hinweis:
- Mischen Sie keine neuen Batterien mit gebrauchten Batterien oder Batterien von verschiedenen
Batterieherstellern oder anderen Typen.
- Entfernen Sie die Batterien, wenn sie für eine gewisse Zeit nicht benutzt werden, um ein Auslaufen der
Batterie in das Gerät zu verhindern.
Bedienungsanleitungen
1. Schalten Sie die Stirnlampe ein, indem Sie den Schalter einmal drücken, um in den High-Modus
zu gelangen
2. Drücken Sie den Schalter erneut, um zwischen den anderen Modi zu wechseln:
3. Medium → Niedrig → Warmweiß → Warmweiß Blinkend → Aus
4. Um den Lichtstrahl einzustellen, drehen Sie die Blende nach links für Punktstrahl und nach rechts
für Flutlicht.
5. La torcia frontale può essere ruotata di 90 ° per archiviare l’angolo del fascio desiderato.
Akku auaden:
1. Heben Sie den offenen Start oben auf der Stirnlampe und öffnen Sie das Batteriefach. Der
Lithium-Ionen-Akku kann im Kopampenfach geladen oder außerhalb des Kopafters entnommen
und geladen werden.
2. Wenn Sie die Stirnlampe zum ersten Mal benutzen oder längere Zeit nicht benutzt haben, müssen
Sie die Taschenlampe für 2,5 Stunden vollständig auaden.
3. Stecken Sie das Micro - USB - Kabel in den Akku und das Netzteil (verwenden Sie nur USB
4. Adapter / Elektronikgerät mit einer maximalen Ausgangsleistung von 5 V) leuchtet eine rote
Ladeanzeige auf, um anzuzeigen, dass der Ladevorgang begonnen hat.
5. Die Ladeanzeige leuchtet grün, sobald der Akku vollständig aufgeladen ist.
6. 3 x AAA-Alkaline-Batterien können auch verwendet werden, um die Stirnlampe anzutreiben,
entfernen Sie einfach das Netzteil und legen Sie die Batterien ein.
警告:
- 在尝试任何日常清洁或维护之前关闭头部割炬。
- 要清洁灯光,请用软布和非腐蚀性清洁剂擦拭镜头。
- 不要直视LED。这会损害视力。
- 请勿将电池暴露在火中/高温或极端潮湿/寒冷的环境中。
- 不要尝试修理设备。如有任何问题或疑问,请联系NightSearcher Limited
或授权分销商。
注意:
- 请勿将新电池与废旧电池混用,或混用不同电池制造商或不同类型的电池。
- 在未使用一段时间后取出电池,以防止设备中的电池泄漏
バッテリーパックを充電する:
ヘッドトーチの上で開いた発射を持ち上げて、バッテリコンパートメントを引き出します。 Liイオン
バッテリは、ヘッドトーチコンパートメントに充電することも、ヘッドトーチの外部で取り外して充電
することもできます。
初めてヘッドトーチを使用したり、長時間使用しなかった場合は、2.5時間フル充電する必要がありま
す。
マイクロUSBケーブルをバッテリパックと電源装置に挿入します(USB
最大出力5Vのアダプタ/エレクトロニクスデバイス)、赤色の充電ランプが点灯して充電が開始された
ことを示します。
バッテリーパックが完全に充電されると、充電ランプが緑色に変わります。
単3アルカリ乾電池3本でヘッドトーチに電力を供給することもできます。パワーパックを取り外して電
池を挿入するだけです。
操作手順
スイッチを一度押してヘッド.トーチをオンにすると、ハイ.モードになります
もう一度スイッチを押すと、他のモードが切り替わります。
中→低→温白色→温白色点滅→消灯
光線を調整するには、ベゼルを「スポットビーム」の左側に、「フラッドビーム」の右側に回します。
ヘッドトーチは、所望のビーム角度を保存するために90°回転させることができる。
警告:
- 定期的な清掃やメンテナンスを行う前にヘッドトーチの電源を切ってください。
- 光をきれいにするには、レンズを柔らかい布と非腐食性の洗剤で拭きます。
- LEDを直接見ないでください。これは視力を損なう可能性があります。
- バッテリーを高温/極端な濡れた/寒い場所に放置しないでください。
- 装置を修理しようとしないでください。問題が発生した場合は、NightSearcher Limitedまでご連絡く
ださい。
または認可された代理店。
注意:
- 新しい電池と使用済みの電池を混ぜたり、異なる電池メーカーまたは異なるタイプの電池を混ぜたり
しないでください。
- 電池の液漏れを防ぐため、一定時間使用しないときは、電池を取り外してください。

Other NightSearcher Flashlight manuals

NightSearcher NSEX160R User manual

NightSearcher

NightSearcher NSEX160R User manual

NightSearcher NAVIGATOR-1100 User manual

NightSearcher

NightSearcher NAVIGATOR-1100 User manual

NightSearcher EX150 User manual

NightSearcher

NightSearcher EX150 User manual

NightSearcher commander XM-L User manual

NightSearcher

NightSearcher commander XM-L User manual

NightSearcher iSpector 750 User manual

NightSearcher

NightSearcher iSpector 750 User manual

NightSearcher SAFATEX FLASHLIGHT User manual

NightSearcher

NightSearcher SAFATEX FLASHLIGHT User manual

NightSearcher Ex270 User manual

NightSearcher

NightSearcher Ex270 User manual

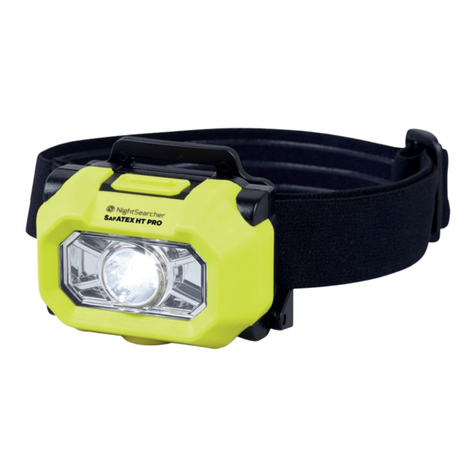
NightSearcher SAFATEX HT PRO User manual

NightSearcher

NightSearcher SAFATEX HT PRO User manual

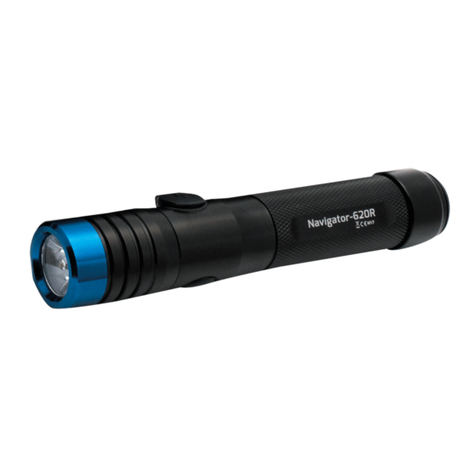
NightSearcher NAVIGATOR-620R User manual

NightSearcher

NightSearcher NAVIGATOR-620R User manual

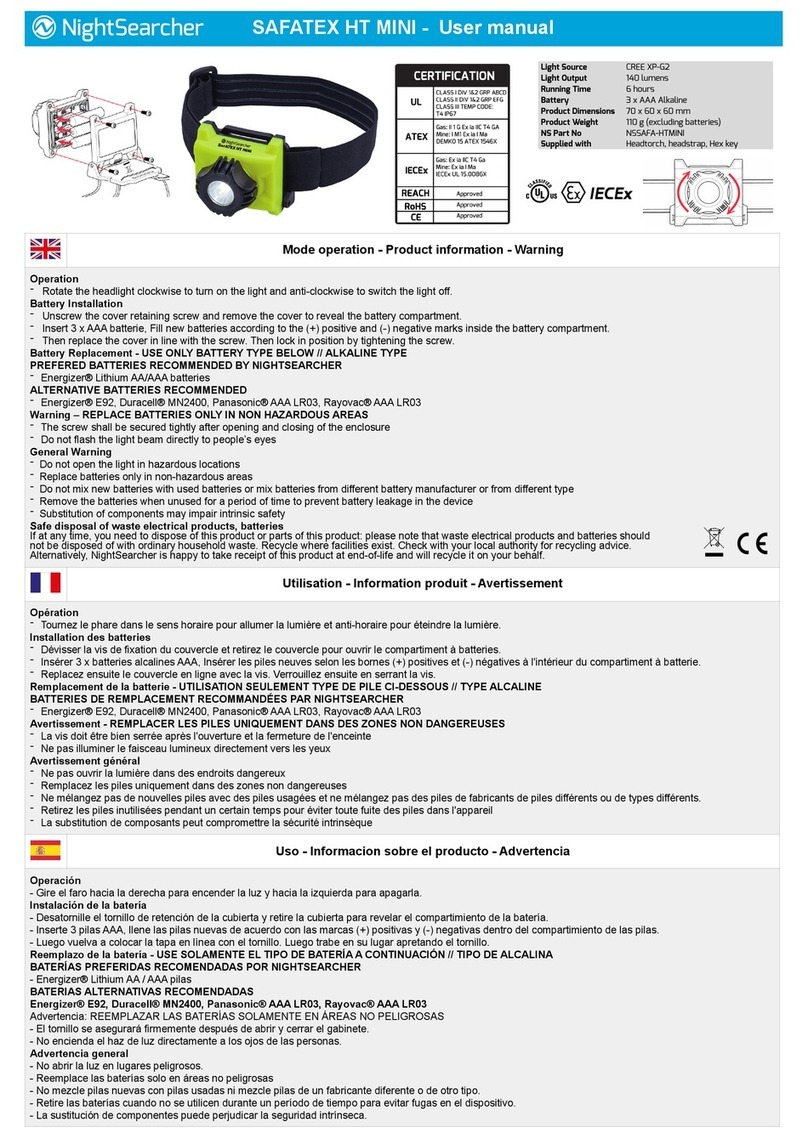
NightSearcher SAFATEX HT MINI User manual

NightSearcher

NightSearcher SAFATEX HT MINI User manual

NightSearcher NSUV395 User manual

NightSearcher

NightSearcher NSUV395 User manual

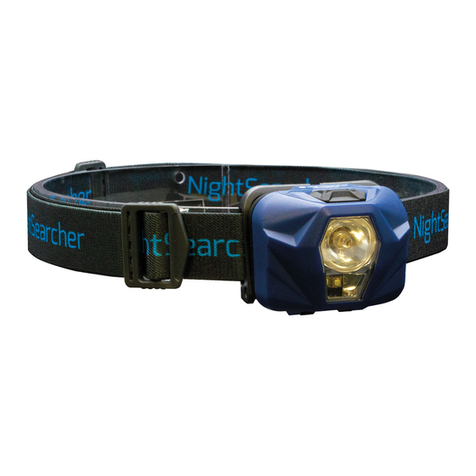
NightSearcher HEADSTAR User manual

NightSearcher

NightSearcher HEADSTAR User manual

NightSearcher ATEX PENLIGHT User manual

NightSearcher

NightSearcher ATEX PENLIGHT User manual

NightSearcher EXPLORER-1000 User manual

NightSearcher

NightSearcher EXPLORER-1000 User manual

NightSearcher TRIO-550 User manual

NightSearcher

NightSearcher TRIO-550 User manual

NightSearcher SAFATEX SPOT User manual

NightSearcher

NightSearcher SAFATEX SPOT User manual

NightSearcher Mini Magnum User manual

NightSearcher

NightSearcher Mini Magnum User manual

NightSearcher HT-340R User manual

NightSearcher

NightSearcher HT-340R User manual

NightSearcher NSEXPL User manual

NightSearcher

NightSearcher NSEXPL User manual

NightSearcher Star Buddy NSSTARBUDDY User manual

NightSearcher

NightSearcher Star Buddy NSSTARBUDDY User manual

NightSearcher SAFATEX RA User manual

NightSearcher

NightSearcher SAFATEX RA User manual

NightSearcher EXPLORER-PL User manual

NightSearcher

NightSearcher EXPLORER-PL User manual

NightSearcher EXPLORER MINI User manual

NightSearcher

NightSearcher EXPLORER MINI User manual

NightSearcher SAFATEX 3C Flashlight User manual

NightSearcher

NightSearcher SAFATEX 3C Flashlight User manual

Popular Flashlight manuals by other brands

vulta hurricane 262 lumen fg-e15 user manual

vulta

vulta hurricane 262 lumen fg-e15 user manual

Sealey HT110 quick guide

Sealey

Sealey HT110 quick guide

Chicago Electric 68670 owner's manual

Chicago Electric

Chicago Electric 68670 owner's manual

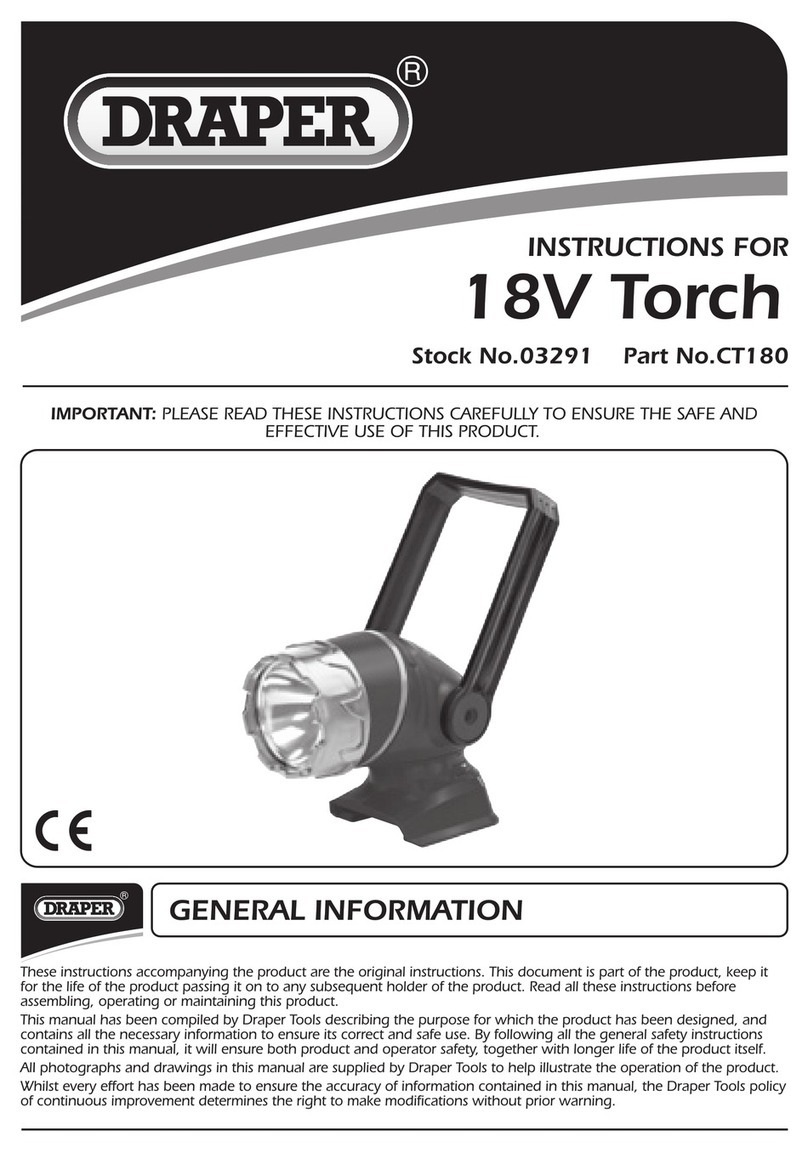
Draper CT180 instructions

Draper

Draper CT180 instructions

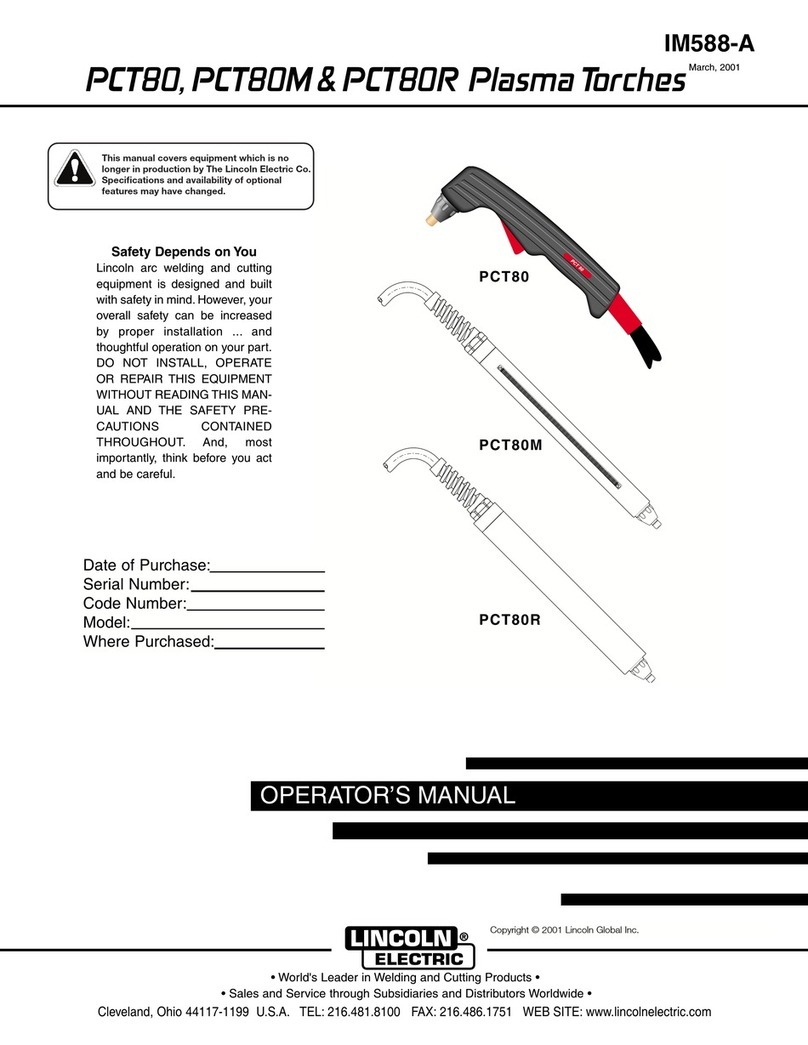
Lincoln Electric PCT 80 Operator's manual

Lincoln Electric

Lincoln Electric PCT 80 Operator's manual

Seiler P1181 Operation manual

Seiler

Seiler P1181 Operation manual

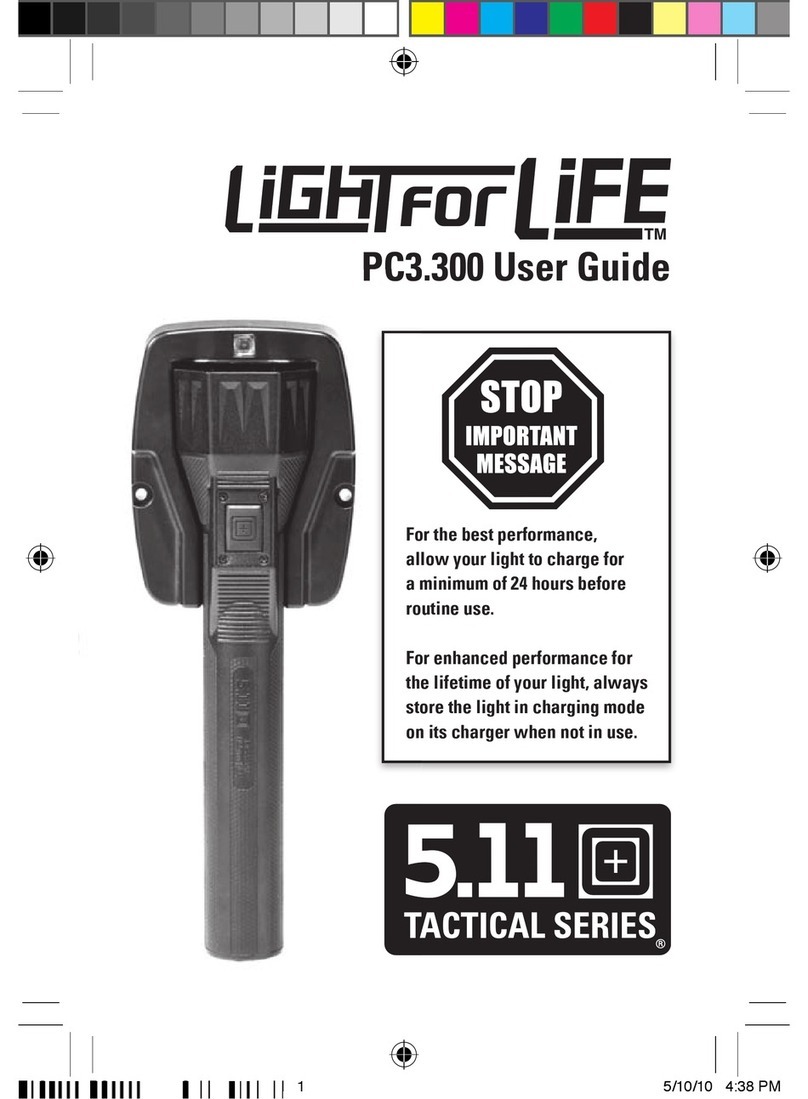
Light for Life PC3.300 user guide

Light for Life

Light for Life PC3.300 user guide

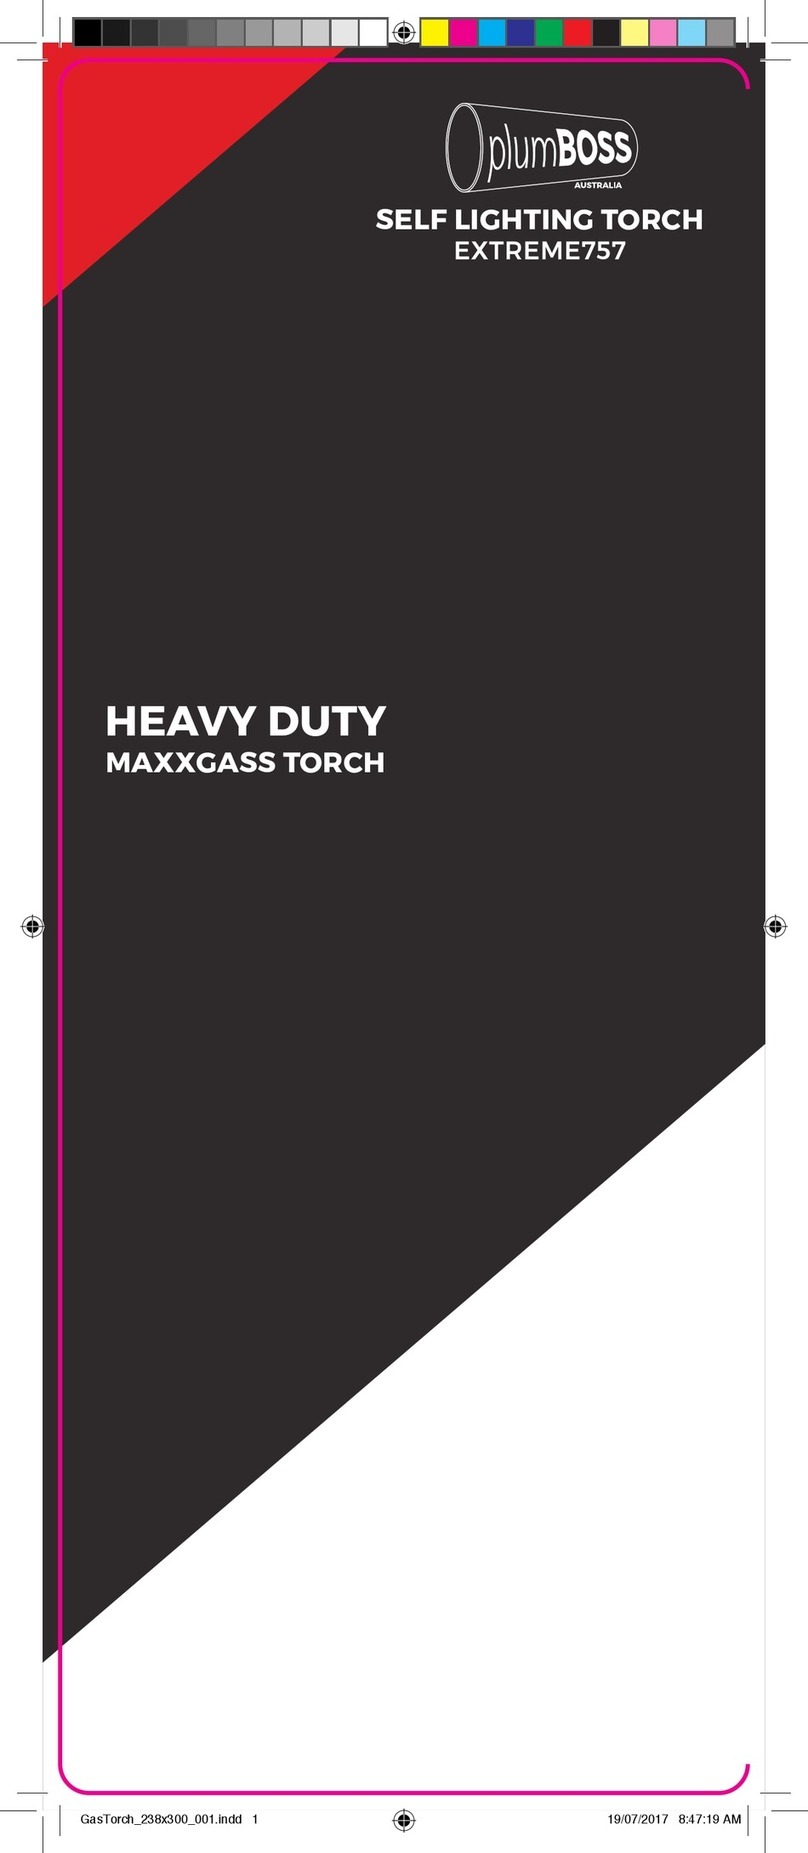
plumBOSS EXTREME757 operating instructions

plumBOSS

plumBOSS EXTREME757 operating instructions

Yarkiy Luch Lemur user manual

Yarkiy Luch

Yarkiy Luch Lemur user manual

Bosch GLI 18V-300 Original instructions

Bosch

Bosch GLI 18V-300 Original instructions

Sealey AK293 instruction manual

Sealey

Sealey AK293 instruction manual

Surefire AVIATOR-RD user manual

Surefire

Surefire AVIATOR-RD user manual

Sunoptic Surgical TITAN 9000 Operation manual

Sunoptic Surgical

Sunoptic Surgical TITAN 9000 Operation manual

Varta PAUL THE BEAR quick start guide

Varta

Varta PAUL THE BEAR quick start guide

Xeccon Spiker 1206 user guide

Xeccon

Xeccon Spiker 1206 user guide

ring RIT1030 instructions

ring

ring RIT1030 instructions

TFA LUMATIC HEAD SuperLUX operating instructions

TFA

TFA LUMATIC HEAD SuperLUX operating instructions

Sealey LED3601 Series instructions

Sealey

Sealey LED3601 Series instructions

manuals.online logo
manuals.online logoBrands
  • About & Mission
  • Contact us
  • Privacy Policy
  • Terms and Conditions

Copyright 2025 Manuals.Online. All Rights Reserved.