Product set up
-When the Megastar is to be used on a very uneven surface it may be necessary to put a pad of material under one or more of the feet to obtain maximum
stability. If the surface is soft it might be possible to gently press one or more of the feet into it.
-Stability can be further improved by using optional stability pegs.
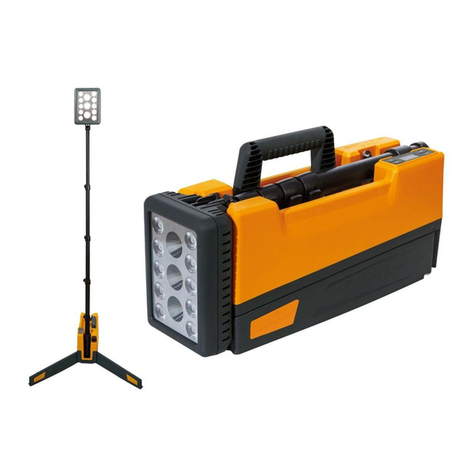
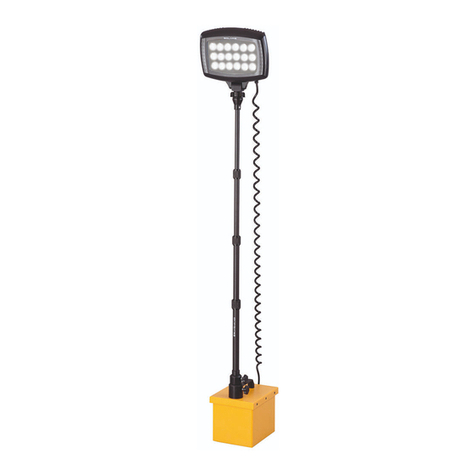
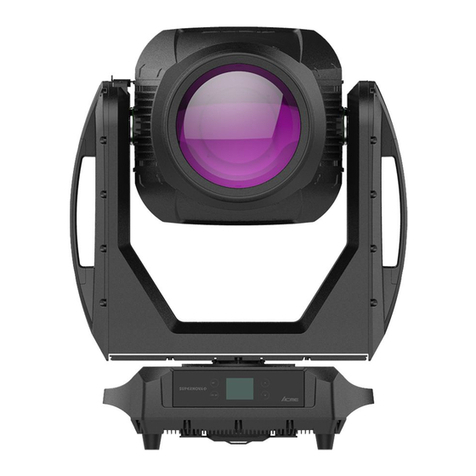
-Insert lamp head into tripod and secure. Raise lamp and tripod by extending top part of telescopic tripod first and secure. Continue with 2nd part of telescopic
tripod and secure.
-When extending or retracting the tripod sections the user should always grasp the sliding element firmly before either tightening or loosening its securing
thumbscrew in order to avoid the possibility of the sliding element dropping without warning.
-When lamp head is at required height and unit is stable, insert the locking pins and tighten the upper and lower collars.
-Connect cable lead to power-pack and switch on.
-Always spread the tripod feet to their maximum extent. The excess cable should be neatly coiled within the tripod footprint.
-The canvass power pack is hung by the strap onto the 3.5M tripod hand wheel when the tripod is set to the desired height and position. Avoid leaving the power
pack on the ground.
Operation: using either the switch located on the lead of the head or at the back of the Solaris head
-Press once to turn on the Solaris head on the first setting 4000 lumens
-Press again for the second light setting at 8000 lumens
-Press a third time for the full power mode at 16000 lumens
-Press another time to turn off the light.
-When OFF, press and hold for 3 secs then release the switch to activate the ECO mode (2000 lumens). Press again while in ECO mode to activate the flashing
light setting. Press a second time to turn off the light.
Battery charging
-Plug the charger into the mains supply and switch on at the socket. The LED on the charger will glow green to indicate mains voltage present.
-Plug the charger into the charging socket of the power pack the LED will turn RED to indicate the battery is charging.
-The LED will turn green when charging is complete.
-Do not use any chargers other than those provided. Failure to do so could damage the product, cause fire or personal injury.
-Charge before use until the charger shows a constant green LED.
-NOTE: Your battery pack will not reach optimum performance until 4/5 charging cycles.
General Warning
-Do not expose the battery to excessive heat, to do so may cause an explosion. - Do not use metal objects to short circuit the positive and negative end of the
battery. - Do not dispose of the battery in the domestic waste, please use the correct method of disposal. - Do not solder directly on to the battery. - Do not let the
battery become wet or immerse the battery in water.
-Keep the battery away from children. - The operating temperature range of the light’s battery: Charging: 0°C to 45°C / Discharging: -20°C to 60°C
-Do not shine the light directly into people’s eyes, as it may damage their eyesight.
-Do not try to repair the unit. In case of any problems or questions please contact NightSearcher Limited or an authorised distributor.
All NightSearcher products have a 3-year standard warranty on all manufacturing defects and 1-year warranty on all rechargeable
batteries from the date of purchase. Extended Warranty: From 1st September 2018, customers have the option to extend the warranty
of the product to 5 years for manufacturing defects. Registration of the product must be made within one month of purchase by sending
us an email sales@nightsearcher.co.uk. In the message please state in your own words that you would like to register your NightSearcher
product for the extended warranty. To view NightSearcher’s warranty policy, please visit: http://nightsearcher.com/en/warranty.html
or scan the QR code.
NightSearcher Limited - Unit 4 Applied House - Fitzherbert Spur – Farlington – PORTSMOUTH – Hampshire - PO6 1TT – UK

