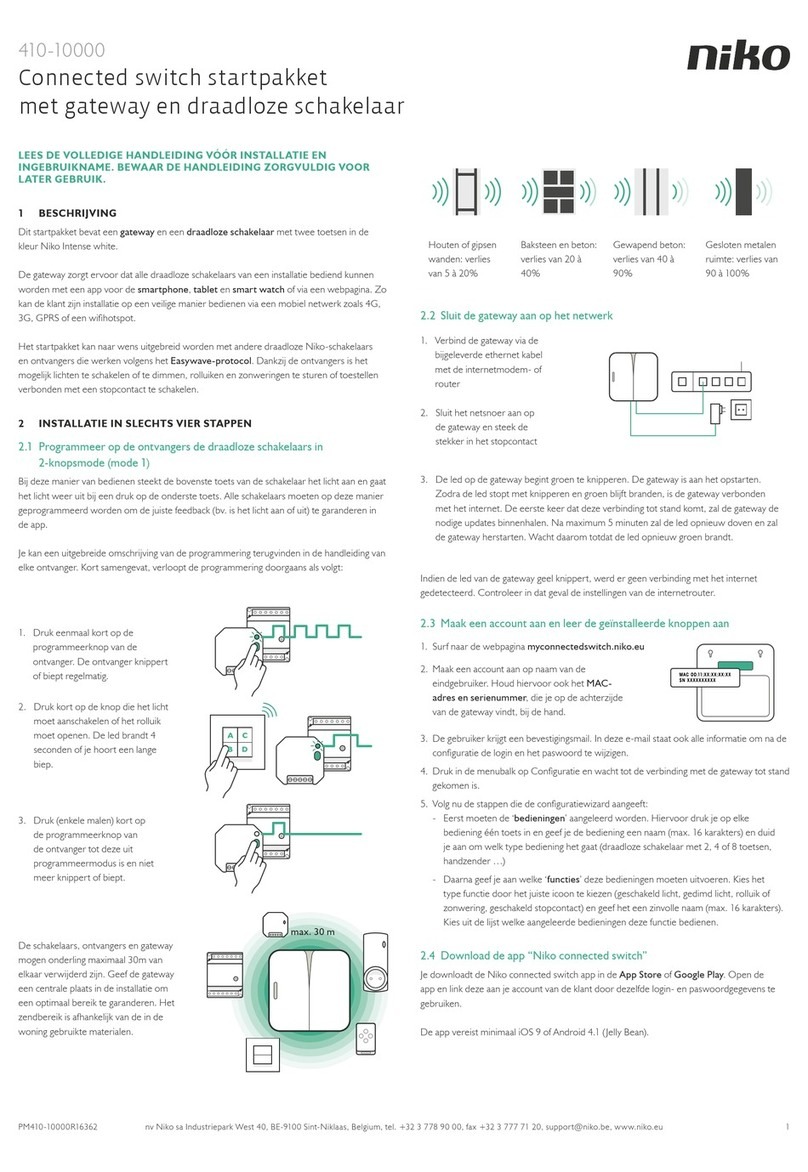
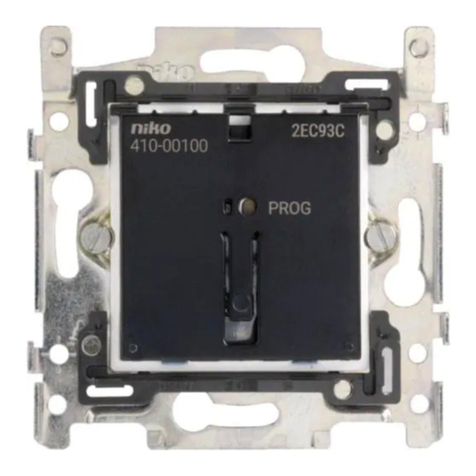
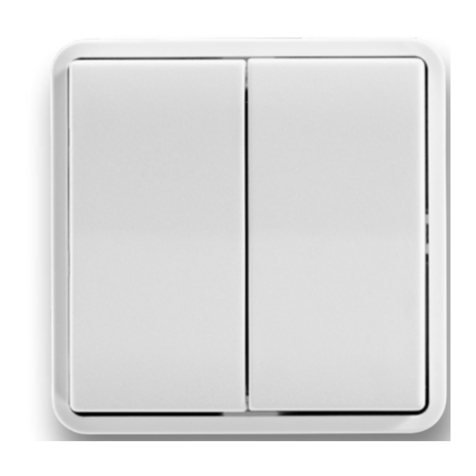
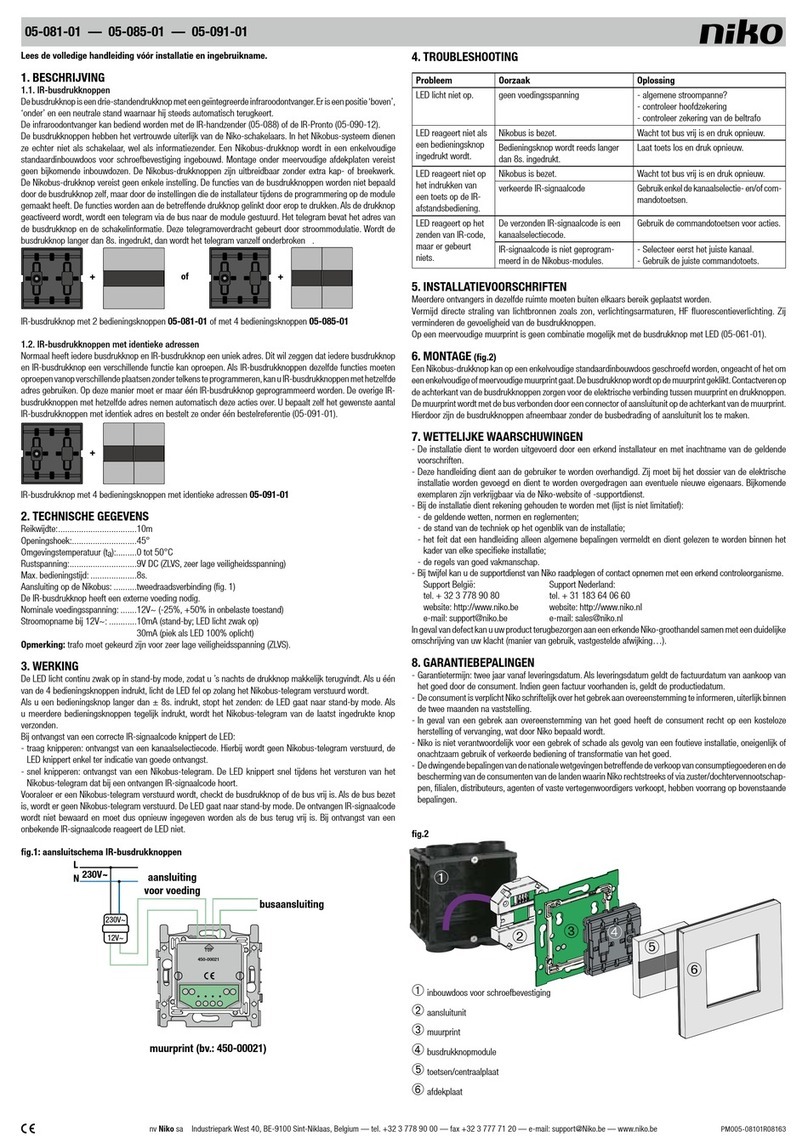
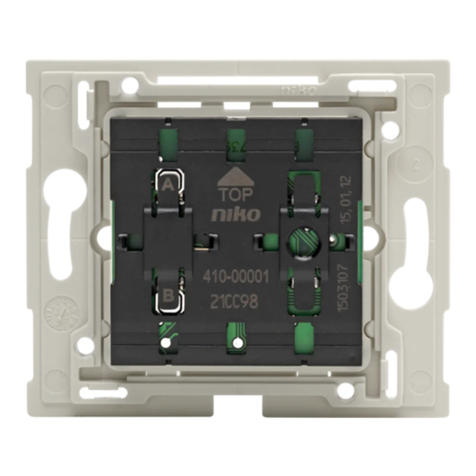
Niko 05-060-01 User manual

nv Niko sa Industriepark West 40, BE-9100 Sint-Niklaas, Belgium — tel. +32 3 778 90 00 — fax +32 3 777 71 20 — e-mail: support@Niko.be — www.niko.be PM005-06001R08163
05-060-01 — 05-061-01 — 05-064-01 — 05-074-01 — 05-078-01
Lees de volledige handleiding vóór installatie en ingebruikname.
1. BESCHRIJVING
De busdrukknop is een 3-standendrukknop:er is steeds een positie boven,
onder en neutraal (middenstand).De busdrukknoppen hebben het vertrouwde
uiterlijk van de Niko-schakelaars.In het Nikobus-systeem dienen ze echter
niet als schakelaar, maar als informatiezender.
Een Nikobus-drukknop wordt gemonteerd in een enkelvoudige standaard
inbouwdoos voor schroefbevestiging. Voor montage onder meervoudige
afdekplaten zijn geen bijkomende inbouwdozen vereist. De Nikobus-druk-
knoppen zijn uitbreidbaar zonder extra kap- of breekwerk. De Nikobus-druk-
knop vereist geen enkele instelling. De functies van de busdrukknoppen
worden niet bepaald door de busdrukknop zelf, maar door de instellingen
die de installeur maakt op de module.Tijdens het instellen van het systeem
worden de functies van de busdrukknoppen vastgelegd door eenvoudige
bediening van de knoppen.Bij het activeren wordt een telegram via de bus
naar de module gestuurd.Het telegram bevat het adres van de busdrukknop
en de informatie over wat gebeuren moet. Deze telegramoverdracht gebeurt
door stroommodulatie. Wordt de busdrukknop langer dan 8s. ingedrukt,
dan wordt het telegram vanzelf onderbroken.
2. TECHNISCHE GEGEVENS
Omgevingstemperatuur: 0 tot +50°C
Rustspanning: 9V DC (ZLVS, zeer lage veiligheidsspanning)
Adres: 22 bit (± 4 miljoen verschillende codes mogelijk)
Max. bedieningstijd: 8s.
Aansluiting op de Nikobus: tweedraadsverbinding
3. MONTAGE
Een Nikobus-drukknop kan op een enkelvoudige standaard inbouwdoos
geschroefd worden,ongeacht enkelvoudige of meervoudige uitvoering van
de muurprint.De busdrukknop wordt op de muurprint geklikt. Contactveren
op de achterkant van de busdrukknoppen zorgen voor de elektrische
verbinding tussen muurprint en drukknoppen. De muurprint wordt met
de bus verbonden door een connector of aansluitunit op de achterkant
van de muurprint. Hierdoor zijn de busdrukknoppen afneembaar zonder
de busbedrading los te maken.
4. WETTELIJKE WAARSCHUWINGEN
- De installatie dient te worden uitgevoerd door een erkend installateur
en met inachtname van de geldende voorschriften.
- Dezehandleidingdientaande gebruikerte worden overhandigd. Zij moet
bij het dossier van de elektrische installatie worden gevoegd en dient
te worden overgedragen aan eventuele nieuwe eigenaars. Bijkomende
exemplaren zijn verkrijgbaar via de Niko-website of -supportdienst.
- Bij de installatie dient rekening gehouden te worden met (lijst is niet
limitatief):
- de geldende wetten, normen en reglementen;
- de stand van de techniek op het ogenblik van de installatie;
- het feit dat een handleiding alleen algemene bepalingen vermeldt en
dient gelezen te worden binnen het kader van elke specifieke instal-
latie;
- de regels van goed vakmanschap.
- Bij twijfel kan u de supportdienst van Niko raadplegen of contact
opnemen met een erkend controleorganisme.
Support België: Support Nederland:
tel. + 32 3 778 90 80 tel. + 31 183 64 06 60
website: http://www.niko.be website: http://www.niko.nl
e-mail: support@niko.be e-mail: sales@niko.nl
In geval van defect kan u uw product terugbezorgen aan een erkende
Niko-groothandel samen met een duidelijke omschrijving van uw klacht
(manier van gebruik, vastgestelde afwijking…).
5. GARANTIEBEPALINGEN
- Garantietermijn: twee jaar vanaf leveringsdatum. Als leveringsdatum
geldt de factuurdatum van aankoop van het goed door de consument.
Indien geen factuur voorhanden is, geldt de productiedatum.
- De consument is verplicht Niko schriftelijk over het gebrek aan over-
eenstemming te informeren, uiterlijk binnen de twee maanden na
vaststelling.
- In geval van een gebrek aan overeenstemming van het goed heeft de
consument recht op een kosteloze herstelling of vervanging, wat door
Niko bepaald wordt.
- Niko is niet verantwoordelijk voor een gebrek of schade als gevolg van
een foutieve installatie,oneigenlijkof onachtzaam gebruik of verkeerde
bediening of transformatie van het goed.
- Dedwingendebepalingenvan de nationale wetgevingenbetreffendede
verko o p van c o nsump tie goed ere n en de b e sch erming van de c ons ume n -
ten va n d e lan den w a ari n Nik o rec htstr eek s o f v ia zu ste r/d o cht er ven noot-
schappen, filialen, distributeurs, agenten of vaste vertegenwoordigers
verkoopt, hebben voorrang op bovenstaande bepalingen.
Er zijn 5 basisuitvoeringen van de busdrukknop met varianten in de toetsen:
• 05-060-01: busdrukknop met 2 bedieningsknoppen voor volle toets of volle toets met tekstveld
+of of of of of
• 05-061-01: busdrukknop met 2 bedieningsknoppen + LED voor volle toets met lens
+of of of of of
• 05-064-01: busdrukknop met 4 bedieningsknoppen voor 2 halve toetsen of 2 halve toetsen met tekstveld
+of of of of of of
• 05-074-01: busdrukknop met 4 bedieningsknoppen voor 2 halve toetsen met feedback-LED voor regimes
+
• 05-078-01: busdrukknop met 8 bedieningsknoppen voor 8 toetsen
+of of of of of
Montage
Aansluitschema feedback-busdrukknoppen
muurprint (bv.: 450-00021)
450-00021
TOP
busaansluiting
aansluiting voor
feedback-LED's

nv Niko sa Industriepark West 40, BE-9100 Sint-Niklaas, Belgium — tel. +32 3 778 90 00 — fax +32 3 777 71 20 — e-mail: support@Niko.be — www.niko.be PM005-06001R08163
05-060-01 — 05-061-01 — 05-064-01 — 05-074-01 — 05-078-01
Lisez entièrement le mode d’emploi avant toute installation et
mise en service.
1. DESCRIPTION
Le bouton-poussoir bus est en fait un bouton-poussoir à 3 positions:position
du haut, position du bas et une position neutre médiane. Dans le système
Nikobus, les boutons-poussoirs n’ont pas la fonction d’interrupteurs, mais
d’émetteurs d’information.
Un bouton-poussoir Nikobus est monté dans une boîte d'encastrement
standard pour fixation par vis. Un raccordement de platines murales multiples
ne nécessite pas de boîtes d’encastrement supplémentaires. Le nombre
de boutons-poussoirs Nikobus peut être étendu sans travaux de rainurage.
Il n’y a aucun réglage à effectuer sur les boutons-poussoirs Nikobus. Les
fonctions de ces boutons-poussoirs ne dépendent plus que des réglages
que l’installateur a effectués sur le module en le programmant. Toutes les
fonctions des boutons-poussoirs sont définies en commandant les manettes.
Dès l’activation de l’une d’elles, un télégramme est envoyé sur le bus vers
le module.Ce télégramme comprend l’adresse du bouton-poussoir et l’in-
formation nécessaire à la commande du circuit. L’envoi de ce télégramme
s’effectue par modulation de courant. Si le bouton-poussoir est maintenu
enfoncé pendant plus de 8s., l’envoi du télégramme est suspendu et le
câble-bus est libéré, prêt pour un nouveau télégramme.
2. CARACTERISTIQUES TECHNIQUES
Température ambiante: 0 à 50°C
Tension de repos: 9 V DC (TBTS, très basse tesion de sécurité)
Adresse: 22 octets (± 4 millions de codes différents)
Temps max. de commande: 8s.
Raccordement au Nikobus: liaison bifilaire
3. MONTAGE
Chaque bouton-poussoir Nikobus peut se monter sur une boîte d’encastre-
ment simple,que ce soit dans le cas d’utilisation d’une platine murale simple
ou multiple.Le bouton-poussoir est fixé à la platine au moyen d’une simple
vis centrale.Des ressorts,situés sur la partie arrière des boutons-poussoirs,
assurent le contact électrique entre la platine murale et le bouton-poussoir.
La platine murale est raccordée au bus au moyen d’un connecteur se
situant sur la partie arrière de la platine. Les boutons-poussoirs peuvent
être dévissés sans devoir déconnecter les conducteurs.
4. PRESCRIPTIONS LEGALES
- L’installation doit être effectuée par un installateur agréé et dans le
respect des prescriptions en vigueur.
- Ce mode d’emploi doit être remis à l’utilisateur.Il doit être joint au dossier
de l’installation électrique et être remis à d’éventuels autres propriétaires.
Des exemplaires supplémentaires peuvent être obtenus sur le site web
ou auprès du service ‘support Niko’.
- Il y a lieu de tenir compte des points suivants avant l’installation (liste
non limitative):
- les lois, normes et réglementations en vigueur;
- l’état de la technique au moment de l’installation;
- ce mode d’emploi qui doit être lu dans le cadre de toute installation
spécifique;
- les règles de l’art.
- En cas de doute, vous pouvez appeler le service ‘support Niko’ ou vous
adresser à un organisme de contrôle reconnu.
Support Belgique: Support France:
+ 32 3 778 90 80 + 33 820 20 66 25
site web: http://www.niko.be site web: http://www.niko.fr
En cas de défaut de votre appareil, vous pouvez le retourner à un grossiste
Niko agréé, accompagné d’une description détaillée de votre plainte
(manière d’utilisation, divergence constatée…).
5. CONDITIONS DE GARANTIE
- Délai de garantie: 2 ans à partir de la date de livraison. La date de la
facture d’achat par le consommateur fait office de date de livraison.
Sans facture disponible, la date de fabrication est seule valable.
- Le consommateur est tenu de prévenir Niko par écrit de tout manquement
à la concordance des produits dans un délai max. de 2 mois après
constatation.
- Au cas ou pareil manquement serait constaté, le consommateur a droit
à une réparation gratuite ou à un remplacement gratuit selon l’avis de
Niko.
- Niko ne peut être tenu pour responsable pour un défaut ou des dégâts
suite à une installation fautive, à une utilisation contraire ou inadaptée
ou à une transformation du produit.
- Les dispositions contraignantes des législations nationales ayant trait à
la vente de biens de consommation et la protection des consommateurs
des différents pays où Niko procède à la vente directe ou par entreprises
interposées,filiales, distributeurs,agents ou représentants fixes, prévalent
sur les dispositions susmentionnées.
Il existe 5 exécutions de base avec variantes de manettes:
• 05-060-01: bouton-poussoir à 2 contacts pour manette pleine ou manette pleine avec porte-étiquette
+ou ou ou ou ou
• 05-061-01: bouton-poussoir à 2 contacts + LED pour manette pleine avec lentille
+ou ou ou ou ou
• 05-064-01: bouton-poussoir à 4 contacts pour 2 demi-manettes avec ou sans porte-étiquette
+ou ou ou ou ou ou
• 05-074-01: bouton-poussoir à 4 contacts pour 2 demi-manettes avec LED feedback pour régimes
+
• 05-078-01: bouton-poussoir à 8 contacts pour 8 manettes
+ou ou ou ou ou
Montage
Schéma de raccordement boutons-poussoirs IR
raccordement de raccordement
l'alimentation du câble-bus
platine murale (p.ex.: 450-00021)
450-00021
TOP

nv Niko sa Industriepark West 40, BE-9100 Sint-Niklaas, Belgium — tel. +32 3 778 90 00 — fax +32 3 777 71 20 — e-mail: support@Niko.be — www.niko.be PM005-06001R08163
05-060-01 — 05-061-01 — 05-064-01 — 05-074-01 — 05-078-01
Lesen Sie vor der Montage und Inbetriebnahme die vollständige
Gebrauchsanleitung.
1. BESCHREIBUNG
Jeder Bustaster ist ein Dreistellungstaster:oben und unten sind die aktiven
Stellungen, nicht betätigt ist die Wippe in neutraler Mittelstellung. Das
Design der Nikobus-Taster entspricht dem der konventionellen Niko-
Schalter. Im Nikobus-System dienen sie jedoch nicht als Schalter, sondern
als Informationssender (Sensoren).
Ein Nikobustaster wird auf eine standard-UP-Dose mit Schraubbefestigung
montiert. Bei Mehrfachkombinationen sind keine zusätzlichen UP-Dosen
erforderlich. Dadurch sind die Nikobustaster ohne zusätzliche Stemmarbeiten
erweiterbar. Ein Nikobustaster benötigt keine zusätzlichen Einstellungen.
Die Funktion des Bustasters wird nicht imTaster selbst festgelegt, sondern
während der Programmierung auf /in dem Schalt-, Rolladenmodul oder
dem Dimcontroller. Wird ein Taster betätigt, so wird ein Telegramm über
den Bus an das Schalt-, Rolladenmodul oder dem Dimcontroller gesendet,
der die Adresse des Bustasters und eine Schaltinformation beinhaltet.
Die Telegrammübertragung geschieht durch Strommodulation. Wird ein
Bustaster länger als 8s. gedrückt, so wird das Telegramm automatisch
unterbrochen und der Bus ist wieder frei.
2. TECHNISCHE DATEN
Umgebungstemperatur: 0° bis 50°C
Ruhespannung: 9V DC (SELV, Schutzkleinspannung)
Adressierung: 22 Bit (± 4 Millionen verschiedene Codes möglich)
Max. Bedienungszeit: 8s.
Busanschluss: 2-adrig
3. MONTAGE
Ein Nikobustaster kann, unabhängig davon ob es sich um eine Einfach-
oder Mehrfachmontageleiterplatte handelt, auf eine UP-Dose geschraubt
werden. Der Taster wird dabei mit einer zentralen Schraube auf den
Bolzen der Leiterplatte geschraubt. Die auf der Rückseite des Bustasters
angebrachten Kontaktfedern stellen die elektrische Verbindung zwischen
Leiterplatte und Bustaster her. Die Anschlussklemmen auf der Rückseite
der Leiterplatte werden mit der Busleitung verbunden. Dies ermöglicht,
den Bustaster zu entfernen, ohne die Busleitung zu lösen.
4. GESETZLICHE BESTIMMUNGEN
- Die Installation darf ausschließlich von einem Fachmann des
Elektrohandwerks unter Berücksichtigung der geltenden Vorschriften
vorgenommen werden.
- Übergeben Sie dem Benutzer diese Gebrauchsanleitung. Sie ist den
Unterlagen der elektrischen Anlage beizufügen und muss auch eventuellen
neuen Besitzern übergeben werden. Zusätzliche Exemplare erhalten Sie
über unsere Website oder unseren Servicedienst.
- Bei der Installation müssen Sie u.a. Folgendes berücksichtigen:
- die geltenden Gesetze, Normen und Vorschriften;
- den Stand der Technik zum Zeitpunkt der Installation;
- diese Gebrauchsanleitung die im Zusammenhang mit jeder spezifischen
Anlage gesehen werden muss;
- die Regeln fachmännischen Könnens.
- Sollten Sie Fragen haben, können Sie sich an die Niko-Hotline oder an
eine anerkannte Kontrollstelle wenden:
Hotline Belgien: +32 3 778 90 80
Hotline Moeller Deutschland:
Berlin: +49 30 701902-46 Hamburg: +49 40 75019-281
Düsseldorf: +49 2131 317-37 Frankfurt a.M.: +49 69 50089-263
Stuttgart: +49 711 68789-51 München: +49 89 460 95-218
Mail: gebaeudeautomation@moeller.net
Österreich:
Moeller Gebäudeautomation UG Schrems 0043-2853-702-0
Im Falle eines Defektes an Ihrem Niko-Produkt, können Sie dieses mit einer
genauen Fehlerbeschreibung (Anwendungsproblem, festgestellter Fehler,
usw.) an Ihren Moeller- oder Niko-EGH zurückbringen.
5. GARANTIEBESTIMMUNGEN
- Garantiezeitraum: Zwei Jahre ab Lieferdatum. Als Lieferdatum gilt das
Rechnungsdatum zu dem der Endkunde das Produkt gekauft hat. Falls
keine Rechnung mehr vorhanden ist, gilt das Produktionsdatum.
- Der Endkunde ist verpflichtet, Niko über den festgestellten Mangel
innerhalb von zwei Monaten zu informieren.
- Im Falle eines Mangels an dem Produkt hat der Endkunde das Recht auf eine
kostenlose Reparatur oder Ersatz. Dies wird von Niko entschieden.
- Niko ist nicht für einen Mangel oder Schaden verantwortlich, der
durch unsachgemäße Installation, nicht bestimmungsgemäßen oder
unvorsichtigen Gebrauch oder falsche Bedienung oderAnpassen/Ändern
des Produktes entsteht.
- Die zwingenden Vorschriften der nationalen Gesetzgebung bezüglich
des Verkaufs von Konsumgütern und der Schutz des Kunden in den
Ländern in denen Niko direkt oder über seine Tochtergesellschaften,
Filialen, Distributoren, Handelsvertretungen oder Vertretern verkauft,
haben Vorrang vor den obigen Bestimmungen.
Es gibt 5 Grundausführungen von Bustastern und Varianten an Wippen:
• 05-060-01: Einfachbustaster mit 2 Tastpunkten für ganze Wippe oder ganze Wippe mit Textfeld
+/ / / / /
• 05-061-01: Einfachbustaster mit 2 Tastpunkten + LED für ganze Wippe mit Linse
+/ / / / /
• 05-064-01: bustaster mit 4 Tastpunkten für 2 halbe Wippen mit oder ohne Textfeld
+/ / / / / /
• 05-074-01: bustaster mit 4 Tastpunkten für 2 halbe Wippen mit Status-LED für Zeitprogramme
+
• 05-078-01: bustaster mit 8 Tastpunkten für 8 Wippen
+/ / / / /
Montage
Anschlussbild für IR-Bustaster
Netzanschluss Busanschluss
Leiterplatte (z.B.: 450-00021)
450-00021
TOP

nv Niko sa Industriepark West 40, BE-9100 Sint-Niklaas, Belgium — tel. +32 3 778 90 00 — fax +32 3 777 71 20 — e-mail: support@Niko.be — www.niko.be PM005-06001R08163
05-060-01 — 05-061-01 — 05-064-01 — 05-074-01 — 05-078-01
Read the complete manual before attempting installation and
activating the system.
1. DESCRIPTION
The bus push button is in fact a 3-position switch: there is always a top
position, a bottom position and a middle position (neutral). The bus push
buttons have the familiar design of a Niko switch. However, they do not
function as conventional switches, but as data transmitters.
A Nikobus push button is mounted into a simple standard flush mounting
box that is suitable for screw fixing. For mounting under multiple flush
surround frames, no additional flush mounting boxes are required. The
Nikobus push buttons can be extended without additional drilling or duct-
ing. Moreover, the Nikobus push button does not require any adjustment.
The functions of the push buttons are not determined by the push buttons
themselves, but by the installer’s settings on the module.When setting the
system, the functions of the bus push buttons are assigned by controlling
the buttons.When activating, a telegram is sent to the module via the bus.
The telegram carries the bus push button’s address and the information
on what is to be carried out.The telegram is sent by current modulation. If
the bus push button is pressed for over 8s., the telegram is automatically
interrupted and the bus is released.
2. TECHNICAL DATA
Ambient temperature: 0 to +50°C
Bus voltage : 9V DC (SELV, safety extra low voltage)
Address: 22 bit (± 4 million different codes possible)
Max. operating time: 8s.
Connection to the Nikobus: 2-wire connection
3. INSTALLATION
A Nikobus push button can be screwed onto a simple standard flush
mounting box, irrespective of the use of a simple or multiple PCB. The bus
push button is mounted on the PCB by means of a central screw. Contact
springs at the rear side of the bus push buttons provide the electrical
contact between the PCB and the push buttons. The PCB is connected to
the bus by means of a connector at its rear side. This enables to unscrew
the bus push buttons without disconnecting the bus wires.
4. LEGAL WARNINGS
- The installation has to be carried out by a qualified person and in compli-
ance with the statutory regulations.
- This user manual has to be handed over to the user. It has to be included
in the electrical installation file and has to be passed on to any new
owners. Additional copies are available on the Niko website or via the
support service.
- During installation,the following has to be taken into account (not limited
to list below):
- The statutory laws, standards and regulations;
- The state of the art technique at the moment of installation;
- This user manual, which must be read within the scope of each specific
installation, only states general regulations;
- The rules of proper workmanship
- In case of questions, you can consult Niko’s support service or contact
a registered control organisation.
Support Belgium: Support UK:
+32 3 778 90 80 +44 1525877707
website : http://www.niko.be http://www.nikouk.com
In case of a defect, you can return your product to a registered Niko
wholesaler, together with a clear description of your complaint (Conditions
of use, stated defect…).
5. GUARANTEE PROVISIONS
- Period of guarantee: 2 years from date of delivery. The delivery date is
the invoice date of purchase of the product by the consumer. If there is
no invoice, the date of production applies.
- The consumer is obliged to inform Niko in writing about the defect,within
two months after stating the defect.
- In case of a failure to conform, the consumer has the right to a repair or
replacement (decided by Niko) free of charge.
- Niko cannot be held liable for a defect or damage as a result of an incorrect
installation, improper or careless use or wrong usage or transformation
of the goods.
- The compulsory regulations of the national legislation concerning the
sales of consumer goods and the protection of the consumers in the
countries where Niko sells, directly or via sister or daughter companies,
chain stores, distributors, agents or permanent sales representatives,
take priority over the rules and regulations mentioned above.
There are 5 types of push buttons with variants of rockers:
• 05-060-01: bus push button with 2 keys for rocker with or without text field
+or or or or or
• 05-061-01: bus push button with 2 keys + LED for rocker with lens
+or or or or or
• 05-064-01: bus push button with 4 keys for 2 x 1/2 rocker with or without text field
+or or or or or or
• 05-074-01: bus push button with 4 keys for 2 x 1/2 rocker with feedback LED for regimes
+
• 05-078-01: bus push button with 8 keys for 8 rockers
+or or or or or
Installation
Wiring diagram IR push buttons
connection for
power supply bus connection
wall-mounted PCB (e.g.: 450-00021)
450-00021
TOP
This manual suits for next models
4
Table of contents
Languages:
Other Niko Switch manuals

Niko
Niko 05-002-02 User manual

Niko
Niko 350-15010 User manual

Niko
Niko 552-00001 User manual

Niko
Niko 410-10000 User manual

Niko
Niko 05-000-02 User manual

Niko
Niko 91004 Series User manual

Niko
Niko 330-00700 User manual

Niko
Niko 410-00001 User manual

Niko
Niko 72-504 User manual

Niko
Niko 05-081-01 User manual