manuals.online logo
Brands
  1. Home
  2. •
  3. Brands
  4. •
  5. Nilfisk-Advance
  6. •
  7. Vacuum Cleaner
  8. •
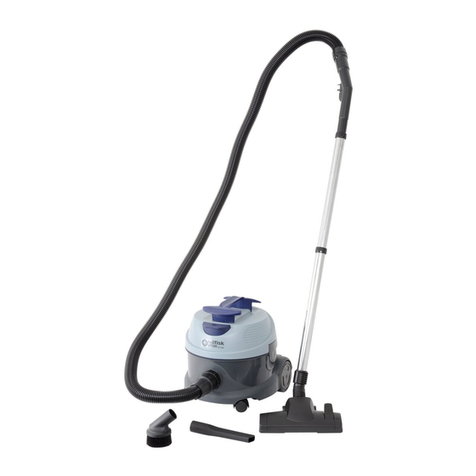
  9. Nilfisk-Advance GD 930 User manual

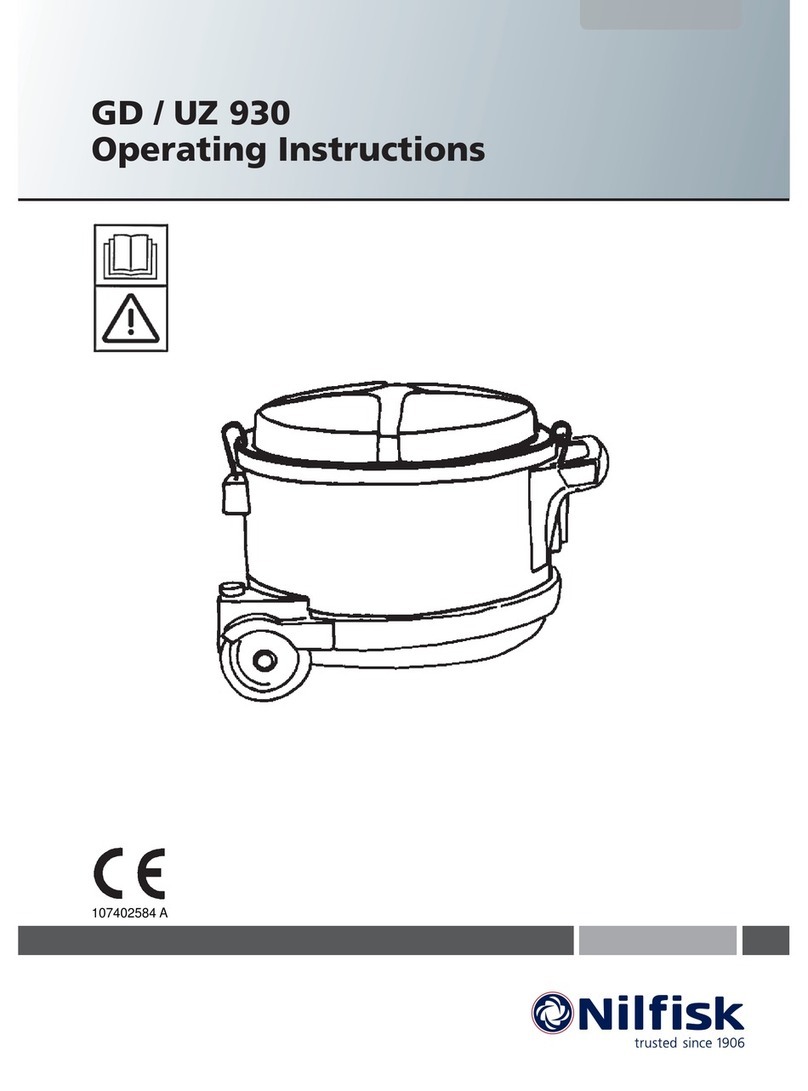
Nilfisk-Advance GD 930 User manual

822 9393 020
56041507
Edition NA2
GD 930, GD 930S2
INSTRUCTIONS FOR USE
MODE D'EMPLOI
2
WARNING
HEPA filter must be installed while working
with hazardous materials. Failure to do so will
expose people in the work area and others to
hazardous materials which is a serious health risk.
EMPTYING
If this vacuum cleaner is used to collect hazardous
material, do not attempt to open or empty its contents
without personal protective clothing and respiratory
protection
ATTENTION
Le filre Hepa Doit être en place quand on travaille
avec des substances dangereuses.Si l'on n'utilise
pas le filtre, les personnes se trouvant sur le lieu de travail
ou à proximité sont exposées aux substances
dangereuses et donc à de graves risques de santé.
VIDAGE
Si cet aspirateur est utilisé pour ramasser des
substances dangereuses, ne jamais tenter de l'ouvrir
ou de le vider sans porter des vêtements protecteurs
et une protection des voies respiratoires.
4
1a 1b
5a 5b
6
7
2
8
5e
ab
c
5
34a
5c 5d
9
1
2
4b
b
a
d
c
b
e
6
Accidents due to misuse can only be
prevented by those using the machine.
READ AND FOLLOW ALL SAFETY
INSTRUCTIONS.
WARNING !
To reduce the risk of fire, electric shock, or injury.
Please read and follow all safety instructions and
caution markings before using.
This vacuum cleaner is designed to be safe when
used to perform cleaning functions as specified.
Should damage occur to electrical or mechanical
parts, cleaner and / or accessory should be repaired
by manufacturer or competent service station before
using in order to avoid further damage to machine or
physical injury to user.
 Do not use outdoors or on wet surfaces.
 Disconnect cleaner before servicing and when not
in use. Do not leave unattended cleaner plugged
in.
 Do not use with damaged cord or plug.
To unplug grab the plug, not the cord.Do not
handle plug or cleaner with wet hands.Turn off all
controls before unplugging.
 Do not pull or carry by cord, use cord as a
handle, close a door on cord, or pull cord around
sharp edges or corners. Do not run cleaner over
cord. Keep cord away from heated surfaces.
 Keep hair, loose clothing, fingers and all parts of
the body away from openings and moving parts.
Do not put any objects into openings or use
with opening blocked. Keep openings free of dust,
lint, hair, and anything else that could reduce air
flow.
 Do not pick up anything that is burning or smoking,
such as cigarettes, matches or hot ashes.
 Do not use to pick up flammable or combustible
liquids such as gasoline or use in areas where
they may be present.
 Do not allow to be used as a toy. Close attention is
necessary when used by or near children.
 Do not use unless filters and bag are in place.
 Use extra care when using on stairs or irregular
surfaces.
 If cleaner is not working properly or has been
dropped, damaged, left outdoors, or dropped into
water, return it to a service center or dealer.
 Use only as described in this manual and only with
manufacturers recommended attachments.
 The use of the HEPA-filter when picking up
hazardous materials has not been evaluated by
Underwriters Laboratories.
 The use of this machine in conjunction with the
pick-up of hazardous materials has not been
investigated by UL.
GENERAL INFORMATION
This vacuum cleaner can be used for household or
commercial use.
BEFORE YOU PLUG IN YOUR CLEANER, check
the rating plate to see if the rated voltage agrees
within 10% of the voltage available.
DO NOT OIL! The motor in your new cleaner is
permanently lubricated and sealed. Do not oil the
motor at any time.
During shipping, the dust bag may have become
dislodged. Check the bag to insure proper seating
before attempting to use the cleaner. Do not operate
the cleaner without the dust bag as damage may
result to the motor.
When the machine is not in use, store it standing on
its back-side. Wind the cord beginning at the
machine and than store the cord hanging on the
machine handle.
This vacuum cleaner is equipped with a thermo
protection switch to prevent overheating of
components. Should this safety switch shut the
system down it is necessary to wait at least 5 -10
minutes for it to automatically reset. Remove
clogged elements in hose and replace dust bag if
necessary during this period. Check also filter if it is
clogged.
For longer service life and safe use of your vacuum
cleaner, we recommend the following guidelines:
Your cleaner is designed to pick up dirt and dust
particles. It is not designed for water pick up.
Avoid picking up hard or sharp objects with your
cleaner to avoid bag breakage, clogging or possible
motor damage.
IMPORTANT!
The GD 930S/S2 is equipped with a specially desig-
ned cable, if it´s damaged, it must be replaced by a
cable of the same type. These cables are avaible at
authorized service shops and must be installed by
trained personnel.
SAVE THESE INSTRUCTIONS
IMPORTANT SAFEGUARDS
7
Grounding instructions
Applicable to machines with a three pin plug. This appliance
must be grounded. If it should malfunction or breakdown,
grounding provides a path of least resistance for electric current
to reduce the risk of electric shock. This appliance is equipped
with a cord having an equipment-grounding conductor and
grounding plug. The plug must be plugged into an appropriate
outlet that is properly installed and grounded in accordance with
all local codes and ordinances.
DANGER!
Improper connection of an equipment-grounding conductor can
result in risk of electric shock. Check with qualified electrician or
service person if you are in doubt as to whether the outlet is
properly grounded, Do not modify the plug provided with the
appliance. If it will not fit the outlet, have proper outlet installed
by a qualified technician.
This appliance is for use on a nominal 120 volt circuit and has a
grounding plug that looks like the plug illustrated in Figure A.
A temporary adaptor which looks like the adaptor illustrated in
Figure B may be used to connect this plug to a two-pole
receptacle, as shown, if a properly grounded outlet is not
available. The temporary adaptor should be used only until a
properly grounded outlet, Figure A, can be installed by a
qualified electrician. The green colored rigid ear, lug, or the like
extending from the adaptor must be connected to a permanent
ground such as a properly grounded outlet box cover. Whenever
the adaptor is used, it must be held in place by a metal screw.
NOTE! This temporary adaptor is not permitted in Canada.
Servicing of double-insulated
appliances
Applicable to machines with a two-pin plug
In a double-insulated appliance, two systems of insulation are
provided instead of grounding. No grounding means is provided
on a double-insulated appliance, nor should a meand for
grounding be added to the appliance. Servicing a double-
insulated appliance requires extreme care and knowledge of the
system, and should be done only by qualified service personnel.
Replacement parts for a double-insulated appliance must be
identical to the parts they replace. A double insulated appliance
is marked with the words
"DOUBLE INSULATION" or "DOUBLE INSULATED."
The symbol (square within a square)
may also be used on the product.
SERVICE INFORMATION
To obtain consistent performance over the life of your vacuum,
read through these instructions and keep them handy for future
reference. If you require service, contact the dealer from whom
the vacuum was purchased, or the local authorized Service
Station. Always refer to your Service Station for complete
service information, For prompt and complete service informa-
tion, always refer to the model, type and serial number indicated
on the rating plate.
Grounding / Double insulation instructions
FIGURE B
FIGURE A Grounded outlet box
Grounding blade is the longest of the 3
blades
Grounded
outlet box
Metal
screw
Adaptor
Groundning tab
8
6. Suction control
The suction control in the hose handle lets you
regulate the air-flow to prevent the nozzles from
fastening to the surfaces you are vacuum cleaning.
7. Start/Stop
a)Foot-operated on/off switch.
b)On the S 2 version a separate switch is provided
to change the motor speed .
c)Plug-in point for powered carpet nozzle. Power is
supplied to the socket when the machine is switched
on.
8. Warning!
Never attempt to vacuum liquid, glass fragments or
ashes!
Wet surfaces can expose the operator to possible
electrical shock.
9. Filter
The filters are located inside the lid. To reach them
lift out the filter holder (a). The standard filter(b) and
fine filter (c) should be inspected at regular
intervals,e.g. when you change dust bags, and
replace if necessary. Instead of these two filters you
can fit a micro filter of HEPA-quality (e), wich traps
99,99% of all particles larger than 0,3 microns. The
machine is also fitted with a backupp filter (d)
located above rhe motor. This filter should also be
inspected and replaced if necessary.
NB!
Remove the plug from the socket before performing
service or maintenance.
1. To open
a) Pull the retaining clips upward and outward .
b) Lift the cover from the container.
2. Dust bag
Fit the opening on the dust bag over the air inlet.
Press the membrane over the flanged edge on the
inlet. Secure with the lock washer. Use only original
dust bags.
3. Hose connection
Push the hose coupling all the way in and turn
clockwise.
4. Wand assembly
a)Telescopic: Push down the catch and then adjust
the length. Max.950mm,min.630mm.
b)Standard: Fit the sections together and twist to
lock in place.
5. Tools
The accessories shown in the pictures may vary
from model to model.
a-b) Combination nozzle
Adjust the nozzle according to the requirements of
the floor you are cleaning. Work with the brush on
hard floors and without it on soft floors.
c) Universal nozzle
for both hard floors and carpets.
d) Crevice nozzle
Use to clean furniture, radiators and others hard-to-
reach places.
e) Small combi-nozzle:
The small combi-nozzle combines a dusting brush
for furniture, picture frames, mouldings etc. with a
fold-out nozzle for cleaning curtains, furniture and
other soft surfaces. The clip on the hose handle
holds the nozzle when it is not in use.

Other manuals for GD 930

10

This manual suits for next models

2

Other Nilfisk-Advance Vacuum Cleaner manuals

Nilfisk-Advance SB Station User manual

Nilfisk-Advance

Nilfisk-Advance SB Station User manual

Nilfisk-Advance UZ 868E User manual

Nilfisk-Advance

Nilfisk-Advance UZ 868E User manual

Nilfisk-Advance 118 User manual

Nilfisk-Advance

Nilfisk-Advance 118 User manual

Nilfisk-Advance ATTIX 145-01 User manual

Nilfisk-Advance

Nilfisk-Advance ATTIX 145-01 User manual

Nilfisk-Advance 82 User manual

Nilfisk-Advance

Nilfisk-Advance 82 User manual

Nilfisk-Advance GM80S User manual

Nilfisk-Advance

Nilfisk-Advance GM80S User manual

Nilfisk-Advance AERO 26-01 X User manual

Nilfisk-Advance

Nilfisk-Advance AERO 26-01 X User manual

Nilfisk-Advance VC300 Series User manual

Nilfisk-Advance

Nilfisk-Advance VC300 Series User manual

Nilfisk-Advance VHW320 User manual

Nilfisk-Advance

Nilfisk-Advance VHW320 User manual

Nilfisk-Advance ReliaVac 12 DC User manual

Nilfisk-Advance

Nilfisk-Advance ReliaVac 12 DC User manual

Nilfisk-Advance Coupe Neo User manual

Nilfisk-Advance

Nilfisk-Advance Coupe Neo User manual

Nilfisk-Advance 01610A User manual

Nilfisk-Advance

Nilfisk-Advance 01610A User manual

Nilfisk-Advance Multi 22 User manual

Nilfisk-Advance

Nilfisk-Advance Multi 22 User manual

Nilfisk-Advance IVB 995-0H/M SD XC Type 22 User manual

Nilfisk-Advance

Nilfisk-Advance IVB 995-0H/M SD XC Type 22 User manual

Nilfisk-Advance MX 328 H User manual

Nilfisk-Advance

Nilfisk-Advance MX 328 H User manual

Nilfisk-Advance Coupe Neo User manual

Nilfisk-Advance

Nilfisk-Advance Coupe Neo User manual

Nilfisk-Advance Handy User manual

Nilfisk-Advance

Nilfisk-Advance Handy User manual

Nilfisk-Advance IVT 1000 CR User manual

Nilfisk-Advance

Nilfisk-Advance IVT 1000 CR User manual

Nilfisk-Advance GD 930 Guide

Nilfisk-Advance

Nilfisk-Advance GD 930 Guide

Nilfisk-Advance IVB 995-0H/M SD XC Type 22 User manual

Nilfisk-Advance

Nilfisk-Advance IVB 995-0H/M SD XC Type 22 User manual

Nilfisk-Advance Handy 2-in-1 User manual

Nilfisk-Advance

Nilfisk-Advance Handy 2-in-1 User manual

Nilfisk-Advance ReliaVac 12 DC User manual

Nilfisk-Advance

Nilfisk-Advance ReliaVac 12 DC User manual

Nilfisk-Advance ECO OIL 13 User manual

Nilfisk-Advance

Nilfisk-Advance ECO OIL 13 User manual

Nilfisk-Advance GU 350 A User manual

Nilfisk-Advance

Nilfisk-Advance GU 350 A User manual

Popular Vacuum Cleaner manuals by other brands

Hoover HC-AM-HKA owner's manual

Hoover

Hoover HC-AM-HKA owner's manual

Bosch UniversalVac 18 Original instructions

Bosch

Bosch UniversalVac 18 Original instructions

Bissell 3125W Series manual

Bissell

Bissell 3125W Series manual

Black & Decker Powerseries HSVB420J user manual

Black & Decker

Black & Decker Powerseries HSVB420J user manual

MAG TOOLS AV9010 operating instructions

MAG TOOLS

MAG TOOLS AV9010 operating instructions

RIDGID WD16800 owner's manual

RIDGID

RIDGID WD16800 owner's manual

Numatic NVD 750F owner's manual

Numatic

Numatic NVD 750F owner's manual

Superabrasive LAVINA V-16 operating manual

Superabrasive

Superabrasive LAVINA V-16 operating manual

Bissell 1660 user guide

Bissell

Bissell 1660 user guide

Kaivac OmniFlex TROLLEY BUCKET Operator's & parts manual

Kaivac

Kaivac OmniFlex TROLLEY BUCKET Operator's & parts manual

Panasonic MC-V5745 operating instructions

Panasonic

Panasonic MC-V5745 operating instructions

STUCCHI ST1-C Manual of use

STUCCHI

STUCCHI ST1-C Manual of use

Flex VCE 35 L AC 110/BS-4h manual

Flex

Flex VCE 35 L AC 110/BS-4h manual

Aiper Smart Optimus HJ2052 user manual

Aiper Smart

Aiper Smart Optimus HJ2052 user manual

Sencor SVC 682VT user manual

Sencor

Sencor SVC 682VT user manual

Dyson V12 Detect Slim user manual

Dyson

Dyson V12 Detect Slim user manual

Numatic NBV 190 Owner's instructions

Numatic

Numatic NBV 190 Owner's instructions

Silverline 319548 instructions

Silverline

Silverline 319548 instructions

manuals.online logo
manuals.online logoBrands
  • About & Mission
  • Contact us
  • Privacy Policy
  • Terms and Conditions

Copyright 2025 Manuals.Online. All Rights Reserved.