fig. 2fig. 1
ASSEMBLY AND USE FOR
THE CUTTING DISCS
NOTE: Cutting discs must be used with the
feed chute lid.
1 Review warning statements above before
proceeding to number 2.
2Place the motor base on a clean, dry, level
surface such as a counter or tabletop. Press
down on the motor base to make sure that
the suction cups adhere to the counter or
tabletop.
3Secure the bowl onto the motor base. Align
and lower the processor bowl onto the motor
base. Handle should be aligned slightly to the
right of the
LOCK
symbol on the motor base.
4Rotate the processor bowl clockwise until it
locks in place (you will hear a click when the
lock is engaged).
5Holding the spindle by the shaft, place it onto
the drive gear inside the bowl. Ensure that it
is seated properly and is standing upright.
6Use the spindle hole to grasp the selected
disc and place it over the spindle.
7The slicing/shredding disc is reversible.
Use the side labeled "Slicer" for slicing.
Carefully flip the disc over to the side labeled
"Shredder" for shredding.
8Place the feed chute lid on the bowl and turn
clockwise until you hear a click indicating the
lid is locked in place.
9Plug the power cord into the electrical outlet.
Select
LOW
on the control panel. The disc
will begin spinning.
10 Add the food that you want to slice, shred
or grate through the feed chute on the lid.
(Use the two-part food pusher to help guide
the food through the feed chute. The middle
piece of the food pusher is removable to use
for smaller ingredients.
11 The LOW setting will run for 30 seconds,
or when finished, press the START/STOP
button and wait for the disc to stop spinning.
Press the button on the feed chute lid
located near the handle to unlock and turn
the lid anticlockwise. Lift to remove from
the processor bowl. Using the spindle hole,
carefully lift the disc out of the bowl and
remove the spindle.
12 Make sure that the motor base is unplugged
when not in use.
13 To release the motor base from the counter or
tabletop, place your fingers under the sides of
the black paddles on the sides of the base and
lift up to release suction cup feet. (Fig. 2)
For best results, follow the recipe/ingredient loading instructions found in your Inspiration Guide.
WARNING: The Cutting discs are sharp. When handling the cutting discs, always hold by the rim of the cutting discs and keep fingers away from cutting edges.
Failure to do so will result in a risk of laceration.
WARNING: Remove utensils prior to processing. Failure to remove may cause the bowl to be damaged or to shatter, which may cause personal injury.
WARNING: Never leave the appliance unattended while in use.
IMPORTANT: Make sure that the motor base is plugged in for use.
CARE &
MAINTENANCE
CLEANING:
CAUTION: Make sure that the motor
base is unplugged from the power
source before inserting or removing any
attachment and before cleaning.
CAUTION: DO NOT immerse the motor
base into water or any other liquid.
1
Separate/remove all parts from each other.
2
Hand Washing: Wash the containers, lids,
blade assemblies and attachments in warm,
soapy water. When washing the blade
assemblies, use a dish-washing utensil with
a handle to avoid direct hand contact with
blades. Handle blade assemblies with care to
avoid contact with sharp edges. Rinse and air
dry thoroughly.
Dishwasher: The containers, lids, blade
assemblies and attachments are all
dishwasher safe. The lids and blade
assemblies are top rack dishwasher safe.
Ensure that the blade assemblies are
removed from the containers before placing
in the dishwasher.
WARNING: Handle the blade assemblies
with care when washing, as the blades
are sharp. Contact with the blades’
edges can result in laceration.
3
Wipe the motor base clean with a damp
cloth.
Please call customer service if any
servicing needs to be performed on the
appliance at 0800 862 0453.
STORING:
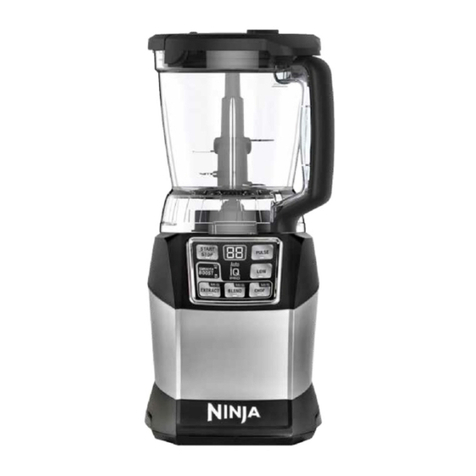
1 Store the Ninja®Auto-iQ®Compact Kitchen
System upright with the blade assembly
inside the corresponding container with the
lid secured on top. Do not place anything on
top. Store the rest of the attachments in a
safe place where they will not be damaged
and won’t cause harm. Loosely wrap the
power cord around the motor base.
NOTE:
Do not store blended or unblended
ingredients in the Nutri Ninja Cup with the
blade assembly attached.
RESETTING THE MOTOR
THERMOSTAT:
The Ninja Auto-iQ Compact Kitchen System
features a unique safety system which prevents
damage to the unit’s motor and drive system
should you inadvertently overload your appliance.
If the appliance is being overloaded, the motor
will stop. Allow the appliance to cool for
approximately 15 minutes. To reset the appliance,
follow the resetting procedure below:
1 Unplug the appliance from the electrical
outlet.
2 Remove and empty the container and ensure
that no food is jamming the blade assembly.
3Allow the appliance to cool for approximately
15 minutes.
4 Re-install the container onto the base and re-
plug the appliance into the electrical outlet.
5 Proceed with using the appliance as before
while making sure not to exceed the
maximum recommended capacities.

