manuals.online logo
Brands
  1. Home
  2. •
  3. Brands
  4. •
  5. Ninja
  6. •
  7. Blender
  8. •
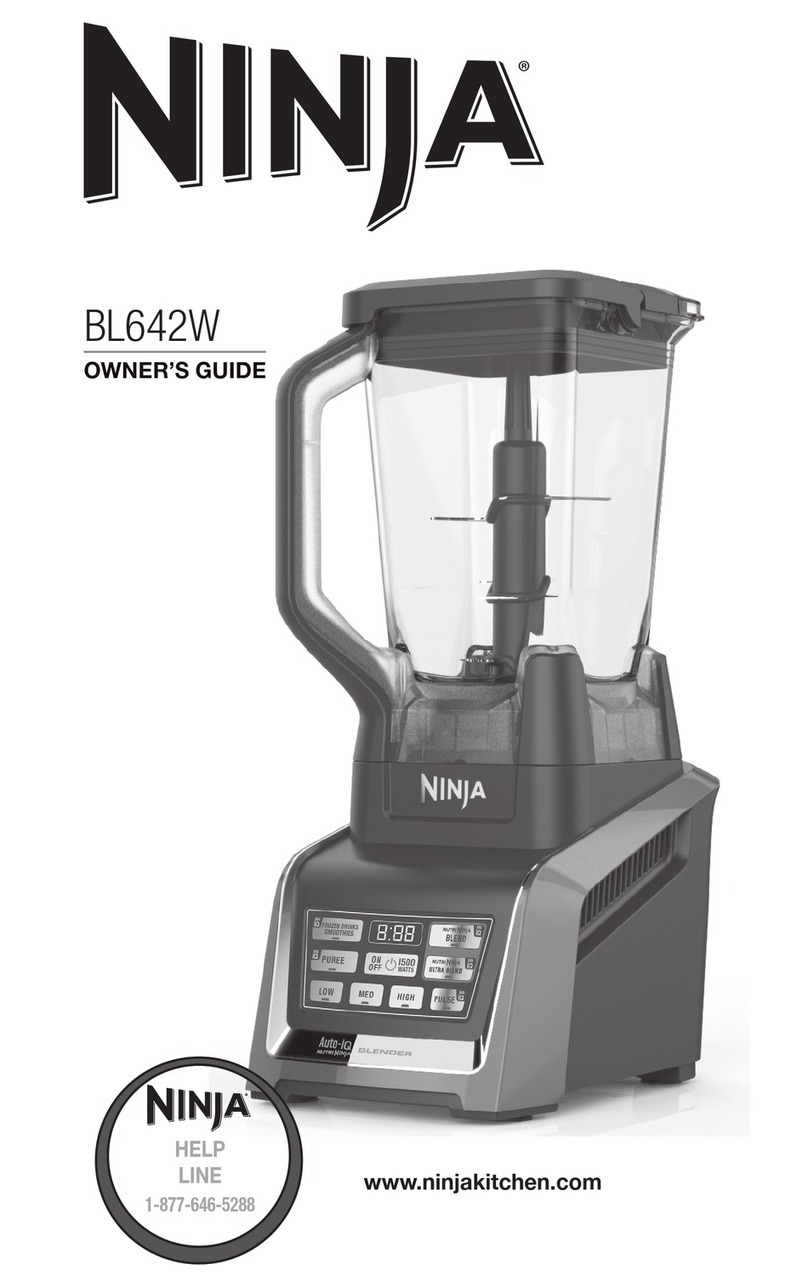
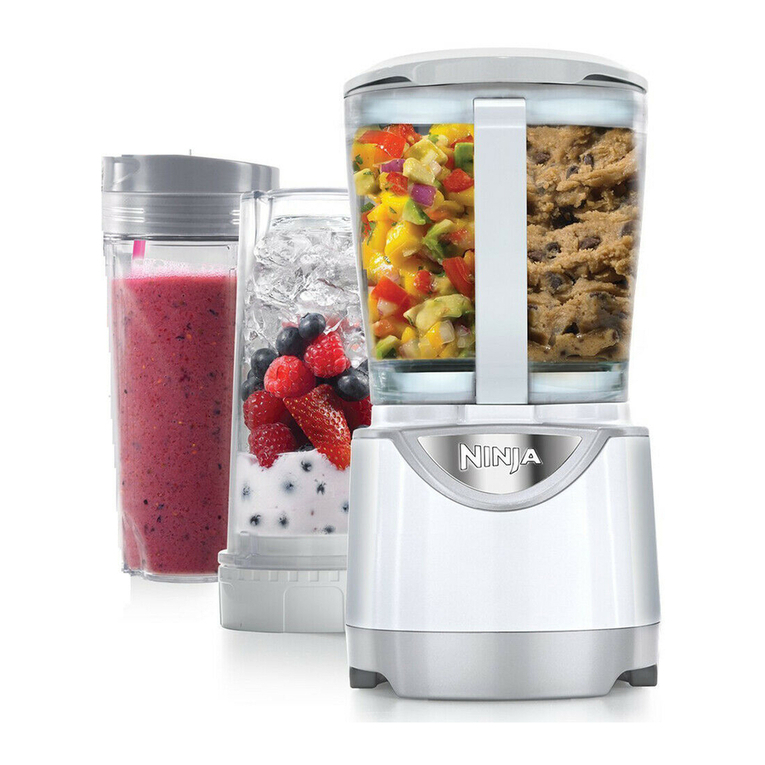
  9. Ninja Kitchen System Pulse BL209 User manual

Ninja Kitchen System Pulse BL209 User manual

Other Ninja Blender manuals

Ninja BL100C User manual

Ninja

Ninja BL100C User manual

Ninja BL700-FS User manual

Ninja

Ninja BL700-FS User manual

Ninja TWISTI CB150ANZ User manual

Ninja

Ninja TWISTI CB150ANZ User manual

Ninja bl820 User manual

Ninja

Ninja bl820 User manual

Ninja Ninja Pulse BL204 User manual

Ninja

Ninja Ninja Pulse BL204 User manual

Ninja BL487A User manual

Ninja

Ninja BL487A User manual

Ninja NC600CCO Series User manual

Ninja

Ninja NC600CCO Series User manual

Ninja INSTALLATION, CARE & USE FOODi HB150C User manual

Ninja

Ninja INSTALLATION, CARE & USE FOODi HB150C User manual

Ninja BL64X series User manual

Ninja

Ninja BL64X series User manual

Ninja AUTO-IQ PROFESSIONAL PLUS User manual

Ninja

Ninja AUTO-IQ PROFESSIONAL PLUS User manual

Ninja Master Prep QB1004 30 User manual

Ninja

Ninja Master Prep QB1004 30 User manual

Ninja BL810 User manual

Ninja

Ninja BL810 User manual

Ninja Foodi Series Installation instructions

Ninja

Ninja Foodi Series Installation instructions

Ninja Ultima BL810Q Series User manual

Ninja

Ninja Ultima BL810Q Series User manual

Ninja BL780C User manual

Ninja

Ninja BL780C User manual

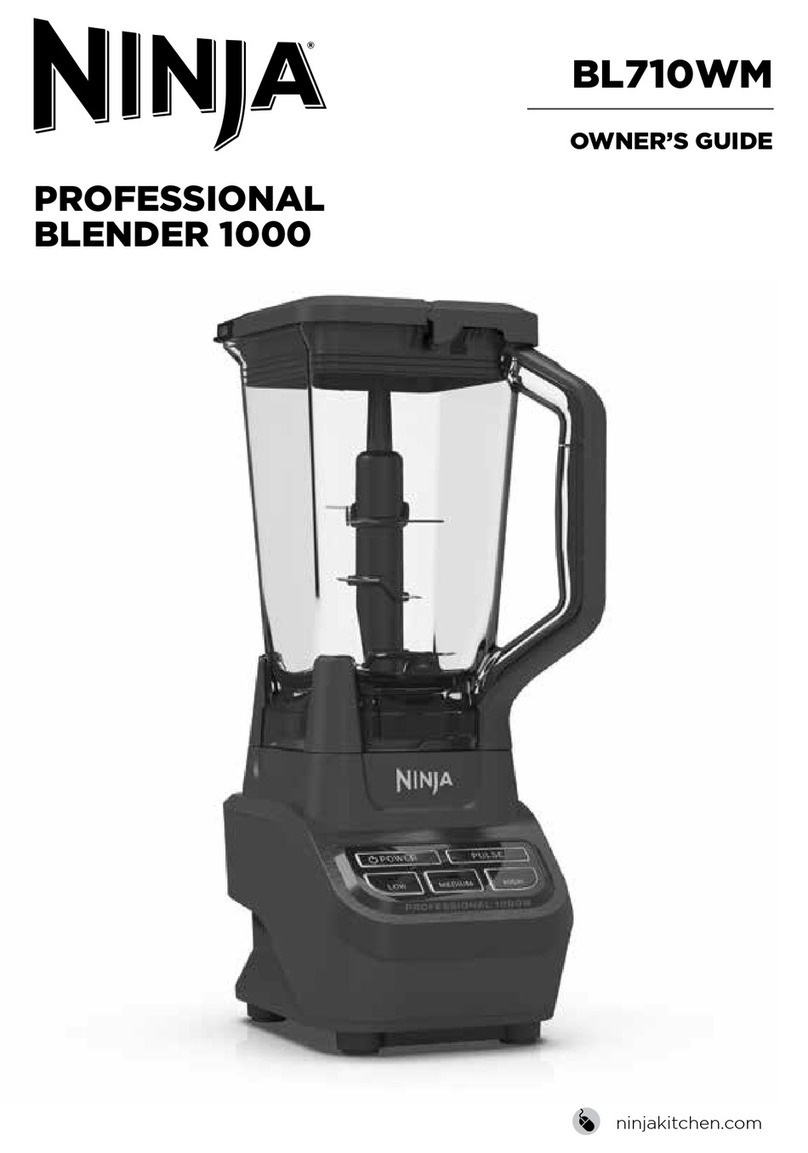
Ninja BL710WM User manual

Ninja

Ninja BL710WM User manual

Ninja BL682UK User manual

Ninja

Ninja BL682UK User manual

Ninja QB800UK series User manual

Ninja

Ninja QB800UK series User manual

Ninja BL49X series User manual

Ninja

Ninja BL49X series User manual

Ninja QB1004 series User manual

Ninja

Ninja QB1004 series User manual

Ninja BL663 User manual

Ninja

Ninja BL663 User manual

Ninja BL490ANZ User manual

Ninja

Ninja BL490ANZ User manual

Ninja BL450 User manual

Ninja

Ninja BL450 User manual

Ninja Foody POWER NUTRI CB350UK Series User manual

Ninja

Ninja Foody POWER NUTRI CB350UK Series User manual

Popular Blender manuals by other brands

Hamilton Beach HBH550 Operation manual

Hamilton Beach

Hamilton Beach HBH550 Operation manual

Bradex Shake n Take Use & care manual

Bradex

Bradex Shake n Take Use & care manual

Marta MT-1591 user manual

Marta

Marta MT-1591 user manual

BIMG METVISA LARL.1.5 Slim instruction manual

BIMG

BIMG METVISA LARL.1.5 Slim instruction manual

TECHWOOD TBL-751 instruction manual

TECHWOOD

TECHWOOD TBL-751 instruction manual

Philips HR7627 user manual

Philips

Philips HR7627 user manual

Skymsen ls-04 instruction manual

Skymsen

Skymsen ls-04 instruction manual

ROTOR 1125.201 instruction manual

ROTOR

ROTOR 1125.201 instruction manual

Braun Multiquick 5 Vario series User instructions

Braun

Braun Multiquick 5 Vario series User instructions

ARENDO MIRA 305424 user manual

ARENDO

ARENDO MIRA 305424 user manual

Viconte VC-4406 instruction manual

Viconte

Viconte VC-4406 instruction manual

HOFFEN MC-3005 instruction manual

HOFFEN

HOFFEN MC-3005 instruction manual

Nesco BL-90 instruction manual

Nesco

Nesco BL-90 instruction manual

Proline HB300S operating instructions

Proline

Proline HB300S operating instructions

Black & Decker BL8000 user manual

Black & Decker

Black & Decker BL8000 user manual

Duronic BL530 manual

Duronic

Duronic BL530 manual

Exquisit MS 3002 wes instruction manual

Exquisit

Exquisit MS 3002 wes instruction manual

Lumme LU-KP1891A user manual

Lumme

Lumme LU-KP1891A user manual

manuals.online logo
manuals.online logoBrands
  • About & Mission
  • Contact us
  • Privacy Policy
  • Terms and Conditions

Copyright 2025 Manuals.Online. All Rights Reserved.

®
BL209
Kitchen System Pulse®
OWNER’S GUIDE
www.ninjakitchen.com
®
HELP
LINE
1 877 646-5288
2TOLL FREE: 1-877-646-5288
IMPORTANT SAFETY INSTRUCTIONS
For Household Use Only
WHEN USING ELECTRICAL APPLIANCES, BASIC
SAFETY PRECAUTIONS SHOULD ALWAYS BE
FOLLOWED, INCLUDING THE FOLLOWING:
READ ALL INSTRUCTIONS BEFORE USING YOUR
NINJA®Kitchen System Pulse®.
POLARIZED PLUG
WARNING: To reduce the risk of electric shock, this
appliance has a polarized plug (one blade is wider
than the other). This plug will fit into a polarized
outlet only one way. If the plug does not fit fully into
the outlet, reverse the plug. If it still does not fit,
contact a qualified electrician to install the proper
outlet. DO NOT modify the plug in any way.
WARNING:
TO REDUCE THE RISK OF FIRE, ELECTRIC
SHOCK OR INJURY:
1. To protect against electrical shock, do not
submerge the appliance or allow the power cord
to come into contact with water or any other
liquid.
2. DO NOT allow young children to operate the
appliance or use as a toy. Close supervision is
necessary when any appliance is used by or
near children.
3. Never leave an appliance unattended when in
use.
4. Remove the power cord from the electrical
outlet when not in use, before assembling
or disassembling parts and before cleaning.
To unplug, grasp the plug and pull from the
electrical outlet. Never pull from the power cord.
5. DO NOT abuse the power cord. Never carry
the appliance by the power cord or yank it to
disconnect from electrical outlet; instead grasp
the plug and pull to disconnect.
6. DO NOT operate any appliance with a damaged
cord or plug, or after the appliance malfunctions,
has been dropped or damaged in any manner.
Return the appliance to EURO-PRO Operating
LLC for examination, repair or adjustment.
7. DO NOT let the power cord hang over the edge
of table or counter or touch hot surfaces such as
the stove.
8. Always use appliance on a dry, level surface.
www.ninjakitchen.com 3
21. DO NOT overfill.
22. DO NOT operate the appliance empty.
23. CAUTION: When mixing pizza dough or any
heavy mix such as bread dough or pastry dough,
mix for up to 1 minute, then let the appliance
rest for approximately 1 minute before mixing
again to prevent overheating of the appliance.
24. If the appliance overheats, a thermal switch will
become activated and shut off the motor. To
reset, unplug the appliance and let it cool down
for approximately 30 minutes before using again.
25. THIS PRODUCT IS INTENDED FOR
HOUSEHOLD USE ONLY. Do not use this
appliance for anything other than its intended
use. Do not use outdoors.
26. The maximum rating is based on the Cookie
Paddle (40 oz. bowl) that drives the greatest
power and other recommended attachments
may draw less power or current.
27. Keep the pour spout closed when blending to
prevent splashing.
WARNING: Extension cords are not
recommended for use with this product.
SAVE THESE
INSTRUCTIONS
9. Keep hands, hair, clothing, as well as utensils
out of container while processing to reduce the
risk of severe injury to persons or damage to the
appliance. A scraper may be used but only when
the appliance is not running.
10. CAUTION: Blade assembly is sharp, handle with
care. When handling the blade assembly, always
hold by the shaft or collar.
11. Avoid contact with moving parts.
12. DO NOT attempt to sharpen blades.
13. DO NOT use the appliance if blade assembly is
bent or damaged.
14. To reduce risk of injury, never place the blade
assembly on the base without the pitcher or
bowl properly attached.
15. DO NOT operate this appliance on or near any
hot surfaces (such as gas or electric burner or in
a heated oven).
16. The use of attachments or accessories
including canning jars, not recommended by the
manufacturer may result in fire, electric shock or
personal injury.
17. DO NOT remove the container from the motor
base while the appliance is in operation.
18. To reduce the risk of injury, NEVER operate the
appliance without the lid in place; DO NOT try
to defeat the interlock mechanism; make sure
that the attachment is properly installed before
operating the appliance.
19. DO NOT expose containers to extreme
temperature changes.
20. DO NOT blend hot liquids.
4TOLL FREE: 1-877-646-5288
THIS BOOK COVERS MODEL NUMBER:
BL209 30
TECHNICAL SPECIFICATIONS
Voltage: 120V., 60Hz.
Power: 550 Watts
Bowl Capacity: 40 ounces (5 cups)
Nutri Ninja®Cup: 16 ounces (2 cups)
Euro-Pro, Kitchen System Pulse, Ninja and Nutri Ninja are trademarks of Euro-Pro Operating LLC.
www.ninjakitchen.com 5
Contents
Thank you for
purchasing the
Ninja®Kitchen
System Pulse®.
Getting to Know Your Ninja®Kitchen System Pulse®................................................. 6
Assembling the Ninja®Kitchen System Pulse®......................................................... 8
Assembly and Use for the Nutri Ninja®Cup............................................................... 9
Assembly and Use for the 40-oz Bowl ... .................................................................. 10
Suggested Uses...................................................................................................... 11
Care & Maintenance ............................................................................................... 12
Troubleshooting Guide............................................................................................. 13
Replacement Parts.................................................................................................. 13
Recipes.................................................................................................................. 14
Warranty & Registration........................................................................................... 19
6TOLL FREE: 1-877-646-5288
Getting To Know Your Ninja®Kitchen System Pulse®
fDough Hook (40-oz. bowl)
g4-Blade Assembly (40-oz. bowl)
hMotor Base
iPower Cord (not shown)
aNutri Ninja®Cup
bNutri Ninja® To-Go Lid
cNutri Ninja®Blade
d40-oz. Bowl
e40-oz. Bowl Lid with Pulse Handle
NOTE: Attachments are not interchangeable.
e
fg
d
h
c
a
b
www.ninjakitchen.com 7
The Ninja®Kitchen System Pulse®is a high powered innovative tool with a compact design and outstanding performance. It is
perfect for ice crushing, chopping, blending, kneading and nutrient & vitamin extraction. Blend and go with the convenient Nutri
Ninja®cup, create delicious drinks to get you out the door! Best results are achieved when you Pulse.
FEATURES:
• Ninja®Blade Technology
• 40 oz. Bowl and Nutri Ninja®Drink Cup - BPA Free
• Cord storage
• Pulse Power: Controlled blending, processing, juicing, and kneading by using short pulses. In short intervals, press down on
the top of the Nutri Ninja®cup or the handle of the 40-oz. bowl lid and pulse to the perfect consistency.
• Nutri Ninja®Blending: Fill, blend, and go! Blend right in the Nutri Ninja®cup and twist on the to-go lid for delicious, nutrient-
rich juices on-the-go.
• Dough Mixing: Mix and knead pizza dough, cookie dough, bread dough and more!
For best results, be sure to carefully read all the instructions contained in the manual before using this appliance.
8TOLL FREE: 1-877-646-5288
Assembling the Ninja®Kitchen System Pulse®
BEFORE FIRST USE
1Remove all packaging material and labels from the
appliance.
2Wash the lids, bowl, Nutri Ninja®cup and attachments in
warm, soapy water with a soft cloth. Use caution when
washing the blade assemblies as the blades are very sharp.
3Rinse and dry thoroughly.
4The bowl, Nutri Ninja®cup, lids and attachments are all
dishwasher safe. It is recommended that the lids and
attachments be placed on the top rack. Ensure that the
attachments are removed from the containers before
placing in the dishwasher.
5Wipe the motor base clean with a damp cloth.
PLEASE KEEP THESE IMPORTANT
SAFEGUARDS IN MIND WHEN USING THE
APPLIANCE:
IMPORTANT: Always place the attachment in the
40-oz. bowl before adding any ingredients.
IMPORTANT: Attachments are not
interchangeable.
CAUTION: Blades are sharp! Use extreme caution
when handling the blade assemblies. Always hold
them by the shaft.
IMPORTANT: When mixing dough. Mix dough
for up to 1 minute, then let appliance rest for 1
minute before mixing again.
IMPORTANT: Never run the appliance empty.
CAUTION: Never attempt to remove the container
while the appliance is still running.
WARNING: Never leave the appliance unattended
while in use.
CAUTION: If using
the pour spout,
ensure the lid
is fully locked
onto the blender
pitcher.
CAUTION: If
pouring with
the lid removed,
ALWAYS remove
the blade
assembly first.
www.ninjakitchen.com 9
IMPORTANT: Make sure that the motor base is plugged in
for use.
1Place the motor base on a clean, dry, level surface such as
a counter or table top.
2Add ingredients to the Nutri Ninja®cup.
3Place the Nutri Ninja®blade onto the cup and screw it
tightly until you have a good seal. (Fig. 1)
4Turn the Nutri Ninja®cup upside down and place it onto
the motor base, aligning the tabs on the cup with the motor
base. Turn clockwise and the unit is ready for use. (Fig. 2)
5Press down on the top of the cup in short intervals to
activate. (Fig. 3)
Fig. 1 Fig. 2
Assembly and Use for the Nutri Ninja®Cup
Fig. 3 Fig. 4 Fig. 5
ASSEMBLY PULSE REMOVAL
6When you have reached your desired consistency, stop the
appliance by removing your hand from the Nutri Ninja®cup.
Then turn the Nutri Ninja®cup counte- clockwise (Fig. 4)
and pull straight up to remove. (Fig. 5)
NOTE: Do not overfill! To avoid spilling, do not add
ingredients past the “Max” fill line.
7Turn the cup upright and remove the Nutri Ninja®blade by
twisting the blade assembly to the left.
8Place the To-Go drinking lid onto the Nutri Ninja®cup, twist
to seal and enjoy!
9Make sure that the motor base is unplugged when not in use.
For best results, use short “PULSES”... Practice makes perfect!!
10 TOLL FREE: 1-877-646-5288
7Push down on the “PULSE” on the handle to start the
appliance. (Fig. 4)
NOTE: Pulse ingredients for even chopping by pressing
down in short intervals.
IMPORTANT: When using the dough blade hold the
appliance to secure the appliance to the counter or table top.
8When you have reached your desired consistency, stop
pressing the lid handle and wait for the attachment to stop
turning.
9 To remove the lid, pull the lid handle up to a 90° angle. Turn
the bowl counter-clockwise to lift off the base.
(Fig. 5, Fig. 6)
CAUTION: Never insert your hands in the pitcher as the
blades are sharp. Always use a spatula to dislodge food that
has stuck to the sides of the pitcher.
10 Make sure that the unit is unplugged when not in use.
IMPORTANT: Make sure that the motor base is plugged in
for use.
1Place the motor base on a clean, dry, level surface such as
a counter or table top.
2Align and lower the bowl onto the motor base. (Fig. 1)
Handle should be aligned slightly to the left of the “LOCK”
symbol on the motor base.
3Rotate the container to the left as far as it will go to lock in
place. (Fig. 1)
4Holding the desired attachment by the shaft, place it onto the
drive gear inside the container. Ensure that the attachment is
seated properly and is standing upright. (Fig. 2)
NOTE: The blade will fit loosely on the drive gear.
5Add the ingredients to the bowl, making sure that they do
not exceed the highest measured marking line on the side
of the bowl.
6Holding the lid by the handle in the upright position, place it
on top of the bowl aligning the arrow ( ) located on the lid
with the arrow ( ) located on the bowl’s handle. (Fig. 3)
Assembly and Use for the 40-oz. Bowl
Fig. 4 Fig. 5 Fig. 6
Fig. 2
Fig. 1
Shaft
Fig. 3
ASSEMBLY PULSE REMOVAL