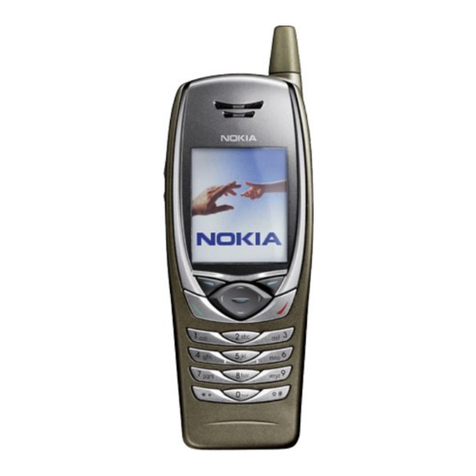
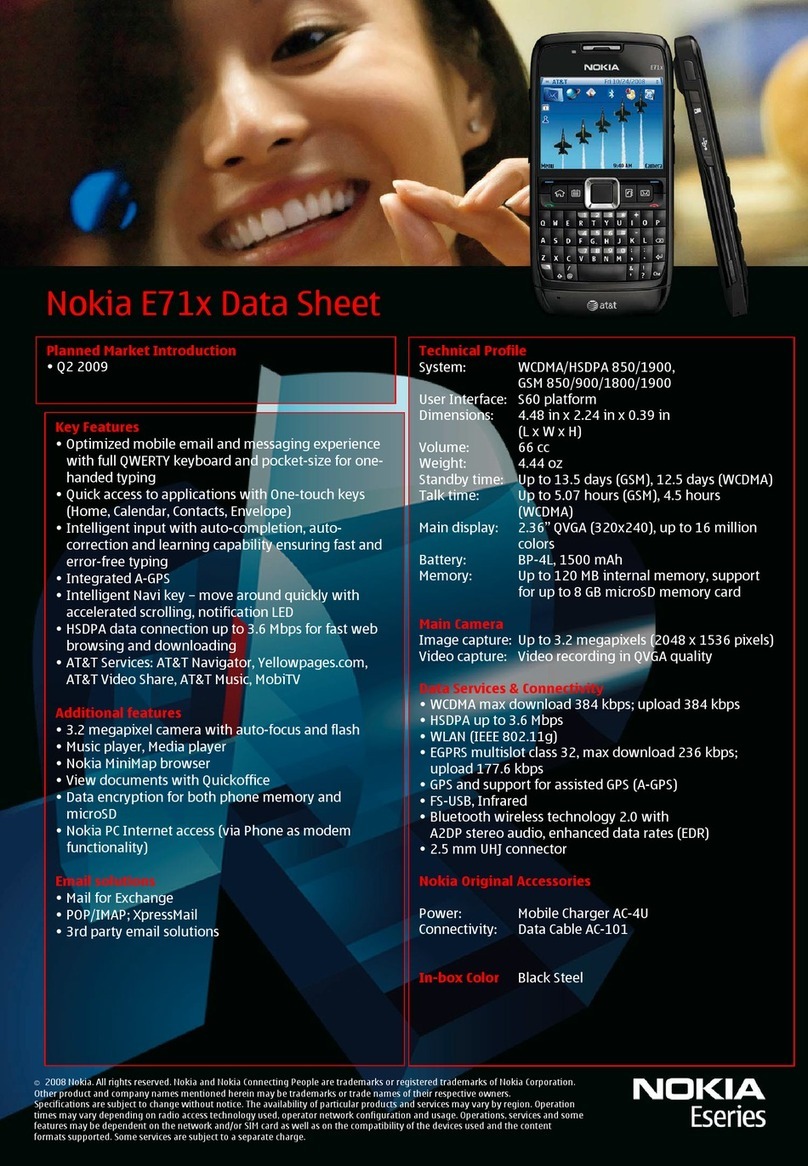
Nokia E66 User manual

Get started

Step 1
Insert the SIM card and battery
Use only microSDHC and microSD cards approved by Nokia for use with
this device. Nokia utilises the approved industry standards for memory
cards but not all other brands may function correctly or be fully
compatible with this device.
Memory card may already be inserted in your device.
There are applications installed on the memory card. To
access them, select Menu > Installations.
To remove the memory card, press the end of it.
Do not remove the memory card in the middle of an
operation when the card is being accessed. This may
damage the memory card as well as the device, and
data stored on the card may be corrupted.
© 2008 Nokia. All rights reserved.

Step 2
Charge the battery
1Connect a compatible charger to a wall
outlet.
2Connect the power cord to the device. If the
battery is completely discharged, it may take
a while before the charging indicator starts
scrolling.
3When the battery is fully charged according
to the battery level indicator , disconnect
the charger from the device, then from the wall outlet.
First start-up
1Press and hold the power key .
2If prompted, enter the PIN code or lock code, and select OK.
3When prompted, enter the country in which you are located and the current date
and time. The Welcome application opens.
4Select from the various options, or Exit to close the application.
To configure the various settings in your device, use the wizards available on the
home screen and the Settings wizard application (Menu > Tools > Setting wizard).
When you switch the device on, it may recognise the SIM card provider and
configure some settings automatically. You can also contact your service provider for
the correct settings.
You can switch the device on without inserting the SIM card. The device starts up in
the offline mode, and you cannot use the network-dependent phone functions.
To switch the device off, press and hold the power key.
© 2008 Nokia. All rights reserved.

Keys and parts
1Power key
2Earpiece
3Light sensor
4Selection key. Press the selection key to perform
the function shown above it on the display.
5Call key
6Press and hold the key for a few seconds to
switch on Bluetooth. When writing text, press
the key and select More symbols to access
special characters.
7Microphone
8Camera (video calls only)
9NaviTM scroll key, hereafter referred to as the
scroll key. Press the scroll key to make a
selection, or to scroll left, right, up, and down on
the display. A long press left, right, up, or down
accelerates the scrolling.
10 End key. Press the end key to reject a call, and
to end active calls and calls on hold. With a long keypress, end data connections.
11 Backspace key. Press the key to delete items.
12 Shift key. When writing text, press and hold the key and select the text with the
scroll key. Press and hold this key for a few seconds to toggle between the Silent
and General profile.
13 Charger connector
Sides
1Volume up key
2Voice key. Press the voice key to mute and unmute the
active call. The voice key is also used in the Voice
commands and PTT applications.
3Volume down key
4Capture key
5Release button
6Headset connector
7Micro-USB connector
8Infrared port
© 2008 Nokia. All rights reserved.

Automatic display rotation
In all applications, the screen rotates automatically from portrait to landscape when
you turn the device to the left. For example, if you are browsing the web and turn
the device to the left, the image rotates accordingly and changes to full screen. To
display the control and status panes, press either selection key. The image changes
to full screen in RealPlayer, browser, and image viewer.
Illuminated One-touch keys
With the One-touch keys, you can access applications and
tasks quickly. Each key has been assigned an application and a
task. To change the tasks for contacts, calendar, and e-mail
keys, select Menu > Tools > Settings > General >
Personalisation > One-touch keys.
Key Short press 2nd short press Long press
Home key (1) Access the home
screen Open the menu
View the list of
active applica-
tions
Contacts key (2) Open the Con-
tacts application
Return to the
previous applica-
tion
Create a contact
Calendar key (3) Open the Calen-
dar application
Return to the
previous applica-
tion
Create a meeting
entry
E-mail key (4) Open your
default mailbox
Return to the
previous applica-
tion
Create an e-mail
message
© 2008 Nokia. All rights reserved.

Special features in your device
Slide function
To open or close the full-size keypad, push the slide up or down.
When you close the keypad, it locks. To unlock the keypad, open the
slide. To unlock the keypad without opening the slide, press the left
and then the right selection key.
You can end a call by closing the slide, unless you have a headset
connected to the device, or you select Options before closing the
keypad.
To change slide settings, select Menu > Tools > Settings > General
> Slide handling.
Scroll key lights
When you receive a message or miss a call, the scroll key starts blinking to indicate
the event. When the display light turns off, the scroll key starts blinking slowly.
The keypad lights turn on and off simultaneously with the display light.
Silence the device
To set calendar and clock alarms to snooze and to silence
incoming calls, turn the device face down.
Shortcut keys
To access the profiles, press the power key briefly.
To see the clock when the keypad is locked and the display light is off, press the scroll
key.
On the home screen, press 0to go to the web.
In the image viewer, press 5 to zoom in or 0 to zoom out, 1 or 3 to rotate the image,
or * to go to full screen.
In Camera, press volume up or down to zoom in or out, and camera key to capture
images with autofocus or the scroll key to capture images without autofocus.
© 2008 Nokia. All rights reserved.

Home screen
From the home screen you can quickly access features that you use the most, and
see at a glance any missed calls or new messages.
The home screen consists of the following:
1Application shortcuts. To access an application,
scroll to its shortcut and press the scroll key.
2Information area. To check an item displayed in
the information area, scroll to it and press the
scroll key.
3Notification area. To view the notifications,
scroll to a box. A box is only visible if there are
items in it.
You can define two separate home screens for
different purposes, such as one screen to show your
business e-mail and notifications, and another to
show your personal e-mail. This way, you do not
have to see business-related messages outside
office hours.
To change from one home screen to another, scroll
to and press the scroll key.
To define what kind of items and shortcuts you want
to see on the home screen, and to set the
appearance of the home screen, select Menu >
Tools > Modes.
Access tasks quickly
Whenever you see the icon on the home screen,
or in the Contacts or Calendar applications, scroll
right to access a list of available actions. To close the
list, scroll left.
When you navigate in these applications, to go back
to the previous level, scroll left.
© 2008 Nokia. All rights reserved.

Set up your e-mail
With the e-mail wizard, you can set up your business e-mail account, such as
Microsoft Outlook, or Microsoft Exchange; and internet e-mail account, such as
Google e-mail services.
To start the e-mail wizard:
1Go to the home screen, scroll to the e-mail wizard, and press the scroll key.
2Enter your e-mail address and password. If the wizard is not able to configure
your e-mail settings automatically, select your e-mail account type and enter
the related settings.
If your device contains any additional e-mail clients, those are offered to you when
you start the e-mail wizard.
When setting up your e-mail, you may be prompted for the following information:
user name, e-mail type, incoming mail server, incoming mail server port, outgoing
mail server, outgoing mail server port, password, or access point.
If you are setting up your business e-mail, ask your company IT department for
details. If you are setting up your internet e-mail, see your e-mail service provider’s
website for details.
Set up your net calls
With the net call service (network service), you can make and receive calls over the
internet using the VoIP (voice over internet protocol) technology.
In the home screen, scroll to Set up Internet tel. and press the scroll key. Before you
can make calls you must create a net call profile and your device must be connected
to a net call service. For more instructions, see the user guide.
Transfer content from another
device
With the Switch application, you can transfer content from a compatible Nokia
device to your new device using Bluetooth connectivity or infrared. The type of
content that can be transferred depends on the device model. Select Menu > Tools
> Switch, and follow the instructions on the device display. If the other device
supports synchronisation, you can also synchronise data between the two devices.
© 2008 Nokia. All rights reserved.

Download!
Select Menu > Download!
With Download!, you can browse, download, and install items, such as the latest
applications and related documents, to your device from the web. The items are
categorised under catalogues and folders provided by Nokia or independent service
providers. Some items may be chargeable, but you can usually preview them free of
charge.
Download! uses your network services to access the most up-to-date content. For
information on additional items available through Download!, contact your service
provider, or the supplier or manufacturer of the item.
Only install and use applications and other software from sources that offer
adequate security and protection against harmful software.
GPS
The Global Positioning System (GPS) is a worldwide radio navigation system. Your
device has an internal GPS receiver.
Maps
Select Menu > GPS > Maps.
Check the availability of this function from your local network operator.
With maps, you can see your current location on the map, browse maps for different
cities and countries, search for addresses and different point of interest, plan routes
from one location to another, and save locations as landmarks and send them to
compatible devices.
You can also purchase extra services, such as guides and a turn-by-turn navigation
service with voice guidance.
© 2008 Nokia. All rights reserved.

Further
information
User guidance
Your device has a tutorial, which
provides you information about your
device and shows you how to use it.
Select Menu > Help > Tutorial.
Your device has a help function, which
provides you detailed instructions and
information. Select Options > Help.
For other important information about
your device, see the user guide.
Nokia PC Suite
You can install Nokia PC Suite from the
CD-ROM or from the web. Nokia PC
Suite can be used with Windows XP
SP2, and Windows Vista. With Nokia PC
Suite, you can back up data in your
device, synchronise your device with a
compatible computer, move files
between your device and a compatible
computer, or use your device as a
modem.
Nokia support and contact
information
Check www.nokia-asia.com/support or
your local Nokia web site for the latest
version of the user guide, additional
information, downloads, and services
related to your Nokia product.
The website provides information on
the use of Nokia products and services.
If you need to contact customer
service, check the list of local Nokia
contact centres on www.nokia-
asia.com/contactus.
For maintenance services, check your
nearest Nokia service centre on
www.nokia-asia.com/repair.
© 2008 Nokia. All rights reserved.
Nokia, Nokia Connecting People,
Eseries, Nokia E66, and Navi are
trademarks or registered trademarks of
Nokia Corporation. Other company
names mentioned herein may be
trademarks or trade names of their
respective owners.
© 2008 Nokia. All rights reserved.
Other manuals for E66
10
Table of contents
Other Nokia Cell Phone manuals

Nokia
Nokia 210 Dual SIM User manual

Nokia
Nokia 5030 User manual

Nokia
Nokia 6100 - Cell Phone 725 KB User manual

Nokia
Nokia 1202 User manual

Nokia
Nokia 5210 - Cell Phone - GSM User manual

Nokia
Nokia 6111 - Cell Phone 23 MB User manual

Nokia
Nokia 3500 - Classic Cell Phone User manual

Nokia
Nokia 8887 User manual

Nokia
Nokia 6720 classic User manual

Nokia
Nokia MU-43 User manual