Nora Lighting NUTP51 Series User manual
READ PRIOR TO ATTEMPTING INSTALLATION
ALWAYS TURN OFF MAIN POWER BEFORE INSTALLATION
INSTALLATION SHOULD BE CARRIED OUT BY YOUR LOCAL ELECTRICIAN
6505 Gayhart Street, Commerce, CA 90040
© 2019 Nora Lighting, Inc. All rights reserved. Instructions subject to change without notice.
Installation Instructions
NUTP51 / NUTP81 / NUTP71
Continuous Tape
043019P1
IS-NUTP51_NUTP81_NUTP71R01
INSTALLATION INSTRUCTIONS:
1. Decide where you want to place the LED tape light.
2. The tape light has a 3M™ self-adhesive backing, ensure the surface area that you intend to adhere the tape light to is clean and dry. Simply remove the backing strip and carefully lay the tape
light in place working from one end to the other ensuring there are no raised sections.
3. Using a lint-free cloth gently press between the LEDs on the tape to remove any air bubbles and activate the adhesive, make sure you do not press on the LEDs themselves as this could dam-
age the joint.
IMPORTANT: Please read before installation
• Alwaysturnoffpowerpriortoinstallationorreplacement.
• ContinuousTapeLightcontactsareveryfragile,handlewithcare.
• DonotturnonTapeLightwhileonthespool,maycausethetapelighttooverheatandmeltorignite.
• DonotpressdirectlyontheLEDsthemselves,asitmaycausedamage.
• Donotusetheproductinapotentiallycombustiveenvironments.
• Donotcoverthisproductasthecoveringmaycausethetapelighttooverheatandmeltorignite.
• Donotoperatewiththetapelighttightlycoiled.
• Donotroutethecordortapelightthroughwalls,doors,windowsoranylikepartofthebuildingstructure.
• Donotuseifthereisanydamagetothelightorcordinsulation.Inspectperiodically.
• ContinuousTapeSeriesiscULusListedforDampLocation.
• Securethetapelightusingonlythe3M™tape,hangers,clips,orNATHR-680AluminumChannel(soldseparately).Donotsecurethis
productoritscordwithstaples,nails,orlikemeansthatmaydamagetheinsulationorpermanentlyattachtothebuildingstructure.
• Wireleadsandaccessoriesarenotratedforin-wallinstallationunlessotherwisenoted.
• Attachedwireleadsandconnectionsarefield-cuttable.
• Tapelight,attachedwireleads,andadditionalextensioncables,connectors,etc.,arenotratedforin-wallinstallationunlessotherwisenoted.
• DonotinstallinenvironmentwhereLEDchipsareexposedtodirectsunlightasdamagetothephosphorwilloccur.
• Donotinstallinenvironmentwhereexcessiveheatmayexist(ex.closeproximitytothefireplace,etc.)
• Seeoperatingtemperatureonspecsheet.
WIRING INSTRUCTIONS TO DRIVER:
1. Only use with Class 2 24V power supply.
2. Driver may have a male plug and the LED Tape Light may have a the female connector. Plug male connector into female connector together. Some drivers will require connecting + and - wire
together.
POLARITY: Continuous Tape has + and - markings. These must be connected to + and - of the driver leads or another tape lead.
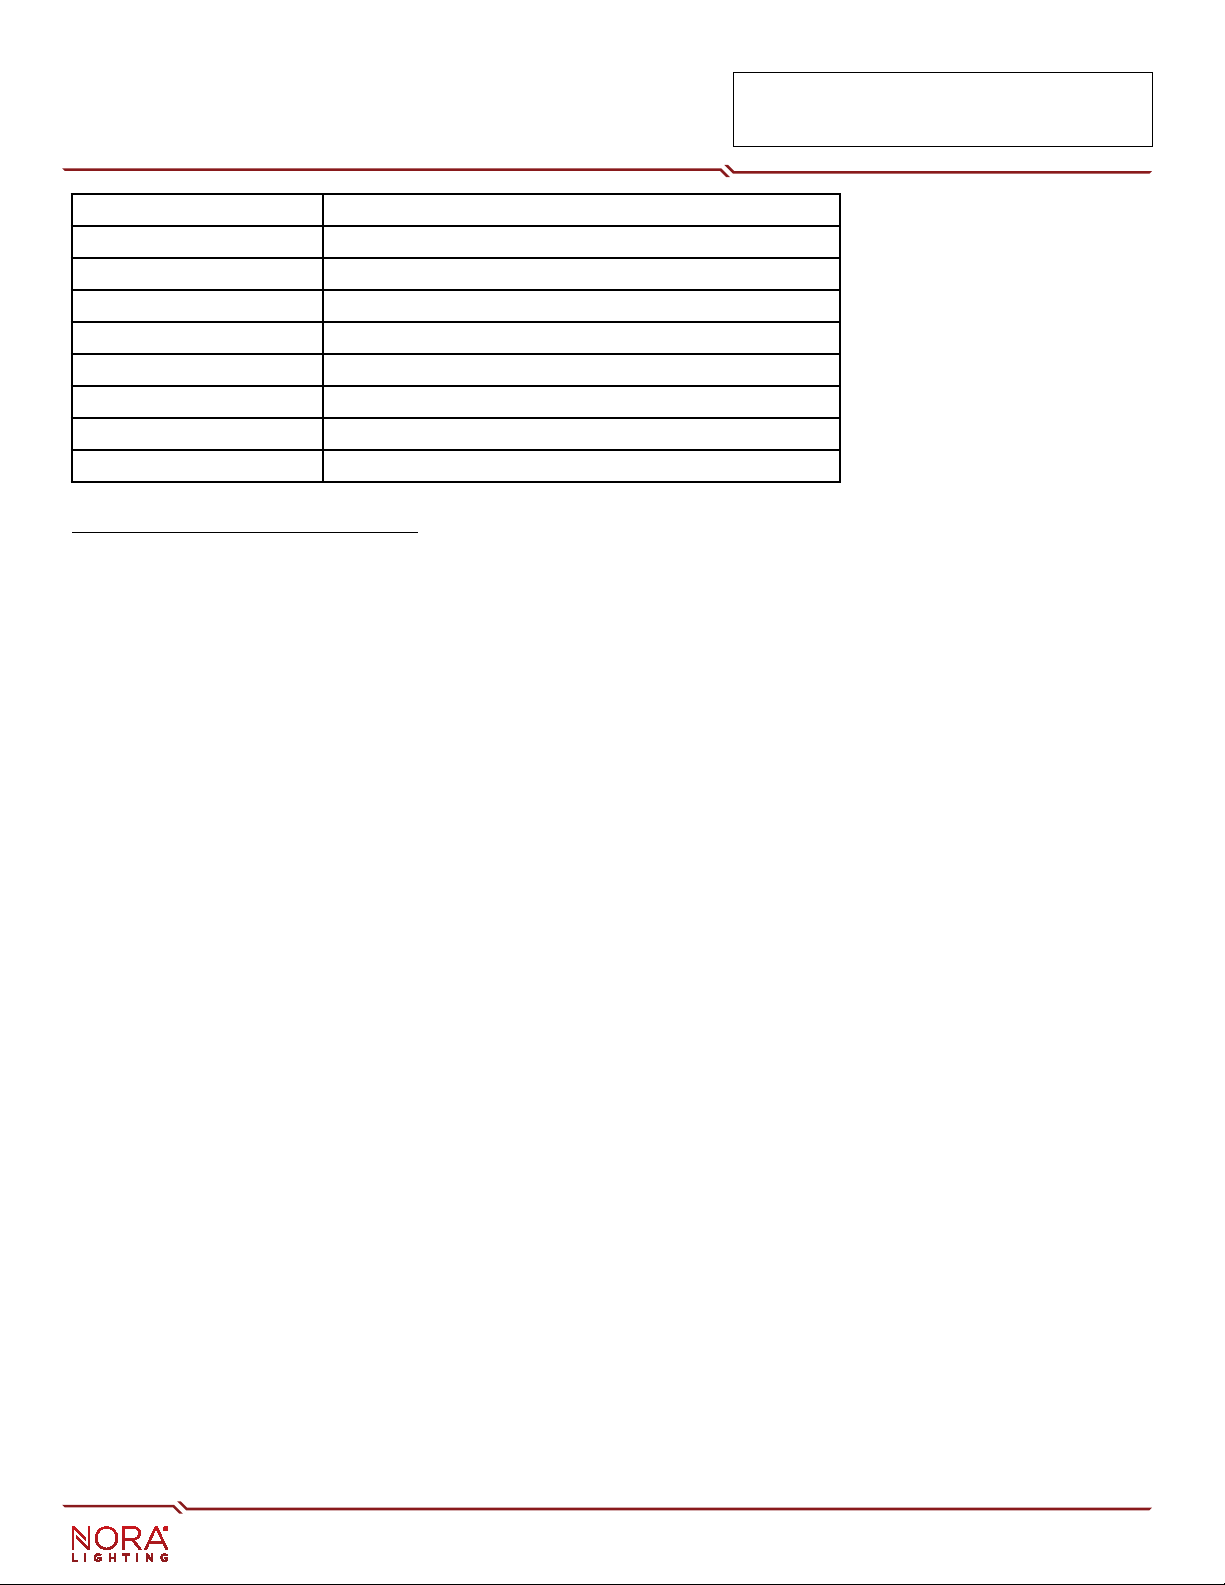
ITEM NO. DESCRIPTION
NUTP51-W100LED927 Hybrite Continuous Tape, 100’ (32’ Max Run), 27K
NUTP51-W100LED930 Hybrite Continuous Tape, 100’ (32’ Max Run), 30K
NUTP51-W100LED942 Hybrite Continuous Tape, 100’ (32’ Max Run), 42K
NUTP81-W100LED930 High-Output Continuous Tape, 100’ (20’ Max Run), 30K
NUTP81-W100LED942 High-Output Continuous Tape 100’ (20’ Max Run), 42K
NUTP71-W100LED927L Standard Continuous Tape 100’ (64’ Max Run), 27K
NUTP71-W100LED930L Standard Continuous Tape 100’ (64’ Max Run), 30K
NUTP71-W100LED942L Standard Continuous Tape 100’ (64’ Max Run), 42K

READ PRIOR TO ATTEMPTING INSTALLATION
ALWAYS TURN OFF MAIN POWER BEFORE INSTALLATION
INSTALLATION SHOULD BE CARRIED OUT BY YOUR LOCAL ELECTRICIAN
6505 Gayhart Street, Commerce, CA 90040
© 2019 Nora Lighting, Inc. All rights reserved. Instructions subject to change without notice.
Installation Instructions
NUTP51 / NUTP81 / NUTP71
Continuous Tape
043019P2
IS-NUTP51_NUTP81_NUTP71R01
EXTENSION CONNECTOR INSTALLATION INSTRUCTIONS TO ENSURE ETL OR CULUS LISTING:
1. Have one male and one female end of the tape light.
2. Insert male or female end of tape light into one end of the extension connector.
3. Snap the connector cover close on both end.
WARNING! DO NOT CONNECT DIRECTLY TO HIGH VOLTAGE POWER!
Read all warnings and installation instructions thoroughly.
HANDLE LED TAPE LIGHT WITH CARE !
1.5 in.
DO NOT BEND LED STRIP LIGHT
TO
A DIAMETER LESS THAN 1.5 INCHES.
DO NOT FOLD, CREASE,
OR TWIST LED STRIP LIGHT.
DO NOT COVER STRIP LIGHT
WITH ANY MATERIALS.
DO NOT BEND LED STRIP LIGHT
ON A HORIZONTAL PLANE
DO NOT POWER STRIP LIGHT
WHILE ATTACHED TO SPOOL
OR TIGHTLY COILED.
DO NOT PUT EXCESSIVE PRESSURE
ON SURFACE OF TAPE LIGHT
(GLASS/ACRYLIC PLANES ETC.)
CUTTING INSTRUCTIONS - SEE BACK SIDE FOR JOINING INSTRUCTIONS:
1. The LED tape light may be cut every 4".
2. Carefully cut the tape light along the line, be careful not to press on the LEDs as this could damage the joint.
Flip Connector Flip Connector attached to tape
MAY BE CUT AT THE
CUT LINE.
LIST OF DRIVER’S THAT CAN BE USED WITH CONTINUOUS 24V TAPE:
·NATL-524: 24 watt Plug-In
·NATL-545: 45 Watt Plug-In
·NATL-596: 96 Watt Plug-In
·NATL-5060HW: 60 Watt Hard Wire
·NATL-5100HW: 100 Watt Hard Wire
·NATL-530HW: 30 Watt Hard Wire or Plug-in
·NATL-560HW: 60 Watt Hard Wire or Plug-in
·NMTD-60/24D: 60 Watt Dimmable Magnetic Hard Wire
·NMTD-96/24D: 96 Watt Dimmable Magnetic Hard Wire
·NMT-303/24C2D1: 3x100 Watt Dimmable Magnetic Hard Wire
·NATL-SWEX100/24: 100 Watt Dimmable Electronic with Dimmer for single gang box
Slide the tape INTO the plastic channels
and UNDER the metal connectors.
Plastic Channel
DO NOT PUT TAPE ABOVE
METAL CONNECTORS!

READ PRIOR TO ATTEMPTING INSTALLATION
ALWAYS TURN OFF MAIN POWER BEFORE INSTALLATION
INSTALLATION SHOULD BE CARRIED OUT BY YOUR LOCAL ELECTRICIAN
6505 Gayhart Street, Commerce, CA 90040
© 2019 Nora Lighting, Inc. All rights reserved. Instructions subject to change without notice.
Installation Instructions
NUTP51 / NUTP81 / NUTP71
Continuous Tape
043019P3
IS-NUTP51_NUTP81_NUTP71R01
Assign polarities and slide the ribbon
into the connector.
Assign polarities and slide the ribbon
into the connector.
Assign polarities and slide the ribbon
into the connector.
Assign polarities and slide the ribbon
into the connector.
Open the snap cover.
Open the snap cover.
Open the snap cover.
Open the snap cover.
Take a ribbon and align it to the
snap cover.
Take a ribbon and align it to the
snap cover.
Take a ribbon and align it to the
snap cover.
Take a ribbon and align it to the
snap cover.
Seat the ribbon in fully and close the
snap cover.
Seat the ribbon in fully and close the
snap cover.
Seat the ribbon in fully and close the
snap cover.
Seat the ribbon in fully and close the
snap cover.
When sliding the ribbon into the ip connector, make sure to fully insert the ribbon under the side tabs and UNDER the
metal contact. Make sure the polarity is correct.
NATLCFC-200 & 600 SERIES INTERCONNECTORS
NATLCFC-208 & 608 SPLICE CONNECTORS
NATLCFC-209 & 609 PLUG CONNECTOR
This manual suits for next models
10
Table of contents
Other Nora Lighting Lighting Equipment manuals

Nora Lighting
Nora Lighting NSPEC NE-602LED User manual

Nora Lighting
Nora Lighting NUTP1 Series User manual

Nora Lighting
Nora Lighting NSPEC NE-602LEDHORC Series User manual

Nora Lighting
Nora Lighting NUD-88 User manual

Nora Lighting
Nora Lighting NUTP3 Series User manual

Nora Lighting
Nora Lighting NLOPAC-R6REGT24 User manual

Nora Lighting
Nora Lighting NUTP13 Series User manual


