NORDIC PLAY BMW M6 GT3 User manual

Manual | Brugsanvisning | Instruktionsbok | Ohjeet
Electric car BMW M6 GT3
El-bil BMW M6 GT3
El bil BMW M6 GT3
Sähköauto BMW M6 GT3
Art. no. 805-769 / 805-770
EAN 5705858711638 / 5705858711645
Size 130,7 x 69,1 x 48,8 cm Imported by / Importeret af
NSH NORDIC A/S
Virkefeltet 4
DK-8740 Braedstrup
Made in China / produceret i Kina

GB
Installation and Operating
Instructions
Suitable age: 3-6 years Battery: DC 12V / 7AH
Load Capacity: 30 kg Size of car: 130,7 x 69,1 x 48,8 cm
Speed: 2,5 - 3,4 - 4,2 km/h Carton size: 135,5 x 65 x 35 cm
Material: Metal and plastic Optimum
temperature: 0 - 40°
DC 15V / 800 mA Charging time: 8 - 12 hours
Charger: Input: AC 100-240V
Our products are suitable for
ASTM F963; GB6675,GB19865; EN71 and EN62115 standard.
Please read the operating instructions carefully before use
The BMW logo and the BMW wordmark are trademarks of BMW AG and are used under license.

GB
Contents:
2. Components list
3. Assembly diagram
4. Installation and replacement of remote control batteries
5. Function and operation
6. Battery and charger operation guide
Operation of overcurrent protector
1. The overcurrent protector is installed under the seat. You can see it by twisting the seat screw
2. When the car is overloaded, the overcurrent protector automatically disconnects the circuit
automatically connects the circuit.
3. When the battery has power and the car can not run, please check whether the circuit of the
car has an open circuit or short circuit.
Product specications and parameters
1. This product is suitable for the children of 3-6 years old, and should be used under adult
supervision!
2. Product dimensions: 130.7 × 69.1 × 48.8CM
3. Product maximum load weight: 30 kg
6. Remote control and manual switching functions, 2.4G one-to-one remote control function
8. Product operating ambient temperature: 0-40°
Black cable Battery
Red cable
Over - current
protection
Circuit board
placing box

GB
Components list
1. Car body 9. Seat backrest 17. Steering gearbox screw
2 pcs.
2. Windshield 10. Tail wing 18. Rear-view-mirror screw
3. steering wheel 11. Front axle frame
connecting-rod
19. Front axle frame
2 pcs.
4. Rear-view mirror 12. J-shaped stick 20. Steering wheel locknut
5. Hand shank 13. Rear wheel axle 21. Charger
14. Front axle frame
connection-rod screw
22. Remote Control
7. Driving wheel with rubber
15. Steering wheel screw
8. Seat 16. Seat and backrest screw

GB
Assembly Diagram
1. Installation of front axle frame connecting-rod and wheel
A
B
in sequence.
C. Rotate the motor gearbox upwards according to the direction indicated by the arrow until the
the assigned location of the car body.
D
wheel axle in sequence.
Wheel with rubber
wheel sleeve
Gearbox
Gearbox
Rear
wheel
axle Wheel with rubber
wheel sleeve

GB
When the wheels are installed, press the center
button of the wheels, insert the wheels into the
the wheels to pull out the wheels from the axle so
as to remove the wheels.
2. Installation of J-shaped stick
the designated gearbox at the front of the car.

GB
3. Install the rear-view mirror
Plug the wire plug of the steering wheel into the
wire plug from the car body hole correspondingly,
and then put the connected plugs into the car
body hole.
iron hook, and tighten with the steering wheel
make it reliably connected.
5. Installation of power supply
Insert plug into the circuit board to its bottom.
4. Installation of steering wheel and hand shank
Car body
hole
Plug-in
Battery
Black cable
Battery
Red cable
Over - current
protection
Circuit board
placing box

GB
6. Install the seat and seat back.
After the power supply is installation, put the
position on the front of the car. Before the
press until it is fastened.
shown by the arrow, and insert the
corresponding buckle, and press the buckle
7. Install the windshield and the empennage

GB
8) Open the car door
then pull the vehicle door outside and open the door.
IV. Installation and replacement of remote control batteries
positive and negative poles, put 2 AAA batteries into the battery compartment, close the battery
V. Function and Operation
1. Main functions:
position, step down the foot switch to move the car forward or backward, and release the foot
switch to stop the car.
the battery is being charged.
moving backward or parking.
bottom of the car out to pull it away.
Press the
switch button
Black cable
Battery cover2.4G remote control
on the screw can
prevent the screw
from dropping out Battery
Compartment
2 x 1.5V AAA Batteries

GB
Normal operation:
A. Press the main power switch button B. Press the foot pedal button
C. Select the forward / reverse direction D. Select the speed gear E. Step on the pedal to start
B. Simultaneously keep pressing the speed change button and sudden brake button of the remote
the front wheel will rotate leftwards for 1s and rightwards for 1s.
D. Speed change button E. It will enter the sleep state if no operation occurs within 1 min.
You can press any button to reawaken it.
Dashboard lamp ---------------------------------------
Air outlet-------------------------------------
Central control board----------------------
------------------- Air outlet
------------------- Forward gear 1, 2, 3 /
park / reverse
switch button
------------------- Foot switch
2.4G remote control First gear, second gear and
third gear lamps
Forward / backward button
Speed change button
Sudden brake button
Pull the car
Handle
Pull the
car wheel

GB
2. Functions on the central control board:
Voltage display
Remote control
Music --------
Music -------
Previous music ----------------------------
Foot switch
-------------------------------- Next music
1) One-button start button:
1. Press this button to turn on the main power, and the system is in standby mode, and the trumpet
gives a sound of engine. Red light of one button start button and green light of foot switch mode
invalid until the prompt sound is over.
down.
coin to press
Please use a coin
to press this button
USB
------------------------------ USB
------------------ Mode
→
→
→

GB
4) Next music \ Volume+ button:
1. In MUSIC USB BT mode: short press this button, the green light of this button will be on for
value on the
display will be displayed incrementally from U00 to U30.
2. Each time of starting, the default volume value will be U25.
5) Light / fan button:
6) Foot switch button:
2. Safety protection function: Before starting the car by stepping on the accelerator or switching
and then step on it.
7) Remote control button: When this button is pressed, the system will switch to the remote
control mode, and the green light will be on, then the remote controller can be used to drive the
2) Music button:
Under MUSIC play mode, press this button to play a song, and the green light
each button will play 3 songs repeatedly.
3) Previous\Volume - Button:
In MUSIC USB BT mode: short press this button, the green light of this
button will be on for a short period of time and it will change to the previous
the volume will be decremented, the volume value on display will decrease from U30 to U00.
Each time of starting, the default volume value will be U25.

8) Mode switch button:
3. Press this button again and switch to BT Bluetooth mode, and there
when Bluetooth is not connected, and it will be always on when
4. Press this button again and switch back to the built-in music
playback mode.
GB
9) Display function
Four digits display:
music will be displayed during USB playback.
꞊
or state in which it lies will be displayed by its corresponding icon.
Battery and Charger Operating Guide
1. The charging socket is located at the lower part of the car seat.
10) Bluetooth playback function:
11) USB playback function:
12) Steering wheel button:
hold this button, the horn will sound continuously.
13) Low voltage protection function:
car will stop automatically. Please charge as soon as possible!
14) Charging and power-o function:
When charging the car, the central control board will

DK
Montering og
betjeningsvejledning
Passende alder: 3-6 år Batteri: DC 12V / 7AH
Maks. belastning: 30 kg Bilens størrelse: 130,7 x 69,1 x 48,8 cm
Hastighed: 2,5 - 3,4 - 4,2 km/h Karton mål: 135,5 x 65 x 35 cm
Materiale: Metal og plastik Optimal
temperatur: 0 - 40°
DC 15V / 800 mA Opladningstid: 8 - 12 timer
Oplader: Input: AC 100-240V
Vores produkter opfylder følgende standarder
ASTM F963; GB6675,GB19865; EN71 og EN62115 standard.
Læs betjeningsvejledningen grundigt, før anvendelse af produktet
BMW-logoet og BMW-ordmærket er varemærker tilhørende BMW AG og anvendes under licens.

DK
Indholdsfortegnelse:
2. Delliste
3. Samle diagram
4. Installation og udskiftning af batterier i fjernbetjeningen
5. Funktion og anvendelse
6. Betjeningsvejledning til batteri og oplader
Overbelastningssikring funktion:
1. Overbelastningssikringen er monteret under sædet. Du kan se det ved at løsne skruerne
3. Når der strøm på batteriet og bilen ikke kan køre, kontroller om kredsløbet er afbrudt eller
kortsluttet.
Produktspecifikationer:
1. Dette produkt er velegnet til børn i alderen 3-6 år, og bør kun anvendes under opsyn af en voksen!
2. Produktdimensioner: 130,7 × 69,1 × 48,8 CM
3. Produktets maksimale belastningsvægt: 30 kg
6. Fjernbetjening og manuelle koblingsfunktioner, 2.4G en-til-en fjernbetjeningsfunktion
7. Fjernbetjeningens strømforsyning: alkaline batterier 2 x AAA
8. Anvendelses temperatur: 0-40°
Black cable Battery
Red cable
Over - current
protection
Circuit board
placing box
Batteri rødt
Rødt kabel
Overbelast-
ningssikring
Kredsløbsboks

DK
Delliste
1. Karrosseri 9. Ryglæn 17. Skrue i styretøjets
gearkasse
2 stk.
2. Frontrude 10. Spoiler 18. Skruer for bakspejle
4 stk.
3. Rat 11. Forhjulsakselramme
4. Bakspejle 12. J-formet styrestang
5. Gearstang 13. Baghjulsaksel 21. Oplader
14. Skrue for forhjulsaksel
22. Fjernbetjening
15. Skrue for rat
8. Sæde 16. Sæde- og ryglænskruer
4 stk.

DK
Samlevejledning
1. Montering af forakselramme, bagaksel og hjul
A.
B.
C.
D.
Hjul med gummi
belægning
Gearkasse
Gearkasse
bag-
hjuls
aksel Hjul med gummi
belægning

DK
Når hjulene skal monteres, skal du trykke på
hjulets midterknap, sætte hjulet på forakslen og
klikke det på plads. Tryk på hjulets midterknap for
at afmontere hjulet.
2. Installation af J-formet stang (ratstamme)
Vend bilen på siden. Sæt den J-formede
rammen. Fastgør ratstammen med de 2

DK
3. Montering af bakspejle
Sæt ledningen fra bilens karrosseri og rat
sammen. Skjul ledningen i bilens karosseri
som vist på tegningen.
ned til den sidder fast.
5. 5. Installation af strøm
Sæt stik A i kredsløbsboksen og tryk stikket i bund.
4. Montering af rat og gearstang
Bil krop
hul
Plug-in
Batteri
Sort kabel
Batteri
Rødt kabel
Beskyttelse
Boks til
printkort

DK
6. Monter sæde og ryglæn.
Når strømforsyningen er etableret, sættes sædet
position på fronten af bilen. Vær opmærksom at
alle tapper er korrekt placeret før ruden trykkes
på plads.
på tegningen og tryk den fast til karrosseriet.
7. Montering af forrude og spoiler
This manual suits for next models
2
Table of contents
Languages:
Other NORDIC PLAY Motorized Toy Car manuals

NORDIC PLAY
NORDIC PLAY Lamborghini Urus User manual
NORDIC PLAY
NORDIC PLAY 805-753 User manual
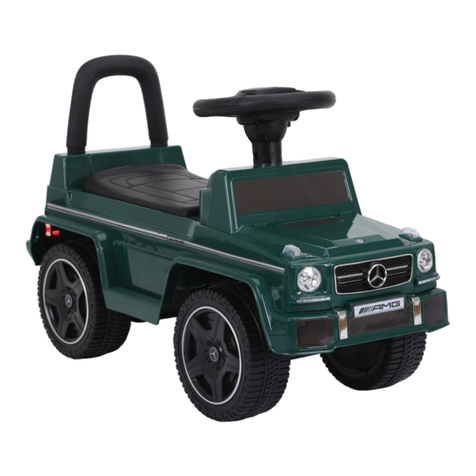
NORDIC PLAY
NORDIC PLAY 805-763 User manual

NORDIC PLAY
NORDIC PLAY Mercedes-Benz G350D User manual

NORDIC PLAY
NORDIC PLAY McLaren 720S User manual

NORDIC PLAY
NORDIC PLAY 805-794 User manual

NORDIC PLAY
NORDIC PLAY Elbil Lamborghini Aventador Premium User manual
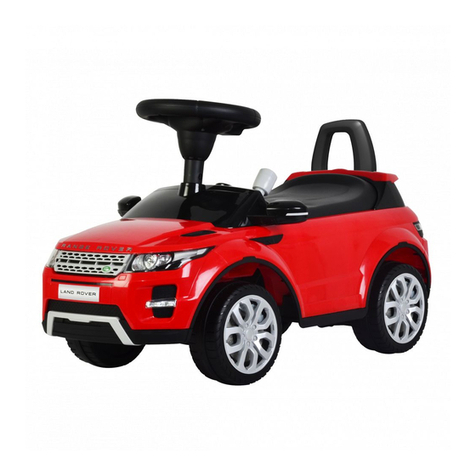
NORDIC PLAY
NORDIC PLAY 805-772 User manual
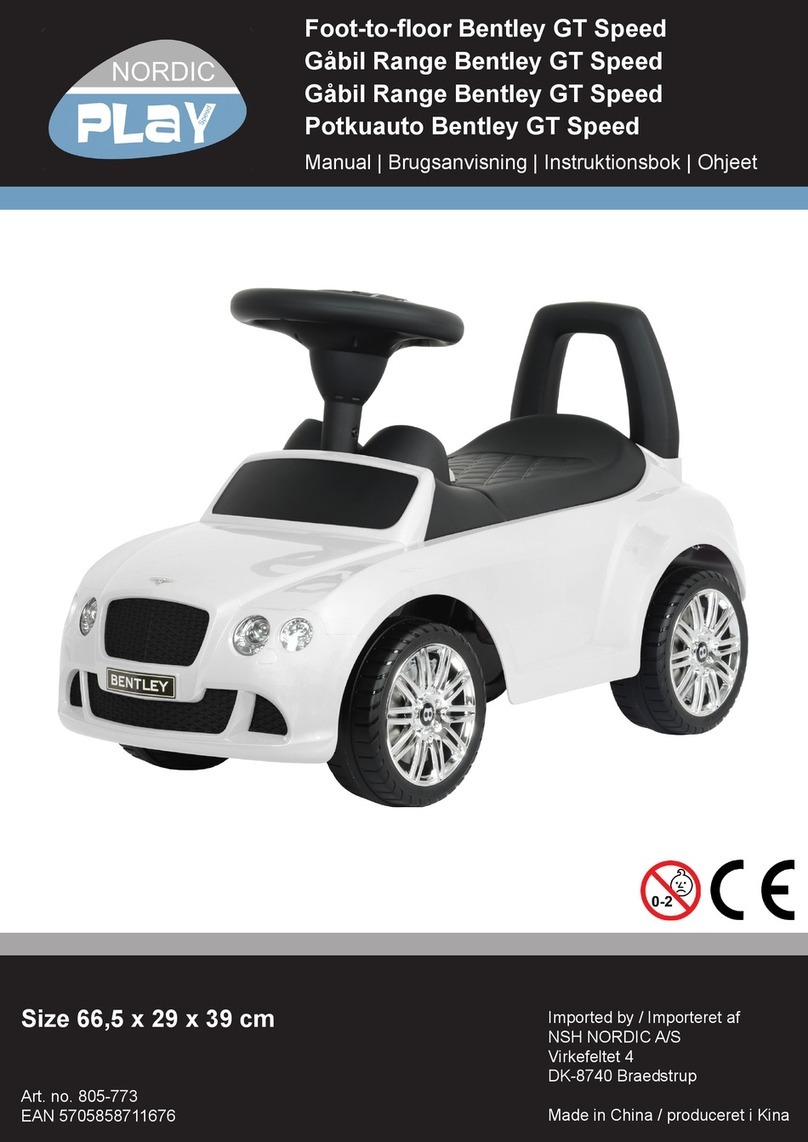
NORDIC PLAY
NORDIC PLAY 805-773 User manual

NORDIC PLAY
NORDIC PLAY BMW S1000 RR User manual
