manuals.online logo
Brands
  1. Home
  2. •
  3. Brands
  4. •
  5. Novus
  6. •
  7. Data Logger
  8. •
  9. Novus LOGBOX User manual

Novus LOGBOX User manual

1
LOGBOX
Operation Manual
1. INSTALLATION
1.1 Connecting sensors to LogBox
Open up the LogBox cover to get access to the connection terminals
(figure 1). In two channel models, jumper J2 is factory set for usage
with thermocouples, Pt100 and 0-50mV. If you want to use channel 2
with 4-20mA input, you must change the strap position to the one
indicated. Channel 1 is automatically software selected.
J2
4-20mA VEXT
Channel 2
Channel 1
Figure 1 - Internal Connectors and Jumper Localization
Sensor cables must pass through cable grand to get into the device.
They must be connected like it is shown in the diagram fixed on the
inside face of the device cover (figure 2).
Channel 1Channel 2VEXT
31245678
Figure 2 - Diagram Connection (Standard Model)
1.2 LogChart
LogChart is the software used to configure and offload data from the
LogBox. It is Windows95, 98 and NT compatible.
Install and start LogChart software. At the very first time, you must
select the computer serial port that shall communicate with LogBox,
entering the “Port” menu and selecting one.
Important: Be sure your Windows date separator is configured as a
slash (ex, dd/mm/aa ou dd/mm/aaaa).
2. CONFIGURATION
2.1 What to configure
Besides being the offloading software, LogChart is also the tool used to
set it up. There is a Parameters Configuration window in LogChart that
lets you configure the following parameters:
 Input type for each one of the channels
 Indication range for 4-20mA and 0-50mV input types
 Interval between channel readings
 Identification of the application (title) and measuring point (tag)
 How many loggings to be made
All Parameters Configuration data (example in figure 3) are transferred
to LogBox for logging process to begin.
Figure 3 - LogBox configuration window
2.2 How to configure
Plug the IR-Link cable connector to the PC serial connector and place
the infrared wand face to face with the LogBox comm window. Make
sure the comm port of the PC is correctly selected.
Before starting logging you must configure several parameters.
Clicking in "Configure" on the "LogBox" menu or on the “GO” icon, the
previous parameters will be read and displayed on the configuration
window. These parameters can now be changed accordingly. By
clicking “OK” the new parameters will be sent to the LogBox.
Configuration Options:
Title: Name of the application (up to 30 characters).
Tag:Alphanumeric code which identifies the sensor or the zone where
it is placed (up to 10 characters).
Type: Sensor type being used.
Low Limit: Minimum value of the sensor range. This is fixed for
thermocouples and Pt100 but can be changed for 4-20mA or 0-50mV
signals. The minimum low limit is -1999.
High Limit: Maximum value of the sensor range. This is fixed for
thermocouples and Pt100 but can be changed for 4-20mA or 0-50mV
signals. The maximum low limit is 9999.
Unit: Engineering unit used for the sensor. For thermocouples and
Pt100 it is °C. For 4-20mA or 0-50mV signal sensors the unit can be
user configured.
Decimal Point: It defines the decimal point position for units measured
through 4-20mA or 0-50mV signals.
Interval between readings: It sets LogBox channels reading rate,
shown in the HH:MM:SS format. The seconds can be set for 0.5
second interval.
Number of readings per logging: It defines how many readings there
must be to generate one memory record. If it is set to one (1), the
instant value is recorded. It is usually used with “Average, Minimum,
Maximum” parameter.
Average, Minimum, Maximum: This parameter defines what kind of
processing must be done with the readings before the respective
recording is made. It just makes sense if a value bigger than one is set
to “Number of readings per logging” parameter. For example, if it was
set to make 5 readings per logging in an interval between readings of 2
seconds and the average choice is enabled, after 10 seconds the
average value of the 5 readings will be recorded as one logging.
2
Start Logging: Two modes can be selected.
→Immediately: LogBox will start logging as soon as configuration is
finished.
→On day __/__/__ hour __:__:__ : LogBox will start logging on the
day and time defined by the user.
Stop Logging: Four modes can be selected.
→At Full Memory: LogBox will stop logging when its available memory
is full.
→After __ readings: LogBox will stop logging after the number of
readings here defined.
→On day __/__/__ hour __:__:__ : LogBox will stop logging on the day
and time defined by the user.
→Wrap around: LogBox will keep on recording the readings and when
the memory is full it will overwrite the oldest logging in a circular (FIFO)
or wrap around manner. The time stamped is kept updated accordingly.
Input Type Range
None -
Thermocouple J -50 to 760oC
Thermocouple K -90 to 1370oC
Thermocouple T -100 to 400oC
Thermocouple E -40 to 720oC
Thermocouple N -90 to 1300oC
Thermocouple R 0 to 1760oC
Thermocouple S 0 to 1760oC
Thermocouple B 150 to 1820oC
Pt100 -200.0 to 320.0oC
4-20mA Programmable linear indication from -2000 to
9999
0-50mV Programmable linear indication from -2000 to
9999
Figure 4 - Available Input Types Table
3. OFFLOADING DATA
Acquired data can be transferred to a PC with LogChart and be viewed
in a chart and a table way. After data are offloaded, they can be saved
in files for future analysis.
For data offloading, click on the corresponding icon or select the
appropriate item of the LogBox menu. The infrared wand must be face
to face with LogBox communication window. While in offloading
process, a progress bar will be displayed. The offloading time is
proportional to the amount of data logged.
Important: When you offload data, recordings are stopped. To restart
the logging process, you must re-enter in the Parameters Configuration
window.
4. SOME OTHER FEATURES
An external LED is used to indicate the device operating status. It
usually blinks once each four seconds. When it starts to record (enters
logging time), the LED blink is doubled. After loggings are finished, it
again blinks a single time in a period of four seconds.
There is in LogBox a battery consumption projection for 0,95Ah
batteries. This projection is available in LogBox menu (Battery option)
and it requires communication with the device. Each time you get the
battery out of the device (as in a battery change), this consumption
indicator will consider that the new battery is full-charge. This feature
was not created to try to use a battery untill it is almost empty. Novus
will not be responsible for data losses because of earlier battery
discharge.
There is an option for little calibration corrections to be made in
LogBox. You can individually adjust the offset of the channels entering
LogBox menu and then Offset Adjust. It is a good practice to check it
out if the adjust was well succeeded by monitoring the input signals in
the monitoring window. Important: every time you change the input type
of one channel the offset of that channel will be reset to zero.
It is recommended to take a good look at LogChart’s on-line help to see
how to operate all the software features.
5. ADDITIONAL INFORMATION
If you have any doubt about this or other NOVUS products, you can
e-mail us at [email protected] or check out our home page:
www.novus.com.br
6. LOGBOX TUTORIAL
1. Connect the sensors to LogBox. If no sensors are connected to the
logger any recorded value will have no meaning at all.
2. Connect the IR Link wand to the PC serial port, approach the tip to
the IR window and click "GO" in the tool bar menu. A message "Trying
Communication" will appear in the lower left corner of the screen. If
necessary try turning the wand to help IR communication. (Notice that
the apparently weak IR signal is meant to be so in order to extend
battery life)
3. After a few seconds the configuration window will be active. To start
configuration follow the steps below:
3.1. Select input type for channel 1. By selecting "none" you will
exclude this channel. For the "Temp" and "RHT" loggers the input type
is fixed and cannot be changed. If this is your case go to item 3.3.
3.2. For 4-20mA or 0-50mV input types, the fields Low Limit and
Upper Limit, Measuring Unit and Decimal Point can be edited. Choose
the measuring range to be displayed. Example: If channel 1 is
connected to a pressure sensor in the 0 to 30 bar range with 4 to 20mA
output you can have the logger record directly in pressure scale unit by
configuring:
· Decimal Point: 00,00
· Lower Limit: 0
· Upper Limit: 30,00
· Unit: bar
For all other input types (thermocouple, Pt100, ...), the limits and the
scale unit is fixed (°C) and the decimal point option is not available.
3.3. Each channel can have a tag name which will be displayed
on the graph identifying the channel.
3.4. A title for the application can be written which will describe
the application or location.
3.5. Select the interval between readings. Choose a sampling
time fast enough to have a good graph resolution but be ware that
memory space is scarce. A compromise between logging interval and
total logging time must be considered.
Two parameters must be configured: "Interval between readings" which
defines the time between measurements, and Number of readings per
logging which defines how many readings will generate one logging.
The latter can be selected to record the average, the maximum or the
minimum value measured within so many readings.
3.6. At last, configure the start logging time and stop logging
time. Immediately will make the logger start logging right after sending
the instructions. Start logging On day...and hour... will make the logger
do so on that day and hour.
The field "Stop Logging " has the following options:
· At Full Memory: The logger will only stop when the memory is full.
· After __ loggings: the logger wil stop when completing that many
loggings. This is helpful when the user knows the application and wants
to save battery.
· On day: __/__/__ Hour: __:__:__ : The user can select the exact date
and time for the logger to start working.
· Wrap Around (circular memory): The logger will keep on working
indefinitely by overwriting the older recordings (first in, first out) thus
keeping the data recorded for the full memory capacity.
3.7. Steps 3.1 to 3.3 must be applied to channel 2 when available.
Channel 2 will have the same logging interval selected for channel 1, as
well as start and stop time.
4. After all options selected click "OK" and send the new configuration
to LogBox by pointing the IR Link to the IR Window. Confirm that you
want to "Replace configuration of LogBox".
5. It is highly recommended that you perform some recordings after a
new configuration to make sure that all sensors are well connected. To
do so, point the IR Link to the IR Window and click on the LogBox
menu and then on the Monitor option (or click on the "On-Line Monitor".
6. Data download can be performed at any time but this will stop the
recording procedure. The data in memory can be downloaded as many
times as necessary and they will not be erased. After doing a new
configuration all data kept in memory from a previous logging will be
erased.
3
7. SPECIFICATIONS
Signal input Universal input that allows direct sensor measuring: thermocouples J, K, T, N, E, R, S and B, Pt100 RTDs,
besides adjustable indication range 0-50mV voltage and 4-20mA current.
Resolution 12 bits (4096 levels)
Accuracy • Thermocouples J, K, T e N: 0,25% of full scale ±1oC
• Thermocouples E, R, S e B: 0,25% of full scale ±3oC
• Pt100: 0,15% of full scale
• Linear current or voltage: 0,15% of full scale
Pt100 excitation current 250µA
Input impedance • 100Ωfor 4-20mA inputs
• 10MΩfor thermocouples and milivolts.
Storage capacity • Usual : 8.111 readings
• Optional: 16.303 readings
Data offloading time 8 seconds for 8.000 bytes
Computer interface Infrared wand
Interval between readings 0,5s to 30 days
Loggings start • Immediately
• In a user programmed time (start can be delayed up to 30 days)
Recording mode • Instant value
• Average of up to 250 readings for each recording
• Minimum or maximum value of up to 250 readings for each recording
Loggings end • At full memory
• After a preset record number
• Never stops: overwrite oldest records
Software platform • LOGCHART, Windows 95, Windows 98 and Windows NT compatible
• It configures, reads and displays data on screen in many ways (list, graph, text files to be exported to
other softwares)
• It accepts plots overlay
Power • 3,6V lithium battery (1/2 AA)
• Optional external 4 to 5VCC source (when external source is connected, internal battery is
automatically cut off)
Estimated autonomy
(based on nominal charge values of a
950mAh battery)
• 1245 days (interval between readings: 30s)
• 1110 days (interval: 20s)
• 840 days (interval: 10s)
• 700 days (interval: 7s)
• 560 days (interval: 5s)
• 390 days (interval: 3s)
• 280 days (interval: 2s)
• 150 days (interval: 1s)
• 80 days (interval: 0,5s)
Battery usage indication Battery working life estimation info (0-100%)
Working temperature From -40°C to 70°C (thermocouple cold junction compensation is made between 0°C and 70°C)
Dimensions 58x64x35mm
NOVUS ELECTRONICS LTD.
Rua Ramiro Barcelos, 157
CEP 90035-004 - Porto Alegre - RS – BRAZIL
Tel: 55-51-284-3600
Fax: 55-51225-7306
E-mail: info@novus.com.br
4
Manual Código 5000910C V1.2x

Other Novus Data Logger manuals

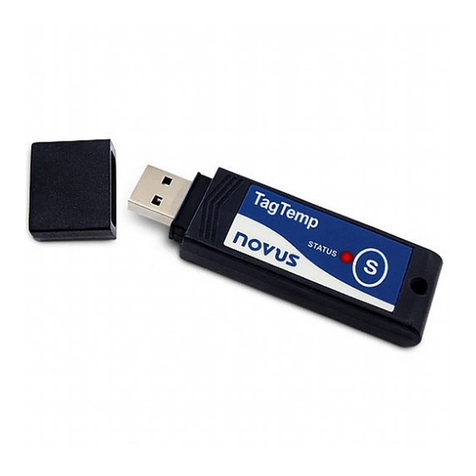
Novus TagTemp-USB User manual

Novus

Novus TagTemp-USB User manual

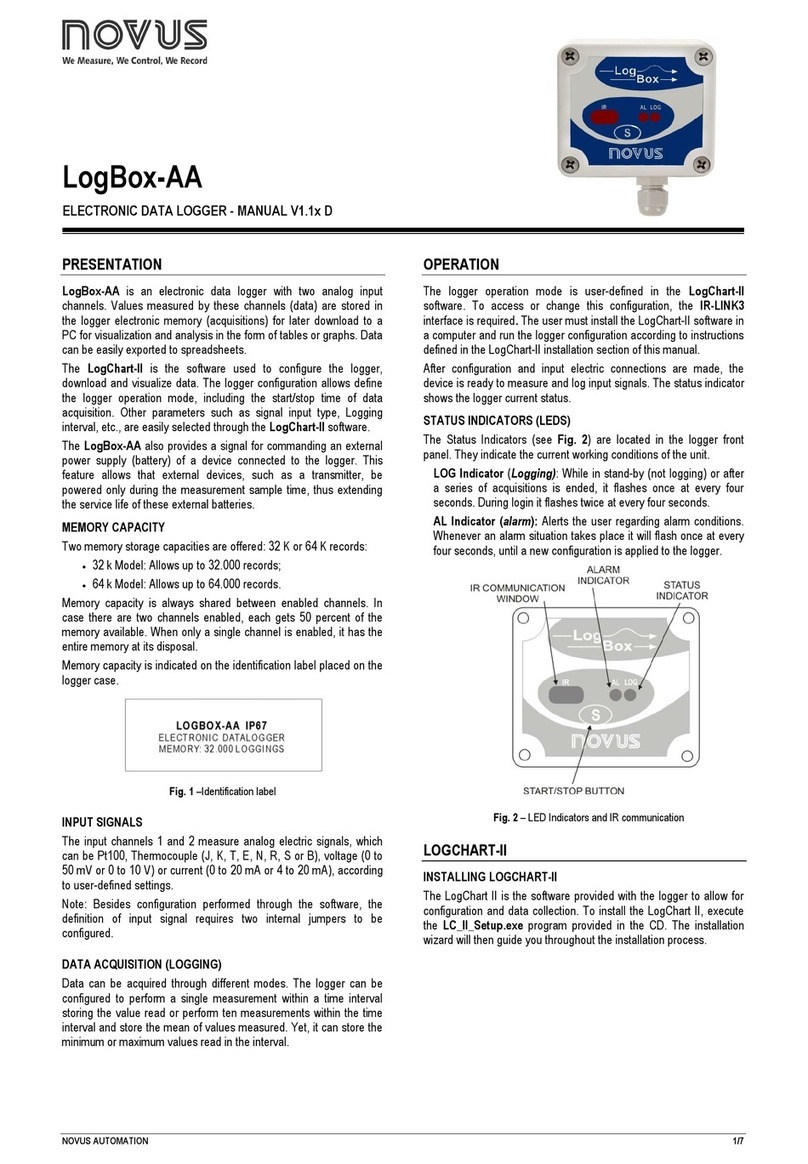
Novus LogBox-AA User manual

Novus

Novus LogBox-AA User manual

Novus TagTemp Stick User manual

Novus

Novus TagTemp Stick User manual

Novus LogBox-DA User manual

Novus

Novus LogBox-DA User manual

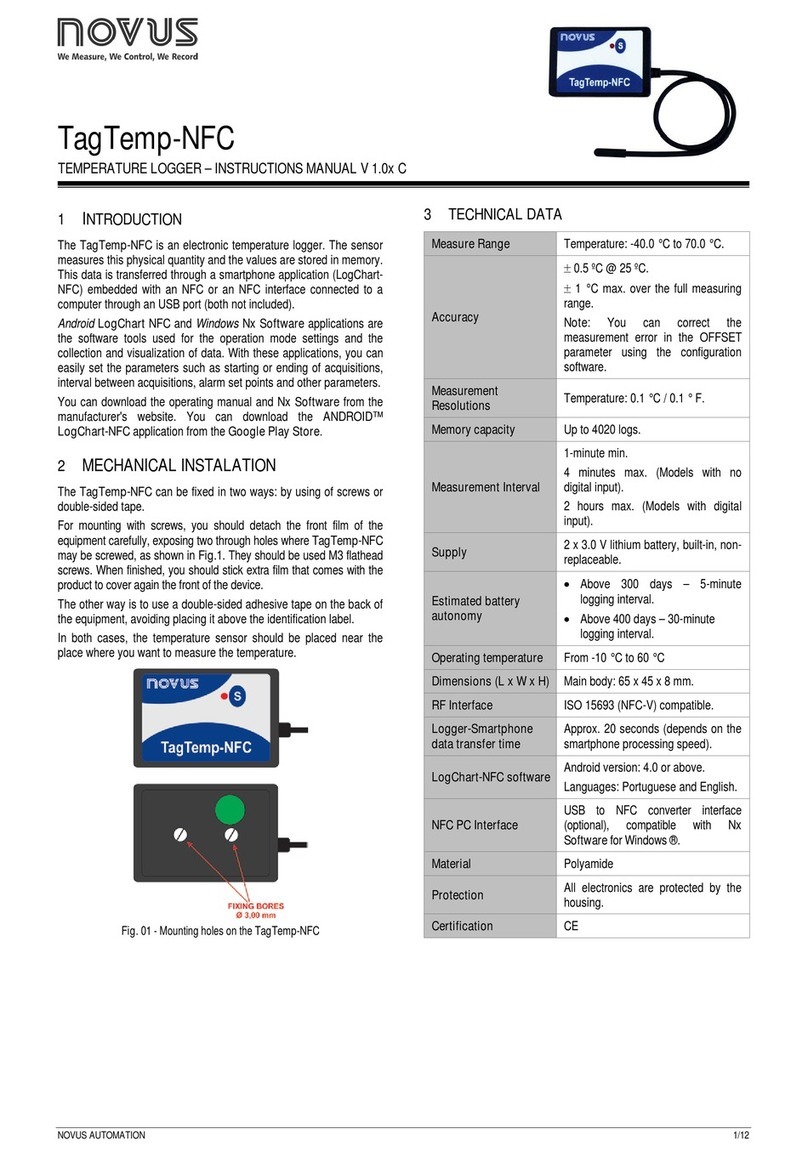
Novus TagTemp-NFC User manual

Novus

Novus TagTemp-NFC User manual

Novus TagTemp - USB User manual

Novus

Novus TagTemp - USB User manual

Novus TagTemp-Stick User manual

Novus

Novus TagTemp-Stick User manual

Novus TagTemp-NFC User manual

Novus

Novus TagTemp-NFC User manual

Novus LogBox-DA User manual

Novus

Novus LogBox-DA User manual

Novus TagTemp User manual

Novus

Novus TagTemp User manual

Novus LogBox-AA-32k-IP67 User manual

Novus

Novus LogBox-AA-32k-IP67 User manual

Novus LogBox-RHT-LCD User manual

Novus

Novus LogBox-RHT-LCD User manual

Popular Data Logger manuals by other brands

Lumel HT22IoT quick start

Lumel

Lumel HT22IoT quick start

PCE Health and Fitness PCE-CR 10 user manual

PCE Health and Fitness

PCE Health and Fitness PCE-CR 10 user manual

Humboldt HM-5320.3F product manual

Humboldt

Humboldt HM-5320.3F product manual

Omega OM-CP-OCTRTD instruction sheet

Omega

Omega OM-CP-OCTRTD instruction sheet

LogTag Recorders UTRID-16 Product user guide

LogTag Recorders

LogTag Recorders UTRID-16 Product user guide

JRI Mini SPYRF Green user manual

JRI

JRI Mini SPYRF Green user manual

Ventus GPS G730 manual

Ventus

Ventus GPS G730 manual

Grant Datalogging Squirrel 2040 Series quick start

Grant Datalogging

Grant Datalogging Squirrel 2040 Series quick start

Cydiance B Series user guide

Cydiance

Cydiance B Series user guide

ICP DAS USA ET-7044 quick start guide

ICP DAS USA

ICP DAS USA ET-7044 quick start guide

Extech Instruments 42582 user guide

Extech Instruments

Extech Instruments 42582 user guide

ART Technology Development DAM-3028MC user manual

ART Technology Development

ART Technology Development DAM-3028MC user manual

Calypso ULTRASONIC Portable Mini user manual

Calypso

Calypso ULTRASONIC Portable Mini user manual

REED R6020 instruction manual

REED

REED R6020 instruction manual

SK SATO SK-L754 instruction manual

SK SATO

SK SATO SK-L754 instruction manual

Sencon SL2000 user guide

Sencon

Sencon SL2000 user guide

Elitech RCW-360 user manual

Elitech

Elitech RCW-360 user manual

Furuno VR-7000 Operator's guide

Furuno

Furuno VR-7000 Operator's guide

manuals.online logo
manuals.online logoBrands
  • About & Mission
  • Contact us
  • Privacy Policy
  • Terms and Conditions

Copyright 2025 Manuals.Online. All Rights Reserved.