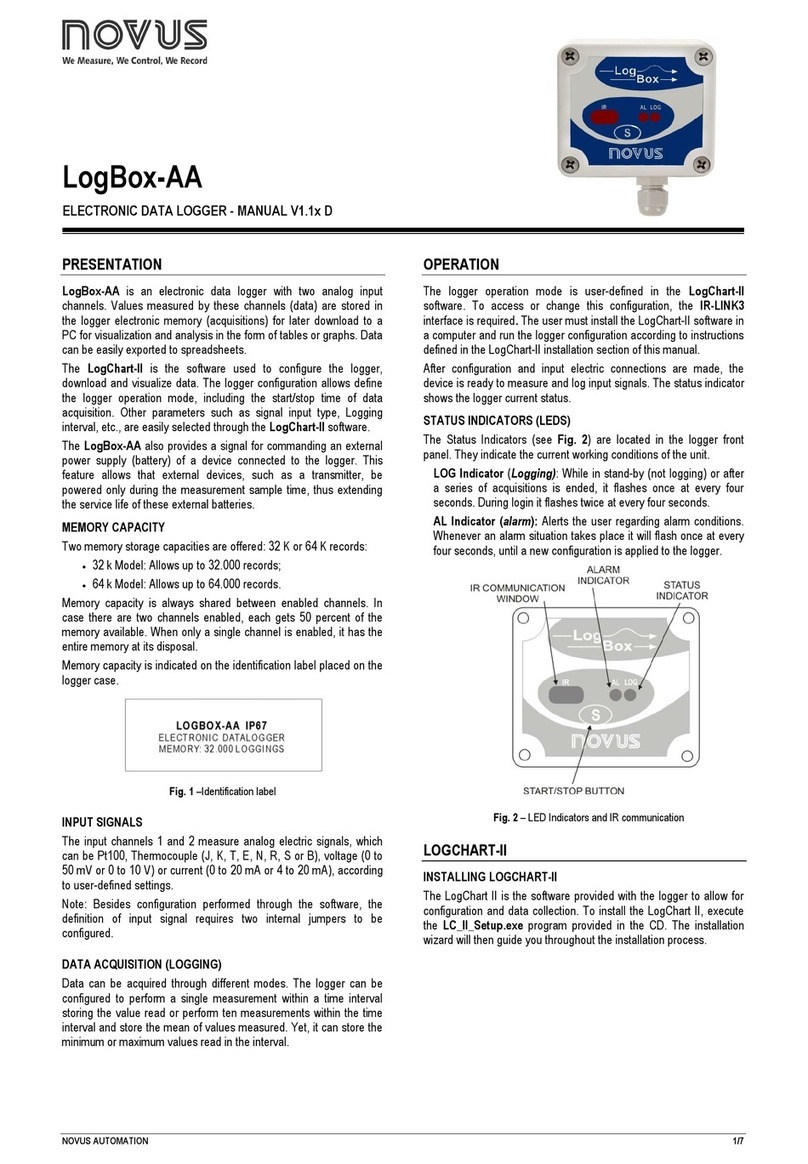
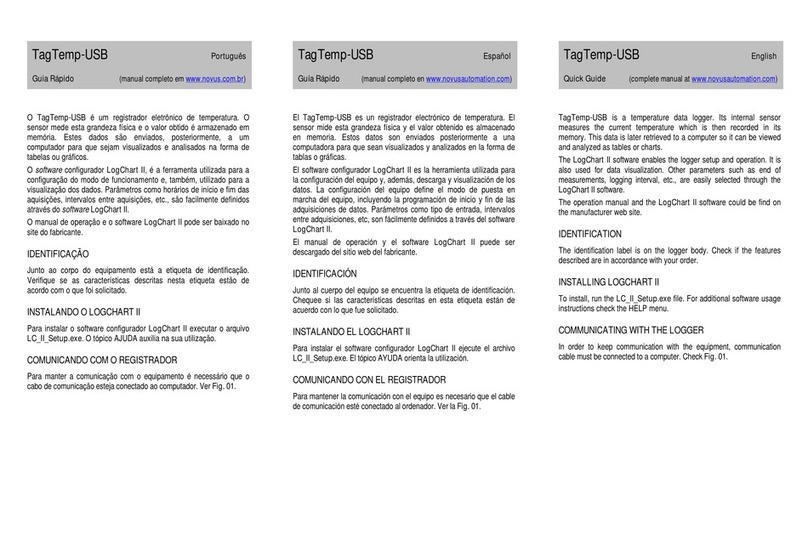
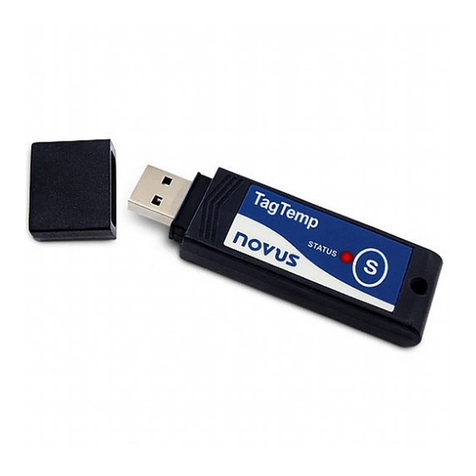
Novus TagTemp-NFC User manual

NOVUS AUTOMATION 1/9
TagTemp
-NFC
TEMPERATURE
LOGGER – INSTRUCTIONS MANUAL V 1.0x A
1INTRODUCTION
The TagTemp-NFC is an electronic temperature logger. The sensor
measures this physical quantity and the values are stored in memory.
These data are collected by a smartphone equipped with an NFC
interface (not included).
The LogChart-NFC software enables to set up the equipment
operation mode. It is also used for viewing acquisitions. Other
parameters such as end of measurements, logging interval, etc., are
easily defined through the LogChart-NFC software.
The LogChart-NFC application is targeted to ANDROID™ platform
and must be downloaded from Google Play Store.
2MECHANICAL INSTALATION
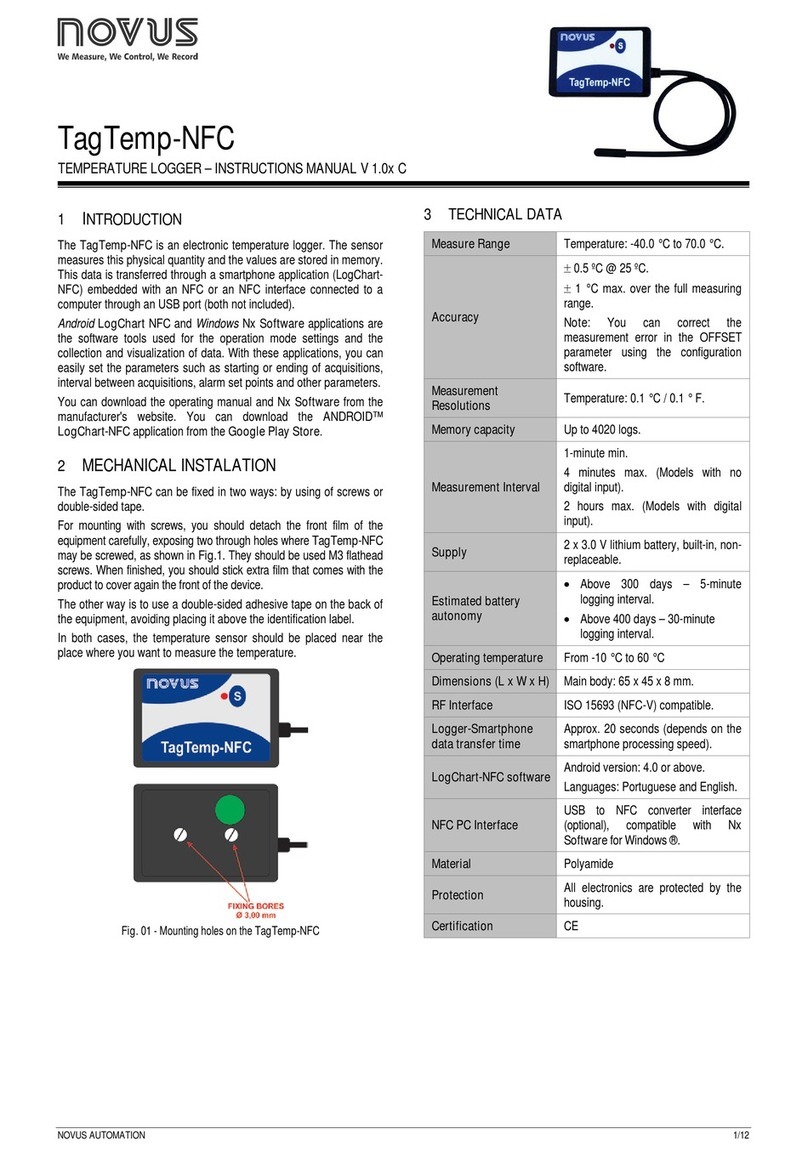
The TagTemp-NFC can be fixed in two ways: by using of screws or
double-sided tape.
For mounting with screws, you should detach the front film of the
equipment carefully, exposing two through holes where TagTemp-
NFC may be screwed, as shown in Fig.1. They should be used M3
flathead screws. When finished, you should stick extra film that
comes with the product to cover again the front of the device.
The other way is to use a double-sided adhesive tape on the back of
the equipment, avoiding placing it above the identification label.
In both cases, the temperature sensor should be placed near the
place where you want to measure the temperature.
Fig. 01 - Mounting holes on theTagTemp-NFC
3TECHNICAL DATA
Measure Range Temperature: -40.0 °C to 70.0 °C.
Accuracy
±0.5 ºC @ 25 ºC.
±1 °C max. over the full measuring
range.
Note
: A measurement error can be
ruled out using the OFFSET parameter
in the LogChart-NFC software.
Measurement
Resolutions Temperature: 0,1 °C / 0,1 ° F.
Memory capacity Up to 4020 logs.
Measurement Interval 5 minutes min.
2 hours max.
Supply 2 x 3.0 V lithium battery, built-in, non-
replaceable.
Estimated battery
autonomy
•Above 300 days – 5-minute logging
interval.
•Above 400 days – 30-minute
logging interval.
Operating temperature From -10 °C to 70 °C
Dimensions (L x W x H)
Main body: 65 x 44 x 8 mm.
RF Interface ISO 15693 (NFC-V) compatible.
Logger-Smartphone
data transfer time Approx. 20 seconds (depends on the
smartphone processing speed).
LogChart-NFC
software Android version: 4.0 or above.
Languages: Portuguese and English.
PC Interface
USB to NFC converter interface
(optional), compatible with LogChart-II
for Windows ®.
Material Polyamide
Protection
All electronics are protected by the
housing.

TagTemp- NFC
NOVUS AUTOMATION 2/9
4OPERATION
The TagTemp-NFC is an electronic temperature recorder with the
capability to communicate over a wireless interface (NFC) with a
smartphone for configuration and data gathering.
To operate the device, the user must install the application
LogChart-NFC on a smartphone that supports NFC technology,
according to the instructions defined in the section LogChart-NFC
Application of this manual.
To communicate with the TagTemp-NFC, place the smart phone
over the device. The distance range for communication is relatively
short, something few inches, this being a feature of the NFC
technology.
4.1 Low Power Mode
The TagTemp-NFC comes from the factory in a mode of ultra-low
power consumption (idle mode), in order to preserve your batteries
when not in use. For operation of the product, you must first remove
it from de idle mode. This is done by requesting the removal of the
low-power mode through LogChart-NFC application, followed by the
pressing of the button of TagTemp-NFC.
If the equipment were to stay a long time without being used, it is
recommended to put it back into low power mode through the
application.
4.2 Operation Mode
The use of computer memory may be:
•Memory full: the records stops when there is more space in
memory.
•Circular buffer: when reaching the end of memory, continuous
recording, overwriting the oldest records.
You can select the start and end of the records with the TagTemp-
NFC.
The start of the records may be immediate or linked to the squeeze
the button (one or the other).
The start of records may be immediate or by pressing the button.
The ending of the records can be one of the following (whichever
comes first): Out of memory (when configured this memory usage),
command of the smartphone, pressing the application button or
TagTemp-NFC button (when configured this option).
If you pressed the TagTemp-NFC button to stop the recording data,
and after a while, you pressed again to resume, the recording will
continue with a period without data information in memory. This
operation will occupy memory device data, resulting in less
temperature records on the available memory.
4.3 LED Indication
TagTemp-NFC has a LED for indication of its operation
•One flash every 10 seconds: active;
•Two flashes every 10 seconds: logging;
•Three flashes every 10 seconds: alarm occurred;
•A quick flash followed by a slow one: beginning or ending of
records.
If the LED is always off, there are two possible reasons:
1. The equipment is in low power mode.
2. The battery is dead.
The LED flashing light is intentionally weak and can be difficult to be
viewed in bright places!
4.4 Button
The "S" button on the front panel can be used to start and/or stop the
records, depending on the configuration chosen.
To start the start or stop the records, you must press this button until
the LED lights up and release it before the LED is turn off.
If the LED turns off before the button is released, the command will
be invalid and the button will be disabled for the next 30 seconds.
This is a protective measure to prevent accidental touches on the
button to discharge the battery.
This button is also used to remove the device from the low power
mode (see the section on Low Power Mode).
4.5 Selecting the Temperature Unit
The temperature unit may be choosing by the user between Celsius
(standard) and Fahrenheit. Changing the temperature unit causes
the need to send a new configuration.
4.6 Alarms
It is common, in the transport of perishable goods or sensitive loads;
there is a predetermined temperature range in which the transported
load must to be maintained. With TagTemp-NFC, is possible to
program alarms that indicate if the temperature went outside this
range.
Can be configured the use of two alarm conditions:
•Temperature above the upper setpoint.
•Temperature below the lower setpoint.
Each alarm can be activated individually.
The alarm indication can be displayed through the LEDs and also
through the application. With the application, you can verify all the
records in case of alarm occurrence.
4.7 User Offset
The user can set an offset up to ± 3 °C for the temperature data.
This allows to reduce (and in some cases eliminate) the error of the
temperature measurement for a given point.
4.8 Digital Input
A digital input is available on some models of TagTemp-NFC. It allows
to record state changes, i.e., records the moment when the digital input
changed from OFF (logic "0") to ON (logic "1") and vice-versa.
The input must remain in the new state for at least 1 second;
otherwise the state change event may not be detected.
The digital input events share memory with temperature records.
Therefore, the more events there for digital input, less temperature
records may be registered in the available memory.
When collecting the data from TagTemp-NFC, digital input events
have their time and state displayed by the application, being the last
event displayed on the start screen.
TagTemp- NFC
NOVUS AUTOMATION 3/9
5LOGCHART-NFC APPLICATION
The LogChart-NFC is an app for ANDROID™ platform that allows the
configuration, collection, viewing and sharing of TagTemp- NFC data.
Follow the steps below to use the application.
5.1 Installing the Application
To install the app, browse the site Google Play Store for "LogChart-
NFC" and ask them to install the application. After the download is
complete, ask to open the application. If the application is not
available, your smartphone is probably not compatible with NFC.
Fig. 02 – NFC Communication
5.2 Operation of the App
The communication between application and TagTemp -NFC is done
through the NFC interface of the smartphone and, therefore, it must
be enabled.
Fig. 03 – Home screen of the app
After the application has been started (see Fig. 03), just approach
the smartphone to TagTemp-NFC until the equipment data have
been loaded. This usually takes a few seconds, depending on the
smartphone model.
The application has six screens:
1. Status
2. Setup
3. Events
4. Data Visualization
5. Preferences
6. Manage Collects
5.2.1 Device Status
Fig. 04 – Status Screen
•Last Recorded Value - Displays the last recorded value
performed by the TagTemp-NFC. Not necessarily the actual
temperature.
•Loggings - Displays the basic information of the TagTemp-
NFC.
Log Interval: Displays the value of the interval between
acquisitions configured.
Loggings: Number of records stored by the TagTemp-NFC, to
the maximum of 4020 records.
Logging State: Displays whether or not the device is recording
data.
Memory Usage: Indicates if the circular buffer is enabled.
Fig. 05 – Device StatusScreen
•Battery:Indicates the battery condition.
Good:Perfect for use.
Average: Already a considerable battery discharge was
detected. It should be monitored.
Low: It is not recommended to use of the device in this
condition.
•Device Info: Indicates specific information of TagTemp-NFC.
Device Tag: Name configured by the user.
Serial Number: Factory serial number.
Firmware Version: Firmware version of the device.

TagTemp- NFC
NOVUS AUTOMATION 4/9
5.2.2 Device Configuration
Fig. 06 – Device Configuration Screen
•General: General Settings.
Device Title: Field to configure (or view) the title of the device.
Logging Interval: Field to configure (or view) the interval
between data acquisitions.
Offset Adjustment: Field to configure (or view) the user offset
defined for the device.
•Valid Range: Operating range, where the user specifies the
measuring range of the device, which, if exceeded, will result in
alarms.
Fig. 07 – Device ConfigurationScreen
High: Maximum operating range, related to the maximum value
alarm.
Low: Minimum operation range, related to the minimum value
alarm.
•Options: The user can configure the acquisitions parameters,
such as the temperature unit and the start and end of records.
•Device Power Options: The user can set between the active
and low-power modes of the device.
In low-power mode the device will be inoperative.
5.2.3 Events
Fig. 08 – Events Screen
•Digital Input: Information about events on the digital input.
Digital Input Events: Number of events occurred.
Last Event: Indicates the time of the last event occurred.
Last State: Indicates the state of the last event occurred.
Longest Period in ON: Indicates the longest time that remained
in ON state.
•High Excursions: Indicates when the measured value exceeds
the upper limit specified.
First Occurrence: Time and value of the first occurrence above
the upper limit of range.
Last Occurrence: Time and value of the last occurrence above
the upper limit of range.
Total Logs within Occurrences: Number of acquisitions for
events above the upper limit of range.
Average Temperature within Occurrences: Average value of
the temperatures above the maximum range.
Fig. 09– Events Screen
•Low Excursions: Indicates when the measured value exceeds
the lower limit under the specified range.
First Occurrence: Time and value of the first occurrence below
the lower limit of range.
Last Occurrence: Time and value of the last occurrence below
the lower limit of range.
Total logs within Occurrences: Number of acquisitions for
events below the lower limit of range.
Average Temperature within Occurrences: Average value of
the temperatures below the minimum range.

TagTemp- NFC
NOVUS AUTOMATION 5/9
5.2.3.1 Occurrences Screen
By clicking the icon "View All" the user can view the list of digital input
events and occurrences of high and low temperatures, showing the
value and time of the event/occurrence, as shown in Fig.10, Fig 11
and Fig.12.
If there is no occurrences in the Digital input, neither high or low
Excursions, messages appear in the Fig.13, Fig.14 and Fig.15.
Fig. 10 – Digital Input Events Screen
Fig. 11 – High Excursions Screen
Fig. 12 – Low Excursions Screen
Fig. 13 – Message for Eventsin the Digital Input screen for "No event"
Fig. 14 – Message for HighExcursions for "No occurrences"
Fig. 15 – Message for Low Excursionsfor"No occurrences"

TagTemp- NFC
NOVUS AUTOMATION 6/9
5.2.4 Data Chart
Screen where the user can view the historical data at different time
intervals. You can also check the values that produced alarms,
maximum, minimum and average value of the temperatures.
Allow you to touch a point on the chart to see their value and its time.
For a navigation record by record, you should use the "Previous" and
"Next" arrows on the sides of the value shown.
Fig. 16 – Data Chart Screen
5.2.4.1 Full Screen Chart
By clicking the icon in the upper right of the "Data Chart"
screen, the enlarged graph is displayed.
Fig. 17 – Full Screen Chart
5.2.4.2 Share
By clicking the icon , you can share the data collected, using
sharing applications already installed on your smartphone.
The share options will be chosen in "sharing options" in the
Preferences screen.
Fig. 18 – Share Screen
5.2.5 Preference Settings
•Default share options: The user can set the preferences
screen according to the desired data received through sharing.
Keep downloaded data in smartphone: Maintains files,
previously selected in the sharing options, in a folder named
LogChartNFCFiles in the internal memory of the smartphone.
Export Logs (.CSV): Share a file in CSV format with all records
from the last collection.
Export configuration (.CFG): Share a CFG extension file with
the settings of the TagTemp-NFC.
Export digital inputs (.CSV): Share a CSV format file with all
digital input records of the last collection.
Export to LogChart II (LCH): Share an archive LCH that
contains all the records of the last data acquisition, including the
records of the digital input. You can get this feature separately
directly by using a smartphone.
•First screen selection: Allows you to select the screen initially
displayed after reading of data of the equipment.
Fig. 19– PreferencesSettingsScreen

TagTemp- NFC
NOVUS AUTOMATION 7/9
5.2.6 Manage Collects
This screen allows you to delete and share the data previously
acquired. It shown a list of data acquisitions and you can select one
or more rows (files) to share or delete.
To share the selected items, simply press the button on the top right.
To delete a selected item, simply press and hold the item in the list to
remove (long press), then it will emerge a message asking to confirm
or not the deletion.
Fig. 20 – ManageCollects screen
You can get this feature separately directly by using a
smartphone.
6LOGCHART II SOFTWARE
6.1 Installing LogChart II
The LogChart II, application is used to configure the parameters for
data transfer. To install the LogChart II, run the file LC_II_Setup.exe
available on our web site.
6.2 Running LogChart II
When you open LogChart II the main window is displayed.
Fig. 21– LogChart II main window
Next, select the serial port that the communication interface will use
in the “Port” menu.
It is required that USB-NFC reader connected to the computer and
the USB driver installed. Select the port indicated by "NFC Reader".
This port will be as the default the next time the program started
again. After checking the proper functioning of the selected port, it
will be marked. When the TagTemp-NFC is over the NFC reader and
it is recognized, will enable the icons shown below.
Fig. 22 – Iconsenabled when the communication port selected isa valid port
6.3 Configuring the equipment
In order to configure the device is necessary to place the
TagTemp-NFC over the NFC-USB reader.
After the serial port is selected, click on the button:
The Parameters Configuration screen is displayed. In this screen
the user can define the equipment operation mode and also obtains
general information about the device.
Fig. 23– ParametersConfiguration screen
Fields are:
1- Title: In this field, the user identifies the equipment by assigning it
a name.
2- General information: Area with information about the equipment,
such as Model, Serial Number, equipment Date/Time, PC Date/Time,
firmware version, memory capacity and number of acquisitions
stored in memory.
In this field, time is constantly updated while the communication
between equipment and computer is taking place.
3- Readings: Presents a series of parameters that define the
acquisition process.
Interval: Defines the interval between readings: The minimum
interval is (1) minute and maximum is (4) hours.
Estimated time: In this parameter, the equipment informs the
user how long it will take to occupy the full memory, in the
conditions set up during configuration.
Start of Readings: Readings can be started in two different
modes:
•Immediately: start as soon as set up is ready and sent
(OK) to the equipment.
•“S” button: acquisitions begin when the "S" button is
pressed.
End of Readings: The options for the end of acquisitions are:
•Full memory: perform acquisitions up to the capacity of
the available memory.
•“S” button: acquisitions stops when the "S" button is
pressed.
Don’t stop (Wrap around): readings are continuous, replacing
old records with new ones as the number of readings overpass
the memory capacity.

TagTemp- NFC
NOVUS AUTOMATION 8/9
4- Channels: Displays other parameters related to temperature
measurement:
Fig. 24 – Configuration Parametersscreen
Unit: Defines the unit of the value measured: ºC or ºF for
channel 1 (temperature).
Value: Define the recorded value will be the instantaneous
value, i.e., the stored value is equal to the measured value.
Measurement occurs at the end of the defined interval. The
minimum interval between records is 1 minute.
Offset:Makes possible to correct the value logged.
Alarm: Defines limit values that, when exceeded, characterize
an alarm condition. Alarm events are informed to the user
through a flashing mode of the Alarm Indicator.
After filling all the fields select “OK” and settings will be sent to the
equipment.
Stop Button
The stop button is enable with a fully configured device.
The Stop button allows stop records permanently, so that the device
will only register again after a new configuration by the user.
6.4 Offloading and data visualization
Data collected are send from equipment to PC. Data can be collected
any time, at the end of the acquisition process or while they are being
acquired. If data collection takes place during the acquisition
process, the process will not be interrupted, following the equipment
configuration.
It is important to "wake up" the equipment before starting
communication.
6.5 Offloading data
Data offload is accomplished by clicking the button Offload Data:
During data transference, a status bar indicates remaining data to be
transferred. Data offloading time is proportional to the number of
readings logged.
6.6 Visualizing data
At the end of values transfer, data can be displayed in a graphical
form.
6.6.1 Chart Window
It is possible to select a region of the chart to zoom in. Zoom
commands can be accessed through the View menu or through
zoom icons from the task bar.
It is also possible to select an area from the chart to zoom in by
clicking and dragging the mouse, thus creating a zoom region
starting from the upper left corner on the chart area.
The graphic curves can be vertically dragged with a right-click and
dragging the mouse up and down.
Fig. 25 - Visualizing Data screen

NOVUS AUTOMATION 9/9
6.6.2 Measures Table Window
To display measurements in a tabular form, press the icon Table
View:
Values are presented in a tabular form, listing the measurement time
and value.
Fig. 26 – Measurement table
In equipment with digital input, will be displayed the digital input
events in the same table as the temperature data and will be
considered "acquisitions" for display purposes.
6.6.3 General information table
This window shows some information about the equipment whose
data were just read and its configuration. The screen can be
displayed by pressing the icon Parameter Viewing:
Fig. 27 – General information
6.7 Exporting data
Logged data can be exported to different file formats, for further
analysis. To export, access File/Export or click the icon:
6.8 Diagnostic Screen
Battery Level: Indicates the level of battery voltage.
When you observe that the battery level is low, replace it immediately
for proper device operation:
Device Status: Summarizes the state of the device, including its
memory, and the occurrence of alarm events to the time of the
opening of the Diagnostic page.
7AVAILABLE MODELS
•Sensor with cable 30 cm;
•Sensor with 1 m cable;
•Sensor with 30 cm cable and digital input (1 m cable).
8WARRANTY
Warranty conditions are available on our web site
www.novusautomation.com.
Other manuals for TagTemp-NFC
1
This manual suits for next models
2
Table of contents
Other Novus Data Logger manuals

Novus
Novus LogBox-RHT-LCD User manual

Novus
Novus TagTemp-NFC User manual

Novus
Novus LogBox-AA-32k-IP67 User manual

Novus
Novus TagTemp - USB User manual

Novus
Novus LogBox-DA User manual

Novus
Novus LogBox-DA User manual

Novus
Novus TagTemp User manual

Novus
Novus TagTemp-USB User manual

Novus
Novus TagTemp Stick User manual

Novus
Novus TagTemp-Stick User manual