9
7 – Care and Maintenance
7.1. Cleaning Instructions
•Clean regularly, wipe down with water and mild cleanser using a soft, non abrasive
cloth.
•Dry with a soft, clean, non abrasive, dry cloth.
•Ensure there is no build up of dirt or debris around the axle, brakes and wheels.
•Do not use cleaning agents containing phenol or chlorine, as this may damage
aluminum and polyamide materials.
•Lubricate with 3-in-l oil periodically or if wheels begin to squeak.
7.2 Maintenance
•Regularly check for wear and tear and that all screws and fixings are securely
fastened.
•Check brakes are working satisfactorily by both walking and squeezing the brakes
and by braking to a stop.
•Check the parking brakes by pushing the handles into the locked position, and then
trying to push the Rollator.
•If the brakes do not completely lock the wheels the brakes need to be adjusted.
7.3 Brake Adjustment
•Note: The brake cables run inside the handle tubes, DO NOT remove the cable
from the tubes as this could cause the brakes to fail.
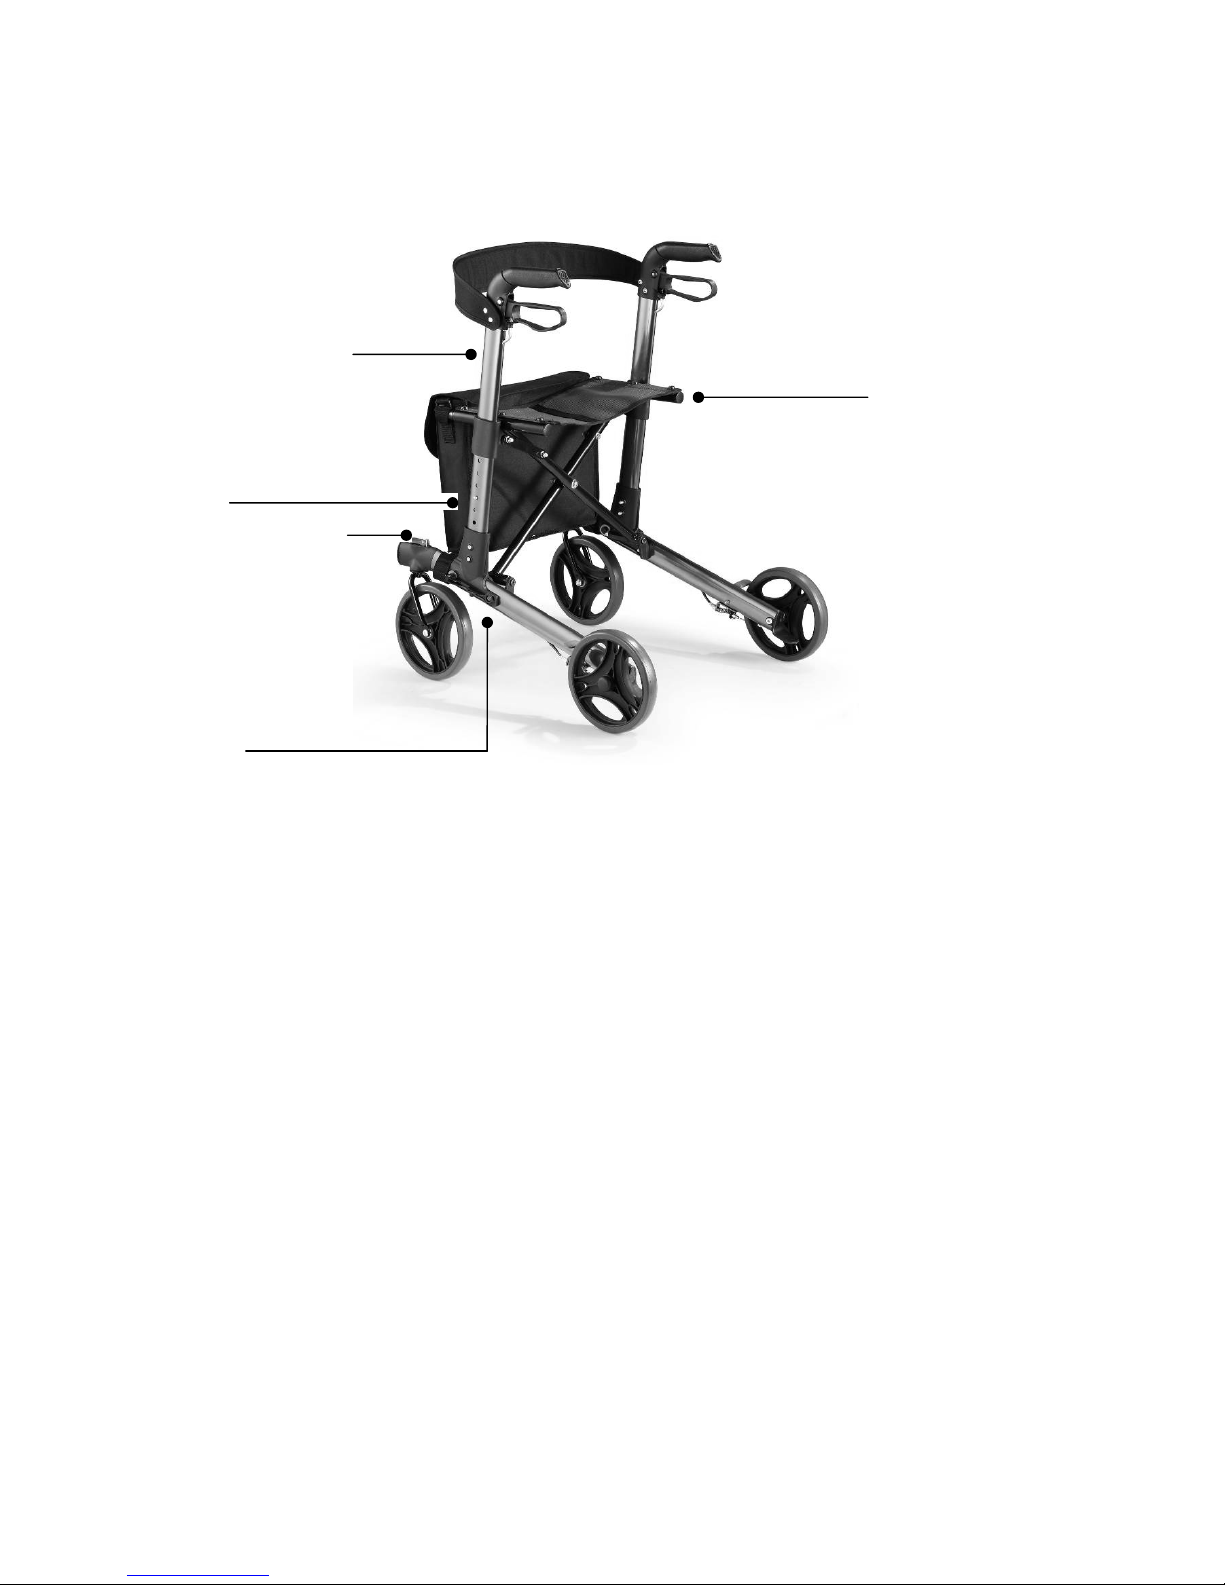
•Brake cable route. For the brakes to function properly, the brake cable should be
flush along the tube as shown in fig 3.
•For correct adjustment the brake mechanism, when not in use, should not touch the
wheel, but the gap should be no greater than 3mm.
•Caution: After making any adjustments to the brakes, you must test them before the
Rollator is used.
•If adjustment does not tighten the brakes, do not use the Rollator. Contact your
dealer or NRS Customer services.
Fig: 3
Brake adjustment
•To tighten the brake (reduce the gap
between brake and wheel) rotate the
adjusting nut clockwise
•To loosen the brake (increase the gap
between brake and wheel) rotate the
adjusting nut anti-clockwise