manuals.online logo
Brands
  1. Home
  2. •
  3. Brands
  4. •
  5. NRS
  6. •
  7. Mobility Aid
  8. •
  9. NRS S21980 User manual

NRS S21980 User manual

1
USER INSTRUCTIONS
NRS 3 WHEELED ALUMINIUM ROLLATOR
S21980 3 Wheel Alu Rollator - Silver S21992 3 Wheel Alu Rollator - Purple S22005 3 Wheel Alu Rollator - Orange
General Safety Warning
Please make sure that you read and follow these
instructions carefully. Keep these instructions in a
safe place for future reference.
Maximum User Weight
20st
125kg
1. INTENDED USE
The 3 wheeled aluminium Rollator is designed to provide support and assistance to those unable to, or who lack
the confidence to, walk without some level of support. This Rollator is intended for indoor and outdoor use.
2. SAFETY.
Warning: Do not exceed the maximum user
weight of 20st (125kg).
DO NOT use the rollator on stairs or escalators and take
care on steep hills.
DO NOT hang items from the handles as this will affect
the stability of the rollator.
MAKE SURE the rollator is locked in the open position
before use.
ONLY use as a walking aid in the forward direction.
DO NOT adjust the rollator while in use.
MAKE SURE the brakes are fully operational before
use.
ONLY USE the supplied accessories.
Loads should only be transported using the bag
supplied (maximum load 5kg).
Handle Height Range: 810 - 910mm
Length: 590mm
Width: 250mm (folded) - 660mm (Unfolded)
3. UNPACKING
Remove the packaging and check all parts carefully.
Contact your supplier immediately if parts are missing or
damaged and do not try and assemble.
Contents:
2
1
3
45
6
1. 3 Wheeled Rollator
2. Detachable Bag
3. Left Hand Side Handle
4. Right Hand Side Handle.
5. Handle Fixings (bolt, saddle-washer and hand-
wheel) x 2
6. Basket Mounting Brackets (for optional basket)
4. ASSEMBLY
4.1 Unfolding the Rollator:
2
Push the frame outward, then lock the frame in place by
pushing the crossbar handle forward until it locks in place.
4.2 Attaching the Handles
Insert the handles and line up the holes. The basket
mounting bracket must face forwards.
Note: The handle height must be set up correctly for the
user height. Refer to Section 4.3.
Insert 1 x bolt, making sure the bolt head slots into the
hexagonal recess.
Note: The hand-wheel must always be on the outside of
the rollator frame.
Attach the saddle-washer and hand-wheel, then tighten
fully by turning clock-wise.
Repeat for the opposite side.
Note: Make sure both handles have been set to the same
height.
4.3 Handle Height Adjustment
Adjust the Rollator handle height so that when the user’s
arm is down to their side, the hand-grip is at wrist height.
This will ensure the arms are at an approximate 20°-30°
bend when using the Rollator.
Undo and remove the hand-wheel by turning anti-
clockwise.
Remove the saddle-washer, then remove the bolt.
Adjust the handle height to the required position, then
secure using the bolt, saddle washer and hand-wheel.
Refer to Section 4.2.
Repeat for the opposite handle.
Note: Make sure both handles have been set to the same
height.
5. USING THE ROLLATOR
5.1 Brake Operation
To slow down or stop the rollator, pull both brake handles
up.
3
To apply the parking brake, push the brake handles down
until they lock into place.
Note: Make sure both brake handles have been applied.
Pull both handles up to release the parking brakes.
Warning: If the brakes fail to stop or lock the wheels,
stop using the rollator immediately. Do not use the rollator
again until the brakes have been checked and correctly
adjusted. Refer to Section 6.1.
5.2 Fitting the Bag
Fit the bag over the frame on both sides, then secure
using the tabs and poppers,
Note: Make sure the bag is fully secure before use.
5.3 Removing the Bag
Reverse the fitting process in Section 5.2.
5.4 Folding the Rollator
Note: Make sure all items have been removed from the
bag before folding.
Pull the crossbar handle towards you to unlock the
frame, then push the handles together to fold the
rollator.
6. MAINTENANCE
Always check both hand-wheels are secure before use.
Check all wheels are clean and can rotate freely.
Regularly check for wear and damage. Any suspected
faults or damage should be reported immediately to your
supplier and the product taken out of use.
Always check the brakes before use. Refer to Section
5.1
6.1 Brake Adjustment
The following section requires some technical
ability, do not attempt to carry out the adjustment
unless you are confident to do so.
Tighten the Brakes:
Note: The brake adjustment nut is located at the bottom
of the brake cable, above the rear wheel on both sides.
Brake
Locking Nut
Adjustment Nut
1. Use a spanner to loosen the locking nut in an anti-
clockwise direction.
2. Use a spanner to adjust the brake tension. To tighten
the brakes, turn the adjustment nut in an anti-
clockwise direction.
4
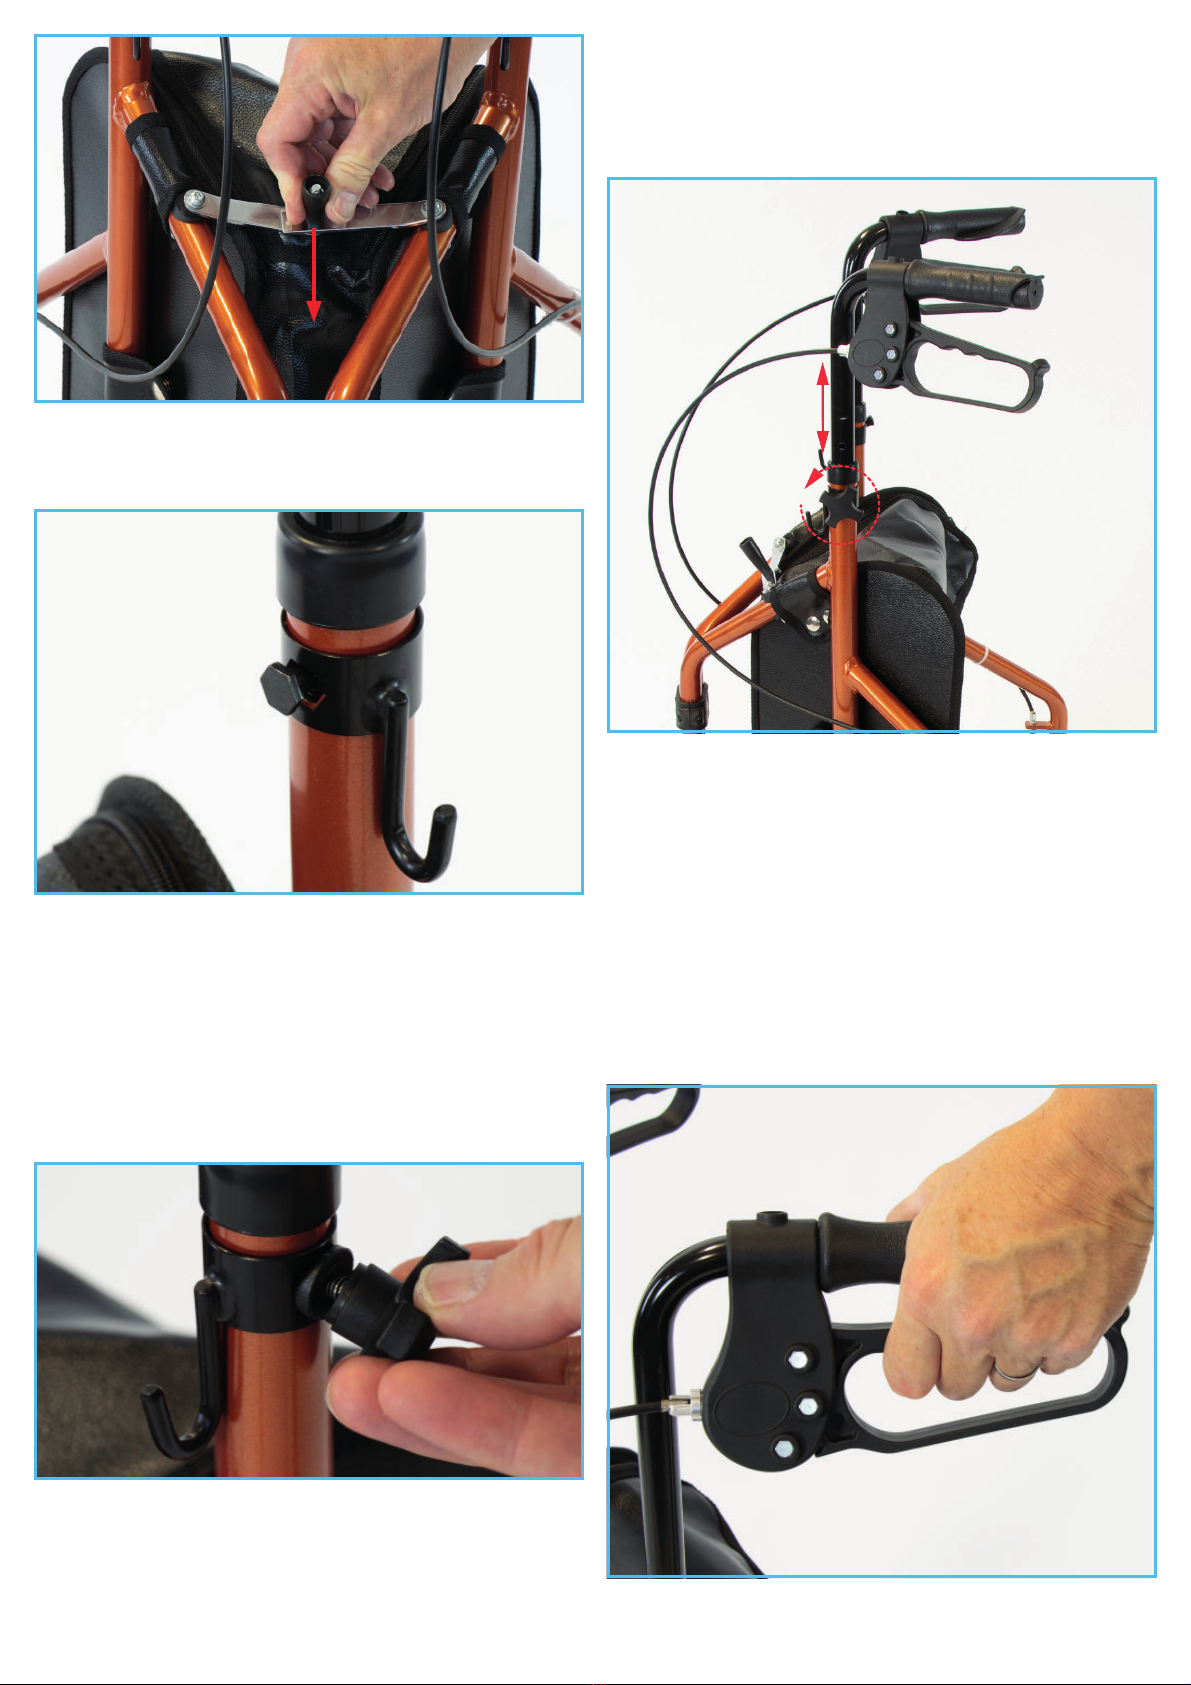
Note: There must be a small gap between the brake
mechanism and the wheel, when the brake lever is
released.
3. Use the spanner to tighten the locking nut in a
clockwise direction.
Note: Use another spanner to make sure the
adjustment nut remains in position, while tightening
the locking nut.
4. Test the brakes in accordance with Section 5.1.
Note: Incorrectly adjusted brakes can lead to injury,
please contact head office if you require assistance.
7. CLEANING
Make sure that all dirt and debris is removed from around
the wheels, axle and brakes.
To clean the bag wipe with a damp cloth. Do not machine
wash.
Clean the frame regularly, using a general purpose,
neutral detergent and warm water.
Please check the suitability of the cleaning products
before use. Do not use abrasive cleaners or cloths as
these could permanently damage the surface and
invalidate any warranty.
Always allow the product to dry thoroughly prior to use or
storage.
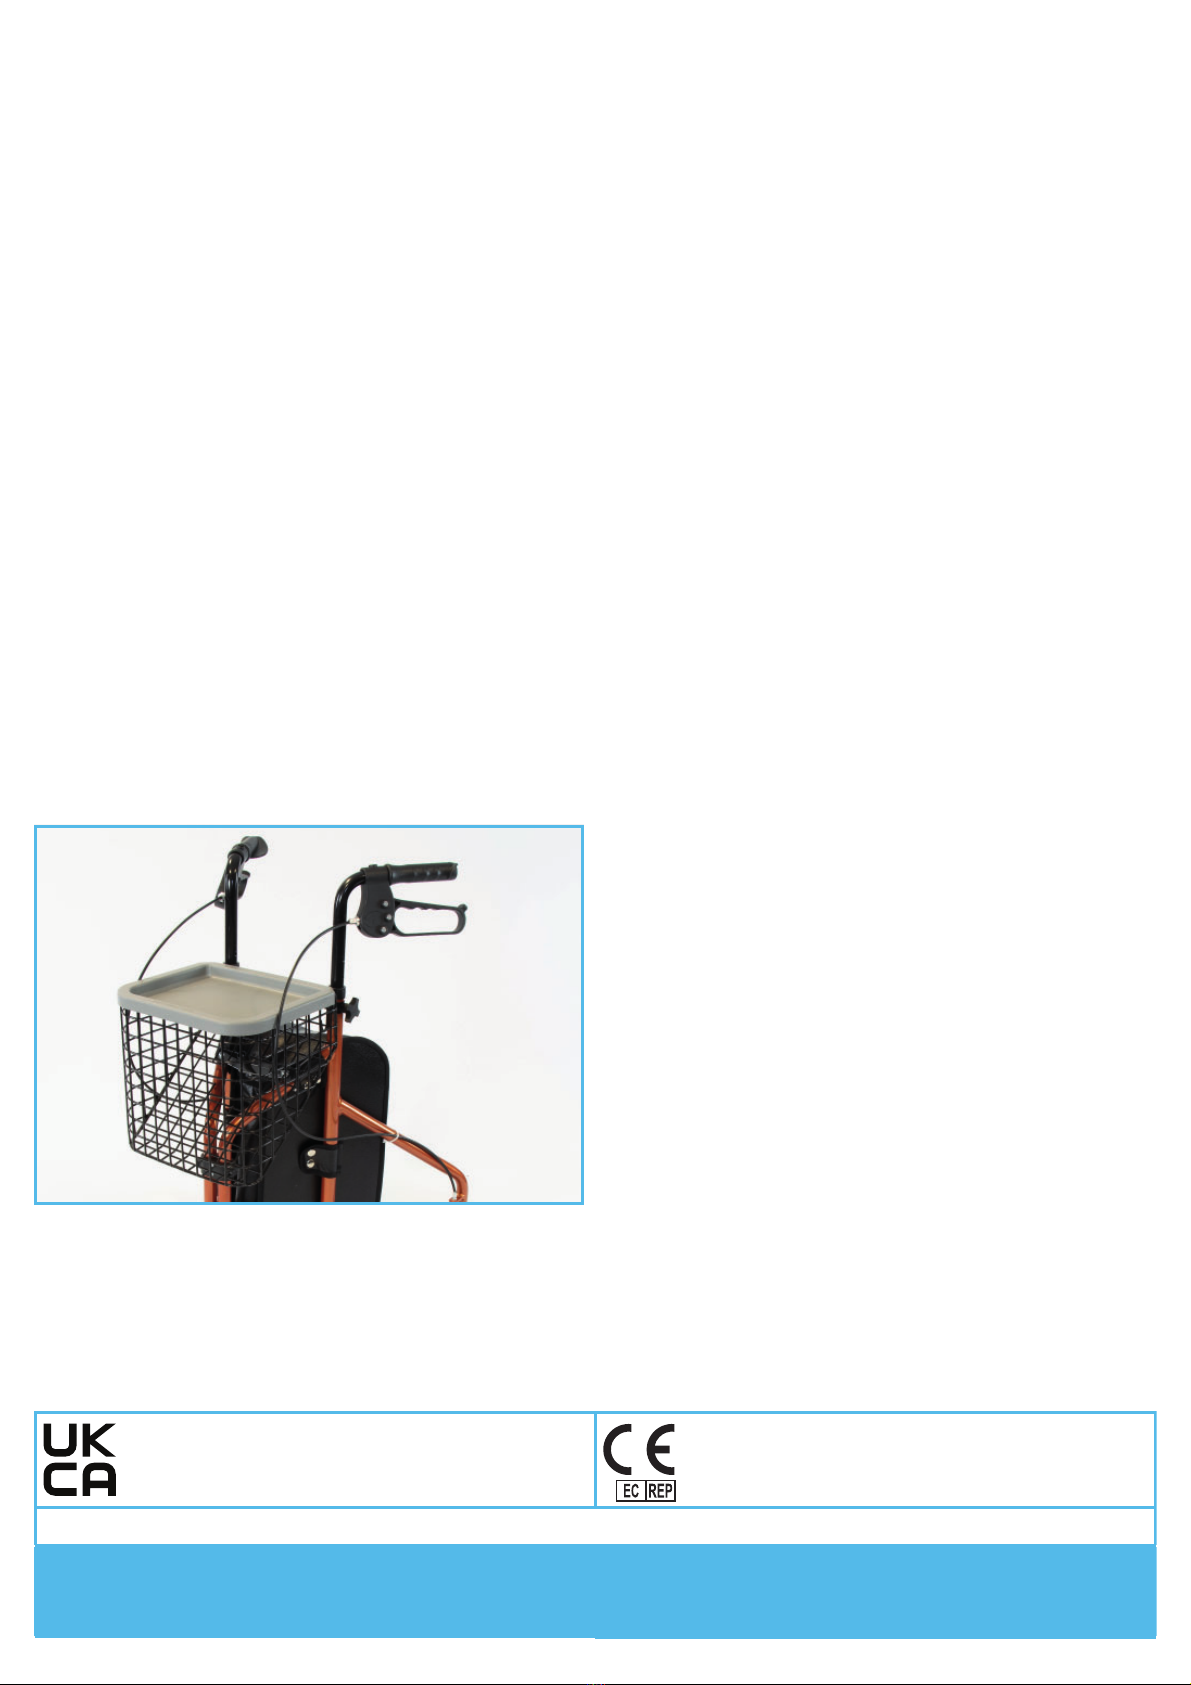
8. SPARES & ACCESSORIES
S21979: Basket & Cover
9. PRODUCT DISPOSAL
This product should be thoroughly cleaned prior to
disposal.
This product is manufactured from metal and plastic and
can be disposed of through Local Authority Household
Waste and Recycling Centres or through Local Trade
Waste Collectors.
10. PRODUCT GUARANTEE
NRS Healthcare guarantee this product for a period of
12 months, from the date of purchase, against faulty
materials and workmanship.
This guarantee does not cover; abuse, misuse,
interference or tampering with any part of the product.
Any guarantee issued by NRS Healthcare does not affect
your statutory rights.
S21980-UI-1 04-11-2022
NRS HEALTHCARE
4C Altona Road, Blaris
Industrial Estate, Lisburn, Co Antrim, Northern
Ireland BT27 5QB
NRS HEALTHCARE
Sherwood House
Cartwright Way, Forest Business Park, Bardon
Hill, Coalville, Leicestershire, LE67 1UB, UK.
Tel: Customer Services: 0345 121 8111 Email: customerservice@nrshealthcare.co.uk
NRS Healthcare is a leading supplier of community equipment and daily living aids.
Please visit one of our websites to view our full range of products:
www.healthcarepro.co.uk or www.completecareshop.co.uk

This manual suits for next models

2

Other NRS Mobility Aid manuals

NRS P78222 User manual

NRS

NRS P78222 User manual

NRS M66739 User manual

NRS

NRS M66739 User manual

NRS L22056 User manual

NRS

NRS L22056 User manual

NRS M85577 User manual

NRS

NRS M85577 User manual

NRS S21943 User manual

NRS

NRS S21943 User manual

NRS M99126 NRS 3 User manual

NRS

NRS M99126 NRS 3 User manual

NRS P94239 User manual

NRS

NRS P94239 User manual

NRS M76333 User manual

NRS

NRS M76333 User manual

NRS P23373 User manual

NRS

NRS P23373 User manual

Popular Mobility Aid manuals by other brands

JBH Venture CTS200 user manual

JBH

JBH Venture CTS200 user manual

Medical Depot Drive crawlabout CAB 2000 quick start guide

Medical Depot

Medical Depot Drive crawlabout CAB 2000 quick start guide

MJM 418-OR-3TW instructions

MJM

MJM 418-OR-3TW instructions

RHYTHM B5200 quick start guide

RHYTHM

RHYTHM B5200 quick start guide

B+B Capero instruction manual

B+B

B+B Capero instruction manual

Etac Cloo manual

Etac

Etac Cloo manual

Vitea Care MOBILUS LITE Instructions for use

Vitea Care

Vitea Care MOBILUS LITE Instructions for use

Zippie ZM-310 owner's manual

Zippie

Zippie ZM-310 owner's manual

Alber scalamobil S35 user manual

Alber

Alber scalamobil S35 user manual

Invacare Thumb Saver 1109379 Installation and operating instructions

Invacare

Invacare Thumb Saver 1109379 Installation and operating instructions

Caretec Ray user manual

Caretec

Caretec Ray user manual

NRS Healthcare F19571 User instructions

NRS Healthcare

NRS Healthcare F19571 User instructions

Aqua Creek F-520SPM manual

Aqua Creek

Aqua Creek F-520SPM manual

ato form TS user manual

ato form

ato form TS user manual

Mobiclinic ANCLA manual

Mobiclinic

Mobiclinic ANCLA manual

KOMFI-RIDER ZOOM ULTRA user manual

KOMFI-RIDER

KOMFI-RIDER ZOOM ULTRA user manual

Darco A.P.B. Instructions for use

Darco

Darco A.P.B. Instructions for use

Max-Ability PRESSALIT 1000 user manual

Max-Ability

Max-Ability PRESSALIT 1000 user manual

manuals.online logo
manuals.online logoBrands
  • About & Mission
  • Contact us
  • Privacy Policy
  • Terms and Conditions

Copyright 2025 Manuals.Online. All Rights Reserved.