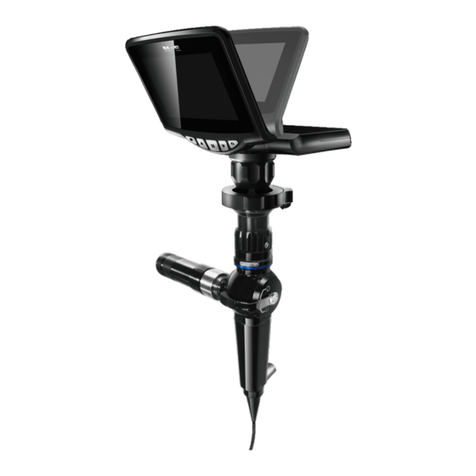
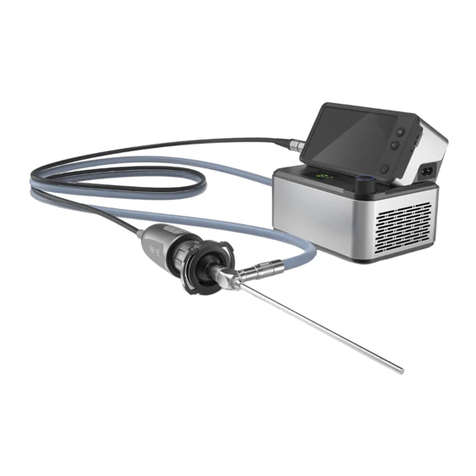
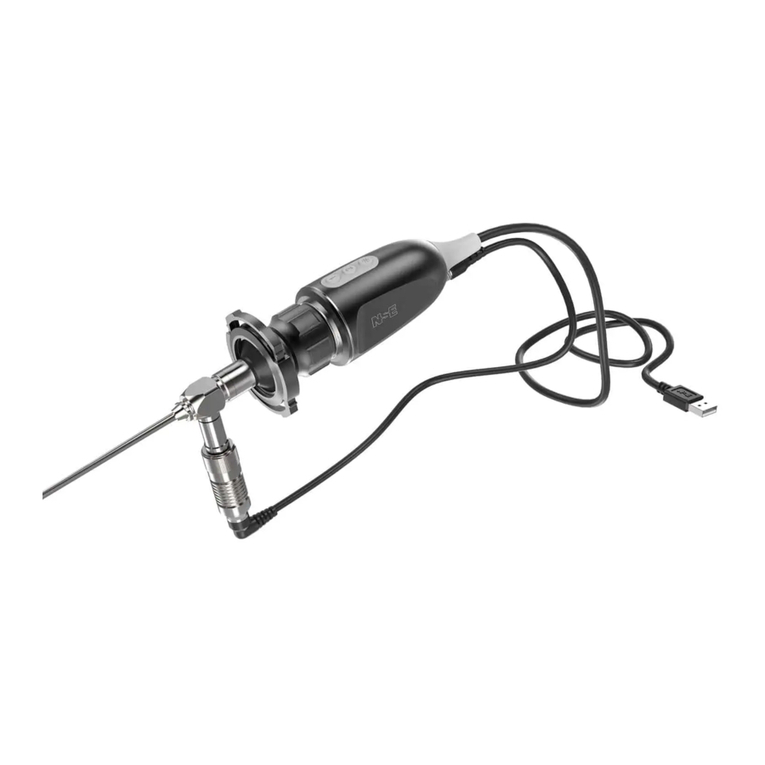
NSE UV Series User manual

Model:UV-100
HD Headlight & Camera System
User Manual (A/0)

Dear Customer, Thank you for purchasing UV series HD Headlight & Camera
System. Please read this instruction manual carefully and understand it well
before using the product.
This manual should be put to a place from where you are easy to take for
convenient reference at any time.
When you don’t need to read this manual, please put it to a place where it
will not be lost or damaged.
For safety and correct operation, the following Warning marks are identified
in this manual:
Caution: Ignorance of this caution will lead to a slight damage.
Warning: Ignorance of this caution will cause a heavy damage.
This manual was created on December 07, 2016.
North-Southern Electronics Limited reserves the right to interpret the usage
of this manual.
Read this First

When first time open the package, please check if the describing spare parts
are complete and in good condition. If any spare part is incomplete or damaged,
please contact with your supplier.
Tablet & App is for option. It can be ordered according to practical demand.
Please keep the packing materials well for future use.
Check the spare parts provided
Caution:
Main Unit
Battery
Charger
Charging Base
Micro SD Card
SD Card Reader
USB Power Cable
User Manual
Warranty Card
Warranty Hangtag
Tablet & App
1pc
2pcs
1pc
1pc
1pc
1pc
1pc
1pc
1pc
1pc
1set
Packing list

Contents
1 Overview
1.1 Operational Principle
1.2 Intended Use
1.3 Contraindication
1.4 Product Features
1.5 Safety Category
1.6 Environment Condition
1.7 Label and Symbol
2 Safety Precaution
3 Structure
3.1 Structure Diagram of the Main Unit
3.2 Buttons description
3.3 Main Parameters
4 Instruction for installation and Operation
4.1 Product Wearing
4.2 Power Switch
4.3 Lighting Control
4.4 Selection of System Modes
4.5 Wireless Controlling Function
4.6 Working distance Adjustment
4.7 Data Review
4.8 Power Indicator
4.9 Using External Battery
1
1
1
1
1
2
2
3
4
5
5
7
8
9
9
9
9
9
10
16
17
17
17

17
18
19
19
19
19
20
20
20
4.10 Change Battery
4.11 Recharge Battery
4.12 Charger
5 Maintenance
5.1 Maintenance
5.2 Cleanings
5.3 Electronic Waste Disposal Method
5.4 Explanation of Anti-electromagnetic interference
6 After-sales Service

1 Overview
1.1 Operational Principle
Product name: HD Headlight & Camera System. Model: UV-100. UV-100 is
made up of lighting and video system.
The video system is comprised of the precise optical lens, low power
consumption image processor and wireless video transmission module, it is
used to record the process of check and surgeon. Using the optical lens with
long depth and high performance image processor, to assure take high
definition and high quality image.
The Lighting system is used to provide auxiliary lighting in deep-cavity
surgeon. It uses low power consumption intelligent constant current control
based on SMPS to realize the long battery life, in use process, the brightness
is always a constant, not with the power decline and decay.
1.2 Intended Use
UV-100 with lighting and recording function, can provide auxiliary lighting for
hospital check-ups, surgical lighting, and record examination and operation
process.
1.3 Contraindication
No contraindication
1.4 Product Features
Using special-designed optical lens and high performance image
processor assure record every details of the operation very clearly.
The LED lighting not only can provide auxiliary lighting during surgeon, but
1

also can guide the location in the video to make sure surgical areas always in
the video.
With unique structural design, the device can be fold up for convenient
carry; with perfect Ergonomic design, the wearing is comfortable and stable,
which ensure comfort for long time operation.
No need tedious work, easy to use. Photo taking and Video recording can
be executed through the APP pre-installed in the tablet.
1.5 Safety Category
Shock Proof: Power provided by internal electrical source.
Liquid-proof Level: IPX1
Operation mode: Continuous operation
1.6 Environment Condition
Operation:
Temperature: 5℃~40℃;
Humidity: 20%~80%;
Pressure: 86kPa~106kPa ;
Power: rated voltage for charger is 110-240Vac.
Storage and transportation:
Temperature: -20℃~55℃;
Humidity: 20%~93%;
Barometric pressure: 86kPa~106kPa;
Long-term storage should be conducted indoor with non-corrosive gas, and
well ventilated.
Transport with general vehicle. Avoid severe impact, strenuous vibration
and snow rain splashed.
2

1.7 Label and Symbol
3
Caution! Refer to attached file.
Refer to instruction manual.
ExplanationSymbol
Recyclable.
Keep away from fire.
CE mark
Follow instructions for use.
Name and address of the manufacture.
Name and address of European Representative.
Product LOT Number.
Product Serial Number.
Electrical & Electronic device should be collected
respectively according to WEEE.
SN
LOT
EC REP

2 Safety Precaution
Warning:
To avoid short circuit please do not connect the polarities with any metal
material.
Please do not put the battery to the environment up to 60℃, and do not
through it to fire.
To avoid short circuit please use the original charger.
Please do not disassemble the product and spare parts like battery etc. Any
malfunction or failure, please stop using it and contact with your provider or
directly to the manufacturer.
Do not disassemble the product and spare parts. If malfunction or
abnormalities happened, please stop using the product and contact with your
supplier or call to factory
Caution:
Please do not disassemble, strike and hit the lighting and camera system;
do not throw away and bump against, or abrade the lighting and camera
system; avoid any accidental falls.
This is precise optical device, any disassemble will result in unrecoverable
damage and malfunction.
Please do not directly shoot to the eyes with LED light beam in short
distance.
The surface temperature of LED Lamp is fairy hot after long time in use;
please operate it carefully to avoid scald.
Please do not touch the LED lamp during in use.
Avoid any accidental falls during using or storing.
If long time no use, please unload the battery from the main unit and
charger, and charge it every three months to avoid malfunction caused by
over discharge.
Avoid corrosive material and liquid.
Please switch off the device before changing battery.
4

3 Structure
3.1 Structure Diagram of the Main Unit
The main unit is made up of camera, headband, controlling circuit, Li-ion
Polymer battery and LED lamp. The structural diagram and operation buttons
are as showing in Figure 1, 2, & 3.
5
②③
⑤
④
⑥
⑧⑦
①
①
LED lamp
⑤Headband
②Cushion
⑥Control Panel
③Headband Buckle
⑦Focusing lever
④Battery
⑧Camera
Figure 1 Structural diagram of the main unit

6
①
Photo Button
⑤System Indicator
②Video Button
⑥Wi-Fi Switch
③Video Indicator
⑦Mode Switch
④Wi-Fi Indicator
⑧Micro SD Card
Figure 2 Structural diagram of the controlling system
Figure 3 Structural diagram of the power system
① Power Switch
② External Power Input
②
③
④
⑤
⑥
⑧⑦
①

3.2 Buttons description
7
Icon of photo button: , photo shooting can be
done both in Video & Photo mode, during when
the Photo/Video indicator flash once.
Photo Button
Icon of video button: , use to start or stop
video recording in video mode, during when the
Photo/Video indicator starts or stops flashing.
Video Button
Wi-Fi On /Off switch. When Wi-Fi switched
on, the indicator will be on; When it switched off,
the indicator will be off.
Shift between Photo and Video mode.
Wi-Fi Switch
Mode Switch
Icon: , use to switch power on/off, and indicator
on/off.
Power Switch
Name Function
Position of Micro SD Card. Open the silicone cap
to insert or extract the Micro SD Card.
Micro SD Card

3.3 Main Parameters
8
Micro SD Card, Max. 128GB, the lowest
writing speed at 10M/S, the highest reading
speed at 30M/S
Parameters
Field of View
Diameter of Light Spot
Max. Illumination
Photo
Video
Battery Duration in one charge
Battery Parameter
Storage Card
Range of Headband
Adjustable angle of the lighting
and camera system
400~650mm
UV-100
Color
Net Weight (incl. battery)
Black
210±5g
Max. up to 45°
50mm*85mm~150mm*250mm @ 200~600mm
43~110mm @ 200~600mm
≥40000 Lux@200mm
2048x1536p, JPEG format
1920x1080p, MOV format
≥1.5hrs
2000mAh, removable
Model

4 Instruction for installation and Operation
4.1 Product Wearing
Adjust headband: Open the lock of headband, adjust the length till it fit well to
your head and then lock up the buckle.
Caution: Please wear a cap before wearing this device, avoid it directly
touch to the skin. Please use it with care, especially those allergic people.
4.2 Power Switch
Switch on: Press the power button (see Figure 3) more than 2 seconds when
the product in power off situation, the device will start to work as the
indicators will light up.
Switch off: Press the power button more than 2 seconds when the product in
working situation, the device will be shut down as the indicators switches off.
4.3 Lighting Control
Press the photo button more than 2 seconds, the LED light will be truned on
or turned off.
4.4 Selection of System Modes
This system includes Photo & Video modes. Slide the mode switch to shift
between Photo & Video mode.
1)Slide the mode-switch to Photo mode, press the Photo button to take photo for
the current view, the photo is saved as JPEG format automatically into the micro SD
card, with the file name of “Year_MonthDate_HourMinuteSecond_Serialnumber”
The indicator flash once when press the photo button.
2)Slide the mode-switch to Video mode, press the Video button to start up
9

video recording, during recording procedure the Photo/Video indicator keep
flashing. Re-press the Video button to stop recording, in the meantime the
Photo/Video indicator stop flashing. The video is saved as MOV format
automatically into the micro SD card, with the file name of “Year_Month
Date_Hour Minute Second_Serialnumber”.
Caution:
Please make sure that the Micro SD Card is inserted into the card slot
before operating the system. Photo & Video function cannot be achieved
without Micro SD Card.
When starting up, if no SD card is detected or the SD card has some
errors, the system will beep for three times.
Hot-Swap is not supported; please switch off the system before inserting or
unloading the Micro SD Card.
The standard configuration memory for the Micro SD Card is 128GB.
Please remove the needless files for more storage space when the videos to
20 hours, and if the Micro SD Card is full, system will delete the earliest files
in the card.
Under the photo mode, the video function is not available; under video
mode, the video function is available, and while taking video, press the photo
button, it will save a photo with the same resolution as video.
Please keep UV-100 stable to take a high quality photo.
When the Wireless Controlling System is open, the Photo button, Video
button and Mode-Switch button are not available. Please use the App to
execute photo taking and video recording.
4.5 Wireless Controlling Function
Wireless transmission & control can be achieved in this device. Here are the
steps:
1)Open the wireless transmission function: slide the wireless controlling
switch to start up status, Wi-Fi indicator light up.
10

2)Open the tablet with APP, and enter the APP. For the first time enter the
interface, there will be no device in the system, at this time the system will
indicate “Please click ‘+’ to add a camera”. See Figure 4:
11
Figure 4 APP Interface
Pictures Setting
Please click “+” to add the camera.
13:46
0.2K/s

3)Click “+”, the Wi-Fi signals nearby can be found. Select the one start with
“NSE_UV100”. See Figure5:
12
Figure 5 Wi-Fi Interface
13:46
Cancel
Camera is connecting...
Camera nearby

4)When the first connected to Wi-Fi, password is requested: 12345678.
Click “Add” button and the interface will shows indication as “Camera is
connecting…” and the Wi-Fi indicator will flash at this time. It will be
connected in a few seconds. See Figure 6:
13
Figure 6 Wi-Fi Connection
Add
NSE_UV100_3E9D44
NSE-2
Please input Passwords
CMCC-2
GM OFFICE
huina
NSE-3
TP-LINK_A38BC0
NSE-SUP
China Net-Fyrc
NSE_UV100_3E9BFD
NSE_UV100_3E9D44
swishtech
Camera nearby
13:46
0.2K/s

14
5)When Wi-Fi is connected, click icon, see Figure 7:
Figure 7 Wi-Fi connected
Pictures Setting
13:46
0.2K/s
NSE_UV100_3E9D44

6)When the current view from the HD Headlight & Camera System
transferred to the tablet, photo taking and video recording can be controlled
through clicking the Photo & Video button on the interface of the
tablet.
Preview 15:23 55%
15
Figure 8 APP Interface
Brightness Control Photo Video
Sound Switch Volume Control Setting
This manual suits for next models
1
Table of contents
Other NSE Medical Equipment manuals
Popular Medical Equipment manuals by other brands

Manniskans Resurser
Manniskans Resurser TRIOMED CGI user manual

Chattanooga
Chattanooga INTELECT RPW LITE Operation / installation instruction

Mercado Medic
Mercado Medic REAL 8100 USER and CARE INSTRUCTIONS

Otto Bock
Otto Bock 7E9 Quick reference guide

Comeg
Comeg SOPRO 184 user manual

O_TWO
O_TWO CAREvent ATV user manual

Weinmann
Weinmann OXYWAY Click Device Description and Instructions for Use

Sirona
Sirona cerec ac Operating Instructions for the Acquisition Unit

Graham Field
Graham Field LUMEX 3614A manual

Gima
Gima OXY-PED Use and maintenance book

Respironics
Respironics MiniElite Instructions for use

Tecno-gaz
Tecno-gaz STERILAIR PRO manual