Nu-Tek Levator Elite LE9011 User manual

REDEFINING | PHYSIOTHERAPY | FITNESS | MEDICAL
physiosupplies.co.uk
The Warehouse Beck Bank West, Pinchbeck, Spalding, Lincolnshire, PE11 3QN Phone: 01775 640972 Email: sales@physiosupplies.co.uk
Levator Elite LE9011
Nu-Tek® Levator Elite
Single Channel EMG, EMS & ETS
• EMG Triggered Stimulation (Passive +Active), Muscle
Stimulation and EMG Modes
• One channel EMG and One channel EMS stimulation
• One channel ETS with stimulation on one channel
• Nu-Tek scale scoring for Pelvic Floor Muscle and used as
an assessment tool
• Programs for Incontinence treatment, Pelvic floor muscle
development and neuromuscular Rehabilitation
• User programs for EMG/ETS (1 phase) and STIM (up to 5
stimulation phases) mode
Application:
• Promote continence
• Improve Pelvic floor Exercise
• Re-educate the Pelvic muscles
NULEADPATRD Nu-Tek Patient Lead- Red
NULEADEARTH Nu-Tek Earth Lead - Black
ACPROBEV Incontinence Probe - Vaginal
ACF35050 AllCare Electrodes - 5cm x 5cm - Square-
Self Adhesive
Standard Accessories:
NUSOFTWARE Nu-Tek Biofeedback Soware
ACPROBEA Incontinence Probe - Anal
ACF35090 AllCare Electrodes - 5cm x 9cm - Rectangle
- Self Adhesive
ACF350R AllCare Electrodes - 5cm - Round
- Self Adhesive
Optional Accessories:
Specifications:
Power Supply: 1.5V AA baeries, 6V
Low Voltage Warning: ≤4V±0.2V
Dimensions: 139mm×68mm×33mm (L*W*H)
Weight: 156g (without baeries)
EMG: One Channel:
EMG Range: 0.2 to 2000μV
Sensitivity: 0.1μV
Accuracy: 4% of μ V reading, +/- 0.3μV at 200 Hz
Work/Rest Periods: 2-99 seconds
STIM: One Channel:
Stimulation Intensity: 90V±10V (V max), Adjustable from 0 to
90mA (on 1000Ω)
Pulse Width: 50-450μS (2% accuracy)
Pulse Rate: 2-100Hz (2% accuracy)
Work/Rest periods: 1-99 seconds
Ramp Time (up and
down): 0.1-9.9 seconds
Treatment Time: 1-99 minutes
Programs Pre-set: 11 Customs:3
Code: Description:
NULEVATOR Nu-Tek® Levator Elite

Nu-Tek Levator Elite
User Manual
www.nutekmedical.com

- Page 2 -
Nu-Tek Levator Elite User Manual
Table of Contents
Contents
Warnings--------------------------------------------------------------------------
Introduction----------------------------------------------------------------------
Contra-Indication and Precautions-----------------------------------------
Keypad Layout-------------------------------------------------------------------
Lead / Electrode connection Assembly-----------------------------------
Quick start instructions--------------------------------------------------------
Clinical Mode - Program - Phase--------------------------------------------
EMG mode operation--------------------------------------------------
Examples of EMG treatment-----------------------------------------
EMG Parameters--------------------------------------------------------
EMG and ETS Threshold----------------------------------------------
EMG in patient mode -------------------------------------------------
EMG measurement-----------------------------------------------------
Conditions respond to EMG-----------------------------------------
STIM mode operation-------------------------------------------------
STIM Parameters--------------------------------------------------------
ETS mode operation---------------------------------------------------
ETS Parameters---------------------------------------------------------
Data Report for progress-----------------------------------------------------
System setting----------------------------------------------------------------
Statistics--------------------------------------------------------------------------
More about EMG statistics----------------------------------------------------
Electrodes Types and Tips----------------------------------------------------
Care, Maintenance, Accessories and Disposal--------------------------
Specications--------------------------------------------------------------------
Information regarding Electromagnetic
compatibility and interference (EMC)------------------------------------
Trouble shooting---------------------------------------------------------------
Warranty--------------------------------------------------------------------------
Appendix-program------------------------------------------------------------
Page
3
4
6
7
8
9
13
14
15
17
18
19
20
21
22
23
24
25
26
27
29
31
32
33
35
37
42
45
Issue Date: 06/05/2016 Document Number: LE9011-Rev. V1.1 2016
c
46

- Page 3 -
Nu-Tek Levator Elite User Manual
Warnings
※This device must be used with the guidance of a Physiotherapist or Doctor.
※Type BF equipment, Continuous Operation.
※Do not immerse device into water or any other substance.
※Do not use the device in the presence of a ammable anaesthetic gas
mixture and air or with Oxygen or Nitrous Oxide.
※This device uses 4 x AA Batteries. If using rechargeable Nickel Metal
Hydride batteries, be sure to use a CE approved battery charger. Never
connect it directly to a battery charger or to any other mains powered
equipment.
※To avoid the eects of electromagnetic interference, never use the device
in the EMG mode, within 4 metres of a mobile telephone or near any
other powerful radio interference producing equipment that causes
electrical sparks etc. In the EMG mode, the device may be susceptible to
strong interfering radio type emissions that may lead to temporally
increased EMG microvolt readings. The reading will immediately return
to the correct value when the interference ceases. (Remember that a
relaxed muscle should read below 4μV).
※Patient electrodes including all skin surface electrodes, vaginal and rectal
probe are for single patient use only!
※Do not use stimulation on your facial area unless you are under strict
guidance from a qualied clinician.
※Application of electrodes near the thorax may increase the risk of cardiac
brillation.
※Operation in close proximity (e.g. 1m) to a shortwave or microwave
therapy equipment may produce instability in the stimulator output.
※Simultaneous connection of a patient to a high frequency surgical
equipment may result in burns at the site of the stimulator electrodes
and possible damage to the stimulator.
※No modication of this equipment is allowed!
※Keep the device out of reach of children
※Skin irritation from the electrode gel and electrode burns are potential
adverse reactions. If skin irritation occurs, discontinue use and consult
your physician.
※Do not apply stimulation over the patient's neck because this could cause
severe muscle spasms resulting in closure of the airway, diculty in
breathing, or adverse eects on heart rhythm or blood pressure.
※Do not apply stimulation in the presence of electronic monitoring
equipment (e.g., cardiac monitors, ECG alarms), which may not operate
properly when the electrical stimulation device is in use.
Device name: Nu-Tek Levator Elite Model number: LE9011

- Page 4 -
Nu-Tek Levator Elite User Manual
Introduction
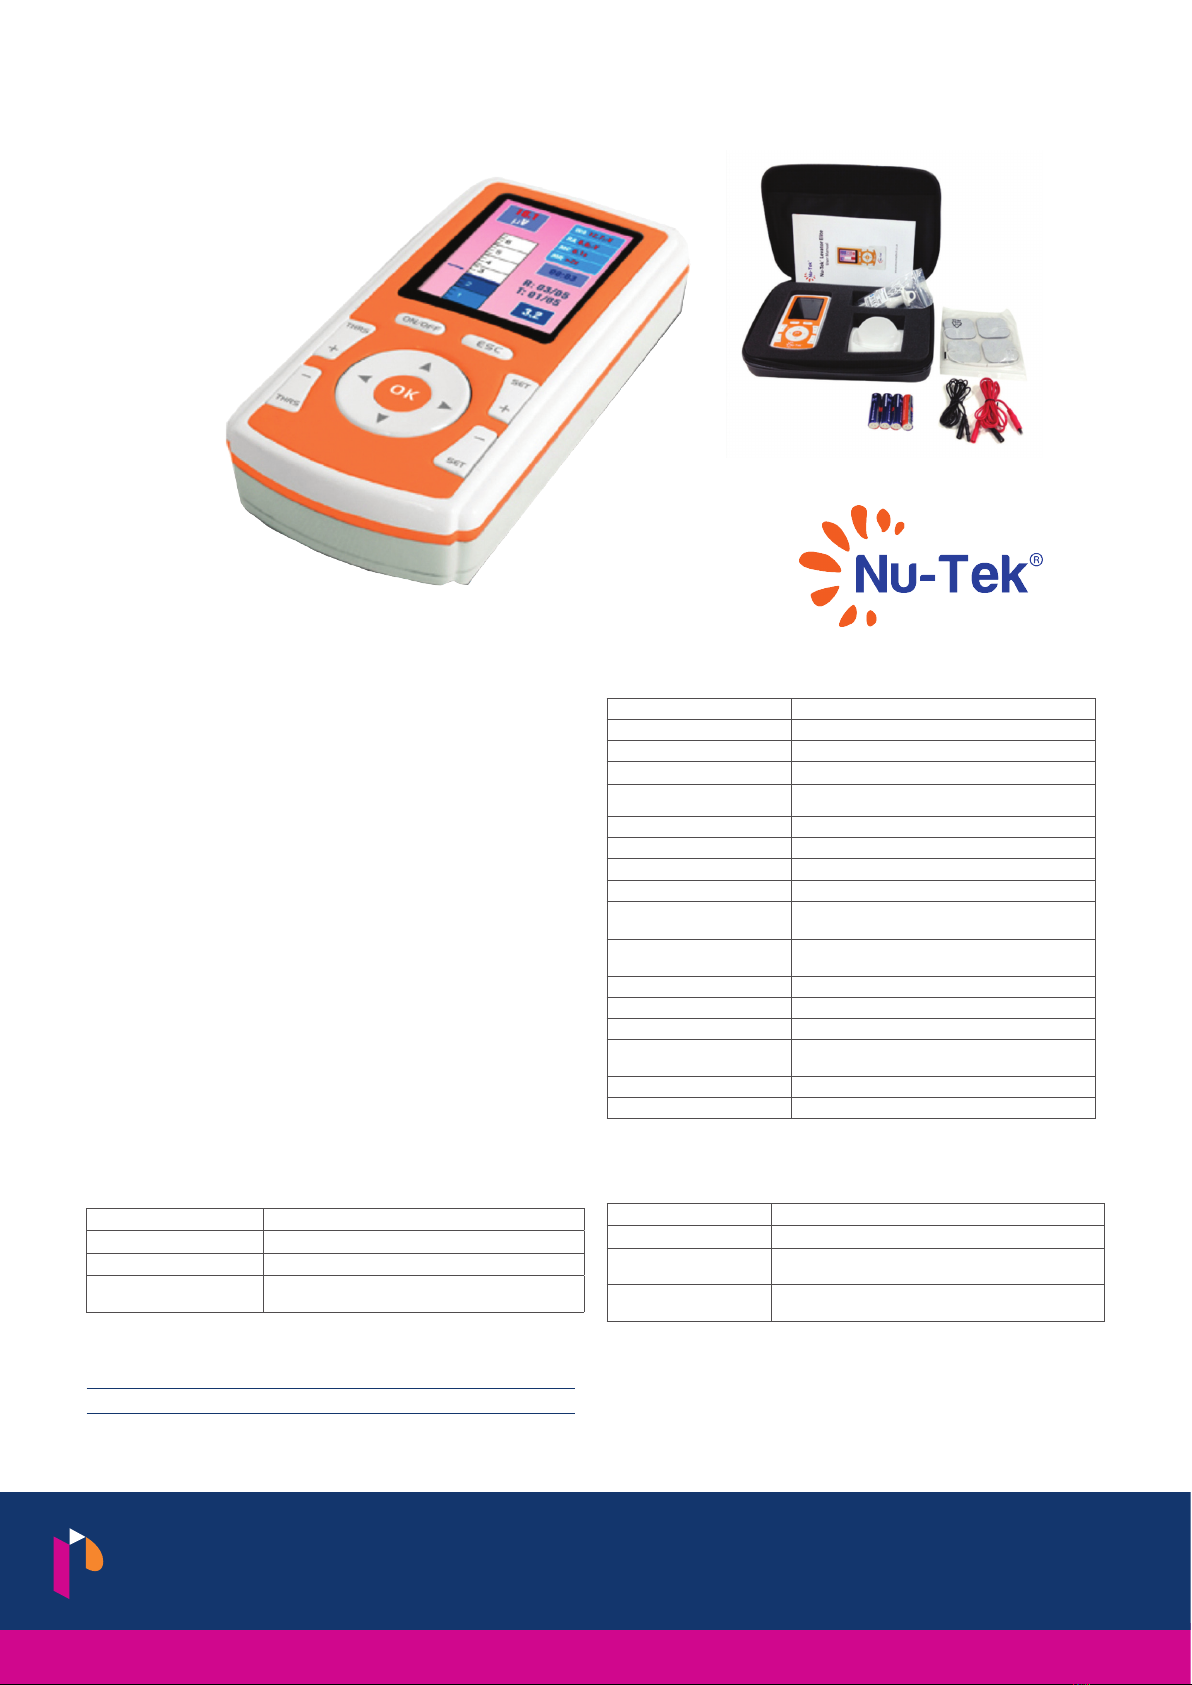
The Nu-Tek Levator Elite combined EMG [electromyography] and
Neuromuscular Stimulation is a simple to use advanced product for reducing
incontinence in females with urinary incontinence. The device has been
developed to enhance and support the Clinician, to assist the end user at
home to learn more about their Pelvic muscle and above all to improve their
Pelvic Muscle strength and their incontinence therapy.
The Nu-Tek Levator Elite: EMG Biofeedback measures the Pelvic contraction,
and assists users to maximise Pelvic oor exercises, after periodic training, it
also helps to assess the pelvic oor muscle condition, quantify the need for
further treatment and evaluate report on the patient’s progress. Muscular
Stimulation improves blood circulation, capillary bed density and strengthens
the Pelvic oor muscles. EMG triggered stimulation facilitate those with
accid muscles; ETS helps reduce the symptoms in Genuine Stress
incontinence in some patient’s and is being used more frequently by
clinicians for this condition
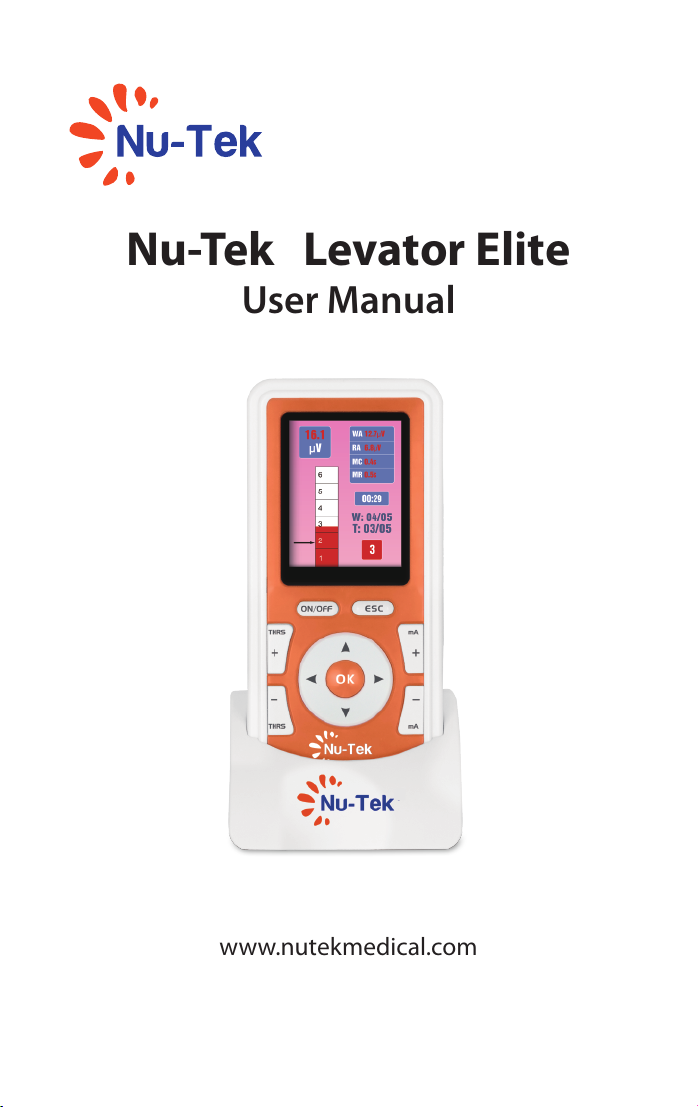
For the end user, in patient mode, a simple and easy to understand EMG
Biofeedback bar graph displays the Nu-Tek pelvic muscle strength
grading on a scale of 1 to 6, and assists the user to meet their pre-set targets.
In the therapy mode, the EMG graph can be changed to a waveform format,
as viewed on the LCD screen of the device or using the Nu-Tek software
link on a desk top or laptop computer . The waveform can be used to
help analyse the patient’s condition. Periodically the doctor or therapist will
be able to download newly developed programs for Muscle Stimulation, EMG
Biofeedback and EMG- TRIGGERED STIMULATION. This helps this unique
product to keep abreast of any clinical trials where the conclusion is that a
specic program or program set may assist in enhancing the treatment of
continence. The Nu-Tek Levator Elite has 3 clinical modes: EMG, ETS, and
STIM. Each of these modes has custom programs. The device also includes
pre-set EMG and STIM programs: there are 20 pre-set Pelvic muscle
stimulation programs: Genuine Stress, Urge, Frequency, weekly maintenance.
Lack of sensation, rectal stimulation and several other Patient conditions. One
pre-set EMG program for assessment. The custom program has a diverse
range of parameters that can be programmed by the patient or therapist to
meet individual user conditions. Any one of the pre-set or custom programs
can also be selected freely by the user. The essential performance of the
device are free from the production of unwanted or excessive stimulation
output and free from the display of incorrect numerical values associated
with measure to be performed.

- Page 5 -
Nu-Tek Levator Elite User Manual
Customer Care
We welcome constructive comments regarding our equipment particularly
those that might help us to improve existing features, add new ones and / or
develop new products for the future.

- Page 6 -
Nu-Tek Levator Elite User Manual
Contra-Indications and Precautions
STIM: Neuromuscular Stimulation (NMS)
Before using this device you must rst seek the advice of your doctor or
therapist.
Neuromuscular Stimulation should not be used by:
※Patients tted with demand style cardiac pacemakers
※During pregnancy (unless medically advised)
※Patients with undiagnosed pain conditions
※Do not place electrodes:
- Over carotid sinus nerves
- Over larynx or trachea
- Inside mouth
- On anaesthetised or desensitised skin
- Do not drive a vehicle while the device is stimulating and attached to
your body
※Skin irritation from the treatment of NMS or EMG itself does not generally
occur. However, rubber electrodes may irritate some skin types, therefore;
in this case we recommend using hypoallergenic self adhesive electrodes.
※The patient should only use the device for what it was prescribed for
※Do not immerse the device in water or any other liquid substance
※Do not use stimulation on your facial area unless you are under strict
guidance from a qualied clinician
EMG
There are no precautions when using EMG unless used for pelvic oor
exercising or assessment. In this case EMG should not be used:
※During menstrual period
※Inammation or infection in the vaginal area or urinary tract.
※With patients who have diminished mental capacity or physical
competence who cannot handle the device properly.
※The absence of sensation due to denervation of the pelvic oor.
※In children - when using internal probe.

- Page 7 -
Nu-Tek Levator Elite User Manual
Keypad Layout
1
3
2
4
6
5
1. ON/OFF: press to power on or switch othe device.
2. ESC: press to nish the session (program) or the settings, or return to
previous menu.
3. THRS+ and THRS-: adjust the EMG threshold level (ETS target) and adjust
the other parameters and settings.
4. mA+ and mA -: start the STIM or ETS phase, increase or decrease the
stimulation intensity.
5. OK: press to complete selection
6. , , , : select mode in main menu, or switch parameter and settings.

- Page 8 -
Nu-Tek Levator Elite User Manual
Lead / Electrode Connection Assembly
USB cable: Connection to the PC
REF: Reference wire (REF) for precise EMG measurement
CH: dual conductor lead wire for STIM or EMG
Note: The REF EMG lead / electrode is only required for EMG and ETS and
NOT for Neuromuscular stimulation.
The lead wires, electrodes, vaginal probe and REF wires are supplied
as part of the kit.
EV

- Page 9 -
Nu-Tek Levator Elite User Manual
Quick Start Instructions
1. Insert four AA batteries
Remove battery cover. Insert batteries as labelled inside the battery
compartment and then replace the back cover.
2. Insert lead wire
Insert the lead wire/s into the sockets of the device. The round black EMG
reference lead wire connects to the round black socket in the top of the
unit; the red stimulation lead wire connects to the red socket.
IMPORTANT! If you don’t use the round EMG reference wire (REF), your
EMG and ETS results will be inaccurate.
3. Skin electrodes/probe placement
When using the EMG or ETS phase, connect the EMG reference lead wire
to a surface skin electrode and place it appropriately on the body, making
sure the skin is free from grease and dirt; repeat the above procedure with
the other two skin electrodes. If using a probe, place the single surface
skin electrode on the thigh area and then insert the probe.
4. Turn on Levator Elite by pressing the ON/OFF button once for 3 seconds.
Note: This product has a Patient Mode which we suggest the general
public use and a Therapy Mode which is more practical for the Clinician.
Selecting the Therapy Mode requires a password. When selected the
Patient Mode, the product would be locked. The details setting method
refer to“Change using mode”of page 27. In Patient Mode, you can not
select the therapy program and set the parameters of the custom
program.
5. The EMG, the Patient Mode uses the Nu Tek bar graph; the Therapy Mode
uses a line graph.
6. There are pre-set (ready to use) programs and custom programs (which
can be adjusted by the patient or therapist in Therapy Mode). The
parameters of pre-set programs can not be changed.
Note: Individual custom programs set for the patient should ideally be
under the guidance of a doctor or therapist in Therapy Mode.
Using the circular button black arrow keys navigate to select EMG and press
the OK button. The screen displays Training Program and Assessment
Program. In Assessment Program, there is only one preset program: Threshold
= 30μV, WIDE Filter, ABOVE Biofeedback sound, Work time = 5s, Rest time =
5s, and 5 Trials, AUTO threshold is advised to be used to see the treatment
progress during periodic training. In the Training program, there are two
custom programs, you can select all the EMG Biofeedback parameters by
using the up and down black arrow keys, and change settings by using the
THRS+ and THRS- buttons. In Patient Mode, the program, work time, rest
time,trial and A/M threshold can not be adjust.

- Page 10 -
Nu-Tek Levator Elite User Manual
When you have completed your settings, press the OK button which will take
you into the vertical Bar graph Patient Mode or the EMG line graph Therapy
Mode, then press the OK button to begin the session.
Working with EMG
※ Always use the Reference wire (REF) for more accurate EMG measurement!
Place the reference electrode anywhere on your skin. When using the
device with a vaginal probe, place the reference electrode on your thigh.
※Place the device on the desk, in its stand or hold the device.
※Relax so that the microvolt reading is as low as you can manage; below
6µV is acceptable while below 4µV is ideal.
ETS (EMG TRIGGERED STIMULATION) Patient / Therapy MODE
Using the circular button select ETS, press the OK button to enter the ETS
parameter settings interface. Using the circular button scroll and using the
THRS+ and THRS- buttons to change the EMG Biofeedback and Stimulation
settings. In Patient Mode, the program, work time, rest time,trial, A/M
threshold and stimulation parameters can not be adjust. When you have
completed your settings, press the OK button this will then take you into the
standby mode. Press the mA+ button to increase the electrical current ( mA)
and to start the treatment. As soon as the patient reaches the target level
(threshold) in the work period stimulation takes place for several seconds
which helps to contract the pelvic muscles. Ideally contract your pelvic
muscle along with the electrical stimulation.
STIM (STIMULATION) MODE
Using the circular button select STIM, press the OK button which brings up
the pre-set and custom programs, in Therapy Mode press the THRS+ or
THRS- buttons to select the required program. Press the OK button, and then
press the mA+ button to increase the electrical current (mA) and to start the
treatment. The parameters of pre-set programs can not be changed; those of
custom programs can be adjusted by the therapist in Therapy Mode. Using
the THRS+ and THRS- the phase parameters of the program can be viewed.
At the end of the session the screen will display the Date and Time, Average
Current used (mA), Program, and the Frequency (Hz) used. Only the mA
(current) will be saved.
COMMUNICATE
Connect the device to the PC via a USB cable, then using the circular black
arrow keys select COMMUNICATE, press the OK button, the data can be
transferred between PC and the device. (This function is an optional extra

- Page 11 -
Nu-Tek Levator Elite User Manual
and the user will need to purchase the Nu-Tek System, the USB connection
cable to the PC).
DATA MANAGE
Using the circular button to select DATA MANAGE, press the OK button, then
using or select Data query , Delete data or Send data to pc, then press the
OK button. The information is stored and displayed on the two linear graphs
on the LCD screen. The two vertical graphs are combined by up to 90 records
respectively, and the history of the user’s sessions can be viewed. For training
data, the device saves the data on a daily basis to form statistics. In the
Assessment data, the device stores the weekly statistics by carrying out an
assessment of the programs once or twice per week. The device can store
more than one patient’s statistics, but it can not distinguish between dierent
patients. Only when the device connected via the Nu- Tek PC software, can
the recorded data in PC be distinguished between dierent patients. The user
can delete the treatment data when selected Delete Data and press OK
button.
SYSTEM SETTING
Using the circular button select SYSTEM SETTING, press the OK button which
will bring up the various options, including Date and Time, Backlight Setting,
Sound Setting, Set Language (English, German, French, Italian, Spanish),
Change Using Mode, Factory Data Reset. Using the circular button scroll
down to the settings you want to change, press the OK button, then using
the THRS+ and THRS- buttons to set the various options. Use or to select
Save or Cancel, press the OK button. If you select Factory Data Reset, all the
values are restored to the original factory setting. (Note: If the factory setting
is restored all the patient’s statistics will be lost)
PROGRAM MANAGE
Using the circular button select PROGRAM MANAGE, press the OK button.
Then using or select Downloaded Programs (There are three modes:
EMG, ETS, and STIM. For either mode, there are up to a maximum of 3
programs) or To Download Programs, then press the OK button. For
example, select Downloaded Programs, to view the downloaded program,
press the OK button, to use the program. Only the last selected downloaded
program in Therapy Mode is available for display and for use in the Patient
Mode. Select to download Programs by connecting the device to the PC via
the USB cable. If three programs have been downloaded the fourth program
will not be possible, at this point the screen displays a prompt for the user to
choose which one program to select to make up the three programs.

- Page 12 -
Nu-Tek Levator Elite User Manual
T
PROGRAM
EMG THERAPY MODE
PARAMETER MANAGE
Using the circular button select PARAMETER MANAGE, press the OK
button to bring up the details.
OPERATING MANAGE
Using the circular button select OPERATING MANAGE, press OK button to
bring up the details.
7. After completing the settings, Press the ESC button to exit.
8. When you have nished, press and hold the ON/OFF button for 3 seconds
to turn othe device. Remove and replace the skin electrodes onto the
clear plastic lm, reseal them in the plastic zip bag and store them in a
cool place. If using a vaginal or rectal probe thoroughly clean the probe
and seal it in plastic zip bag.

- Page 13 -
Nu-Tek Levator Elite User Manual
Clinical Mode - Program - Phase
The Nu-Tek Levator Elite enables the patient or therapist to select a
pre-set program or a custom program to make the appropriate
treatment. Clinical Mode: Using the circular button select either EMG,
STIM or ETS and press the OK button to enter the mode. In EMG mode,
there are two functions: assessment and training. For assessment, only
one pre-set program is used, the user can view the treatment progress.
The device has two custom EMG/ETS programs. You can set up one
EMG/ ETS phase with your chosen parameters.
In STIM mode, Levator Elite has 20 pre-set Pelvic floor muscle
stimulation programs covering Genuine Stress, Urge, Frequency,
weekly maintenance, Lack of sensation, Rectal stimulation and several
other patient conditions. There are 3 custom programs that can be
programmed to meet individual user conditions and have a diverse
range of parameters to meet any current stimulation requirements. The
programs can be divided into a maximum of 5 sequential phases.
Phase Time is the time remaining for the Current Phase. The overall
time is a combined time of all the program phases. Overall time always
indicates the remaining time of the program session.
A
e
T

- Page 14 -
Nu-Tek Levator Elite User Manual
EMG mode operation
1. Using the circular button black arrow keys navigate to the EMG and press
the OK button, the screen will then display two modes: Assessment
Program or Training Program. Select mode and press the OK button to
enter the parameter mode.
2. After completing the settings, press the OK button to enter standby mode
of the vertical Bar graph (Patient Mode) or the EMG line graph
(Therapy Mode).
3. Press the OK button again to begin the session.
4. At the end of the session the screen will display the work/rest microvolt,
onset/relax time
5. There are two EMG custom programs for training purposes, all the
parameters can be adjusted by the patient or therapist in Therapy Mode.
6. If Assessment Program is selected, there is only one pre-set program
used, the user can view their progress on the LCD screen
Patient mode Therapy mode
Time:
Work Time: 04/05 Trial: 05/05
Mode:
:
T

- Page 15 -
EMG Work/Rest
The W/R phase consists of Work and Rest periods and repeated Trial times
(repetitions). During the Work period, the patient is prompted to contract
their muscle. During the Rest period, the patient is prompted to relax their
muscles. At the end of the work/rest sessions the EMG values display the
information on the LCD screen of the device. The device can also be linked to
a PC or laptop computer.
Relaxation test:
The ideal resting value when conducting work/rest sessions for improving
the Pelvic Floor Muscle is 4 μV (microvolt). The relaxing value is just as
important as the pelvic oor muscle contracting value. The resting time for
the pelvic oor muscle exercises should be at least 5 seconds and longer, if
the user is unable to contract their pelvic oor muscle above muscle strength
scale 1.
Rapid contractions:
The patient should perform 5 rapid contractions, note how quickly the bar
graph rises and falls. If the contractions and release times are slow, the user
will need to improve their fast twitch muscle bres by conducting quality
Pelvic oor muscle exercises at least once per day or more. If after a few
weeks there is no marked improvement, consider electrical stimulation using
a setting of 35Hz, 220µS Pulse Duration, for 20 -25 minutes per day.
Contract and hold:(Endurance Training)
The patient should contract the pelvic oor muscle for as long as possible, 5
seconds is reasonable, 10 seconds would indicate a strong muscle, any longer
would be excellent.
Work/rest session:
Two basic purposes for Work/Rest session:
1. Enhances Pelvic Floor Muscle exercises for both strengthening and relaxing
the muscles, and to ascertain if other forms of treatment are required.
2. Periodically perform Work/Rest session and note the results, especially the
data of the assessment program. This allows the patient or therapist to see
or analyse muscle improvements, which can be organised or used as a
valuable clinical report.
To run the assessment Work/Rest session:
1. The assessment program ideally should follow the settings: Work Time=5s,
Rest Time=5s, =5s, Threshold=30μV, ABOVE feedback sound, WIDE lter,
Nu-Tek Levator Elite User Manual
Examples of EMG treatment

- Page 16 -
Nu-Tek Levator Elite User Manual
AUTO threshold and 5 Trials. Use the WIDE lter band for continence as the
measurement will be more accurate. When using the electrodes near heart
the proximity of the upper arms, back, etc., use the NARROW lter band
(lters out the unwanted heart beat frequencies).
2. Press the OK button, the initial REST prompt will appear, followed by 5
repetitions (trials) of 5 sec of Work followed by 5 sec of Rest. At the end of
the sessions the user can view the session statistics on screen at the end
of the last Rest period. During the Work period, the patient should contract
the muscle as hard and rmly as possible, ideally during Rest period the
patient should relax as quickly as possible, below 4μV or lower. Suggest to
patient to run the assessment program each week or at another suitable
time.
3. When the device is connected to the PC, the PC Software records the
statistics and stores the information on to the database.

- Page 17 -
Nu-Tek Levator Elite User Manual
EMG Parameters
Note:
1. In Therapy Mode, you can change all the EMG Biofeedback settings.
2. Electrodes placed on the lower abdominals, legs, arms and back, face,
buttock or pelvic area use WIDE lter band setting.
All other areas i.e.upper abdominals, chest, shoulder, upper arms and back
use NARROW lter band setting.
NARROW setting is used due to the interference from the heart beat
frequency, this interference has to be eliminated.
Program time
Threshold(µV)
Filter
Biofeedback
Work/Rest time(S)
Threshold setting
Max:99mins
0.6-2000μV, During work period the patient is
prompted to contract above the Threshold. In the
rest phase the patient is prompted to relax their
muscle.
Wide/Narrow
Above/Below/Continue/OFF:
Above the threshold, Below the threshold,
Continue-sound, OFF-no bar graph sound
Auto/Manual
Trial Number of work/rest repetitions, 2-99
2-99 sec
EMG Parameter
Custom Program 1
T

- Page 18 -
Nu-Tek Levator Elite User Manual
EMG and ETS Threshold
What is EMG THRESHOLD?
Threshold is an EMG value measured in μV (microvolt). For strong muscles
which perform higher EMG biofeedback muscle contractions the threshold
level will be higher than for weak or accid muscles. In ETS mode (EMG
Triggered Stimulation) the patient needs to contract the muscle above the
target threshold to trigger the stimulation.
Auto threshold:
To select Auto threshold of the EMG or ETS parameter setting mode use the
THRS+ or THRS- buttons. Automatic threshold is designed to adjust the EMG
muscle strength scale (and the point of ETS triggering) to the actual level of
the patient’s EMG biofeedback muscle contraction
Auto threshold during EMG session:
Select the EMG mode and press OK to begin the EMG session. Work/Rest
prompts will appear. During each Work period the device measures Work
Average EMG, at the beginning of the next Work period, the threshold is set
at 80% of the previous Work Average. (This functionality is available only for
Auto threshold)
Auto threshold during ETS session:
Select the ETS mode, press mA+ button to start the session. If the target
threshold is reached (EMG will trigger the stimulation) in seconds, the device
will increase the target threshold for the next trial. For example , the work
period is 20 seconds, If the patient reaches the threshold very quickly in
Sector A (1-5s), the next threshold will be calculated as previous threshold
plus 12.5%; if reached the threshold in Sector B(6-10s), as previous threshold
plus 5%, if reached in Sector C(11-15s), as same as the previous threshold. If
the Patient had diculties with triggering from EMG to stimulation in Sector
D(16-20s), or didn’t trigger the stimulation during the Work period, the next
threshold will be reduced by 5%.
MANUAL threshold
At any time when the EMG or ETS is displayed, the threshold can be adjusted
manually by pressing the THRS+ or THRS- buttons.
NOTE! For better control of ETS Score statistics we recommend to use
Manual threshold for ETS session.

- Page 19 -
Nu-Tek Levator Elite User Manual
EMG in Patient Mode
In the Patient Mode, a simple and easy to understand EMG Biofeedback bar
graph displays the pelvic oor muscle strength and assists the user to meet
their pre-set targets. The bar graph scale on the device is divided between
1- 5, plus 6 as an extra for those people who can contract above the standard
scoring of 5.
Note:
The normal resting muscle tone is 4 Microvolt’s (μV) or lower. Between work/
rest trials it can be for some users a challenge to relax the pelvic oor muscle
as low as 4μV, under 6μV in such circumstances is satisfactory
Muscle Strength Grading Scale (Nu Tek Scale)
Measured in EMG Microvolt’s μV
Scale 1
Scale 2
Scale 3
Scale 4
Scale 5
Scale 6
Virtually no muscle contraction and very little microvolt readings
Moderate muscle contraction with increased movement and
microvolt reading and a longer muscle contraction holding time
Firm contraction and improved muscle holding time
Strong contraction with much longer muscle holding time
Robust contraction with greatly improved muscle holding time
Slight muscle contraction with little movement, increase microvolt
reading and a short muscle contraction holding time
Table of contents
Other Nu-Tek Medical Equipment manuals
Popular Medical Equipment manuals by other brands

Stryker
Stryker Gynnie OB-GYN 1061 Maintenance manual

Belmont
Belmont RI-2 Operator's manual

Siemens
Siemens Drager medical Carina Guidelines

Equinox Systems
Equinox Systems 4000 user manual

Getinge
Getinge Arjohuntleigh RotoRest System operating instructions

Edge Systems
Edge Systems HYDRAFACIAL Handpiece user guide