manuals.online logo
Brands
  1. Home
  2. •
  3. Brands
  4. •
  5. Num'axes
  6. •
  7. Pet Care Product
  8. •
  9. Num'axes Canicom 200 First Installation instructions

Num'axes Canicom 200 First Installation instructions

Canicom 200 First technical support www.numaxes.com maj 08/2020 - 1/5
TECHNICAL SUPPORT
Canicom 200 First
If your product is not working as expected, we recommend you check the information in
the following troubleshooting guide to see if the problem can be solved.
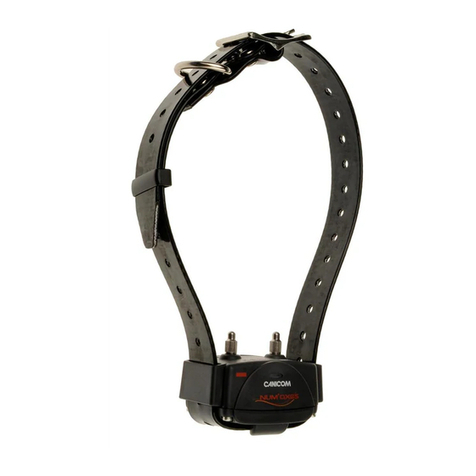
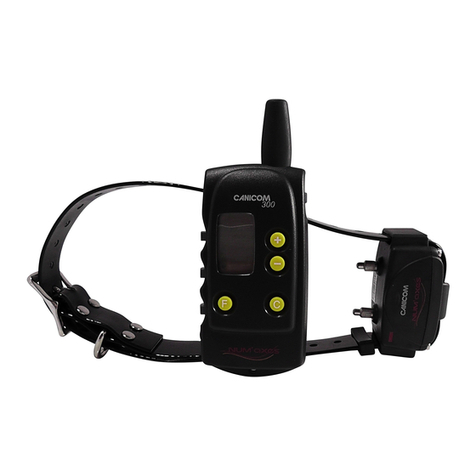
Overview of your product
Red mark:
area where the magnet is located to
switch On/Off the collar and to code the
collar with the remote control
Red mark:
area where the On/Off
switch magnet is located
Beep sound
Continuous
stimulation
level 2
Continuous
stimulation
level 4
Continuous
stimulation
level 1
Continuous
stimulation
level 3
Continuous
stimulation
level 5
Indicator light:
On/Off indicator
+ radio reception indicator
+ battery level indicator
Indicator light:
radio transmission indicator
+ battery level indicator
Seal
Polarity « + »
of the battery
Polarity « - »
of the battery
Contact
points
(short or
long)
Canicom 200 First technical support www.numaxes.com maj 08/2020 - 2/5
Check the condition of the remote control battery.
To check the condition of the battery, observe the indicator light located on the front of the remote
control. If the light flashes green 3 times when you press a button, the battery is weak.
Replace the weak battery with a new one of the same type (lithium 3-V CR2430) paying attention to
follow polarity indicated on the battery housing.
After inserting the new battery, check the remote control by pressing a button:
−If the green indicator light located on the front flashes, the battery is properly inserted.
−If the indicator does not light, remove the battery and check polarity before inserting it once
again.
Performance (radio range) of the remote control may deteriorate as battery becomes weak.
NUM’AXES advises to use the same type and same brand of batteries as those supplied in your new
purchased product. Other brand of batteries may not operate, or may not be completely compatible
with your product.
You can purchase the suitable batteries from NUM’AXES or from your distributor.
Check the condition of the collar battery.
To check the condition of the battery, observe the On/Off indicator light located on the front of the
collar:
−battery sufficiently charged: flashes slowly green
−weak battery: flashes quickly red
Replace the weak battery with a new one of the same type (lithium 3-V CR2) paying attention to follow
polarity indicated on the battery housing.
When inserting the battery, a beep sound is emitted indicating the correct installation of the battery. If
you do not hear any beep sound after having inserted the battery, remove it immediately from its
housing. Check the polarity before inserting it once again.
NUM’AXES advises to use the same type and same brand of batteries as those supplied in your new
purchased product. Other brand of batteries may not operate, or may not be completely compatible
with your product.
You can purchase the suitable batteries from NUM’AXES or from your distributor.
Check the product operates correctly.
You can check the product is operating properly at any time using the following procedure:
−Before doing so, make sure the collar is switched off (indicator light off).
−Place the neon test lamp in contact with each contact points (by unscrewing them then by
screwing them up in order to grip wires of the test lamp under the contact points).
−Switch on the collar and remote control.
−When pressing the 1, 2, 3, 4 or 5 button, the neon test lamp must light with more or less
intensity depending on the stimulation level.
Canicom 200 First technical support www.numaxes.com maj 08/2020 - 3/5
−When pressing the button, the collar must emit a beep sound.
−Before disconnecting the test lamp, make sure the collar is switched off (indicator light off).
Renew the radio coding between collar and remote control.
Radio coding enables the transmitter (remote control) to work with the receiver (collar).
To code the remote control with the collar once again, proceed as follows:
−The remote control must be ready for use (battery in place).
−The receiver collar must be switched off (indicator light off).
−Move the remote control towards the collar so that the red mark on the remote control comes
into contact with the red mark on the collar, hold for 6 seconds (see diagram below). The
indicator light on the collar lights in fixed green then flashes in red.
−Move the remote control away from the collar.
−Press the button of the remote control. A beep sound is emitted; the collar is synchronized
with the remote control.
The receiver collar can be re-coded indefinitely, either with the same remote control, or with a new one
from the Canicom range.
Re-initialize the collar (reset).
To re-initialize the system proceed as follows:
−Unscrew the 4 screws of the battery cover and
remove the battery from its housing.
−With a metallic tool (e.g. scissors), connect the 2
battery supports for approximately 2 seconds.
−Insert the battery once again (one beep sound
must be emitted indicating the correct installation
of the battery).
−Test the product with the neon test lamp (see
paragraph “Check the product operates
correctly”).
Place these two areas
together for 6 seconds
Reset: connect the 2
battery supports
Canicom 200 First technical support www.numaxes.com maj 08/2020 - 4/5
Check the strap adjustment.
The strap should be adjusted so that the contact points come right into contact with the dog’s skin in
order to ensure good transmission of the stimulations.
−If the strap is too loose, the collar is likely to move and repeated friction can irritate your dog’s
skin. Furthermore, the collar will not operate properly.
−If the strap is too tight, the dog will have breathing difficulties.
The strap is properly adjusted when you can insert two fingers between the strap and your dog’s neck.
Check that you are using the right length of contact points.
Two series of contact points are supplied. The length of the contact points must be sufficient to have
proper contact with the dog’s skin enabling the product to operate properly.
If you have a long-haired dog and the short contact points fitted to the collar in the factory are
inadequate, remove and replace them with the long ones provided.
A moderate manual screwing is sufficient. Do not use a key to tighten or loosen the contact points; it
could damage some components underneath.
If necessary trim the hair on your dog’s neck.
Maintain your product regularly.
−Do not use volatile liquids such as solvent or benzene to clean the product. Use a soft cloth
slightly moistened with water or a neutral detergent.
−The strap can be washed with soapy water.
−In order to maintain water tightness, we recommend the replacement of the collar seal once a
year.
−Remove the battery from the collar and remote control if you are not using the product for 3
months or more.
−Never leave a discharged battery in the collar or remote control.
Canicom 200 First technical support www.numaxes.com maj 08/2020 - 5/5
If you are looking for an owner’s manual,
you can download a copy at www.numaxes.com.
If the problem cannot be fixed with the steps provided,
do not hesitate to contact NUM’AXES.
When calling for service, you will need the following elements:
−model of your product (indicated on the product or its packing)
−serial number (listed on the product label)
−your product close by
ZAC des Aulnaies - 745 rue de la Bergeresse
CS 30157
45161 OLIVET CEDEX
FRANCE
Monday - Friday: 9h-12h / 14h-17h
Phone +33 (0)2 38 69 96 27
Fax +33 (0)2 38 63 31 00
You can also contact us at [email protected]

Other manuals for Canicom 200 First

2

Other Num'axes Pet Care Product manuals
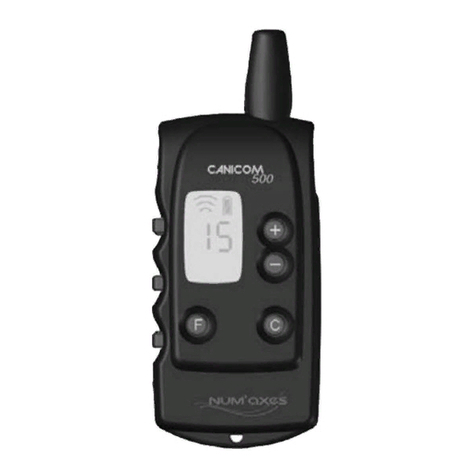
Num'axes EYENIMAL User manual

Num'axes

Num'axes EYENIMAL User manual
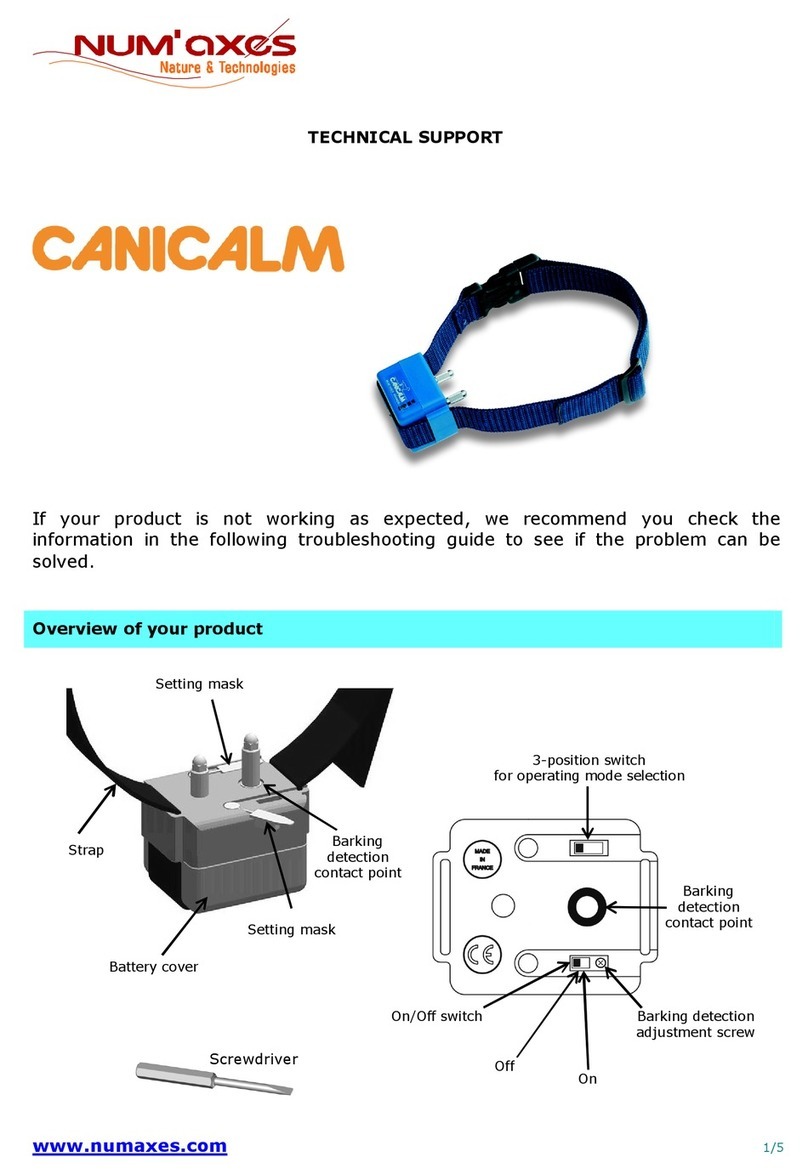
Num'axes CANIBEEP Radio RO User manual

Num'axes

Num'axes CANIBEEP Radio RO User manual

Num'axes CAT VIDEOCAM User manual

Num'axes

Num'axes CAT VIDEOCAM User manual

Num'axes Electronic Flea Comb User manual

Num'axes

Num'axes Electronic Flea Comb User manual

Num'axes Canicalm User manual

Num'axes

Num'axes Canicalm User manual

Num'axes EYENIMAL User manual

Num'axes

Num'axes EYENIMAL User manual

Num'axes Expert 600 User manual

Num'axes

Num'axes Expert 600 User manual

Num'axes EYENIMAL NGDIVEYE002 User manual

Num'axes

Num'axes EYENIMAL NGDIVEYE002 User manual

Num'axes CANICOM 200 User manual

Num'axes

Num'axes CANICOM 200 User manual
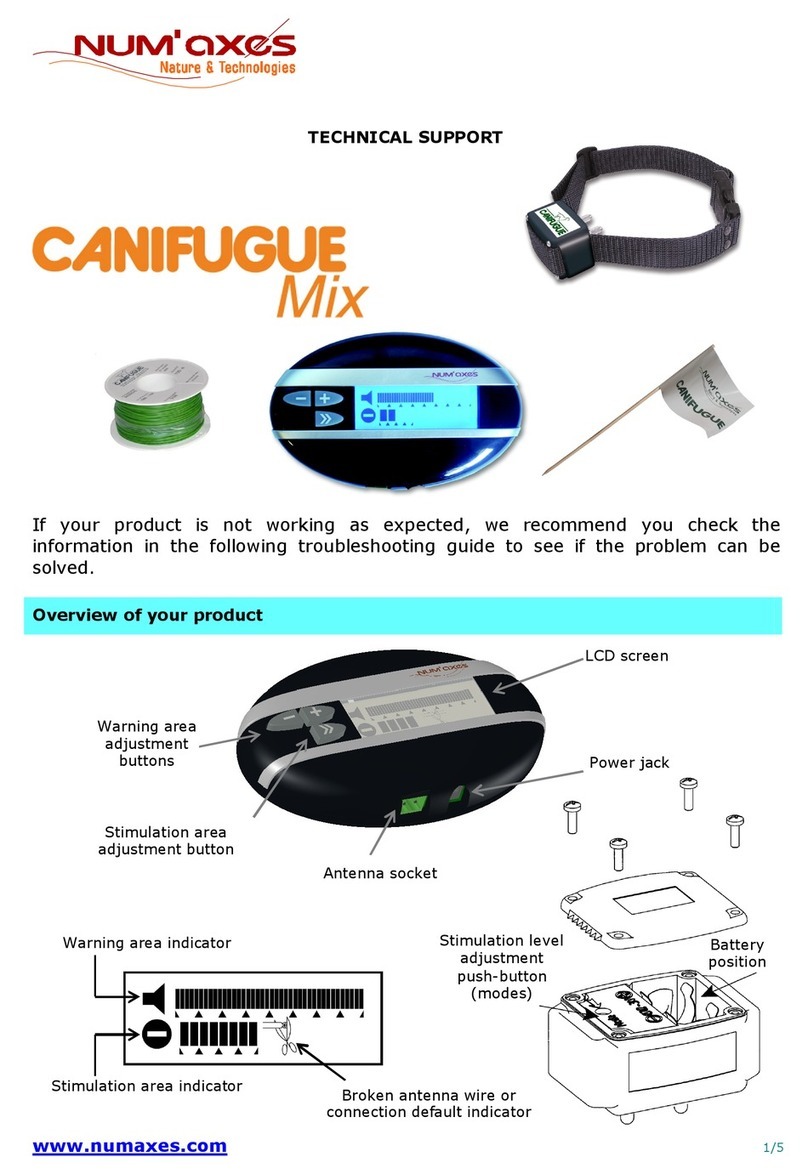
Num'axes EYENIMAL NGDISCRO006 User manual

Num'axes

Num'axes EYENIMAL NGDISCRO006 User manual

Num'axes CANIBEEP RADIO PRO User manual

Num'axes

Num'axes CANIBEEP RADIO PRO User manual

Num'axes Canibeep 5 User manual

Num'axes

Num'axes Canibeep 5 User manual

Num'axes Canicom 500 Pro User manual

Num'axes

Num'axes Canicom 500 Pro User manual

Num'axes Canifugue User manual

Num'axes

Num'axes Canifugue User manual

Num'axes IKI PULSE Installation instructions

Num'axes

Num'axes IKI PULSE Installation instructions

Num'axes Canicalm User manual

Num'axes

Num'axes Canicalm User manual

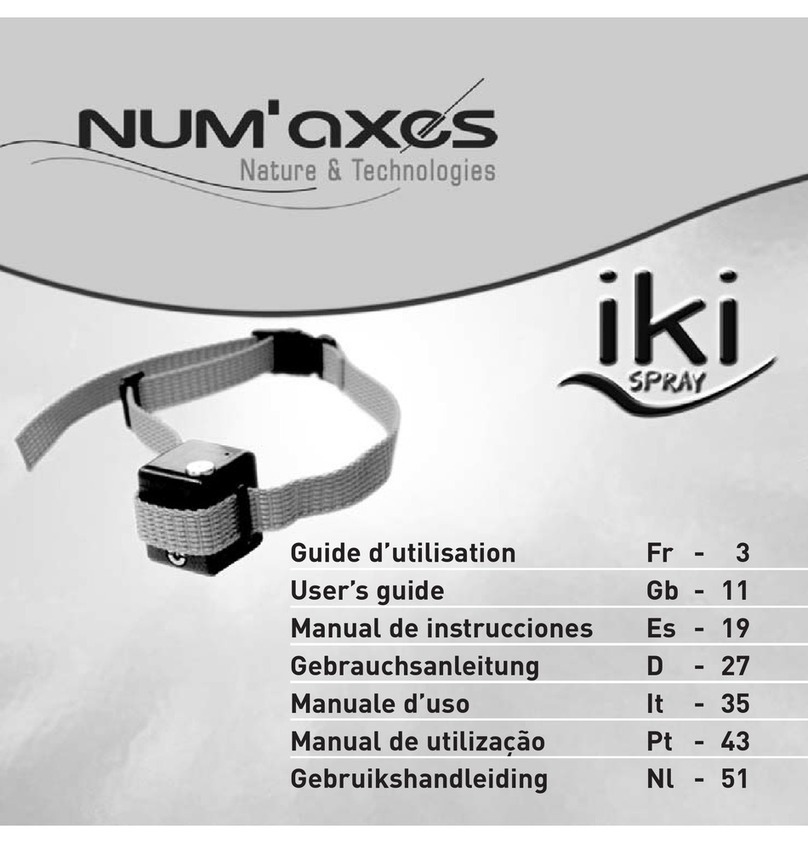
Num'axes iki spray User manual

Num'axes

Num'axes iki spray User manual

Num'axes CANIBEEP RADIO PRO User manual

Num'axes

Num'axes CANIBEEP RADIO PRO User manual

Num'axes CANICOM 300+ User manual

Num'axes

Num'axes CANICOM 300+ User manual

Num'axes Canicalm spray Installation instructions

Num'axes

Num'axes Canicalm spray Installation instructions

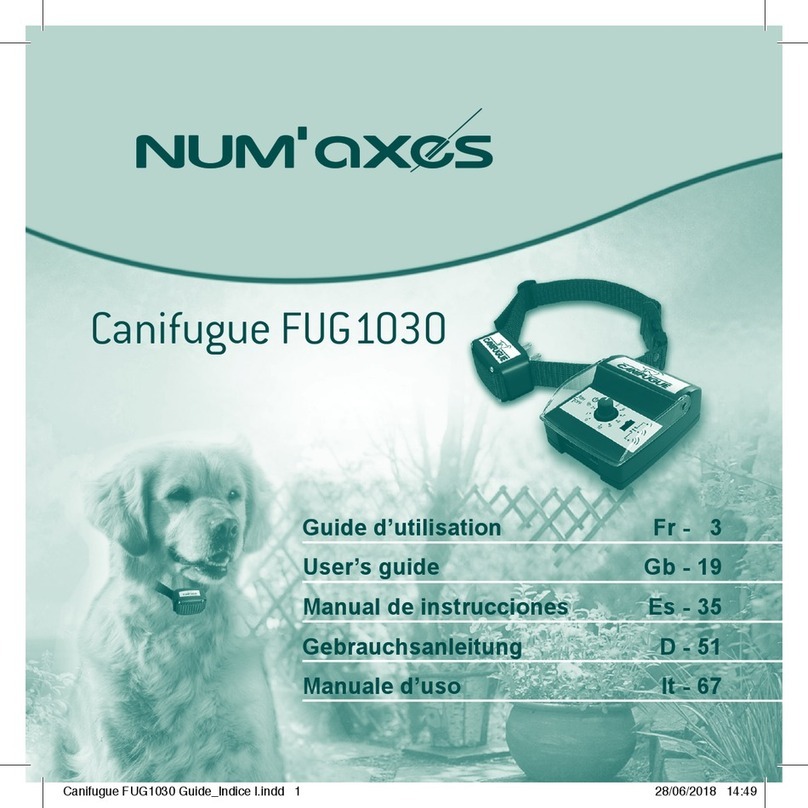
Num'axes Canifugue FUG1030 User manual

Num'axes

Num'axes Canifugue FUG1030 User manual

Num'axes Training Pulse User manual

Num'axes

Num'axes Training Pulse User manual

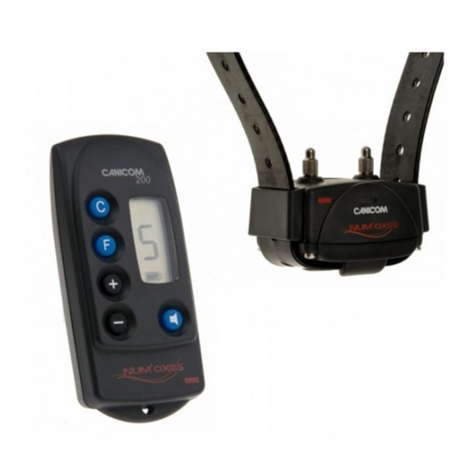
Num'axes Canicom 200 First User manual
Num'axes

Num'axes Canicom 200 First User manual

Num'axes PET at SCHOOL Soft User manual

Num'axes

Num'axes PET at SCHOOL Soft User manual

Popular Pet Care Product manuals by other brands

Double K Industries Challengair 2000XL instruction manual

Double K Industries

Double K Industries Challengair 2000XL instruction manual

Innotek BC-50B quick start

Innotek

Innotek BC-50B quick start

PATHFINDER PT10U owner's manual

PATHFINDER

PATHFINDER PT10U owner's manual

Petsafe Happy Ride Get started

Petsafe

Petsafe Happy Ride Get started

Dogtek Sonic Birdhouse Troubleshooting

Dogtek

Dogtek Sonic Birdhouse Troubleshooting

SportDOG SPORTTRAINER SD-1825E operating guide

SportDOG

SportDOG SPORTTRAINER SD-1825E operating guide

Cat Camp Cat Tent instruction manual

Cat Camp

Cat Camp Cat Tent instruction manual

Zoofari ZTB 1500 A1 operating instructions

Zoofari

Zoofari ZTB 1500 A1 operating instructions

Zolia Venandi manual

Zolia

Zolia Venandi manual

PawHut D02-062 Assembly instruction

PawHut

PawHut D02-062 Assembly instruction

Petsafe DrinkWell operating guide

Petsafe

Petsafe DrinkWell operating guide

Oase FishGuard operating instructions

Oase

Oase FishGuard operating instructions

Dogtra 1900NCP Field Star Series owner's manual

Dogtra

Dogtra 1900NCP Field Star Series owner's manual

Gardigo 60061 instruction manual

Gardigo

Gardigo 60061 instruction manual

Closer pets TreatView manual

Closer pets

Closer pets TreatView manual

iPets PET854 owner's manual

iPets

iPets PET854 owner's manual

Zoofari ZTSD 36 B1 operating instructions

Zoofari

Zoofari ZTSD 36 B1 operating instructions

JBL ProTerra TempSet Heat manual

JBL

JBL ProTerra TempSet Heat manual

manuals.online logo
manuals.online logoBrands
  • About & Mission
  • Contact us
  • Privacy Policy
  • Terms and Conditions

Copyright 2025 Manuals.Online. All Rights Reserved.