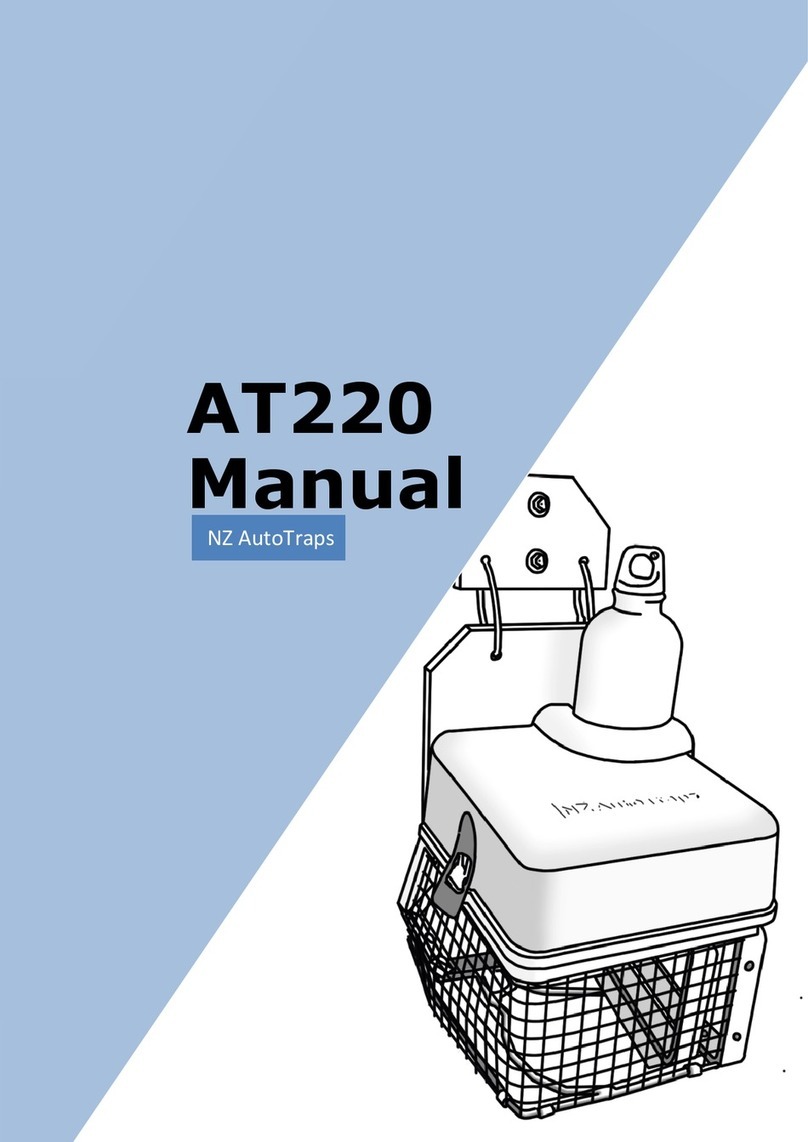
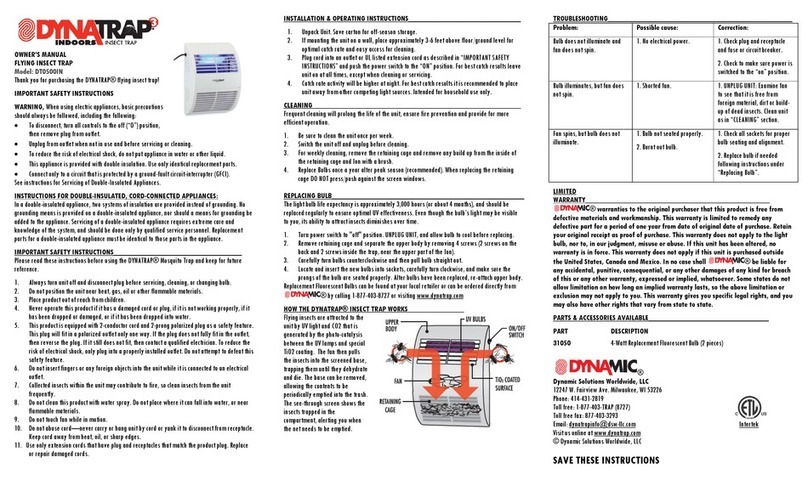
NZ AutoTraps AT220 User manual

AT220
Manual
NZ AutoTraps

1
NZ AutoTraps AT220 Manual 7/31/2023
1CONTENTS
2AT220 Components ..................................................2
3Health & Safety: .................................................... 3-4
4Trap Button and LED................................................5
5Setting up the AT220...............................................6
Package contents:.........................................................6
Mounting the AT220: ............................................... 7-8
Filling the bait: ...............................................................9
Bait Pouch Hints:.........................................................10
Connecting/Replacing the battery: ......................11
Charging the Battery............................................ 12-13
6Quick visit checks....................................................14
Daylight Deactivation Feature: ..............................14
Clearing Set Up ...................................................... 15-17
Clearing Debris.............................................................18
7LED and Button Functions....................................19
LED functions .......................................................... 20-21
Button functions...........................................................22
8Making the trap safe..............................................23
Short term safe............................................................23
Long term safe .............................................................23
9Trouble Shooting .....................................................24
Trap won’t reset or is only ½ set: ........................24
Trap keeps going off:.................................................25
Trap wont trigger:.......................................................26
10 Contact Details .....................................................26
2
NZ AutoTraps AT220 Manual 7/31/2023
2AT220 COMPONENTS
Bait Bottle (
Older Model)
Or Pouch (under lid).
Trigger Eyes
Spring kill
power
Kill Bar
Possum keyhole
Trap Reset Motor
Drive Assembly
Trap PCB controller
Rechargeable
Battery.

3
NZ AutoTraps AT220 Manual 7/31/2023
3HEALTH &SAFETY:
The AT220 is designed to kill Possums and can cause serious harm to the user
if not treated with care and caution.
The trap trigger is sensitive and can be activated by a bump or knock.
Before handling the trap, the kill bar should be down, and the battery
unplugged. See Making the trap safe page 23.
Even if not
set, the
mechanism
should be
treated with
an adequate
level of
vigilance
.
WARNING: NEVER PLACE A HAND OR FINGER
INTO THE INSIDE OF THE TRAP UNDER ANY
CIRCUMSTANCE

4
NZ AutoTraps AT220 Manual 7/31/2023
If any necessary intervention is in the path of the kill bar, then we
recommend to use the NZAT Long Gripper, see page 17
Kill-Bar Direction
✓
Carry or handle the
trap from the hanger
You can also carry from the back bar
which is never in the path of the kill
bar and sits behind the set position.

5
NZ AutoTraps AT220 Manual 7/31/2023
4TRAP BUTTON AND LED
On the control box there is an LED (small light) and small button. These are
used for manual control of the trap and diagnostics.
It is important to identify these before continuing as they are required in a
substantial portion of the tasks.
Please find them now
Button
LED (light)

6
NZ AutoTraps AT220 Manual 7/31/2023
5SETTING UP THE AT220
PACKAGE CONTENTS:
AT220 automatic resetting and rebaiting trap
•1x battery pack
•1x complementary battery charger
(Single purchases only) *
•500ml bait bottle or 350ml bait pouch
•2x mounting screws
*Bulk and repeat purchases may not include a charger

7
NZ AutoTraps AT220 Manual 7/31/2023
MOUNTING THE AT220:
Follow carefully to maximise the capabilities of the AT220
For Possums, rats, and mice: The trap is best mounted 300mm (bottom of rat
ladder! )- above a ramp or small platform.
For Feral Cats:
Mounting the trap lower to the ground and a ramp less steep should improve
feral cat kills but a potential by-kill increase will have to be considered. Please
treat alternative mountings with care.
If Within a Kiwi Zone or Around Domestic Pets: mount the trap at least
750mm high and use a ramp. A rough sawn fence pale or batten at 45° for the
ramp works well.
WARNING: BEFORE MOUNTING OR HANDLING THE AT220 BE
SURE THE KILL BAR IS DOWN AND THE BATTERY IS
DISCONNECTED

8
NZ AutoTraps AT220 Manual 7/31/2023
Mounting: Fix the trap to a clean tree using two screws through the top
mounting tag only. The rest of the trap must be able to swing out from
mounting object, to ensure efficient possum execution.
The ramp or platform should be positioned so that the excess bait from the
traps auto rebaiting drips onto the ramp or platform below. This excess acts
as a pre-feed, encouraging a reluctant pest to return.
If the mounting location is on a steep slope, mount the trap on the high side
of the tree with the ramp back into the slope. Due to possums normally
approaching the trap from the high side.
Check bait block overflow: The best trap and ramp position is when bait
block overflow runs on to the keyhole and then on to the ramp. Reposition
the trap or ramp as required to let the bait overflow fall on to the ramp.

9
NZ AutoTraps AT220 Manual 7/31/2023
FILLING THE BAIT:
If using a bait bottle only refill to ¾ full. We recommend that the bottle is not
overfilled.
After refilling a bottle stir the old and new baits together. Use a clean tool to
stir- dirty sticks may cause blockage in pump and tube due to foreign material
added to bait.
If refilling a pouch massage the pouch to stir the old and new baits together.
Note: a pouch can be refilled or replace with new pouch- and refill at base.
Three Button clicks sets the bait to manual pump (LED amber/orange).
Press and holding the Button now runs the bait pump. This will time out after
30 minutes.
Excess bait should drip onto the keyhole then onto the ramp. Reposition the
trap or ramp if the excess bait misses the ramp.
Select trap Auto. Press the Button 4 times, LED changes to green and the trap
reset will restart.
Extra Bait can be Purchased from our Website:
NZAutoTraps.com

10
NZ AutoTraps AT220 Manual 7/31/2023
BAIT POUCH HINTS:
When removing a used pouch from the trap pull the pipe from the pouch cap
first. This leaves the pipe clean and makes less mess. Don’t remove the cap.
When replacing a pouch place the pouch on the tray then push the pipe
through the cap. Don’t remove the cap.
To carry a used pouch (with a punctured cap) you might want to swap the
pouch caps before fitting the new pouch to the trap. Swap the caps with
both pouches standing and outside of the trap.
The pouch lies on its side. The bottom fits under the loop-Black cable tie used
for photo.
The clear pipe is pushed through the cap after the pouch is in place.

11
NZ AutoTraps AT220 Manual 7/31/2023
CONNECTING/REPLACING THE BATTERY:
The battery can be changed with the trap in the set position however be
careful not to put your fingers inside the grill while working the plug.
The plug has a locating key and will not need to be
forced. When the key is located push the plug, turn
the knurled nut, repeating until both feel firm.
If you cannot get the plug started remove the plug
and battery and start again. It should locate in
approx. postion shown below.
Once connected wait 10 seconds and press the Button.
If the trap is in the set: position the LED should be blinking green. Blinking
green means the trap is set and ready.
If the trap is not set: the LED will be constant green and begin resetting OR
the LED will blink a red fault code.
Refer to LED functions page 19 for all the LED functions.
Key

12
NZ AutoTraps AT220 Manual 7/31/2023
CHARGING THE BATTERY
On the
charger
is a red
LED:
Note: A flat battery can take overnight to fully recharge.
On
Battery not connected
Blinking
Charging
Blinking rapidly
Charger fault
Off
charged
WARNING: IF THE CHARGED BATTERY IS UNPLUGGED AND
RECONNECTED TO THE CHARGER IT WILL TAKE
APPROXIMATELY AN HOUR FOR THE RED LED TO INDICATE
IT IS CHARGED
WARNING: WHEN YOU UNPLUG THE USB END ALSO
UNPLUG THE BATTERY. DO NOT LEAVE THE BATTERY
CONNECTED TO THE USB FOR EXTENDED PERIODS
Battery
USB

13
NZ AutoTraps AT220 Manual 7/31/2023
Setting the Trap to Auto: After the battery has been
connected for approx. 10 seconds the illuminated LED, will turn off (Asleep).
Press the Button (one click), the LED will go green and the trap is now in Auto.
If the trap is not set, the trap will start the reset cycle. If the trap fails to reset
refer to LED functions page 19-20. Be warned the trap may trigger as it
recalibrates its trigger (waiting) position, this can take three reset cycles.
Pump Additional Bait: After the trap resets, bait is
automatically added by the pump to the bait block/tray. You can add bait
manually if required using the Pump manual mode. If the trap is asleep (LED is
not illuminated), wake with one press of button, after the LED shows green,
pressing the button three times (Clicks) selects the manual pump mode, and
the LED turns amber, you can now operate the pump manually. Pressing the
button will activate the pump adding more bait to the block/tray. When
finished adding bait, use the button to place the trap back into Auto mode,
you can do this by pressing the button four times (4 clicks). Because the pump
is still in manual mode the pump will operate each time you press the button
4x. The LED will turn green after 4 presses, which highlights that the trap is
now back in Auto mode. See Button and LED Functions page 19-20 for manual
operations.
Last Check: After the trap has run through its reset cycle, the trap kill
bar should be in the set position. Be warned the trap may trigger as it
recalibrates its trigger (waiting) position, this can take three reset cycles.
Once it is set the LED will go out, if you now Press the Button once, the LED
blinks green, highlighting that your trap is set and working. If not blinking
green see Button and LED page 19-20

14
NZ AutoTraps AT220 Manual 7/31/2023
6QUICK VISIT CHECKS
Your trap should be checked within the two weeks when the trap has first
been installed or relocated. Since the catch rate will be higher when first
installed or relocated.
We recommend 3 monthly checks and a battery change every 6 months.
Hint: Record in your diary when a battery is changed and when next 6 month
change is due. Include the trap number and battery number.
1. Check the trap is set: The kill bar should be in the set position. The
LED will be off, and the trap will be “sleeping.”
2. Check the LED: Press the button once if the LED blinks green the trap
is set and working. The bait will do one pump cycle if the LED was off.
(+V33.3)
3. Bait check: See page 9.
4. Clear any debris: See page 18 for more detail. Set trap to Manual.
Then remove any debris from inside the trap. DO NOT put your hand
in the trap, use NZAT Long Gripper.
5. Check the trap mounting and ramp condition: Repair as required.
DAYLIGHT DEACTIVATION FEATURE:The trap has a daytime
deactivation feature to reduce the chance of catching birds. The trap will
remain in its set position, but the trap trigger mechanism shuts off and the
trap will not fire.
To fire the trap during the day you can press the Button once to get the green
light, the trap is now in manual mode and the trigger is active.
THE TRAP CAN STILL FIRE IF BUMPED.

15
NZ AutoTraps AT220 Manual 7/31/2023
CLEARING SET UP
To make clearing easier we want the trap to be partially set. Follow the flow
chart as below, with the following images showing what 1/2-3/4 set means
when viewing the kill bar sprocket lifting lug.

16
NZ AutoTraps AT220 Manual 7/31/2023
Reset Lug at 1/2-3/4 set position.
Trap showing 1/2 set position, note position of sprocket
lifting lug at approx. 1/2 way along kill bar plate. (Half set)

17
NZ AutoTraps AT220 Manual 7/31/2023
Note: If the sprocket lifting lug has started to move under
the Kill bar plate you have gone too far.
Trigger the trap and try again.
Amber / Red LED:
3 presses of button and LED changes to amber. (Pump manual mode)
2 presses of button LED chenages to red. (Trap reset Drive manual mode)
Note: Manual Pump mode will time out after 20 minutes.
Use Option 1 if you are wanting to disable the trap for
extended periods.

18
NZ AutoTraps AT220 Manual 7/31/2023
CLEARING DEBRIS
Once the kill bar is out of the way the trap can be cleaned easily
Tools Required:
NZAT Long Gripper
Note: Manual mode will time out after 30 minutes and the trap will begin to
reset. Disconnect the battery if you are wanting this state for extended
periods.
WARNING: DO NOT PUT HANDS OR FINGERS UNDER THE KILL
BAR. MAINTAINANCE OF THE TRAP CAN BE PERFORMED SAFELY
WITHOUT PLACING HANDS INSIDE OF THE TRAP
Cleaning:

19
NZ AutoTraps AT220 Manual 7/31/2023
7LED AND BUTTON FUNCTIONS
A summary of the trap mode and potential actions
The LED has 3 colours, green, red, and amber, and 3 states, off, on (constant)
and blinking.
The Button has 4 different press combinations, 1 press, 2 presses, 3 presses
and 4 presses. Remember to delay at least three seconds between
combinations.
The trap has three different modes, automatic, Trap reset drive manual mode
and pump drive manual mode.
Button
LED (light)
Other manuals for AT220
1
Table of contents
Other NZ AutoTraps Pest Control manuals