Temperature curve selection (TEMP 5 meter only)
Using the offset temperature calibration procedure
you can achieve the ±0.2°C/±0.4°F accuracy
specified for this meter. In the event the probe is
replaced, or due to drastic changes in the thermistor
characteristics, you may want to select the most
suitable curve for that probe, and therefore do an
offset adjustment for the selected curve.
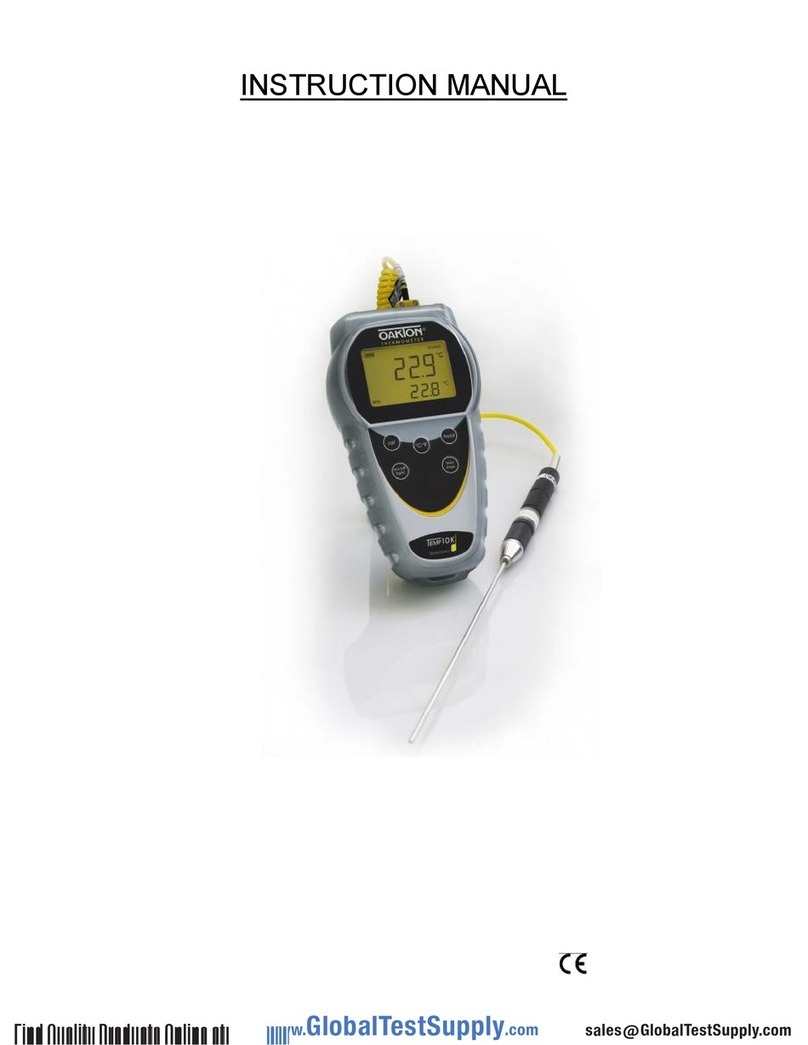
1. Connect your temperature probe to the
meter. Turn meter on. Meter enters
measurement mode.
2. Compare displayed value to a NIST certified
thermometer or other thermometer known to
be accurate. For best accuracy, place probe and
thermometer in a constant temperature bath, in
this example: 25°C.
3. Press the CAL key to enter calibration mode.
The LCD shows "CA" and the reading flashes.
See figures
4. Press °C/°F key to enter curve selection mode.
Press the °C/°F key again to scroll through the
three temperature curves (low, mid, high).
Find the temperature reading closest to
your actual temperature, in this example:
24.9°C.
See figure
6. Press ENTER key to confirm calibration.
The LCD flashes "CO", the meter then
reverts to temperature calibration mode
and the display continues to flash.
See figures
7. Use the ▲and ▼keys to fine tune the
temperature reading to your actual
temperature, in this example: 25°C.
8. Press ENTER key to confirm calibration.
The LCD displays "CO", and the meter
then reverts to measurement mode.
1110
5. Calibration
Temperature calibration using offset adjustment
The temperature sensor included with your meter is factory calibrated. Over time,
the temperature calibration may drift and require recalibration. If you replace the
probe you should recalibrate.
1. Connect your temperature probe to the meter. Turn meter on. Meter enters
measurement mode.
2. Compare displayed value to a NIST certified thermometer or other thermometer
known to be accurate. For best accuracy, place probe and thermometer in a con-
stant temperature bath.
3. Press the CAL key to enter calibration mode.
The LCD shows "CA" and the reading flashes.
See figures
5. Use the ▲and ▼keys to adjust the
temperature shown to match the accurate
temperature (maximum adjustment is
±5°C from factory default).
6. Press ENTER key to confirm calibration.
The LCD displays "CO", and the meter
then reverts to measurement mode.
5.1
5.2
A B
B
A
E
D
