previously calibrated at 1413 µS in 0 to 2000 µS range, and you recalibrate at 12.88 mS in 0 to 20.00
mS range, the new calibration will override the previous calibration in 0 to 2000 uS range.
In the case of multi point calibration, when you perform a multi point recalibration, old calibrations are
replaced only on a range basis. For example, if you previously calibrated at 1413 µS in 0 to 2000 µS
range and you recalibrate at 1500 µS (also in 0 to 2000 µS range), the meter will replace only the old
calibration data (1413µS) in that range. The meter will retain all calibration data in other ranges. To
completely recalibrate your meter, or when you use a replacement electrode, it is best to clear all
calibration data.
4.2 Preparing the Meter for Calibration
Before starting calibration, make sure you are in the correct measurement mode. For best results,
select a standard value close to the sample value you are measuring.
4.3 Temperature Calibration
Your electrode features a built-in temperature sensor which is factory calibrated. Calibrate your sensor
only if you suspect temperature errors may have occurred over a long period of time or if you have a
replacement electrode.
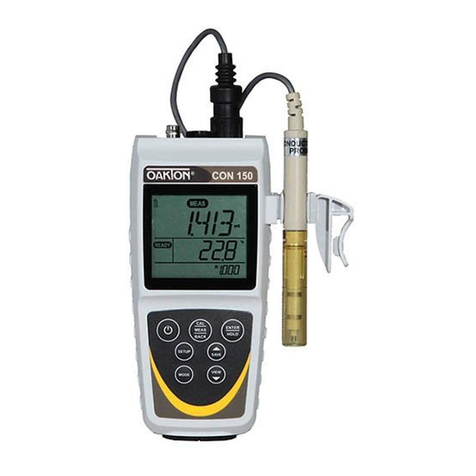
1. Connect the electrode.
2. Switch the meter on. ATC will appear at the bottom right-hand corner of the LCD.
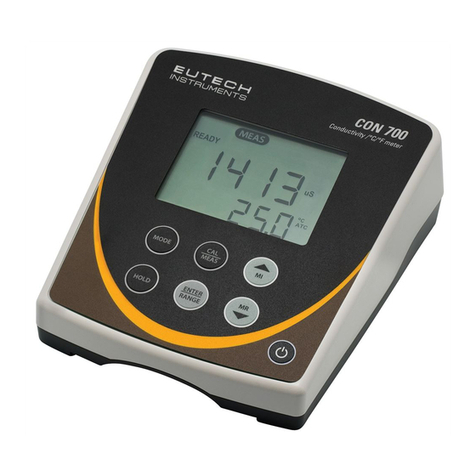
3. Press MODE to select Conductivity or TDS mode.
4. Press CAL/MEAS. The CAL indicator appears.
5. Press MODE to enter temperature calibration mode.
6. Dip the electrode into a solution of known temperature (i.e. a temperature bath). Allow time for
the built-in temperature sensor to stabilize.
7. Scroll with MI/▲or MR/▼to set the correct temperature value (i.e. the temperature of the
temperature bath).
8. Press ENTER to confirm. The meter will be calibrated and return to the measurement mode.
Note: To exit without confirming the temperature calibration value, press CAL/MEAS.
Note: If the ATC does not light up, see SETUP menu Program P1.3 to switch it on.
Note: Since temperature affect the accuracy of conductivity / TDS, it is recommended to carry out a
conductivity / TDS calibration after a temperature calibration is done.
4.4 Conductivity & TDS Calibration
1. Press MODE to select the correct mode (conductivity or TDS).
2. Rinse the probe with de-ionized water or a rinse solution, then rinse with some calibration
standard.
3. Dip the probe into the calibration standard. Immerse the probe beyond the upper steel band. Stir
the probe to get a homogeneous sample. Allow time to stabilize.
4. Press CAL/MEAS. The CAL indicator will appear.
5. Press MI/▲or MR/▼to change the value on the primary display to match the value of the
calibration standard referenced to your normalization temperature (usually 25°C).
6. Press ENTER to confirm. The meter returns to measurement mode.
7. Repeat steps 1 to 6 for other measuring ranges.
Note: The factory default for the TDS conversion factor is 0.50. If the solution has an other factor, you
can improve calibration accuracy by setting the TDS factor prior to calibration.
Note: To exit without confirming press CAL/MEAS.
Note: When entering calibration mode, the display shows the factory default value. If the meter was
previously calibrated, the display may seem to “jump” to the factory default value when switching from
measurement to calibration mode. This is expected.
4.4.1 Calibrating TDS with conductivity standards & adjusting TDS factor
Instead of calibrating for TDS directly using TDS calibration standard solutions, you can calibrate by
using the conductivity calibration method and enter the appropriate TDS conversion factor into the
meter. For more information regarding TDS Conversion Factor determination, please refer to our
website: www.eutechinst.com
5

